2016 BMW M2 buttons
[x] Cancel search: buttonsPage 31 of 220

Context help - Owner's Manual to the
temporarily selected function
The relevant information can be displayed di‐
rectly.
Opening via the iDrive
To move directly from the application on the
Control Display to the Options menu:1. Press button or move the Controller
to the right repeatedly until the "Options"
menu is displayed.2."Display Owner's Manual"
Opening when a Check Control
message is displayed
Directly from the Check Control message on
the Control Display:
"Display Owner's Manual"
Changing between a function and the
Owner's Manual
To switch from a function, e.g., radio, to the
Owner's Manual on the Control Display and to
alternate between the two displays:
1. Press button or move the Controller
to the right repeatedly until the "Options"
menu is displayed.2."Display Owner's Manual"3.Select the desired page in the Owner's
Manual.4. Press button again to return to last
displayed function.5. Press button to return to the page of
the Owner's Manual displayed last.
To alternate permanently between the last dis‐
played function and the last displayed page of
the Owner's Manual repeat steps 4 & 5. Opens
a new display every time.
Programmable memory buttons
General information
The Owner's Manual can be stored on the Pro‐
grammable memory buttons and called up di‐
rectly.
Storing1."Owner's Manual" Select via the iDrive.2. Press selected button for more
than 2 seconds.
Executing
Press button.
The Owner's Manual is displayed im‐
mediately.
Seite 31Integrated Owner's Manual in the vehicleAt a glance31
Online Edition for Part no. 01 40 2 970 518 - II/16
Page 36 of 220

Personal Profile
The concept Using Personal Profile, individual settings for
several drivers can be saved and called up
again at a later time.
General information There are three profiles with which personal
vehicle settings can be stored. Every remote
control has one of these profiles assigned.
If the vehicle is unlocked using a remote con‐
trol, the assigned personal profile will be acti‐
vated. All settings stored in the profile are au‐
tomatically applied.
If several drivers use their own remote control,
the vehicle will adjust the personal settings
during unlocking. These settings are also re‐
stored, if the vehicle has been used in the
meantime by a person with a different remote
control.
Changes to the settings are automatically
saved in the profile currently activated.
If another profile is selected via iDrive, the set‐
tings saved in it will be applied automatically.
The new profile is assigned to the remote con‐
trol currently used.
There is an additional guest profile available
that is not assigned to any remote control: It
can be used to apply settings in the vehicle
without changing the personal profiles.
Adjusting
The settings for the following systems and
functions are saved in the active profile. The
scope of storable settings is country- and
equipment-dependable.▷Unlocking and locking.▷Lights.▷Climate control.▷Radio.▷Instrument cluster.▷Programmable memory buttons.▷Volumes, tone.▷Control Display.▷Navigation.▷Park Distance Control PDC.▷Rearview camera.▷Driving Dynamics Control.▷Driver's seat position, exterior mirror posi‐
tion, steering wheel position.▷Intelligent Safety.
Profile management
Opening profiles Regardless of the remote control in use a dif‐
ferent profile may be activated.
About iDrive:
1."Settings"2."Profiles"3.Select a profile.▷All settings stored in the called-up profile
are automatically applied.▷The called-up profile is assigned to the re‐
mote control being used at the time.▷If the profile is already assigned to a differ‐
ent remote control, this profile will apply to
both remote controls. It cannot be differen‐
tiated anymore between the settings for
the two remote controls.
Renaming profiles
A personal name can be assigned to every pro‐
file to avoid confusion between the profiles.
On the Control Display:
1."Settings"2."Profiles"3.Open "Options".4."Rename current profile"Seite 36ControlsOpening and closing36
Online Edition for Part no. 01 40 2 970 518 - II/16
Page 43 of 220

▷The battery of the remote control is dis‐
charged. Replace the battery, refer to
page 35.▷Interference of the radio connection from
transmission towers or other equipment
with high transmit power.▷Shielding of the remote control due to
metal objects.▷Interference of the radio connection from
mobile phones or other electronic devices
in direct proximity.
Do not transport the remote control together
with metal objects or electronic devices.
In the case of a malfunction, unlock and lock
the vehicle using the buttons of the remote
control or using the integrated key, refer to
page 34.
Adjusting
Unlocking The settings are saved in the active profile, re‐
fer to page 36.
Doors
1."Settings"2."Doors/key"3. Select the symbol.4.Select the desired function:▷"Driver's door only"
Only the driver's door and the fuel filler
flap are unlocked. Pressing again un‐
locks the entire vehicle.▷"All doors"
The entire vehicle is unlocked.Tailgate
Depending on optional features and country
version, this setting is not offered in some
cases.1."Settings"2."Doors/key"3. Select the symbol.4.Select the desired function:▷"Tailgate"
The tailgate unlocks.▷"Tailgate + door(s)"
The tailgate and the doors are un‐
locked.
Confirmation signals from the vehicle
The settings are saved in the active profile, re‐
fer to page 36.
1."Settings"2."Doors/key"3.Deactivate or activate the desired confir‐
mation signals.▷With alarm system:
"Acoustic sig. lock/unlock"
Unlocking is signaled by one honk of
the horn.▷"Flash when lock/unlock"
Unlocking is signaled by two flashes,
locking by one.
Automatic locking
The settings are saved in the active profile, re‐fer to page 36.
1."Settings"2."Doors/key"3.Select the desired function:▷"Lock if no door is opened"
The vehicle locks automatically after a
short period of time if no door is
opened after unlocking.Seite 43Opening and closingControls43
Online Edition for Part no. 01 40 2 970 518 - II/16
Page 57 of 220

Overview
Storing
1.Switch on the ignition.2.Set the desired position.3. Press button. The LED in the but‐
ton lights up.4.Press selected button 1 or 2 while the LED
is lit. The LED goes out.
Button was pressed inadvertently:
Press button again.
The LED goes out.
Calling up settings
General information
There are two ways to call up the memory
function:
▷Comfort function.▷Safety function.
Comfort function
1.Open the driver's door.2.If necessary, switch off the ignition.3.Briefly press the desired button 1 or 2.
The corresponding seat position is performed
automatically.
The procedure stops when a switch for adjust‐
ing the seat or one of the buttons is pressed.
Safety mode1.Close the driver's door or switch on the ig‐
nition.2.Press and hold the desired button 1 or 2
until the adjustment procedure is com‐
pleted.
Calling up of a seat position
deactivated
After a brief period, calling up stored seat posi‐
tions is deactivated to save battery power.
To reactivate calling up of a seat position:
▷Open and close the door or tailgate.▷Press a button on the remote control.▷Press the Start/Stop button.
Mirrors
Exterior mirrors
General information The mirror on the passenger side is more
curved than the driver's side mirror.
Depending on the vehicle equipment, the mir‐
ror setting is stored for the profile currently
used. When the vehicle is unlocked via the re‐
mote control, the position is automatically re‐
trieved if this function is active.
Information WARNING
Objects reflected in the mirror are closer
than they appear. The distance to the traffic
behind could be incorrectly estimated, e.g.,
while changing lanes. There is risk of an acci‐
dent. Estimate the distance to the traffic be‐
hind by looking over your shoulder.◀
Seite 57AdjustingControls57
Online Edition for Part no. 01 40 2 970 518 - II/16
Page 88 of 220

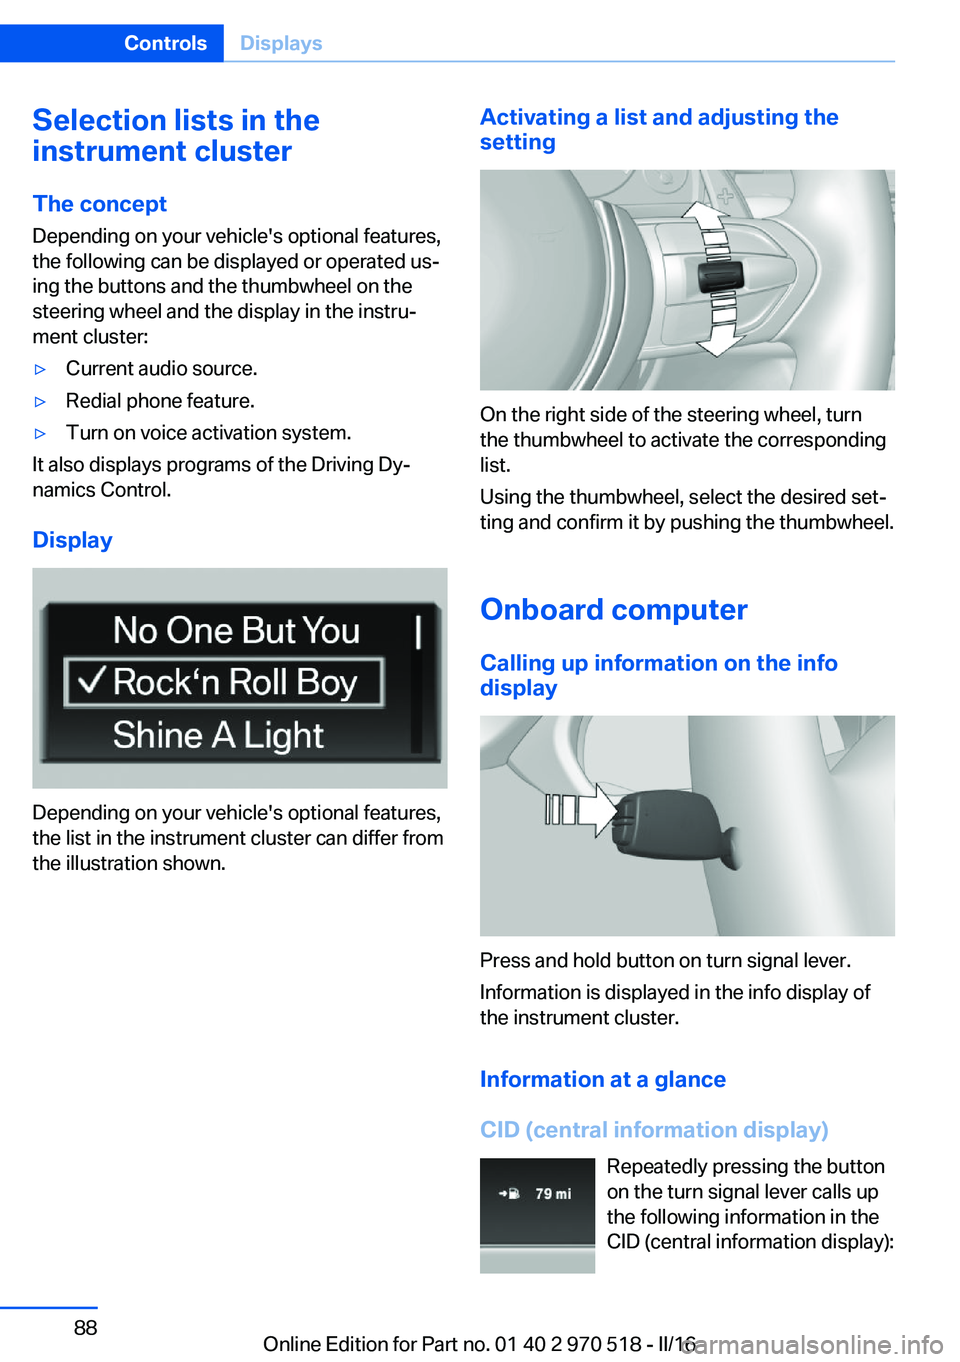
Selection lists in the
instrument cluster
The concept Depending on your vehicle's optional features,
the following can be displayed or operated us‐
ing the buttons and the thumbwheel on the
steering wheel and the display in the instru‐
ment cluster:▷Current audio source.▷Redial phone feature.▷Turn on voice activation system.
It also displays programs of the Driving Dy‐
namics Control.
Display
Depending on your vehicle's optional features,
the list in the instrument cluster can differ from
the illustration shown.
Activating a list and adjusting the
setting
On the right side of the steering wheel, turn
the thumbwheel to activate the corresponding
list.
Using the thumbwheel, select the desired set‐
ting and confirm it by pushing the thumbwheel.
Onboard computer
Calling up information on the info
display
Press and hold button on turn signal lever.
Information is displayed in the info display of
the instrument cluster.
Information at a glance
CID (central information display) Repeatedly pressing the button
on the turn signal lever calls up
the following information in the
CID (central information display):
Seite 88ControlsDisplays88
Online Edition for Part no. 01 40 2 970 518 - II/16
Page 116 of 220

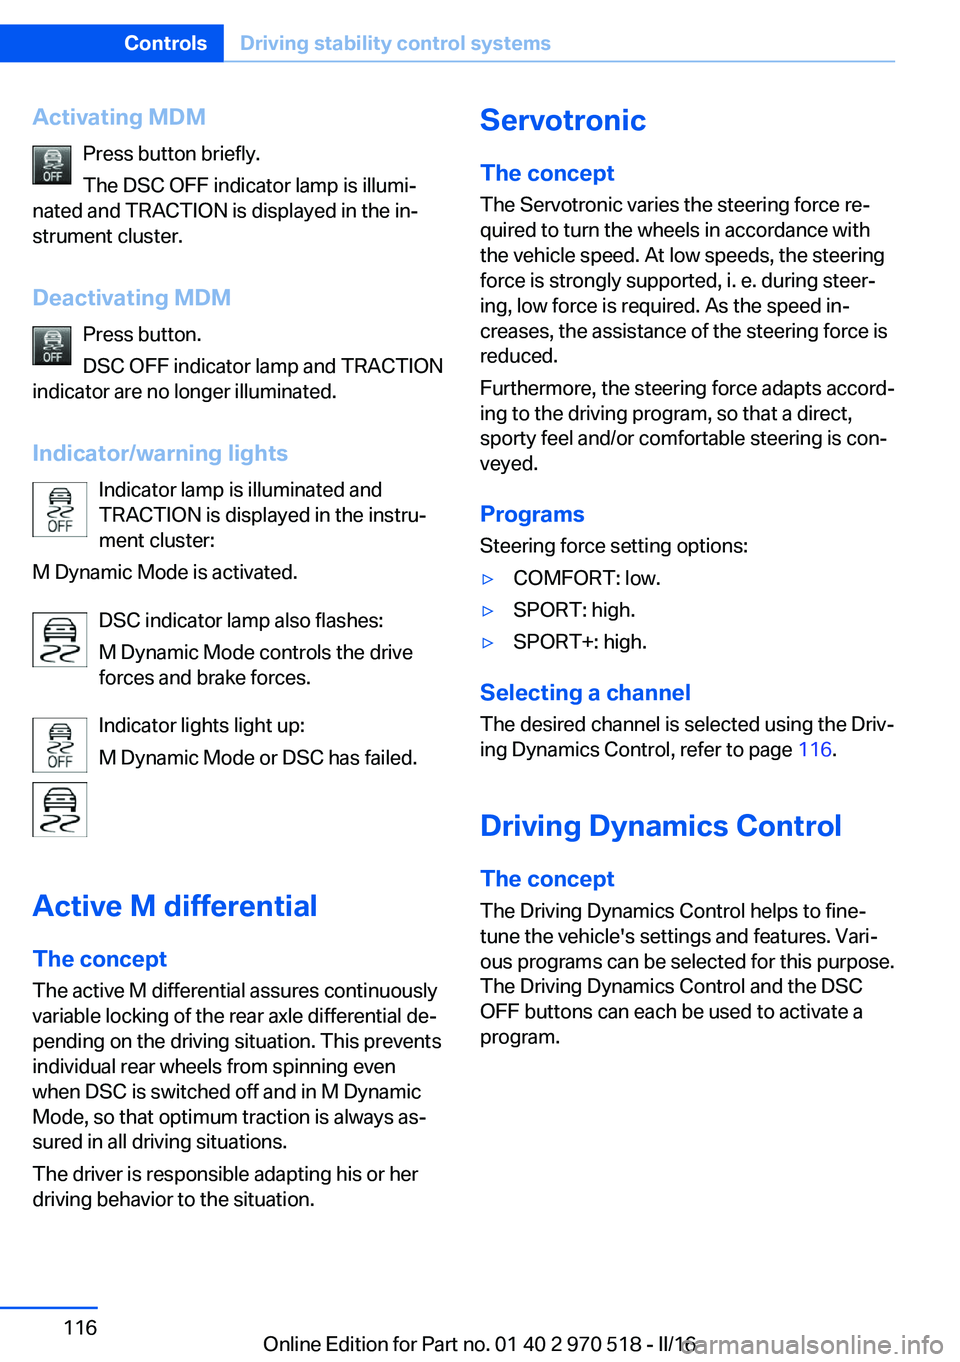
Activating MDMPress button briefly.
The DSC OFF indicator lamp is illumi‐
nated and TRACTION is displayed in the in‐
strument cluster.
Deactivating MDM Press button.
DSC OFF indicator lamp and TRACTION
indicator are no longer illuminated.
Indicator/warning lights Indicator lamp is illuminated and
TRACTION is displayed in the instru‐
ment cluster:
M Dynamic Mode is activated.
DSC indicator lamp also flashes:
M Dynamic Mode controls the drive
forces and brake forces.
Indicator lights light up:
M Dynamic Mode or DSC has failed.
Active M differential The concept The active M differential assures continuously
variable locking of the rear axle differential de‐
pending on the driving situation. This prevents individual rear wheels from spinning even
when DSC is switched off and in M Dynamic
Mode, so that optimum traction is always as‐
sured in all driving situations.
The driver is responsible adapting his or her
driving behavior to the situation.Servotronic
The concept
The Servotronic varies the steering force re‐
quired to turn the wheels in accordance with
the vehicle speed. At low speeds, the steering
force is strongly supported, i. e. during steer‐
ing, low force is required. As the speed in‐
creases, the assistance of the steering force is
reduced.
Furthermore, the steering force adapts accord‐
ing to the driving program, so that a direct,
sporty feel and/or comfortable steering is con‐
veyed.
Programs Steering force setting options:▷COMFORT: low.▷SPORT: high.▷SPORT+: high.
Selecting a channel
The desired channel is selected using the Driv‐
ing Dynamics Control, refer to page 116.
Driving Dynamics Control The conceptThe Driving Dynamics Control helps to fine-
tune the vehicle's settings and features. Vari‐
ous programs can be selected for this purpose.
The Driving Dynamics Control and the DSC
OFF buttons can each be used to activate a
program.
Seite 116ControlsDriving stability control systems116
Online Edition for Part no. 01 40 2 970 518 - II/16
Page 119 of 220

Driving comfortVehicle features and options
This chapter describes all standard, country-
specific and optional features offered with the
series. It also describes features that are not
necessarily available in your car, e. g., due to
the selected options or country versions. This
also applies to safety-related functions and
systems. The respectively applicable country
provisions must be observed when using the
respective features and systems.
Cruise control The concept Using this system, a desired speed can be ad‐
justed using the buttons on the steering wheel.
The system maintains the desired speed. The system accelerates and brakes automatically
as needed.
General information Depending on the driving settings, the features
of the cruise control can change in certain
areas.
Information WARNING
The system does not release from the
personal responsibility to correctly assess the
traffic situation. Based on the limits of the sys‐
tem, it cannot independently react to all traffic
situations. There is risk of an accident. Adjust
the driving style to the traffic conditions. Watch
traffic closely and actively intervene in the re‐
spective situations.◀
WARNING
The use of the system can lead to an in‐
creased risk of accidents in the following situa‐
tions:▷On winding roads.▷In heavy traffic.▷On slippery roads, in fog, snow or rain, or
on a loose road surface.
There is risk of accidents or risk of property
damage. Only use the system if driving at con‐
stant speed is possible.◀
WARNING
The desired speed can be incorrectly ad‐
justed or called up by mistake. There is risk of
an accident. Adjust the desired speed to the
traffic conditions. Watch traffic closely and ac‐
tively intervene in the respective situations.◀
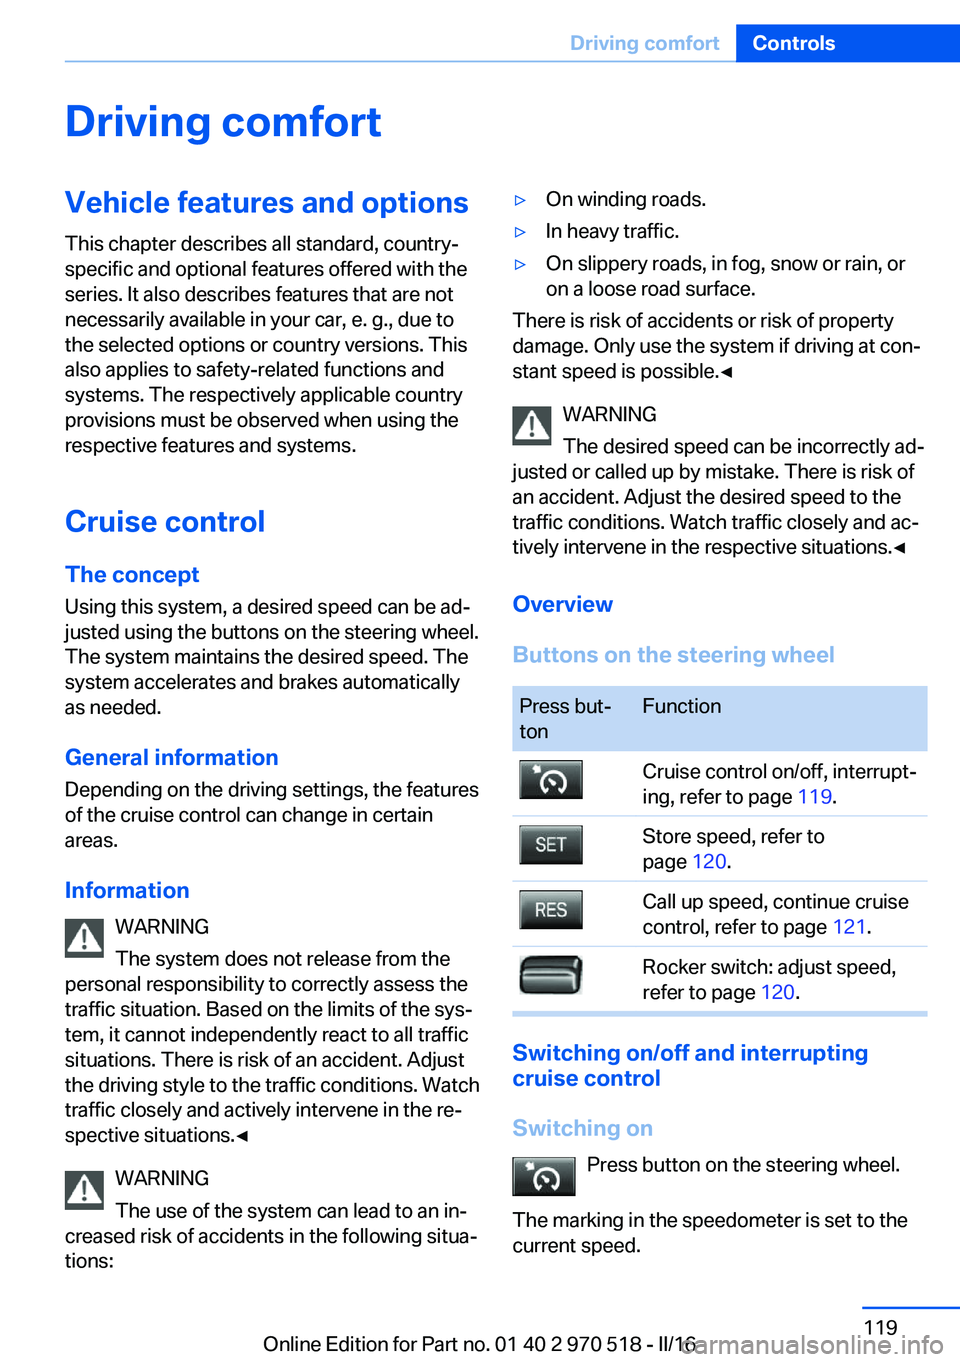
Overview
Buttons on the steering wheel
Press but‐
tonFunctionCruise control on/off, interrupt‐
ing, refer to page 119.Store speed, refer to
page 120.Call up speed, continue cruise
control, refer to page 121.Rocker switch: adjust speed,
refer to page 120.
Switching on/off and interrupting
cruise control
Switching on Press button on the steering wheel.
The marking in the speedometer is set to the
current speed.
Seite 119Driving comfortControls119
Online Edition for Part no. 01 40 2 970 518 - II/16
Page 134 of 220

Interior equipmentVehicle features and optionsThis chapter describes all standard, country-
specific and optional features offered with the
series. It also describes features that are not
necessarily available in your car, e. g., due to
the selected options or country versions. This
also applies to safety-related functions and
systems. The respectively applicable country
provisions must be observed when using the
respective features and systems.
Universal Integrated Remote Control
The concept The Universal Integrated Remote Control can
operate up to 3 functions of remote-controlled
systems such as garage door drives or lighting
systems. The Universal Integrated Remote
Control replaces up to 3 different hand-held
transmitters. To operate the remote control,
the buttons on the interior mirror must be pro‐
grammed with the desired functions. The
hand-held transmitter for the particular system
is required in order to program the remote con‐
trol.
Before selling the vehicle, delete the stored
functions for the sake of security.
Information WARNING
Body parts can be jammed when operat‐
ing remote-controlled systems, e.g., the ga‐
rage door, using the integrated universal re‐
mote control. There is a risk of injury or risk of
property damage. Make sure that the area of
movement of the respective system is clear
during programming and operation. Also followthe safety instructions of the hand-held trans‐
mitter.◀
Compatibility If this symbol is printed on the packag‐
ing or in the owner's manual of the sys‐
tem to be controlled, the system is
generally compatible with the Universal Inte‐
grated Remote Control.
If you have any questions, please contact:▷A dealer’s service center or another quali‐
fied service center or repair shop.▷www.homelink.com on the Internet.
HomeLink is a registered trademark of Gentex
Corporation.
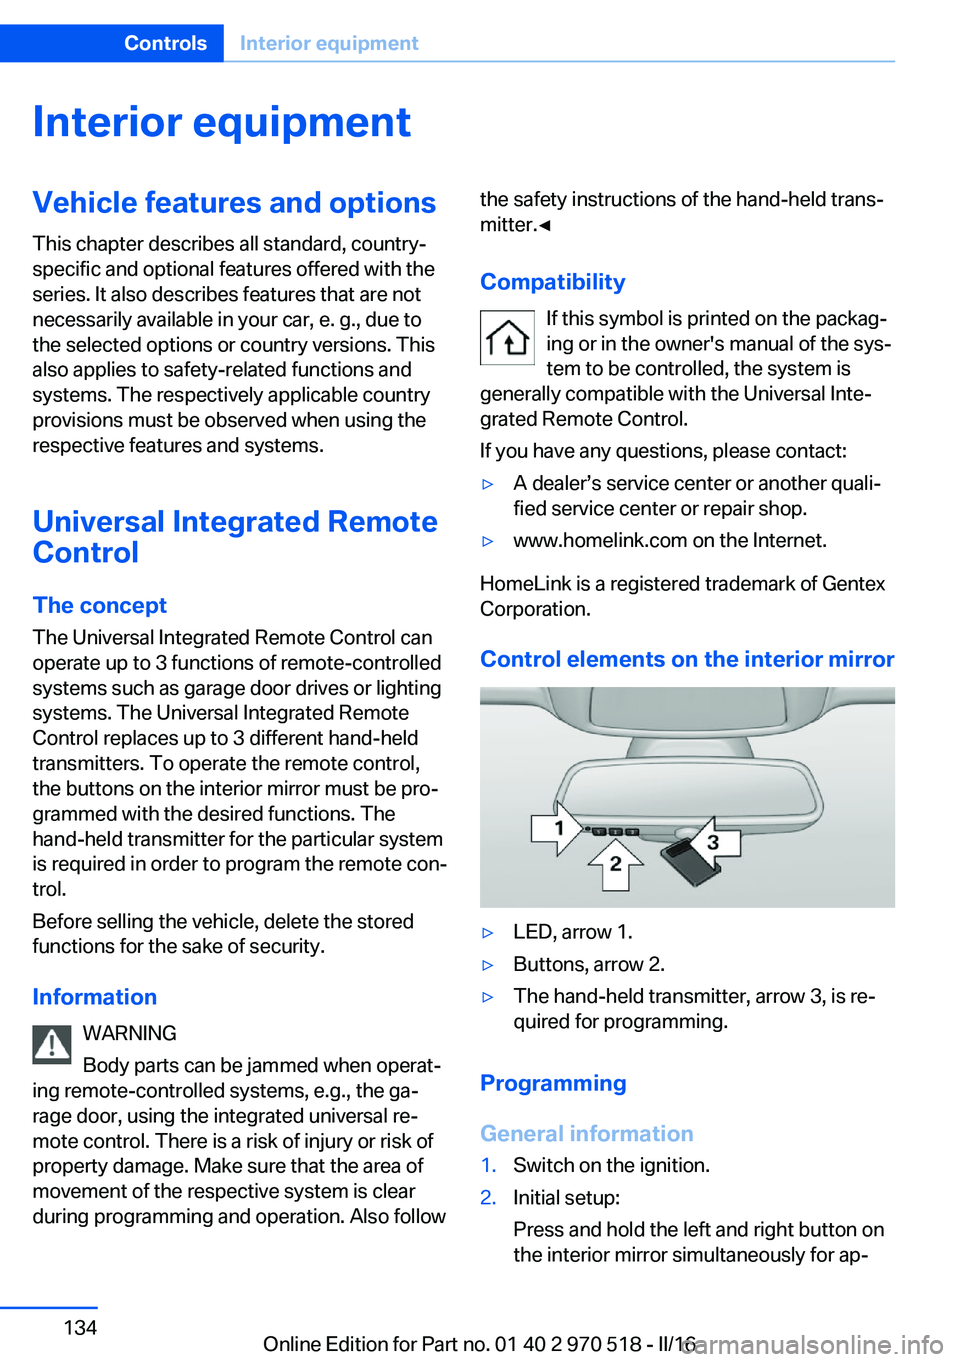
Control elements on the interior mirror
▷LED, arrow 1.▷Buttons, arrow 2.▷The hand-held transmitter, arrow 3, is re‐
quired for programming.
Programming
General information
1.Switch on the ignition.2.Initial setup:
Press and hold the left and right button on
the interior mirror simultaneously for ap‐Seite 134ControlsInterior equipment134
Online Edition for Part no. 01 40 2 970 518 - II/16