2016 BMW M2 COUPE mirror
[x] Cancel search: mirrorPage 57 of 220

Overview
Storing
1.Switch on the ignition.2.Set the desired position.3. Press button. The LED in the but‐
ton lights up.4.Press selected button 1 or 2 while the LED
is lit. The LED goes out.
Button was pressed inadvertently:
Press button again.
The LED goes out.
Calling up settings
General information
There are two ways to call up the memory
function:
▷Comfort function.▷Safety function.
Comfort function
1.Open the driver's door.2.If necessary, switch off the ignition.3.Briefly press the desired button 1 or 2.
The corresponding seat position is performed
automatically.
The procedure stops when a switch for adjust‐
ing the seat or one of the buttons is pressed.
Safety mode1.Close the driver's door or switch on the ig‐
nition.2.Press and hold the desired button 1 or 2
until the adjustment procedure is com‐
pleted.
Calling up of a seat position
deactivated
After a brief period, calling up stored seat posi‐
tions is deactivated to save battery power.
To reactivate calling up of a seat position:
▷Open and close the door or tailgate.▷Press a button on the remote control.▷Press the Start/Stop button.
Mirrors
Exterior mirrors
General information The mirror on the passenger side is more
curved than the driver's side mirror.
Depending on the vehicle equipment, the mir‐
ror setting is stored for the profile currently
used. When the vehicle is unlocked via the re‐
mote control, the position is automatically re‐
trieved if this function is active.
Information WARNING
Objects reflected in the mirror are closer
than they appear. The distance to the traffic
behind could be incorrectly estimated, e.g.,
while changing lanes. There is risk of an acci‐
dent. Estimate the distance to the traffic be‐
hind by looking over your shoulder.◀
Seite 57AdjustingControls57
Online Edition for Part no. 01 40 2 970 518 - II/16
Page 58 of 220
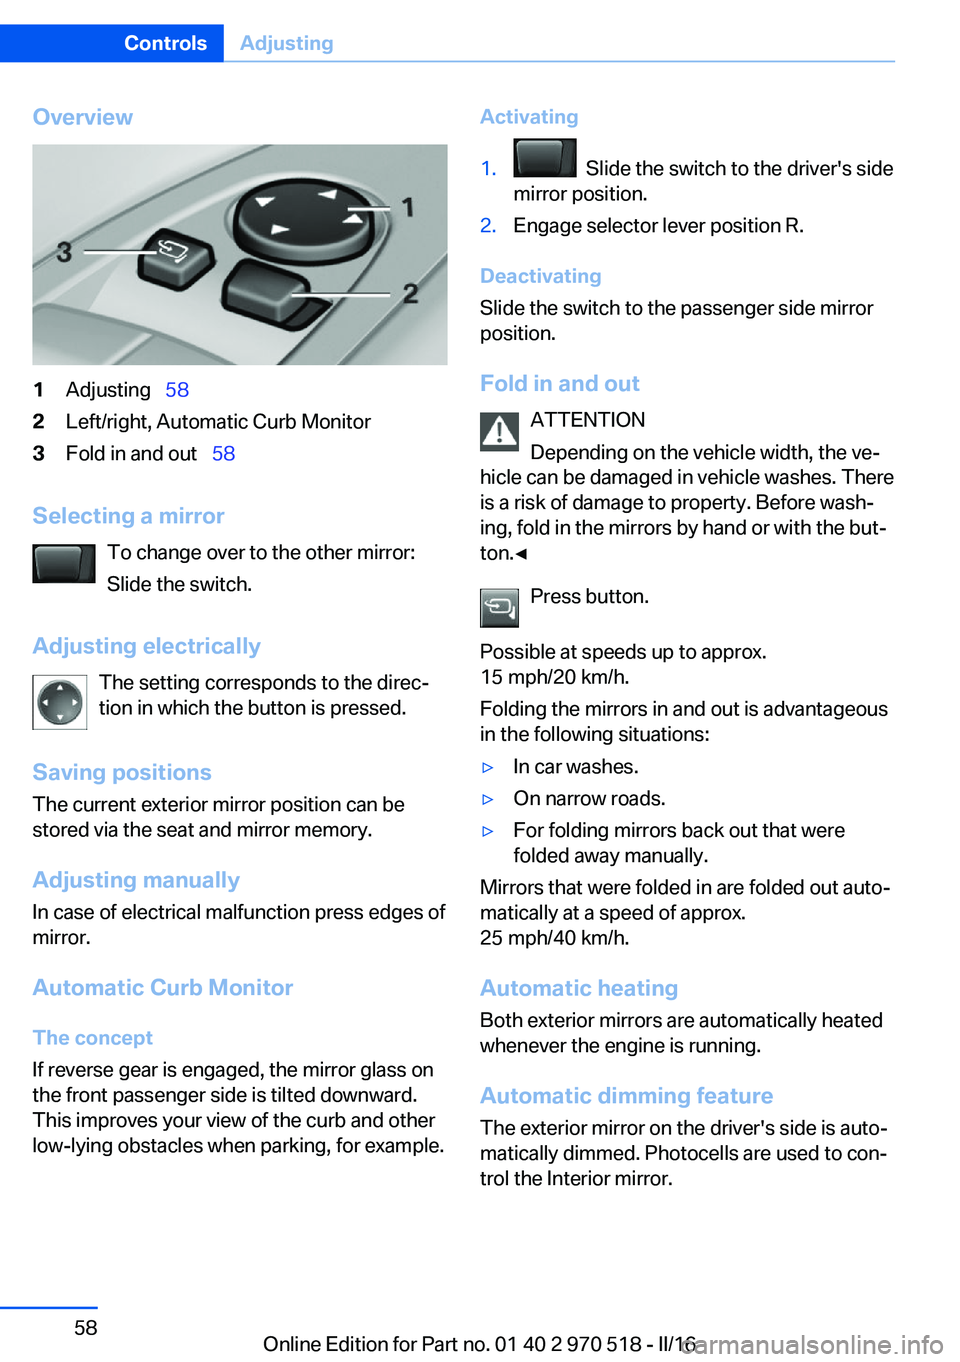
Overview1Adjusting 582Left/right, Automatic Curb Monitor3Fold in and out 58
Selecting a mirror
To change over to the other mirror:
Slide the switch.
Adjusting electrically The setting corresponds to the direc‐
tion in which the button is pressed.
Saving positions
The current exterior mirror position can be
stored via the seat and mirror memory.
Adjusting manuallyIn case of electrical malfunction press edges of
mirror.
Automatic Curb Monitor The concept
If reverse gear is engaged, the mirror glass on
the front passenger side is tilted downward.
This improves your view of the curb and other
low-lying obstacles when parking, for example.
Activating1. Slide the switch to the driver's side
mirror position.2.Engage selector lever position R.
Deactivating
Slide the switch to the passenger side mirror
position.
Fold in and out ATTENTION
Depending on the vehicle width, the ve‐
hicle can be damaged in vehicle washes. There
is a risk of damage to property. Before wash‐
ing, fold in the mirrors by hand or with the but‐
ton.◀
Press button.
Possible at speeds up to approx.
15 mph/20 km/h.
Folding the mirrors in and out is advantageous
in the following situations:
▷In car washes.▷On narrow roads.▷For folding mirrors back out that were
folded away manually.
Mirrors that were folded in are folded out auto‐
matically at a speed of approx.
25 mph/40 km/h.
Automatic heating Both exterior mirrors are automatically heated
whenever the engine is running.
Automatic dimming feature The exterior mirror on the driver's side is auto‐
matically dimmed. Photocells are used to con‐
trol the Interior mirror.
Seite 58ControlsAdjusting58
Online Edition for Part no. 01 40 2 970 518 - II/16
Page 59 of 220
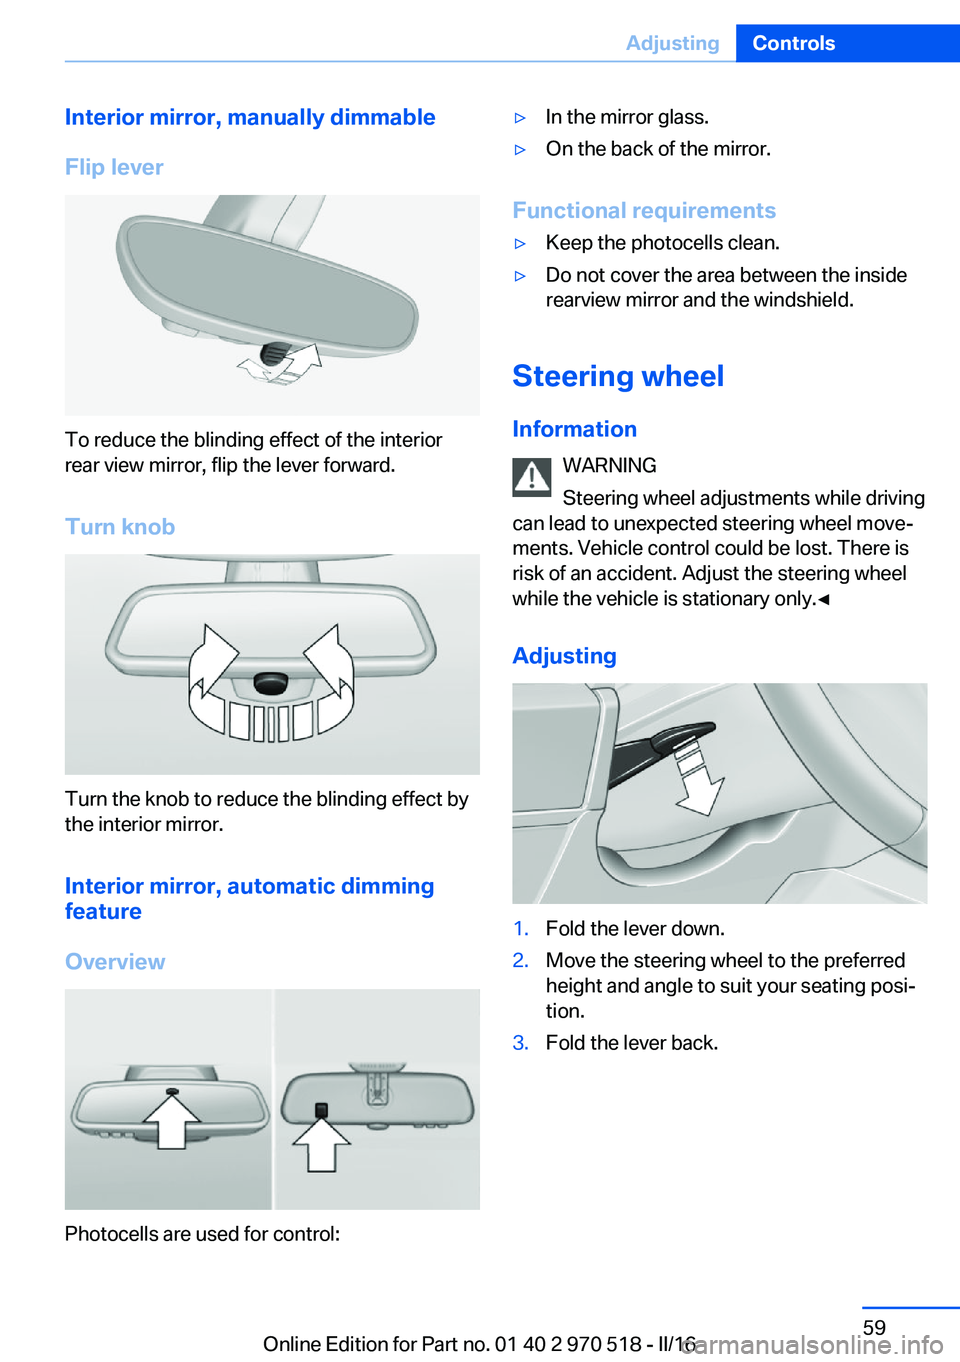
Interior mirror, manually dimmable
Flip lever
To reduce the blinding effect of the interior
rear view mirror, flip the lever forward.
Turn knob
Turn the knob to reduce the blinding effect by
the interior mirror.
Interior mirror, automatic dimming
feature
Overview
Photocells are used for control:
▷In the mirror glass.▷On the back of the mirror.
Functional requirements
▷Keep the photocells clean.▷Do not cover the area between the inside
rearview mirror and the windshield.
Steering wheel
Information WARNING
Steering wheel adjustments while driving
can lead to unexpected steering wheel move‐
ments. Vehicle control could be lost. There is
risk of an accident. Adjust the steering wheel
while the vehicle is stationary only.◀
Adjusting
1.Fold the lever down.2.Move the steering wheel to the preferred
height and angle to suit your seating posi‐
tion.3.Fold the lever back.Seite 59AdjustingControls59
Online Edition for Part no. 01 40 2 970 518 - II/16
Page 70 of 220
Parking brake
Information WARNING
An unsecured vehicle can begin to move
and possibly roll away. There is risk of an acci‐
dent. Before exiting, secure the vehicle against
rolling.
In order to ensure that the vehicle is secured
against rolling away, observe the following:▷Set the parking brake.▷On uphill grades or on a downhill slope,
turn the front wheels in the direction of the
curb.▷On uphill grades or on a downhill slope,
also secure the vehicle, e.g., with a wheel
chock.◀
Applying
The lever automatically engages after being
pulled up.
The indicator lamp lights up red. The
parking brake is set.
Lower lamp: indicator lamp in Canadian
models
If for once use during driving is required, en‐
gage the parking brake slightly and hold the
button down.
To prevent corrosion and one-sided brake ac‐ tion, lightly apply the parking brake periodically
while coasting, if traffic conditions permit.
The brake lights will not light up if the parking brake is set.
Releasing
Raise lever slightly, press the button and guide
the lever down.
Turn signal, high beams,headlight flasher
Turn signal
Turn signal in exterior mirror When driving and during operation of the turn
signals or hazard warning system, do not fold
in the exterior mirrors, so that the signal lights
on the exterior mirror are easy to see.
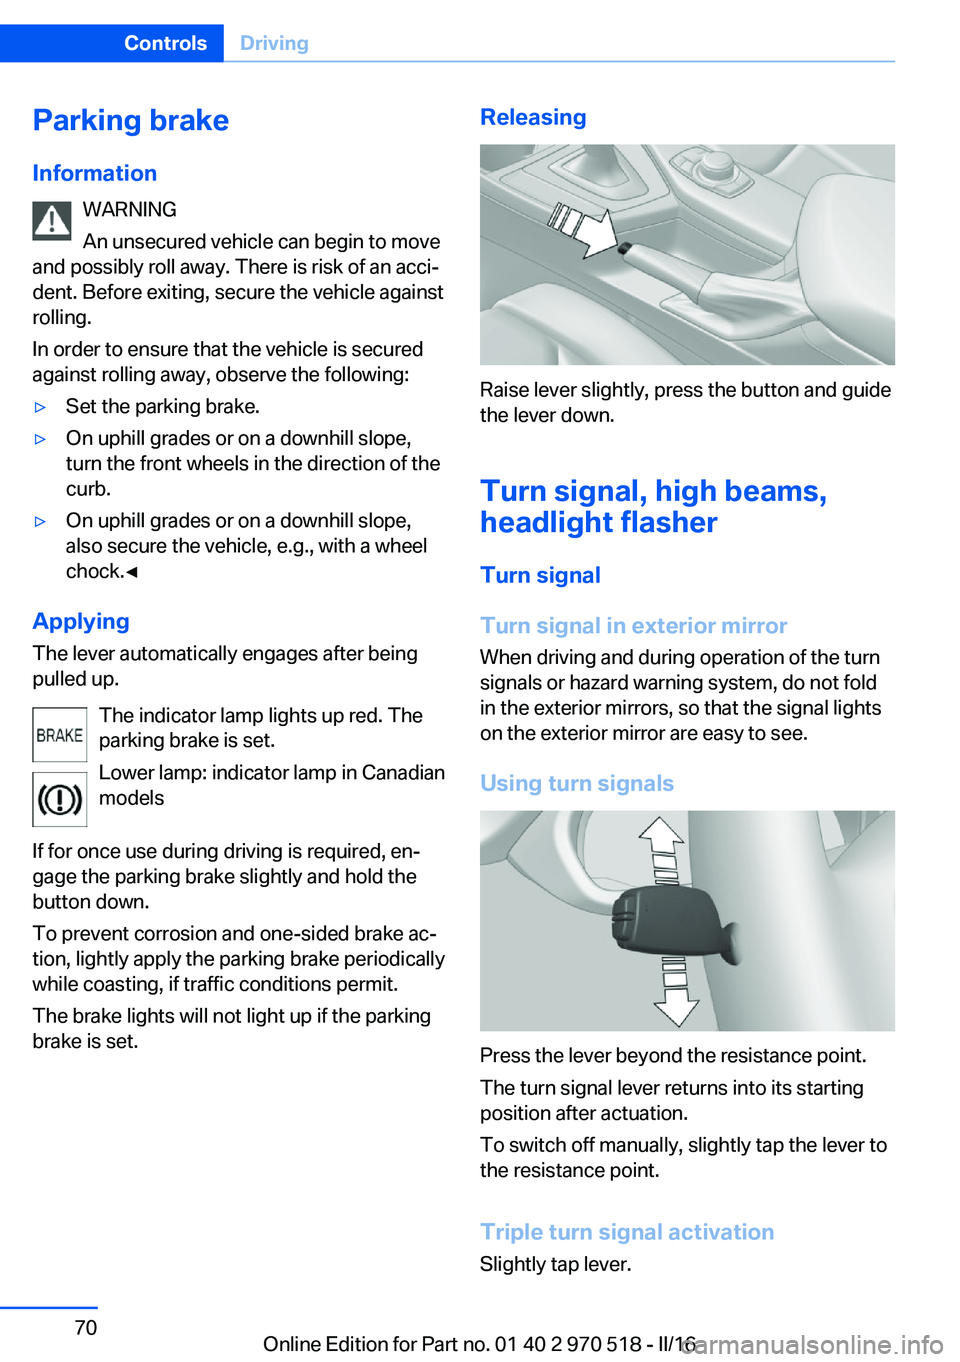
Using turn signals
Press the lever beyond the resistance point.
The turn signal lever returns into its starting
position after actuation.
To switch off manually, slightly tap the lever to
the resistance point.
Triple turn signal activation
Slightly tap lever.
Seite 70ControlsDriving70
Online Edition for Part no. 01 40 2 970 518 - II/16
Page 72 of 220

▷To switch off from normal wiper speed:
press down once.▷To switch off from fast wiper speed: press
down twice.
Interval mode or rain sensor
The concept Without the rain sensor, the frequency of the
wiper operation is preset.
The rain sensor automatically controls the time
between wipes depending on the intensity of the rainfall. The sensor is located on the wind‐
shield, directly behind the interior mirror.
Activating/deactivating
Press button on the wiper lever.
Wiping is started. If the vehicle is equipped
with a rain sensor: LED in wiper lever lights up.
When wipers are frozen to windshield, wiper
operation is deactivated.
ATTENTION
If the rain sensor is activated, the wipers
can accidentally start moving in vehicle
washes. There is a risk of damage to property.
Deactivate the rain sensor in vehicle washes.◀
Setting the frequency or sensitivity of
the rain sensor
Turn the thumbwheel to adjust the frequency
or sensitivity of the rain sensor.
Up: short interval or high sensitivity of the rain
sensor.
Down: long interval or low sensitivity of the rain
sensor.
Clean the windshield, headlamps
Pull the wiper lever towards you.
The system sprays washer fluid on the wind‐
shield and activates the wipers briefly.
In addition, the headlamps are cleaned at regu‐
lar intervals when the vehicle's lights are acti‐
vated.
WARNING
The washer fluid can freeze onto the win‐
dow at low temperatures and obstruct the
view. There is risk of an accident. Only use the
washer systems, if the washer fluid cannot
freeze. Use antifreeze, if needed.◀
Seite 72ControlsDriving72
Online Edition for Part no. 01 40 2 970 518 - II/16
Page 87 of 220
cident. Adjust the driving style to the traffic
conditions. Watch traffic closely and actively
intervene in the respective situations.◀
Overview
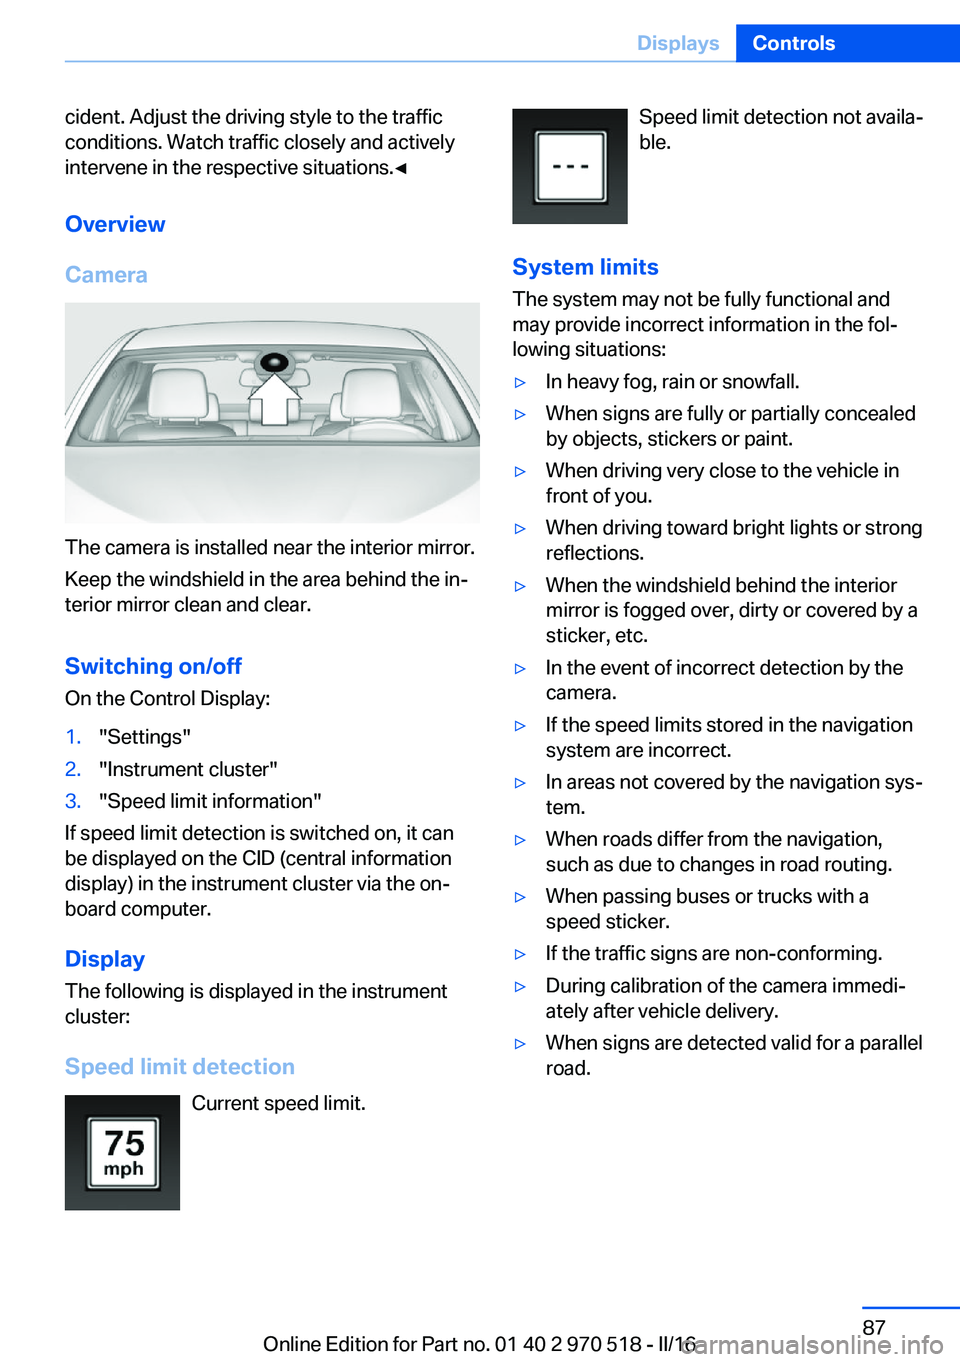
Camera
The camera is installed near the interior mirror.
Keep the windshield in the area behind the in‐
terior mirror clean and clear.
Switching on/off On the Control Display:
1."Settings"2."Instrument cluster"3."Speed limit information"
If speed limit detection is switched on, it can
be displayed on the CID (central information
display) in the instrument cluster via the on‐
board computer.
Display
The following is displayed in the instrument
cluster:
Speed limit detection Current speed limit.
Speed limit detection not availa‐
ble.
System limits
The system may not be fully functional and
may provide incorrect information in the fol‐
lowing situations:▷In heavy fog, rain or snowfall.▷When signs are fully or partially concealed
by objects, stickers or paint.▷When driving very close to the vehicle in
front of you.▷When driving toward bright lights or strong
reflections.▷When the windshield behind the interior
mirror is fogged over, dirty or covered by a
sticker, etc.▷In the event of incorrect detection by the
camera.▷If the speed limits stored in the navigation
system are incorrect.▷In areas not covered by the navigation sys‐
tem.▷When roads differ from the navigation,
such as due to changes in road routing.▷When passing buses or trucks with a
speed sticker.▷If the traffic signs are non-conforming.▷During calibration of the camera immedi‐
ately after vehicle delivery.▷When signs are detected valid for a parallel
road.Seite 87DisplaysControls87
Online Edition for Part no. 01 40 2 970 518 - II/16
Page 96 of 220
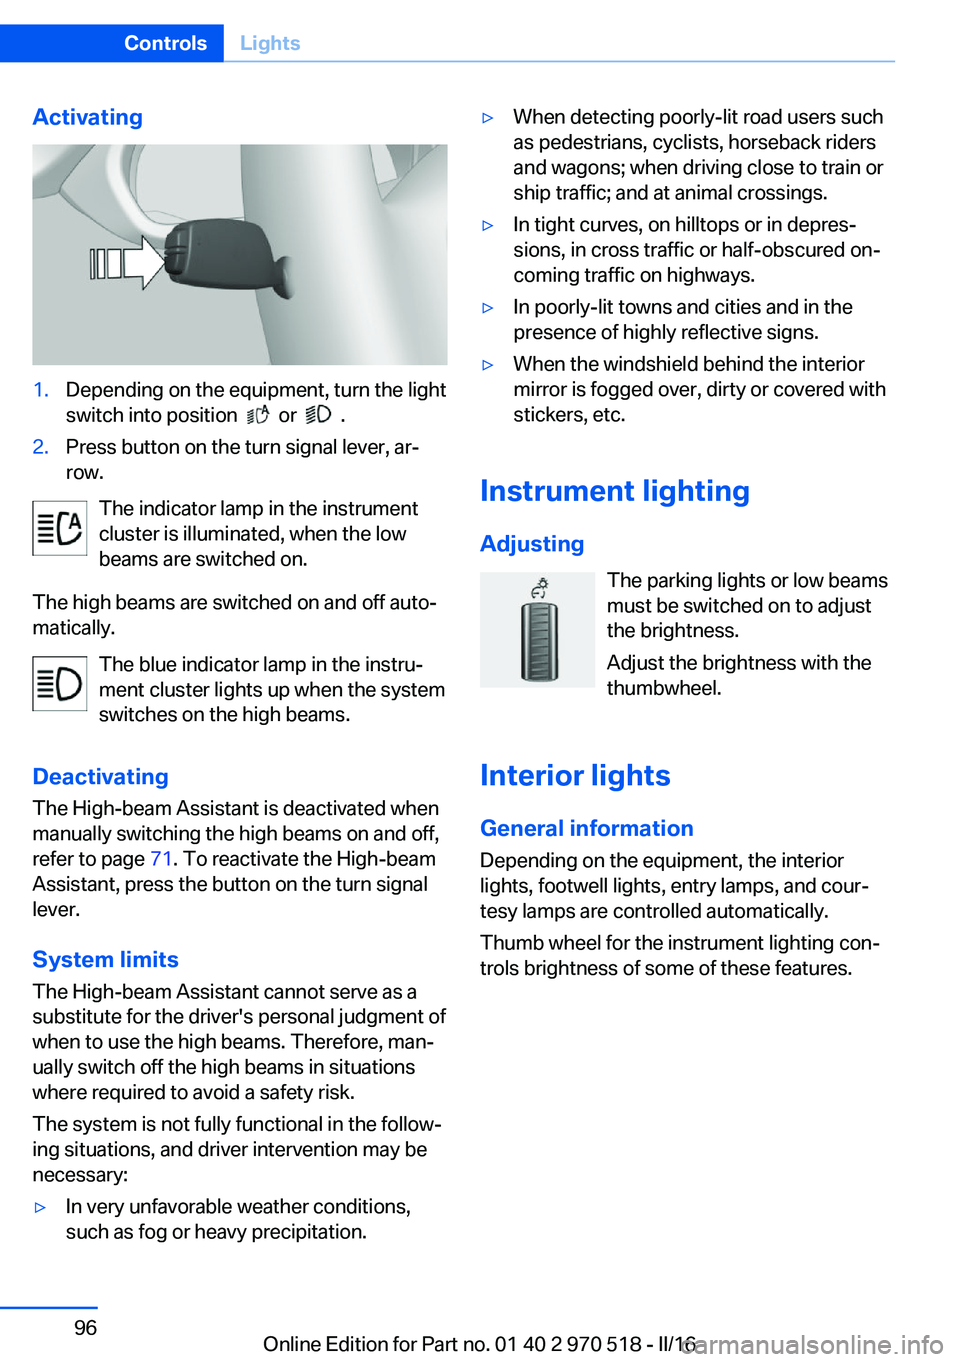
Activating1.Depending on the equipment, turn the light
switch into position
or .
2.Press button on the turn signal lever, ar‐
row.
The indicator lamp in the instrument
cluster is illuminated, when the low
beams are switched on.
The high beams are switched on and off auto‐
matically.
The blue indicator lamp in the instru‐
ment cluster lights up when the system
switches on the high beams.
Deactivating The High-beam Assistant is deactivated when
manually switching the high beams on and off,
refer to page 71. To reactivate the High-beam
Assistant, press the button on the turn signal
lever.
System limits
The High-beam Assistant cannot serve as a
substitute for the driver's personal judgment of
when to use the high beams. Therefore, man‐
ually switch off the high beams in situations
where required to avoid a safety risk.
The system is not fully functional in the follow‐
ing situations, and driver intervention may be
necessary:
▷In very unfavorable weather conditions,
such as fog or heavy precipitation.▷When detecting poorly-lit road users such
as pedestrians, cyclists, horseback riders
and wagons; when driving close to train or
ship traffic; and at animal crossings.▷In tight curves, on hilltops or in depres‐
sions, in cross traffic or half-obscured on‐
coming traffic on highways.▷In poorly-lit towns and cities and in the
presence of highly reflective signs.▷When the windshield behind the interior
mirror is fogged over, dirty or covered with
stickers, etc.
Instrument lighting
Adjusting The parking lights or low beams
must be switched on to adjust
the brightness.
Adjust the brightness with the
thumbwheel.
Interior lights
General information
Depending on the equipment, the interior
lights, footwell lights, entry lamps, and cour‐
tesy lamps are controlled automatically.
Thumb wheel for the instrument lighting con‐
trols brightness of some of these features.
Seite 96ControlsLights96
Online Edition for Part no. 01 40 2 970 518 - II/16
Page 106 of 220
Camera
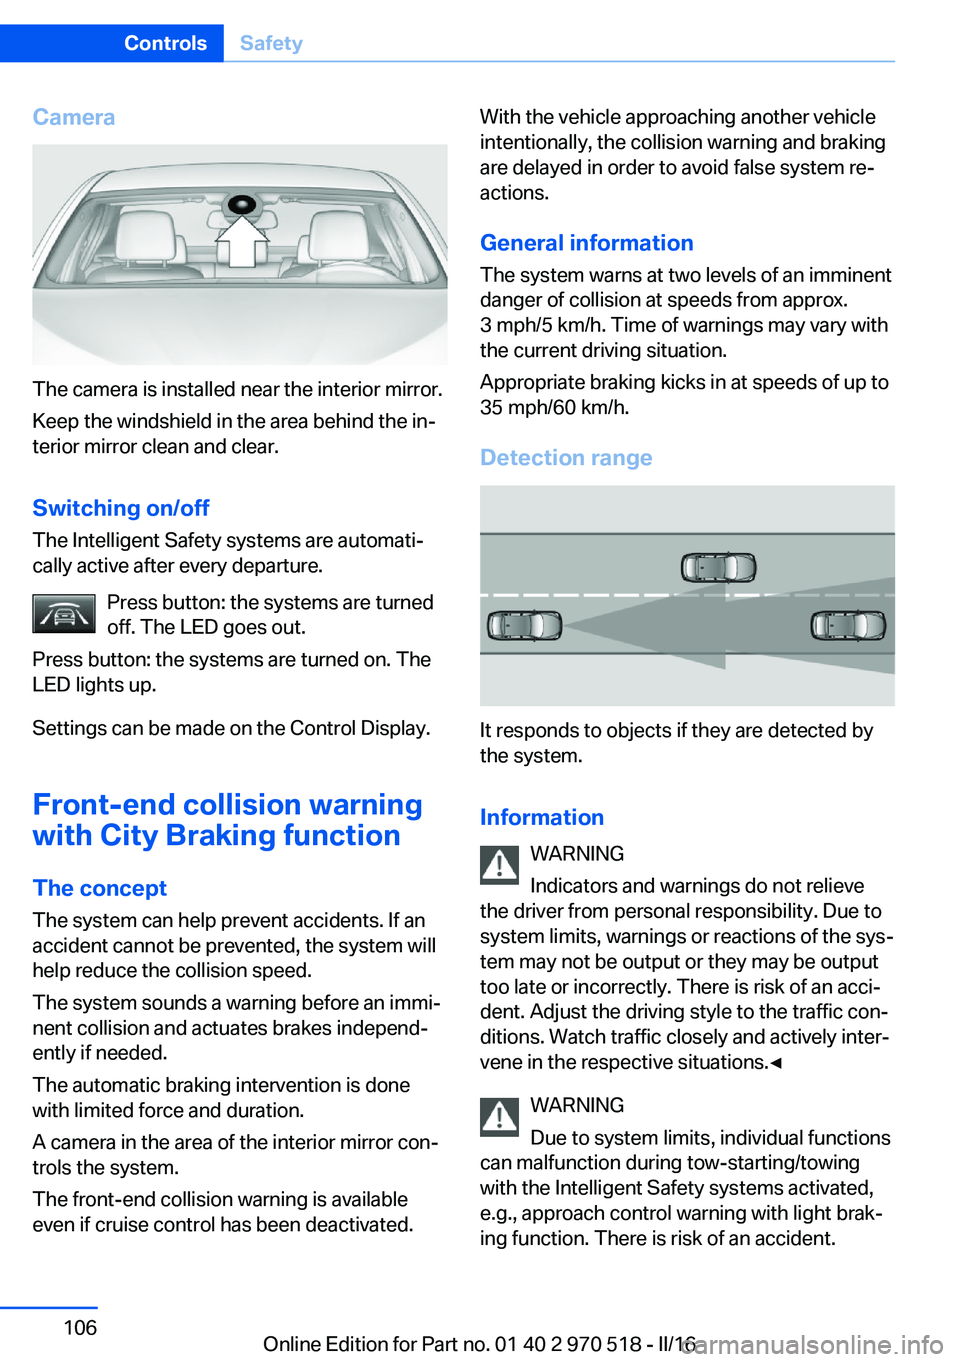
The camera is installed near the interior mirror.
Keep the windshield in the area behind the in‐
terior mirror clean and clear.
Switching on/off The Intelligent Safety systems are automati‐
cally active after every departure.
Press button: the systems are turned
off. The LED goes out.
Press button: the systems are turned on. The
LED lights up.
Settings can be made on the Control Display.
Front-end collision warning
with City Braking function
The concept The system can help prevent accidents. If an
accident cannot be prevented, the system will help reduce the collision speed.
The system sounds a warning before an immi‐
nent collision and actuates brakes independ‐
ently if needed.
The automatic braking intervention is done
with limited force and duration.
A camera in the area of the interior mirror con‐
trols the system.
The front-end collision warning is available
even if cruise control has been deactivated.
With the vehicle approaching another vehicle
intentionally, the collision warning and braking
are delayed in order to avoid false system re‐
actions.
General information
The system warns at two levels of an imminent
danger of collision at speeds from approx.
3 mph/5 km/h. Time of warnings may vary with
the current driving situation.
Appropriate braking kicks in at speeds of up to
35 mph/60 km/h.
Detection range
It responds to objects if they are detected by
the system.
Information WARNING
Indicators and warnings do not relieve
the driver from personal responsibility. Due to
system limits, warnings or reactions of the sys‐
tem may not be output or they may be output
too late or incorrectly. There is risk of an acci‐
dent. Adjust the driving style to the traffic con‐
ditions. Watch traffic closely and actively inter‐
vene in the respective situations.◀
WARNING
Due to system limits, individual functions
can malfunction during tow-starting/towing
with the Intelligent Safety systems activated,
e.g., approach control warning with light brak‐
ing function. There is risk of an accident.
Seite 106ControlsSafety106
Online Edition for Part no. 01 40 2 970 518 - II/16