Page 176 of 363
175
uuAudio System uUSB Port
Audio
USB Port
Open the center console. Install the
iPod or iPhone dock connector or the
USB flash drive to the USB port.1 USB Port
•Do not leave the iPod or USB flash drive in the
vehicle. Direct sunlight and high temperatures may
damage it.
•Do not connect the iPod or USB flash drive using a
hub.
•Do not use a device such as a card reader or hard
disc drive, as the device or your files may be
damaged.
•We recommend backing up yo ur data before using
the device in your vehicle.
•Displayed messages may vary depending on the
device model and software version.
If the audio system does not recognize the iPod, try
reconnecting it a few times or reboot the device. To
reboot, follow the manufac turer’s instructions
provided with the iPod or visit www.apple.com/ipod.
16 ACURA RDX NAVI-31TX48300.book 175 ページ 2015年3月6日 金曜日 午後1時26分
Page 177 of 363

176
uuAudio System uAuxiliary Input Jack
Audio
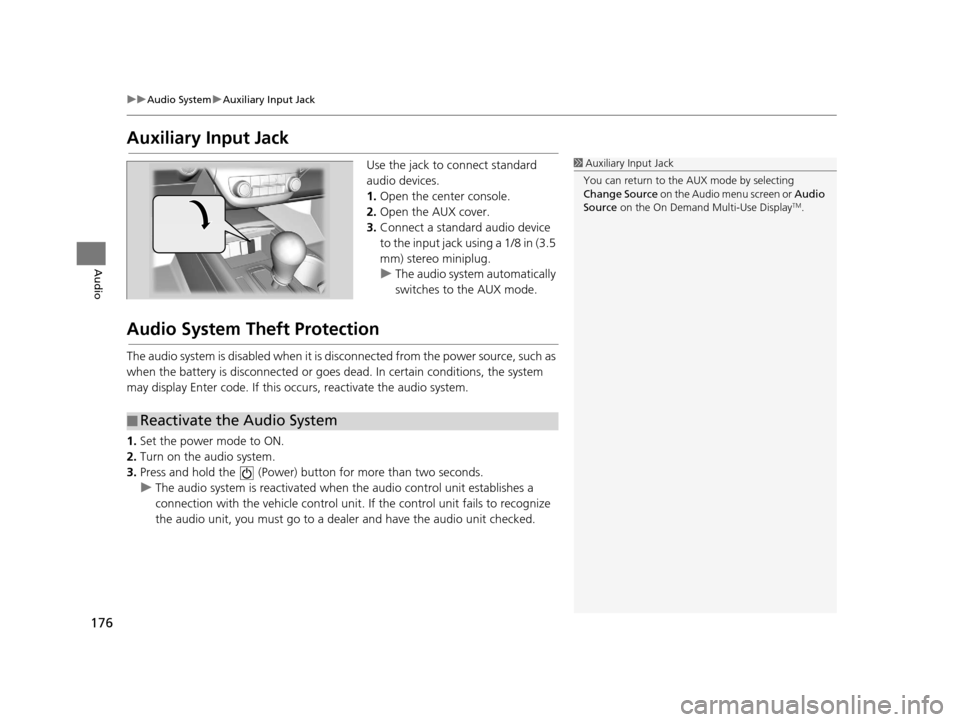
Auxiliary Input Jack
Use the jack to connect standard
audio devices.
1. Open the center console.
2. Open the AUX cover.
3. Connect a standard audio device
to the input jack using a 1/8 in (3.5
mm) stereo miniplug.
u The audio system automatically
switches to the AUX mode.
Audio System Theft Protection
The audio system is disabled when it is di sconnected from the power source, such as
when the battery is disconnected or goes dead. In certain conditions, the system
may display Enter code. If this occurs, reactivate the audio system.
1. Set the power mode to ON.
2. Turn on the audio system.
3. Press and hold the (Power) bu tton for more than two seconds.
u The audio system is reactivated when the audio control unit establishes a
connection with the vehicle control unit . If the control unit fails to recognize
the audio unit, you must go to a deal er and have the audio unit checked.
1Auxiliary Input Jack
You can return to the AUX mode by selecting
Change Source on the Audio menu screen or Audio
Source on the On Demand Multi-Use Display
TM.
■Reactivate the Audio System
16 ACURA RDX NAVI-31TX48300.book 176 ページ 2015年3月6日 金曜日 午後1時26分
Page 225 of 363

224
Audio
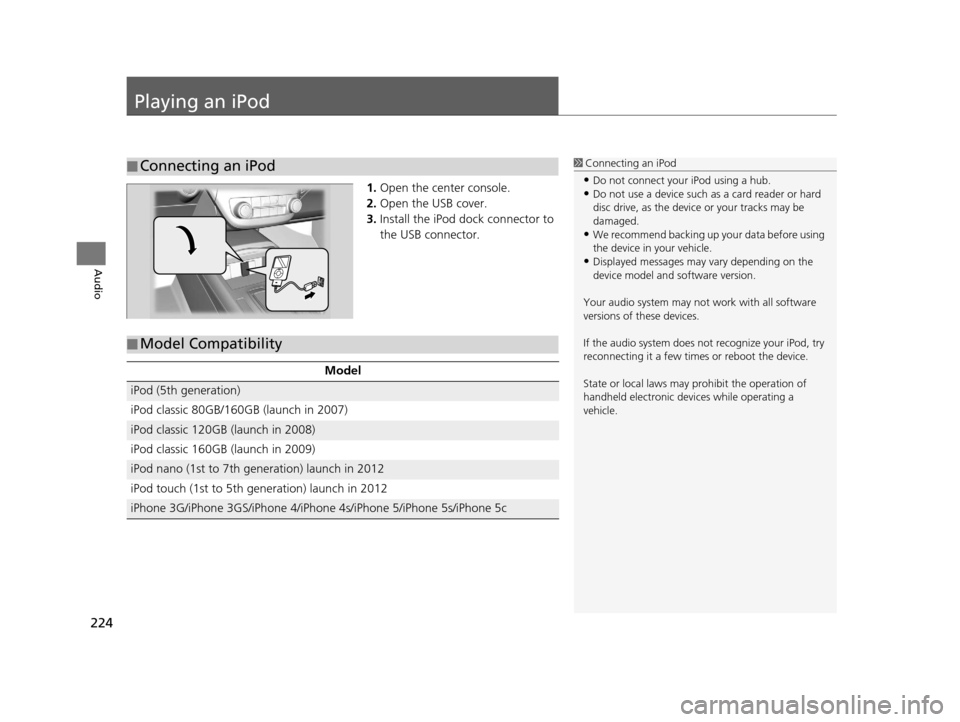
Playing an iPod
1.Open the center console.
2. Open the USB cover.
3. Install the iPod dock connector to
the USB connector.
■Connecting an iPod1
Connecting an iPod
•Do not connect your iPod using a hub.•Do not use a device such as a card reader or hard
disc drive, as the device or your tracks may be
damaged.
•We recommend backing up yo ur data before using
the device in your vehicle.
•Displayed messages may vary depending on the
device model and software version.
Your audio system may not work with all software
versions of these devices.
If the audio system does not recognize your iPod, try
reconnecting it a few time s or reboot the device.
State or local laws may prohibit the operation of
handheld electronic devices while operating a
vehicle.
■ Model Compatibility
Model
iPod (5th generation)
iPod classic 80GB/160GB (launch in 2007)
iPod classic 120GB (launch in 2008)
iPod classic 160GB (launch in 2009)
iPod nano (1st to 7th generation) launch in 2012
iPod touch (1st to 5th generation) launch in 2012
iPhone 3G/iPhone 3GS/iPhone 4/iPhon
e 4s/iPhone 5/iPhone 5s/iPhone 5c
16 ACURA RDX NAVI-31TX48300.book 224 ページ 2015年3月6日 金曜日 午後1時26分
Page 226 of 363
225
uuPlaying an iPod uSelecting iPod Mode
Audio
Selecting iPod Mode
1. Connect the iPod to the USB adapter cable in the center console.
2. Press the MENU button. (in AUDIO mode)
3. Rotate , select Change Source. Press .
4. Rotate , select iPod. Press .
1. Connect the iPod to the USB adapter cable in the center console.
2. Select Audio Source .
3. Select the iPod icon.
1Selecting iPod Mode
You can control an iPod using voice commands. 2 iPod Commands P. 353
2 Song By Voice
TM (SBV) P. 231
Available operating functi ons vary on models or
versions. Some functions ma y not be available on the
vehicle’s audio system.
If there is a problem, you may see an error message
on the navigation screen. 2 iPod/USB Flash Drive P. 328
Interface Dial
On Demand Multi-Use DisplayTM
16 ACURA RDX NAVI-31TX48300.book 225 ページ 2015年3月6日 金曜日 午後1時26分
Page 242 of 363

241
Audio
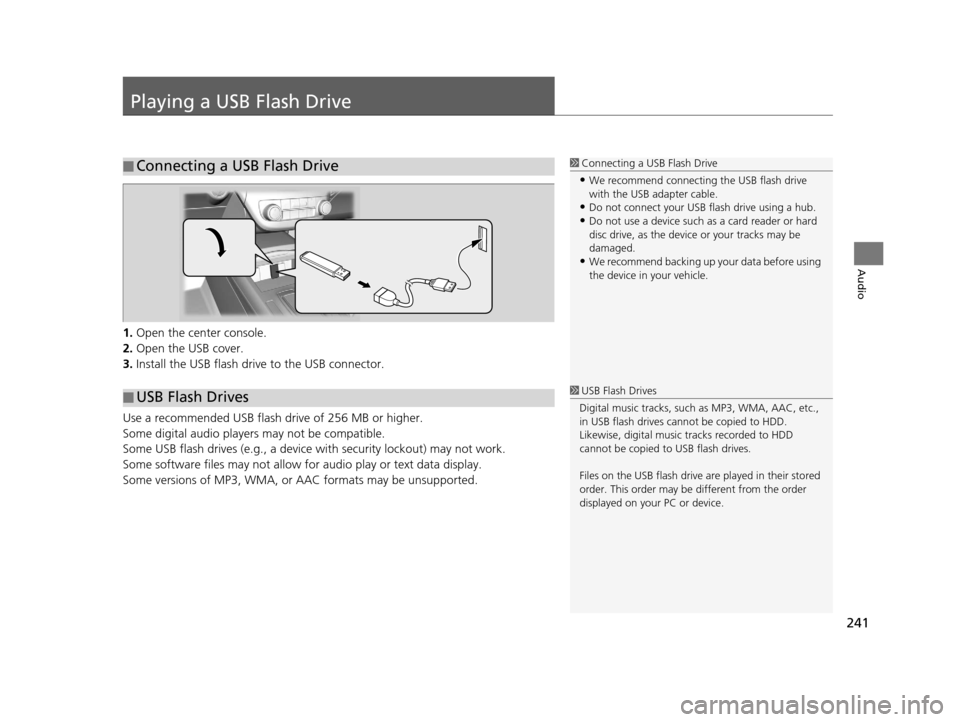
Playing a USB Flash Drive
1.Open the center console.
2. Open the USB cover.
3. Install the USB flash drive to the USB connector.
Use a recommended USB flash drive of 256 MB or higher.
Some digital audio players may not be compatible.
Some USB flash drives (e.g., a device with security lockout) may not work.
Some software files may not allow for audio play or text data display.
Some versions of MP3, WMA, or AAC formats may be unsupported.
■ Connecting a USB Flash Drive1
Connecting a USB Flash Drive
•We recommend connecting the USB flash drive
with the USB adapter cable.
•Do not connect your US B flash drive using a hub.
•Do not use a device such as a card reader or hard
disc drive, as the device or your tracks may be
damaged.
•We recommend backing up yo ur data before using
the device in your vehicle.
■ USB Flash Drives1
USB Flash Drives
Digital music tracks, such as MP3, WMA, AAC, etc.,
in USB flash drives cannot be copied to HDD.
Likewise, digital music tracks recorded to HDD
cannot be copied to USB flash drives.
Files on the USB flash drive are played in their stored
order. This order may be different from the order
displayed on your PC or device.
16 ACURA RDX NAVI-31TX48300.book 241 ページ 2015年3月6日 金曜日 午後1時26分
Page 243 of 363
242
uuPlaying a USB Flash Drive uSelecting USB Mode
Audio
Selecting USB Mode
1. Connect the USB flash drive to the USB port in the center console.
2. Press the MENU button. (in AUDIO mode)
3. Rotate to select Change Source. Press .
4. Rotate to select USB. Press .
1. Connect the USB flash drive to the USB port in the center console.
2. Select Audio Source.
3. Select the USB icon.
1Selecting USB Mode
You can control a USB flash drive using voice
commands. 2 USB Commands P. 353
Files in WMA/ACC format protected by digital rights
management (DRM) cannot be played.
The audio system displays Unplayable File, and then
skips to the next file.
If there is a problem, you may see an error message
on the navigation screen. 2 iPod/USB Flash Drive P. 328Interface Dial
On Demand Multi-Use DisplayTM
16 ACURA RDX NAVI-31TX48300.book 242 ページ 2015年3月6日 金曜日 午後1時26分