Page 6 of 182

EVU00050
CONTENTS
LOCATION OF THE WARNING
AND SPECIFICATION LABELS ....... 1-1
SAFETY INFORMATION.................. 2-1
DESCRIPTION ................................. 3-1
INSTRUMENT AND CONTROL
FUNCTIONS ..................................... 4-1Main switch ...................................... 4-1
Indicator lights and warning lights ... 4-2
Multi-function meter unit .................. 4-6
Light switch .................................... 4-12
On-Command drive knob
“2WD/4WD/DIFF LOCK” ............. 4-13
Horn switch .................................... 4-14
Accelerator pedal .......................... 4-15
Brake pedal ................................... 4-15
Parking brake lever ....................... 4-16
Drive select lever ........................... 4-16
Fuel tank cap ................................. 4-17
1234
Doors..............................................4-17
Seats ..............................................4-18
Adjusting the driver seat position...4-19
Seat belts .......................................4-20
Glove compartment .......................4-21
Storage compartments ..................4-22
Cup holders....................................4-24
Cargo bed ......................................4-25
The front and rear shock absorber
assemblies ...................................4-28
Trailer hitch bracket and
receiver ........................................4-29
Auxiliary DC jack ............................4-29
FOR YOUR SAFETY –
PRE-OPERATION CHECKS ............5-1 Front and rear brakes ......................5-3
Fuel ..................................................5-4
Engine oil .........................................5-6
Coolant.............................................5-6
Final gear oil ....................................5-7
Differential gear oil ...........................5-7
Accelerator pedal .............................5-7
5
1XP7C_EE.book Page 1 Monday, June 9, 2014 5:17 PM
Page 35 of 182

4-3
1
2
34
5
6
7
8
9
10
11
12
13
14
EVU00170Neutral indicator light “N”
This indicator light comes on when the drive
select lever is in the “N” position.5B410001Reverse indicator light “R”
This indicator light comes on when the drive
select lever is in the “R” position.EVU00210Parking brake indicator light “ ”
This indicator light comes on when the park-
ing brake is applied.EBU29621On-Command four-wheel-drive indicator
“ ”, On-Command differential gear lock
indicator “ ” and indicator light “DIFF.
LOCK”
The On-Command four-wheel-drive indicator
“ ” comes on when the On-Command drive
knob “2WD/4WD/DIFF LOCK” is set to the
“4WD” position.The On-Command differential gear lock indi-
cator “ ” and the On-Command differential
gear lock indicator light “DIFF. LOCK” come
on when the On-Command drive knob “2WD/
4WD/DIFF LOCK” is set to the “DIFF LOCK”
position.
TIP●
Due to the synchronizing mechanism in
the differential gear case, the four-wheel-
drive indicator may not come on until the
vehicle starts moving.
●
When the On-Command drive knob
“2WD/4WD/DIFF LOCK” is set to
“DIFF LOCK” or “4WD”, the indicator
“ ” and the indicator light “DIFF. LOCK”
will flash until the differential gear is com-
pletely locked or unlocked. If the indicator
and the indicator light continue to flash,
the differential is not completely locked or
unlocked. In this case, start moving to al-
low time for the differential to lock or un-
lock.
DIFF.
LOCK
DIFF.
LOCKDIFF.
LOCK
1XP7C_EE.book Page 3 Monday, June 9, 2014 5:17 PM
Page 45 of 182
4-13
1
2
34
5
6
7
8
9
10
11
12
13
14
NOTICEDo not use the headlights with the engine
turned off for an extended period of time.
The battery may discharge to the point
that the starter motor will not operate
properly. If this should happen, remove
the battery and recharge it.
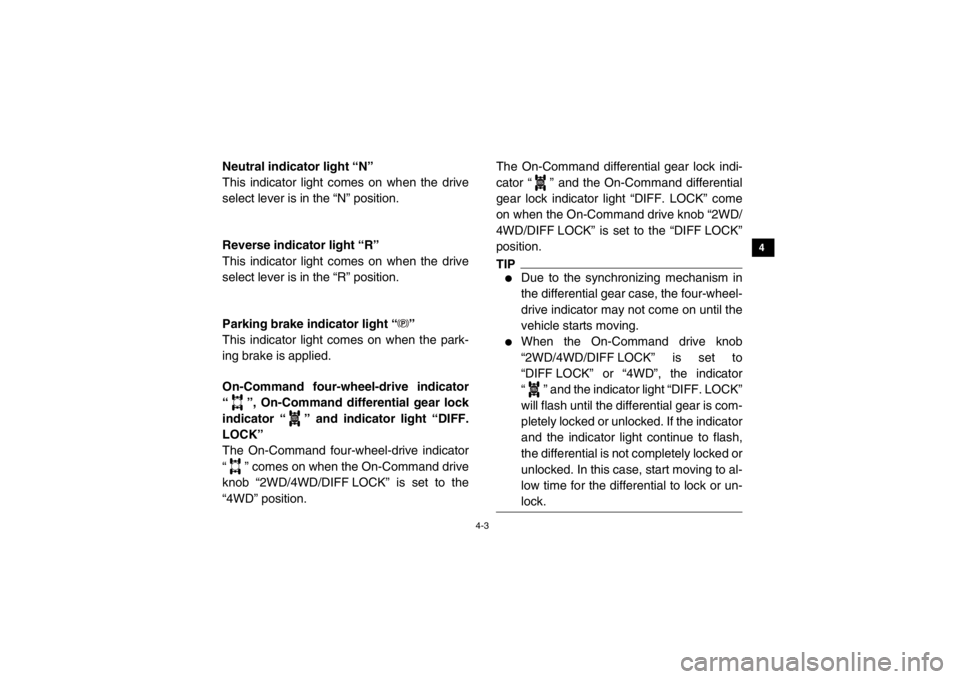
EVU01183On-Command drive knob “2WD/4WD/
DIFF LOCK”1. On-Command drive knob “2WD/4WD/DIFF LOCK”This vehicle is equipped with an On-Com-
mand drive knob to select the drive mode.
The knob has three positions: “2WD”, “4WD”,
and “DIFF LOCK”. Select the appropriate
drive according to terrain and conditions.●
“2WD” (two-wheel drive): Power is supplied
to the rear wheels only.1
1XP7C_EE.book Page 13 Monday, June 9, 2014 5:17 PM
Page 46 of 182
4-14
4
5
6
7
8
9
10
11
12
13
14
●
“4WD” (four-wheel drive): Power is sup-
plied to the rear and front wheels.
●
“DIFF LOCK” (four-wheel drive with the dif-
ferential gear locked): Power is supplied to
the rear and front wheels with the differen-
tial gear locked. Unlike the “4WD” mode, all
wheels turn at the same speed regardless
of traction.
Horn switch “ ”Press the switch to sound the horn.1. Horn switch “ ”
1
1XP7C_EE.book Page 14 Monday, June 9, 2014 5:17 PM
Page 79 of 182
6-6
1
2
3
4
56
7
8
9
10
11
12
13
14
5B410009On-Command drive knobThe vehicle handles differently in each of the drive modes (“2WD”, “4WD” and “DIFF LOCK”). For
example, the vehicle requires more effort to turn in “DIFF LOCK” than in “2WD”. Always stop the
vehicle before changing the position of the On-Command drive knob. The meter display changes
according to the selected drive mode. The different drive indicators, and the differential gear lock
indicator light “DIFF. LOCK” come on as follows:Knob position Indication Drive mode
No indicator light. “2WD” (two-wheel drive): Power is supplied to the rear wheels.
“4WD” (four-wheel drive): Power is supplied to the rear and
front wheels.
“DIFF LOCK” (four-wheel drive with the differential gear
locked): Power is supplied to the rear and front wheels and
the differential gear is locked.
Unlike in four-wheel drive, all wheels turn at the same speed.
1XP7C_EE.book Page 6 Monday, June 9, 2014 5:17 PM
Page 80 of 182
6-7
6
7
8
9
10
11
12
13
14
TIP●
When the knob is set to “DIFF LOCK” or “4WD”, the differential gear lock indicator and indi-
cator light will flash until the differential gear is completely locked or unlocked.
●
When the indicator and indicator light are flashing, turning the steering wheel back and forth
will help the differential gear lock to engage or disengage.
●
Riding before the differential gear is properly engaged or disengaged (e.g., when the indica-
tor and indicator light are flashing) will cause the vehicle speed to be limited until the differ-
ential gear is completely engaged or disengaged.
1XP7C_EE.book Page 7 Monday, June 9, 2014 5:17 PM
Page 99 of 182

7-15
1
2
3
4
5
67
8
9
10
11
12
13
14
Wear eye protection when operating or riding
the vehicle to reduce the risk of a serious ac-
cident or injury. Eye protection, such as a face
shield or goggles, may reduce the risk of for-
eign material getting in your eyes and help
prevent loss of vision.
Practice for new Yamaha Viking users
You should become familiar with the perfor-
mance characteristics of the vehicle in a large,
flat area that is free of obstacles and other ve-
hicles. Practice controlling the accelerator
pedal, brakes, steering, and drive select lever.
Drive at slow speeds with gradual accelera-
tion and turning. Practice smooth throttle ap-
plication. Practice slowing down before
turning. Practice maintaining a steady throttle
through the turn. Avoid higher speeds until
you are thoroughly familiar with the operation
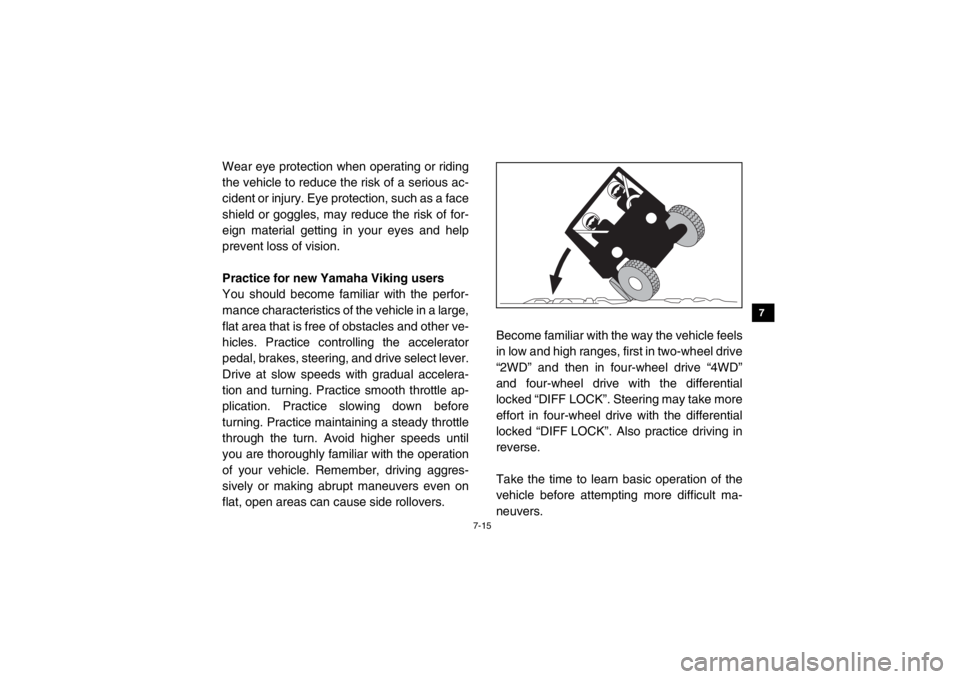
of your vehicle. Remember, driving aggres-
sively or making abrupt maneuvers even on
flat, open areas can cause side rollovers.Become familiar with the way the vehicle feels
in low and high ranges, first in two-wheel drive
“2WD” and then in four-wheel drive “4WD”
and four-wheel drive with the differential
locked “DIFF LOCK”. Steering may take more
effort in four-wheel drive with the differential
locked “DIFF LOCK”. Also practice driving in
reverse.
Take the time to learn basic operation of the
vehicle before attempting more difficult ma-
neuvers.1XP7C_EE.book Page 15 Monday, June 9, 2014 5:17 PM
Page 106 of 182

7-22
7
8
9
10
11
12
13
14
Uphill
Do not attempt to climb hills until you have
mastered basic maneuvers on flat ground.
Drive straight up hills, and avoid crossing the
side of a hill, which increases your risk of roll-
over. Practice first on gentle slopes before at-
tempting steeper hills. Always check the
terrain carefully before attempting any hill.
To climb a hill, you need traction, momentum,
and steady throttle. For more traction and
control for climbing steeper and/or rougher
slopes, shift into low gear and select “4WD” or
“DIFF LOCK”. Travel fast enough to maintain
momentum, but not so fast that you cannot re-
act to changes in the terrain as you climb. Slow down when you reach the crest of the hill
if you cannot see clearly what is on the other
side – there could be another person, an ob-
stacle, or a sharp drop-off.
If you start to lose traction or momentum
when climbing, and decide you will be unable
to continue, use the brakes to stop. Do not at-
tempt to turn the vehicle around. With your
foot on the brake pedal, look behind you and
plan your descent. Shift the drive select lever
into reverse so you can use engine braking to
slow your descent. Release the brake and be-
gin to coast down the hill. Use engine braking
as much as possible, gently applying the
brakes when necessary.1XP7C_EE.book Page 22 Monday, June 9, 2014 5:17 PM