Page 129 of 211

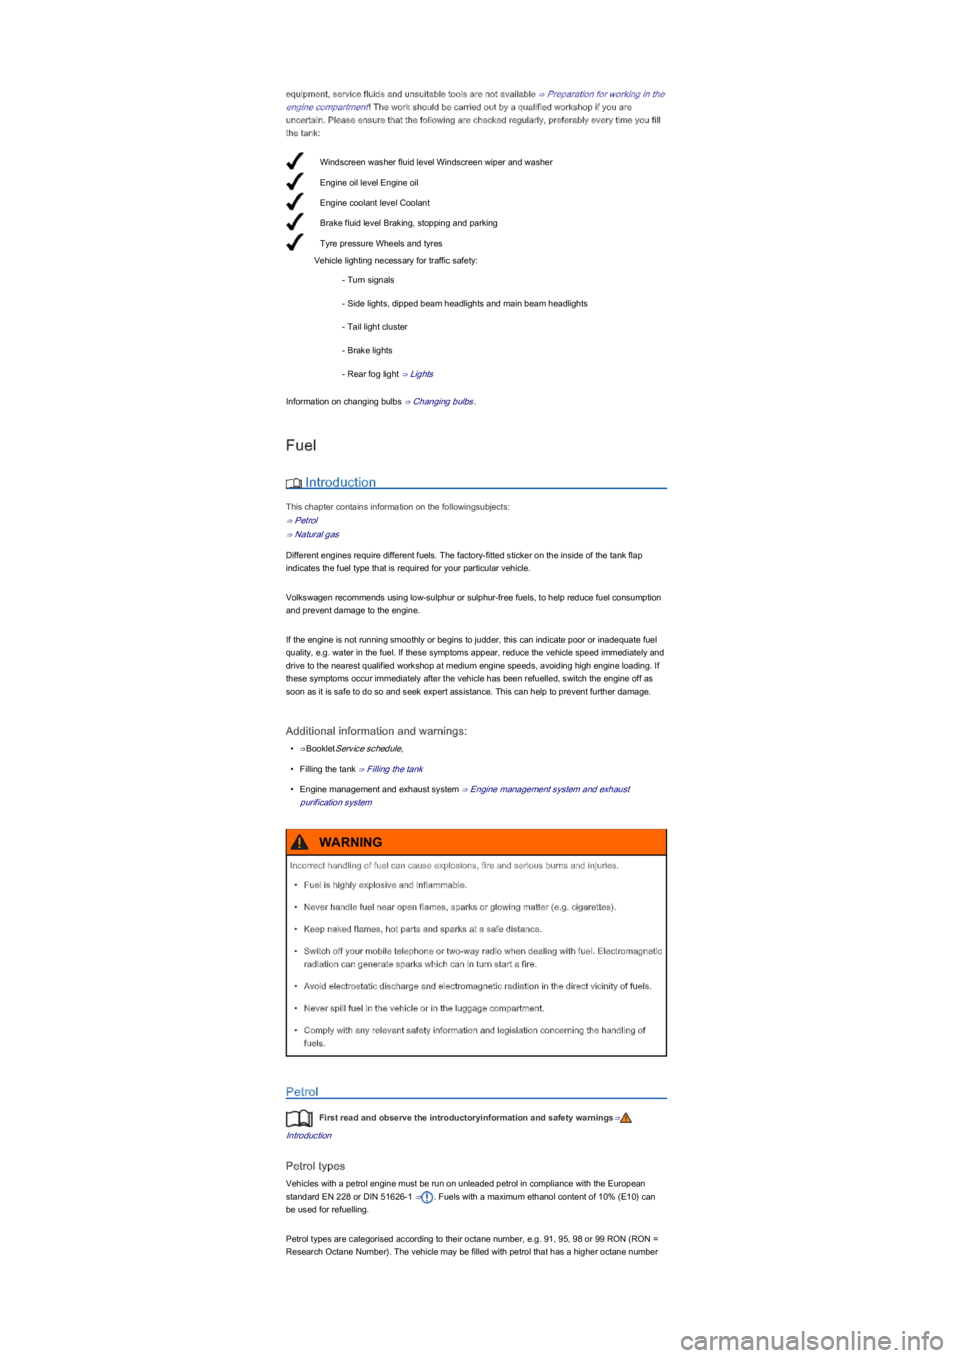
Windscreen washer fluid level Windscreen wiper and washer
Engine oil level Engine oil
Engine coolant level Coolant
Brake fluid level Braking, stopping and parking
Tyre pressure Wheels and tyres
equipment, service fluids and unsuitable tools are not available ⇒ Preparation for working in the
engine compartment! The work should be carried out by a qualified workshop if you are
uncertain. Please ensure that the following are checked regularly, preferably every time you fill
the tank:
Vehicle lighting necessary for traffic safety:
- Turn signals
- Side lights, dipped beam headlights and main beam headlights
- Tail light cluster
- Brake lights
- Rear fog light ⇒ Lights
Information on changing bulbs ⇒ Changing bulbs.
Fuel
Introduction
This chapter contains information on the followingsubjects:
⇒ Petrol
⇒ Natural gas
Different engines require different fuels. The factory-fitted sticker on the inside of the tank flap
indicates the fuel type that is required for your particular vehicle.
Volkswagen recommends using low-sulphur or sulphur-free fuels, to help reduce fuel consumption
and prevent damage to the engine.
If the engine is not running smoothly or begins to judder, this can indicate poor or inadequate fuel
quality, e.g. water in the fuel. If these symptoms appear, reduce the vehicle speed immediately and
drive to the nearest qualified workshop at medium engine speeds, avoiding high engine loading. If
these symptoms occur immediately after the vehicle has been refuelled, switch the engine off as
soon as it is safe to do so and seek expert assistance. This can help to prevent further damage.
Additional information and warnings:
\f
Page 133 of 211

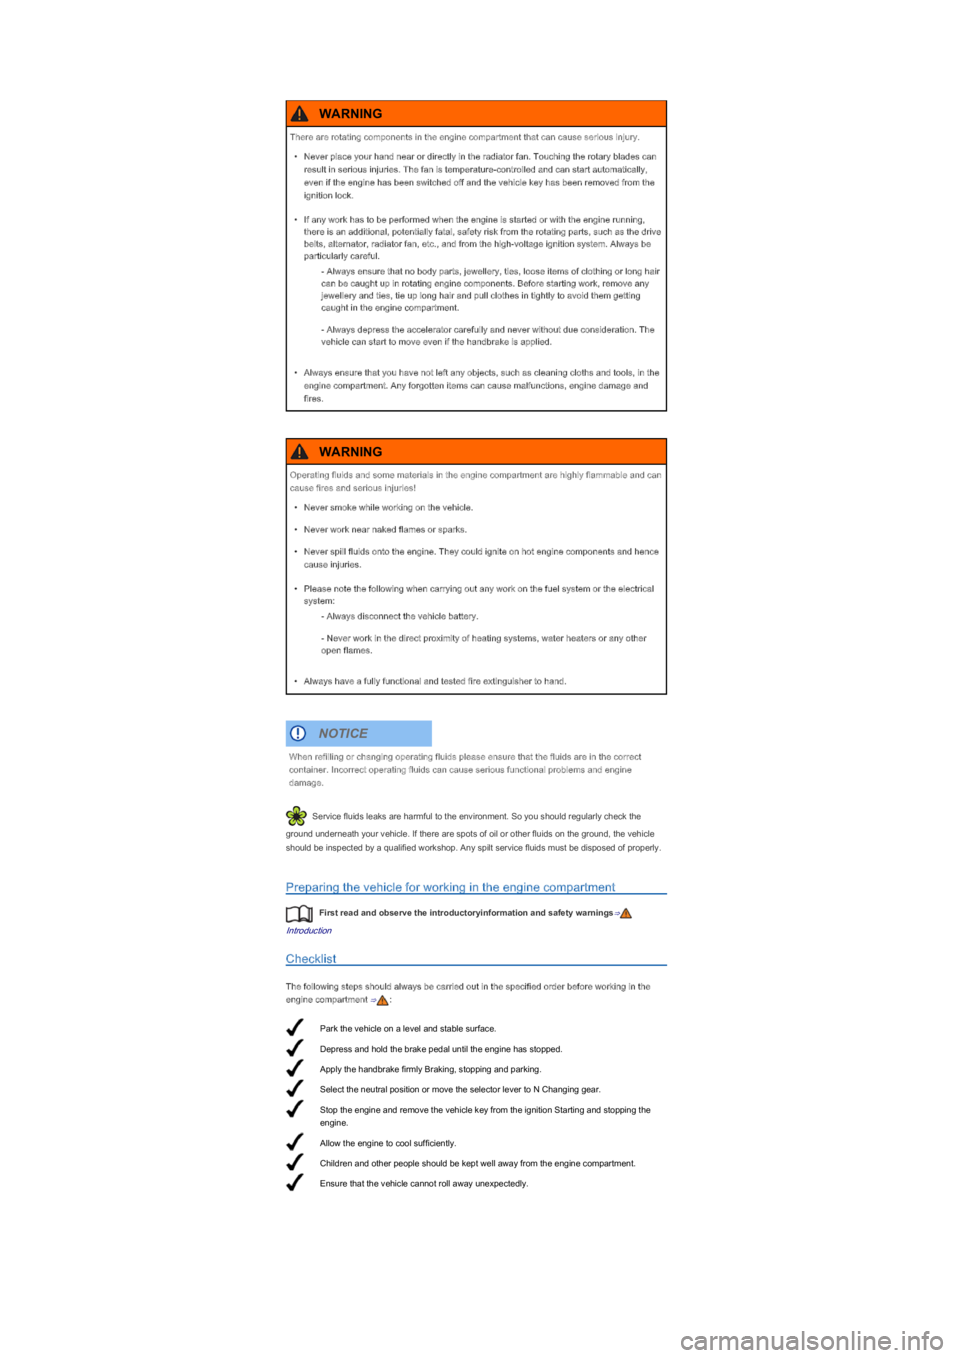
Park the vehicle on a level and stable surface.
Depress and hold the brake pedal until the engine has stopped.
Apply the handbrake firmly Braking, stopping and parking.
Select the neutral position or move the selector lever to N Changing gear.
Stop the engine and remove the vehicle key from the ignition Starting and stopping the
engine.
Allow the engine to cool sufficiently.
Children and other people should be kept well away from the engine compartment.
Ensure that the vehicle cannot roll away unexpectedly.
Service fluids leaks are harmful to the environment. So you should regularly check the
ground underneath your vehicle. If there are spots of oil or other fluids on the ground, the vehicle
should be inspected by a qualified workshop. Any spilt service fluids must be disposed of properly.
Preparing the vehicle for working in the engine compartment
First read and observe the introductoryinformation and safety warnings⇒
Introduction
Checklist
The following steps should always be carried out in the specified order before working in the
engine compartment ⇒:
There are rotating components in the engine compartment that can cause serious injury.
\f
Page 151 of 211

Cleaning wheels
First read and observe the introductoryinformation and safety warnings⇒
Introduction
Cleaning steel wheels
An industrial cleaner is needed to remove accumulated brake dust. Steel wheels should therefore
be cleaned regularly with a separate sponge.
Any damage to the paint on steel wheels should be touched up before the metal starts to rust.
Caring for and cleaning alloy wheels
Wash grit and brake dust from alloy wheels approximately every 2 weeks. Then use an acid-free
detergent to clean the wheels. Volkswagen recommends applying a hard wax compound to the
wheels approximately every 3 months.
It is important to remove road salt and brake dust by washing the wheels at regular intervals,
otherwise the finish will be impaired.
Always use an acid-free detergent for alloy wheels. Car polish or other abrasive agents should not
be used on the wheels.
If the protective coating is damaged, e.g. by stone impact, the damaged area should be repaired
immediately.
Care of rubber seals
First read and observe the introductoryinformation and safety warnings⇒
Introduction
The rubber seals on the doors, windows etc. will seal better, remain flexible and last longer if they
are treated at regular intervals with a suitable care product.
Use a soft cloth to remove dust and dirt from the rubber seals.
De-icing the door lock cylinders
First read and observe the introductoryinformation and safety warnings⇒
Introduction
Volkswagen recommends the use of genuine Volkswagen spray with lubricating and anti-corrosive
properties to de-ice the lock cylinders.
Underseal
First read and observe the introductoryinformation and safety warnings⇒
Introduction
The underside of the vehicle is coated to protect it from corrosion and damage. The protective
coating on the underside of the vehicle could be damaged when driving. Volkswagen therefore
To ensure that the chrome and aluminium parts are not damaged:
\f
Page 160 of 211

Rims
First read and observe the introductoryinformation and safety warnings⇒
Introduction
The design of the wheel bolts is matched to the rims. If different rims are fitted, the correct wheel
bolts with the right length and correctly shaped bolt heads must be used. This ensures that the
wheels are fitted securely and that the brake system works properly ⇒ Changing a wheel.
For technical reasons, it is not generally possible to use the wheels from other vehicles. This can
also apply to wheels of the same vehicle type.
The tyres and rims approved by Volkswagen are specifically matched to the characteristics of the
vehicle and make a major contribution to good road holding and safe handling.
Wheel bolts
Wheel bolts must always be tightened with the correct tightening torque ⇒ Changing a wheel.
Rims with bolted-on rings
Rims with bolted-on rings consist of several components. These components are fastened using
special bolts and special fastening technology. This ensures that the wheel functions properly, does
not leak, remains safe and runs true. For this reason, damaged rims should be replaced. They may
only be repaired by a qualified workshop. Volkswagen recommends using a Volkswagen dealership
for this purpose ⇒.
Rims with bolted-on trims
Rims may have removable trims that are attached to the rim with self-locking bolts. Damaged trims
may only be repaired by a qualified workshop. Volkswagen recommends using a Volkswagen
dealership for this purpose ⇒.
Rims identification
In some countries, new rims are legally required to contain certain specifications on them.
Depending on the country the following specifications can appear on the rims:
\f
Page 178 of 211
Information stickers and plates
Fig. 139 Warnings for using the laser sensor in the city emergency brake function
First read and observe the introductoryinformation and safety warnings⇒
Introduction
Safety certificates, stickers and plates showing important vehicle operation information are factory-
fitted in the engine compartment and on certain parts such as the tank flap, front passenger sun
visor, the driver door pillar or in the luggage compartment floor.
\f
Page 182 of 211
Stop the vehicle at a safe distance away from moving traffic and on a suitable surface .
Switch on the hazard warning lights using the button .
Apply the handbrake firmly Braking, stopping and parking.
Select the neutral position or move the selector lever to N Changing gear.
Stop the engine and remove the vehicle key from the ignition .
Ensure that all occupants exit the vehicle away from moving traffic and proceed to a safe
position, e.g. behind the safety barrier.
Take all vehicle keys with you when you leave the vehicle.
Place the warning triangle in position to draw the attention of other road users to your
vehicle.
Allow the engine to cool down and, if necessary, seek expert assistance.
\f
Page 189 of 211

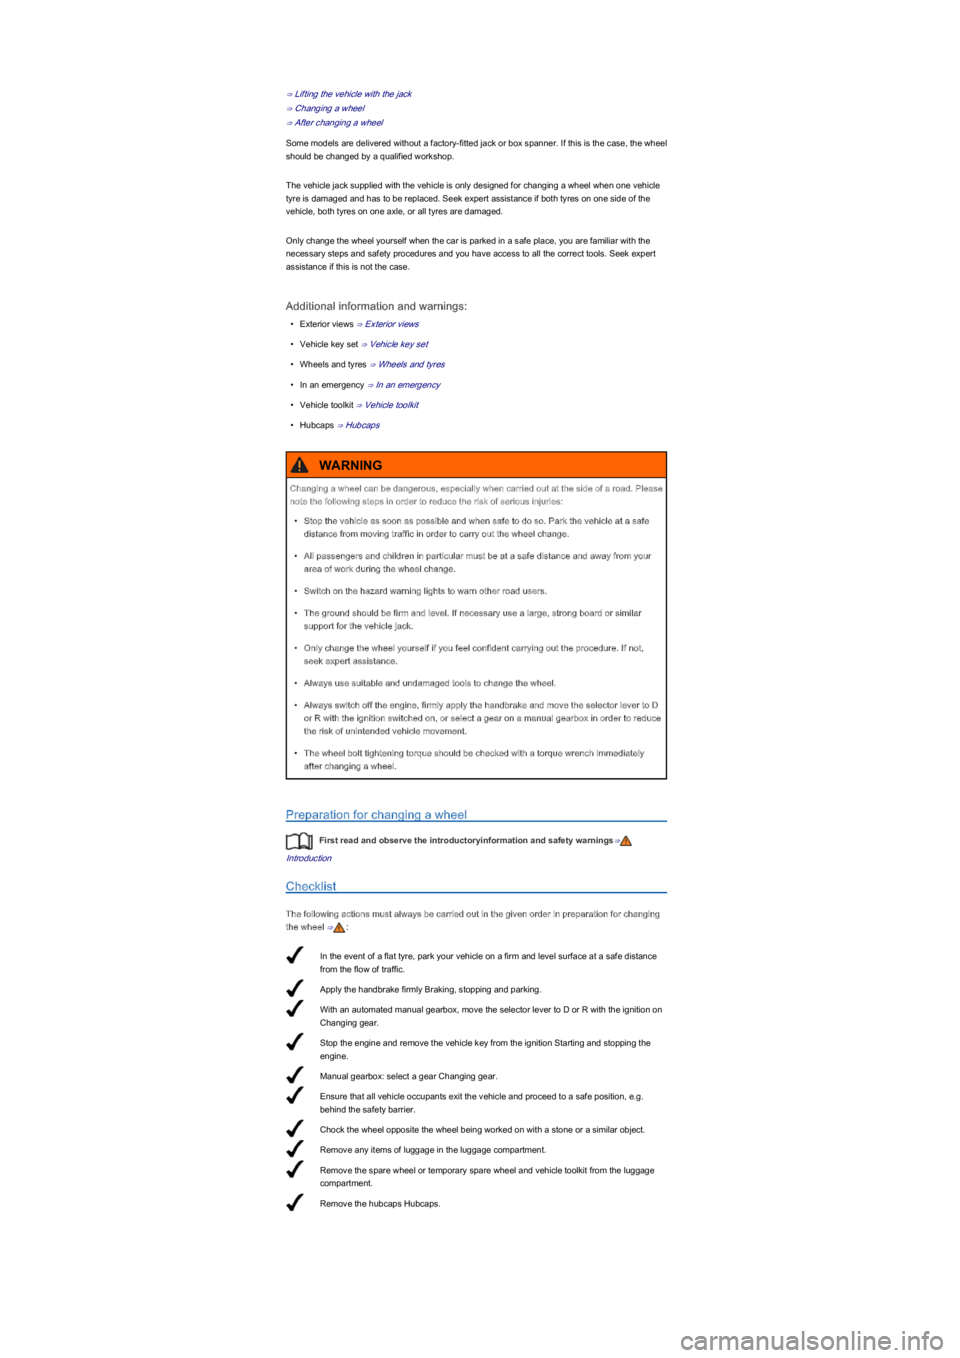
In the event of a flat tyre, park your vehicle on a firm and level surface at a safe distance
from the flow of traffic.
Apply the handbrake firmly Braking, stopping and parking.
With an automated manual gearbox, move the selector lever to D or R with the ignition on
Changing gear.
Stop the engine and remove the vehicle key from the ignition Starting and stopping the
engine.
Manual gearbox: select a gear Changing gear.
Ensure that all vehicle occupants exit the vehicle and proceed to a safe position, e.g.
behind the safety barrier.
Chock the wheel opposite the wheel being worked on with a stone or a similar object.
Remove any items of luggage in the luggage compartment.
Remove the spare wheel or temporary spare wheel and vehicle toolkit from the luggage
compartment.
Remove the hubcaps Hubcaps.
⇒ Lifting the vehicle with the jack
⇒ Changing a wheel
⇒ After changing a wheel
Some models are delivered without a factory-fitted jack or box spanner. If this is the case, the wheel
should be changed by a qualified workshop.
The vehicle jack supplied with the vehicle is only designed for changing a wheel when one vehicle
tyre is damaged and has to be replaced. Seek expert assistance if both tyres on one side of the
vehicle, both tyres on one axle, or all tyres are damaged.
Only change the wheel yourself when the car is parked in a safe place, you are familiar with the
necessary steps and safety procedures and you have access to all the correct tools. Seek expert
assistance if this is not the case.
Additional information and warnings:
\f
Page 191 of 211

Find a firm and level surface suitable for lifting the vehicle.
Stop the engine, select a gear on a manual gearbox or with an automated manual
gearbox, move the selector lever to D or R with the ignition switched onChanging gear
then apply the handbrake firmly Braking, stopping and parking.
Chock the wheel diagonally opposite using the collapsible chocks or other suitable objects.
Loosen the wheel bolts on the wheel that is being changed Wheel bolts.
Find the jacking point under the vehicle which is closest to the wheel that is being
changed.
Raise the vehicle jack until it just fits under the jacking point of the vehicle.
Ensure that the foot of the jack is resting securely on the ground with its whole surface and
that the foot of the jack is positioned precisely, i.e. vertically beneath the point of
application .
Position the vehicle jack. At the same time, continue to crank the claw up until it is in
position around the vertical rib underneath the vehicle .
Lifting the vehicle with the jack
Fig. 154 Jacking points for the vehicle jack (mirrored on the right-hand side of the vehicleyf
Fig. 155 Vehicle jack at the rear left-hand side of the vehicle
First read and observe the introductoryinformation and safety warnings⇒
Introduction
The jack may be applied only at the jacking points shown (markings on the bodyyf� ⇒ Fig. 154.
Always use the jacking point closest to the wheel you are working on ⇒.
Raise the vehicle using only the designated jacking points.
Checklist
To ensure your own safety and that of your passengers, observe the following actions in the
specified order ⇒:
Incorrectly tightened wheel bolts can loosen while the vehicle is in motion and cause
accidents, serious injury, and loss of control of the vehicle.
\f