Page 89 of 576
892. Instrument cluster
2
Instrument cluster
The brightness of the instrument panel lights can be adjusted by turn-
ing the “ODO/TRIP” button.
Darker
Brighter
Instrument panel light control
1
2
NOTICE
■To prevent damage to the engine and its components
● Do not let the indicator needle of the tachometer enter the red zone, which
indicates the maximum engine speed.
● The engine may be overheating if the engine coolant temperature gauge is
in the red zone (H). In this case, immediately stop the vehicle in a safe
place, and check the engine after it has cooled completely. (P. 497)
Page 91 of 576

912. Instrument cluster
2
Instrument cluster
■Odometer
Displays the total distance the vehicle has been driven
■Trip meters “A” and “B”
Displays the distance the vehicle has been driven since the meter
was last reset. Trip meters “A” and “B” can be used to record and
display different distances independently.
Pushing and holding the “ODO/TRIP” button will reset the trip meter that
is currently displayed.
■
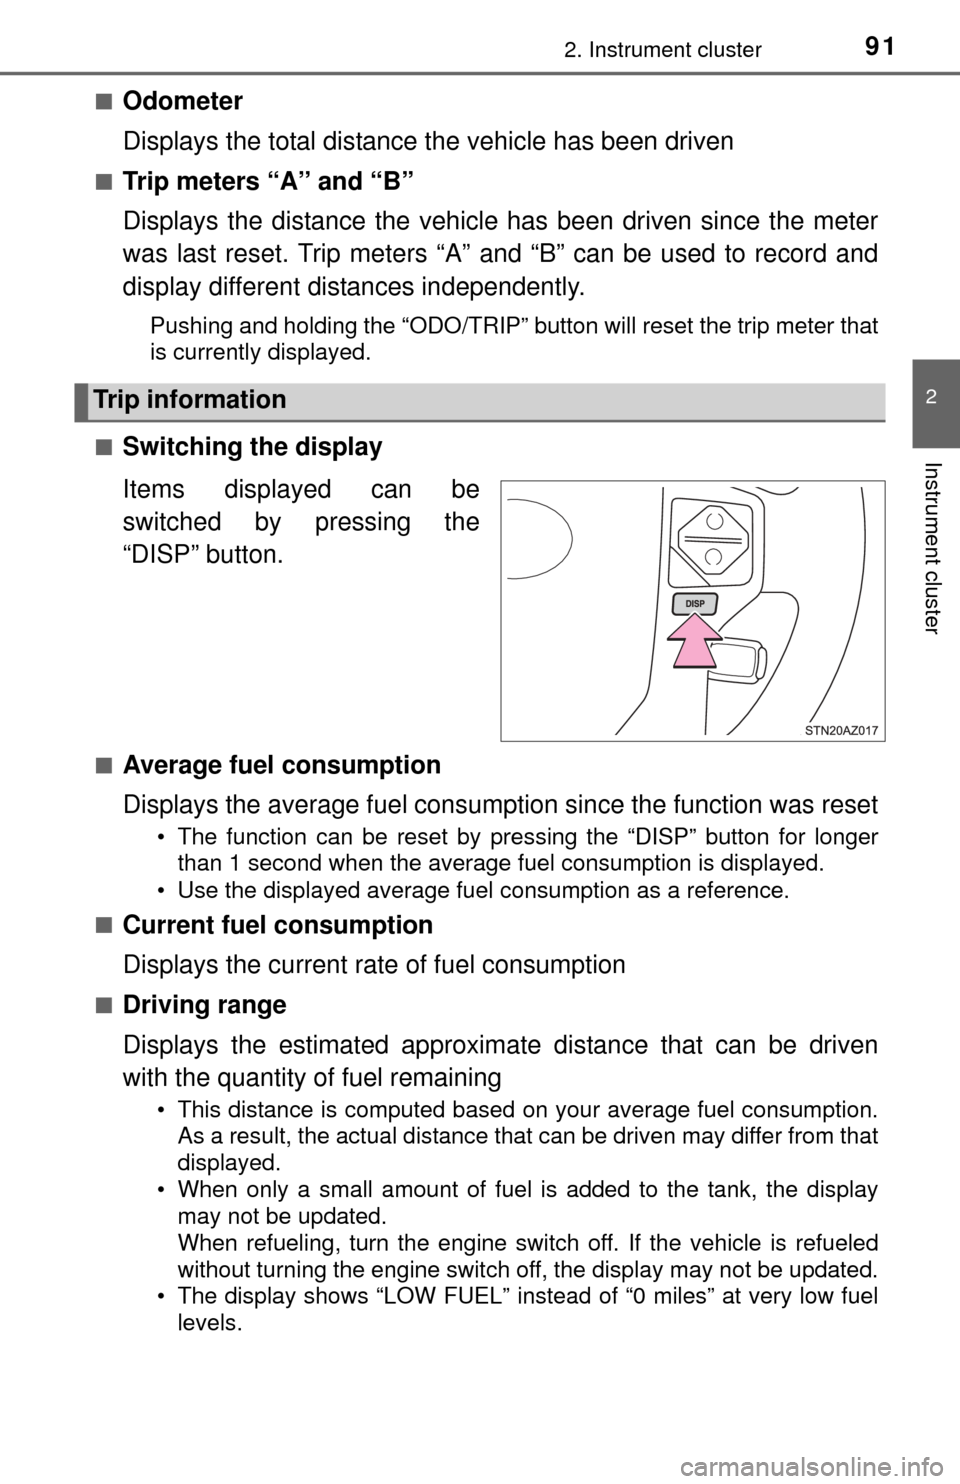
Switching the display
Items displayed can be
switched by pressing the
“DISP” button.
■Average fuel consumption
Displays the average fuel consumption since the function was reset
• The function can be reset by pressing the “DISP” button for longer than 1 second when the average fuel consumption is displayed.
• Use the displayed average fuel consumption as a reference.
■
Current fuel consumption
Displays the current rate of fuel consumption
■Driving range
Displays the estimated approxim ate distance that can be driven
with the quantity of fuel remaining
• This distance is computed based on your average fuel consumption.
As a result, the actual distance that can be driven may differ from that
displayed.
• When only a small amount of fuel is added to the tank, the display may not be updated.
When refueling, turn the engine switch off. If the vehicle is refueled
without turning the engine switch off, the display may not be updated.
• The display shows “LOW FUEL” instead of “0 miles” at very low fuel
levels.
Trip information
Page 92 of 576
922. Instrument cluster
■Elapsed time
Displays the elapsed time since the engine was started
■Average vehicle speed
Displays the average vehicle speed since the engine was started
■Outside temperature
P. 3 7 6
■Settings display
P. 9 2
■Display off
A blank screen is displayed
■Before setting
Press the “DISP” button until
the “SETTINGS” screen
appears.
This can only be done while the
vehicle is stopped.
Press and hold the “DISP” but-
ton until the screen changes.
Press and hold the “DISP” but-
ton after selecting the desired
setting item (“TURN BY TURN
NAVI”, “LANGUAGE” or
“UNITS”) by pressing the
“DISP” button.
Setting up the displays
1
2
3
Page 98 of 576
983-1. Key information
Keys
The following keys are provided with the vehicle.
Vehicles without engine immobilizer system
Keys
Key number plate
Vehicles with engine immobilizer system
Keys
Key number plate
■ If you lose your keys
New genuine key can be made by your Toyota dealer using the other key and
the key number stamped on your key number plate.
Keep the plate in a safe place such as your wallet, not in the vehicle.
The keys
1
2
1
2
Page 99 of 576
993-1. Key information
3
Operation of each component
NOTICE
■To prevent key damage (vehicles with engine immobilizer system)
● Do not drop the keys, subject them to strong shocks or bend them.
● Do not expose the keys to high temperatures for long periods of time.
● Do not get the keys wet or wash them in an ultrasonic washer, etc.
● Do not attach metallic or magnetic materials to the keys or place the keys
close to such materials.
● Do not place the keys near objects that produce magnetic fields, such as
TVs, audio systems and induction cooker s, or medical electrical equip-
ment, such as low-frequency therapy equipment.
Page 103 of 576
1033-2. Opening, closing and locking the doors
3
Operation of each component
■Door lock switch (if equipped)Locks all the doors
Unlocks all the doors
■Inside lock buttons
Locks the door
Unlocks the door
The front doors can be opened
by pulling the inside handle
even if the lock buttons are in
the lock position.
Move the inside lock button to the lock position.
Close the door.
Vehicles with power door lock system:
The door cannot be locked if either of the front doors is open and the
key is in the engine switch.
Unlocking and locking the doors from the inside
1
2
Driver’s door lock switchPassenger’s door lock switch
1
2
Locking the front doors from the outside without a key
1
2
Page 104 of 576

1043-2. Opening, closing and locking the doors
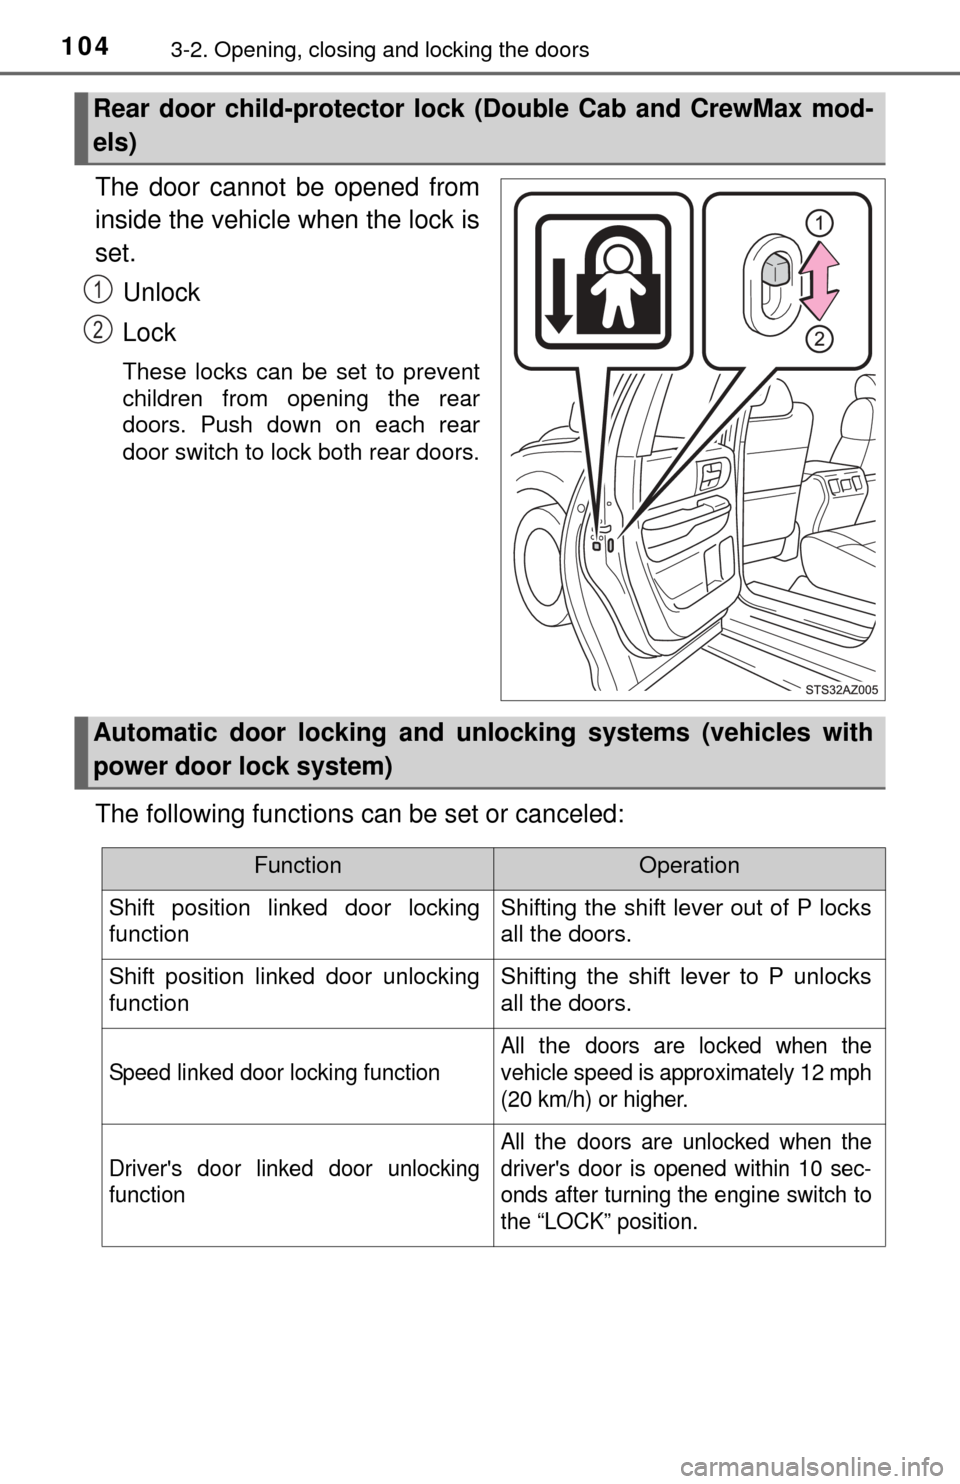
The door cannot be opened from
inside the vehicle when the lock is
set.Unlock
Lock
These locks can be set to prevent
children from opening the rear
doors. Push down on each rear
door switch to lock both rear doors.
The following functions can be set or canceled:
Rear door child-protector lock (Double Cab and CrewMax mod-
els)
1
2
Automatic door locking and unl ocking systems (vehicles with
power door lock system)
FunctionOperation
Shift position linked door locking
functionShifting the shift lever out of P locks
all the doors.
Shift position linked door unlocking
functionShifting the shift lever to P unlocks
all the doors.
Speed linked door locking function
All the doors are locked when the
vehicle speed is approximately 12 mph
(20 km/h) or higher.
Driver's door linked door unlocking
function
All the doors are unlocked when the
driver's door is opened within 10 sec-
onds after turning the engine switch to
the “LOCK” position.
Page 113 of 576

1133-3. Adjusting the seats
3
Operation of each component
■Power easy access system (vehicles with driving position memory)
The driver’s seat and steering wheel move in accordance with engine switch
position and the driver’s seat belt condition. ( P. 116)
CAUTION
■When adjusting the seat position
● Take care when adjusting the seat position to ensure that other passen-
gers are not injured by the moving seat.
● Do not put your hands under the seat or near the moving parts to avoid
injury.
Fingers or hands may become jammed in the seat mechanism.
■ Seat adjustment
● To reduce the risk of sliding under the lap belt during a collision, do not
recline the seat more than necessary.
If the seat is too reclined, the lap belt may slide past the hips and apply
restraint forces directly to the abdomen, or your neck may contact the
shoulder belt, increasing the risk of death or serious injury in the event of
an accident.
Adjustments should not be made while driving as the seat may unexpect-
edly move and cause the driver to lose control of the vehicle.
● Manual seat type only: After adjusting the seat, make sure that the seat is
locked in position.
■ When adjusting the seat positions
Make sure to leave enough space around the feet so they do not get stuck.