Page 129 of 590

129
2-1. Driving procedures
2
When driving
NOTICE
■
When driving the vehicle
●Do not depress the accelerator and brake pedals at the same time during
driving, as this may restrain driving torque.
Vehicles with a manual transmission
● Do not rest your foot on the clutch pedal while driving.
Doing so may cause clutch trouble.
● Do not use any gear other than the first gear when starting off and moving
forward.
Doing so may damage the clutch.
● Do not use the clutch to hold the vehicle when stopping on an uphill grade.
Doing so may damage the clutch.
Vehicles with an automatic transmission
● Do not use the accelerator pedal or depress the accelerator and brake
pedals at the same time to hold the vehicle on a hill.
■ When parking the vehicle
On vehicles with an automatic transmission, always put the shift lever in P.
Failure to do so may cause the vehicle to move or the vehicle may acceler-
ate suddenly if the accelerator pedal is accidentally depressed.
■ Avoiding damage to vehicle parts
●Do not turn the steering wheel fully in either direction and hold it there for a
long time.
Doing so may damage the power steering pump.
● When driving over bumps in the road, drive as slowly as possible to avoid
damaging the wheels, underside of the vehicle, etc.
■ If you hear a squealing or scrapin g noise while driving (brake pad wear
limit indicators)
Have the brake pads checked and replaced by your Toyota dealer as soon
as possible.
The rotor damage can result if the pads are not replaced when needed.
It is dangerous to drive the vehicle when the wear limits of the brake pads
and/or that of the brake discs are exceeded.
Page 191 of 590

191
2-4. Using other driving systems
2
When driving
Driving assist systems
To help enhance driving safety and performance, the following sys-
tems operate automatically in res ponse to various driving situations.
Be aware, however, that these systems are supplementary and
should not be relied upon too heavi ly when operating the vehicle.
■ABS (Anti-lock Brake System)
Helps to prevent wheel lock when the brakes are applied suddenly, or if
the brakes are applied while driving on a slippery road surface.
■Brake assist
Generates an increased level of braking force after the brake pedal is
depressed, while the system detects a panic stop situation.
■VSC (Vehicle Stability Control)
Helps the driver to control skidding when swerving suddenly or turning
on slippery road surfaces.
■Trailer Sway Control (vehicl es with towing hitch and 7 pin
connector)
Helps the driver to control trailer sway by selectively applying brake
pressure for individual wheels and reducing engine torque when trailer
sway is detected.
Trailer Sway Control is part of the VSC system and will not operate if
VSC is turned off or experiences a malfunction.
■ TRAC (Traction Control)
Helps to maintains drive power and prevent the drive wheels from spin-
ning when starting the vehicle or accelerating on slippery roads.
■Hill-start assist control (if equipped)
Helps prevent the vehicle from rolling backwards when starting on an
incline or slippery slope. It operates for approximately 5 seconds at
maximum.
Page 221 of 590

221
2-5. Driving information
2
When driving
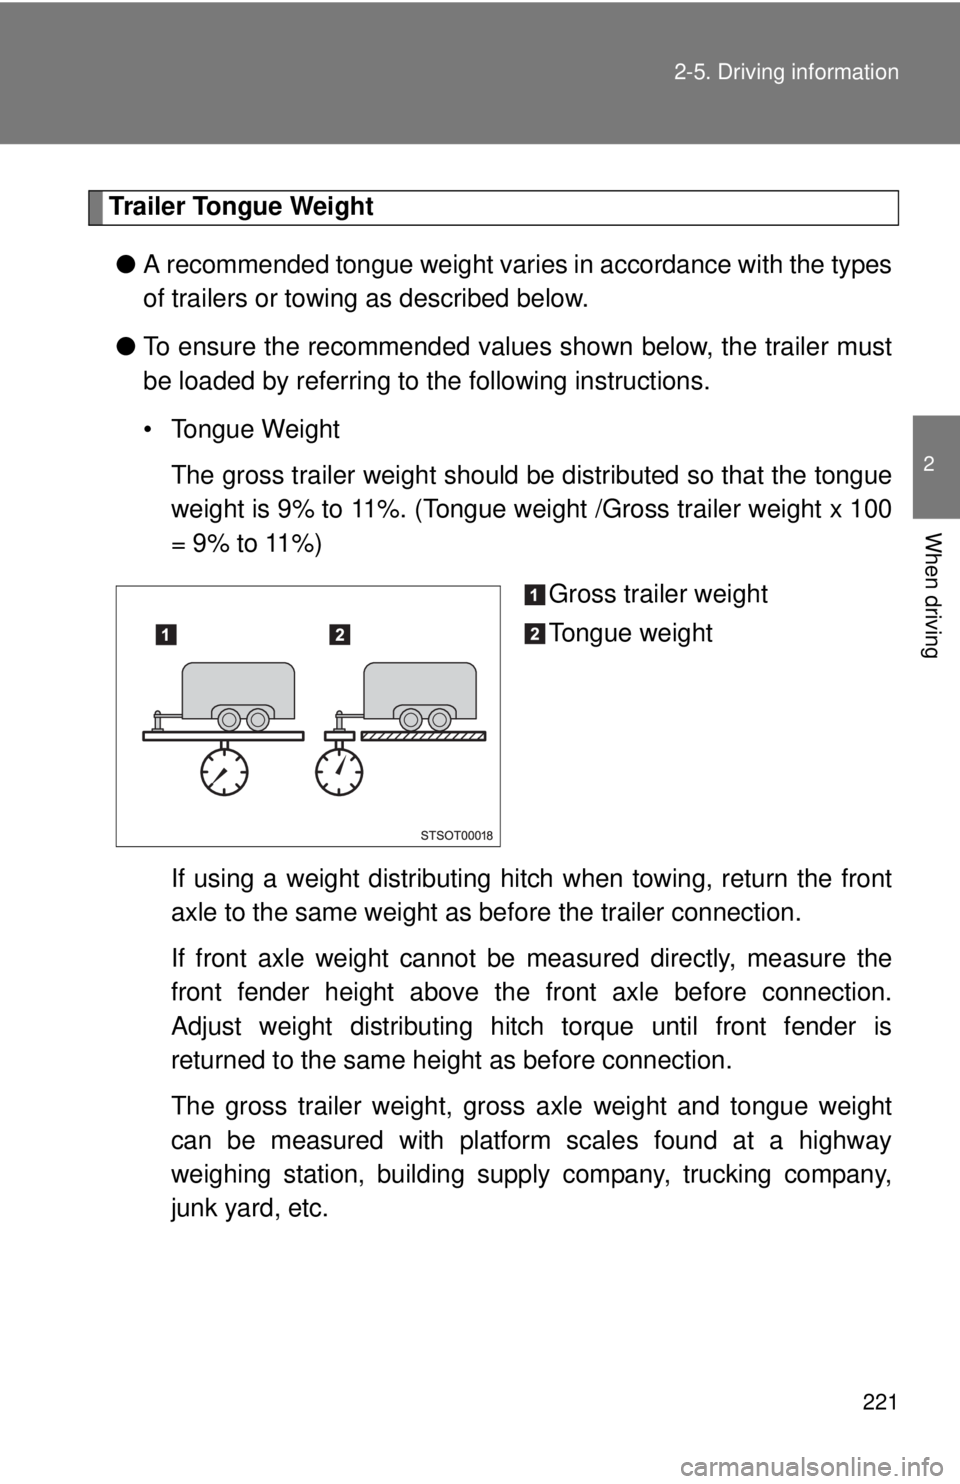
Trailer Tongue Weight
● A recommended tongue weight varies in accordance with the types
of trailers or towing as described below.
● To ensure the recommended values shown below, the trailer must
be loaded by referring to the following instructions.
• Tongue Weight
The gross trailer weight should be distributed so that the tongue
weight is 9% to 11%. (Tongue weight /Gross trailer weight x 100
= 9% to 11%)
Gross trailer weight
Tongue weight
If using a weight distributing hitch when towing, return the front
axle to the same weight as before the trailer connection.
If front axle weight cannot be measured directly, measure the
front fender height above th e front axle before connection.
Adjust weight distributing hitch torque until front fender is
returned to the same height as before connection.
The gross trailer weight, gross axle weight and tongue weight
can be measured with platform scales found at a highway
weighing station, building supply company, trucking company,
junk yard, etc.
Page 495 of 590
5
When trouble arises
495
5-2. Steps to take in an emergency
Firmly tighten each nut two or three times in the order shown
in the illustration.
Tightening torque:
83 ft·lbf (113 N·m, 11.5 kgf·m)
2WD models except PreRunner
4WD models and PreRunner
Stowing the flat tire, jack and all tools
Lay down the tire with the outer
side facing up, and install the
holding bracket.
Page 498 of 590

498 5-2. Steps to take in an emergency
CAUTION
■Replacing a flat tire• Do not touch the disc wheels or the area around the brakes imme-diately after the vehicle has been driven.
After the vehicle has been driven the disc wheels and the area
around the brakes will be extremel y hot. Touching these areas with
hands, feet or other body parts while changing a tire, etc. may
result in burns.
●Failure to follow these precautions could cause the wheel nuts to
loosen and the tire to fall off, resulting in death or serious injury.
• Have the wheel nuts tightened with a torque wrench to 83 ft·lbf (113 N·m, 11.5 kgf·m) as soon as possible after changing wheels.
• When installing a tire, only use wheel nuts that have been specifi- cally designed for that wheel.
• If there are any cracks or deformations in the bolt screws, nut threads or bolt holes of the wheel, have the vehicle inspected by
your Toyota dealer.
• Do not attach a heavily damaged wh eel ornament, as it may fly off
the wheel while the vehicle is moving.
• When installing the wheel nuts, be sure to install them with the
tapered ends facing inward. ( P. 437)
■When using the temporary spare tire
●Remember that your temporary spare tire is specifically designed for
use with your vehicle. Do not use your temporary spare tire on another
vehicle.
●Do not use two temporary spare tires simultaneously.
●Replace the temporary spare tire with a standard tire as soon as possi-
ble.
●Avoid sudden acceleration, deceleration and braking, as well as sharp
cornering.
Page 534 of 590
532 6-1. Specifications
Steering
Tires and wheelsType A
*: If you affix the spare tire to a front position, please make sure to adjust the tire to the correct inflatio n pressure as soon as possible.
Free playLess than 1.2 in. (30 mm)
Power steering fluid type Automatic transmission fluid DEXRON® II or
III
Tire size P215/70R15 97S
Tire inflation pressure
(Recommended cold tire
inflation pressure)Front tires:
30 psi (210 kPa, 2.1 kgf/cm
2 or bar)
Rear tires:
33 psi (230 kPa, 2.3 kgf/cm
2 or bar)
Spare tire
*:
33 psi (230 kPa, 2.3 kgf/cm2 or bar)
Driving at high speeds above 100 mph
(160 km/h) (in countries where such
speeds are permitted by law)
Add 3 psi (20 kPa, 0.2 kgf/cm
2 or bar) to
the front tires and rear tires. Never
exceed the maximum co ld tire inflation
pressure indicated on the tire sidewall.
Wheel size 15 6 J, 15 6 JJ
Wheel nut torque 83 ft·lbf (113 N·m, 11.5 kgf·m)
Page 535 of 590

533
6-1. Specifications
6
Vehicle specifications
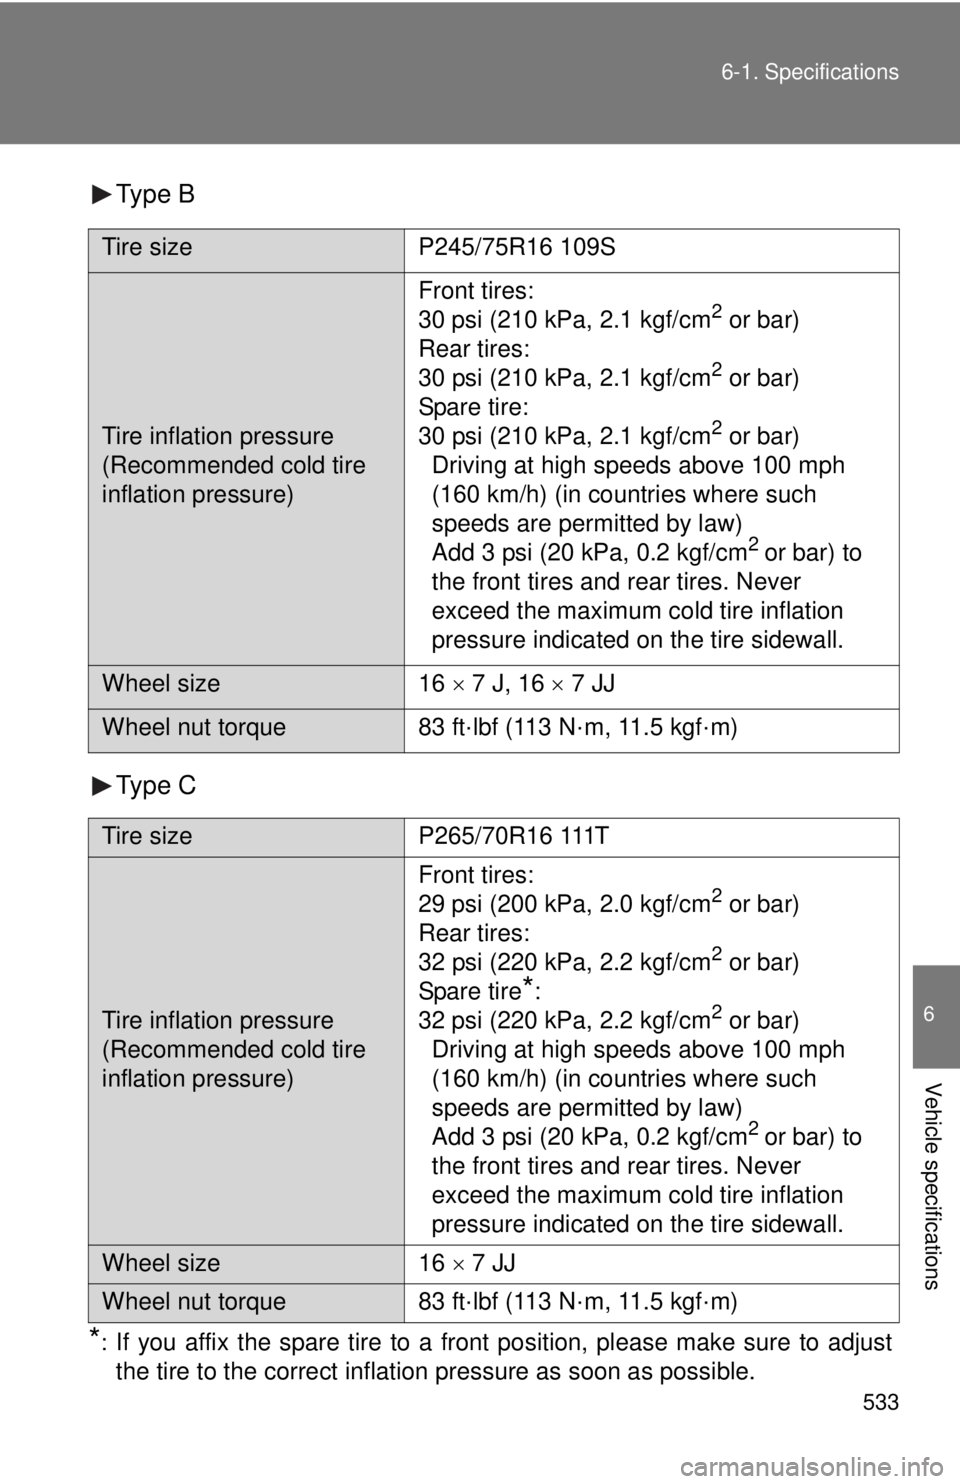
Type B
Type C
*:If you affix the spare tire to a front position, please make sure to adjust
the tire to the correct inflation pressure as soon as possible.
Tire size
P245/75R16 109S
Tire inflation pressure
(Recommended cold tire
inflation pressure)Front tires:
30 psi (210 kPa, 2.1 kgf/cm
2 or bar)
Rear tires:
30 psi (210 kPa, 2.1 kgf/cm
2 or bar)
Spare tire:
30 psi (210 kPa, 2.1 kgf/cm
2 or bar)
Driving at high speeds above 100 mph
(160 km/h) (in countries where such
speeds are permitted by law)
Add 3 psi (20 kPa, 0.2 kgf/cm
2 or bar) to
the front tires and rear tires. Never
exceed the maximum co ld tire inflation
pressure indicated on the tire sidewall.
Wheel size 16 7 J, 16 7 JJ
Wheel nut torque 83 ft·lbf (113 N·m, 11.5 kgf·m)
Tire size P265/70R16 111T
Tire inflation pressure
(Recommended cold tire
inflation pressure)Front tires:
29 psi (200 kPa, 2.0 kgf/cm
2 or bar)
Rear tires:
32 psi (220 kPa, 2.2 kgf/cm
2 or bar)
Spare tire
*:
32 psi (220 kPa, 2.2 kgf/cm2 or bar)
Driving at high speeds above 100 mph
(160 km/h) (in countries where such
speeds are permitted by law)
Add 3 psi (20 kPa, 0.2 kgf/cm
2 or bar) to
the front tires and rear tires. Never
exceed the maximum co ld tire inflation
pressure indicated on the tire sidewall.
Wheel size 16 7 JJ
Wheel nut torque 83 ft·lbf (113 N·m, 11.5 kgf·m)
Page 536 of 590

534 6-1. Specifications
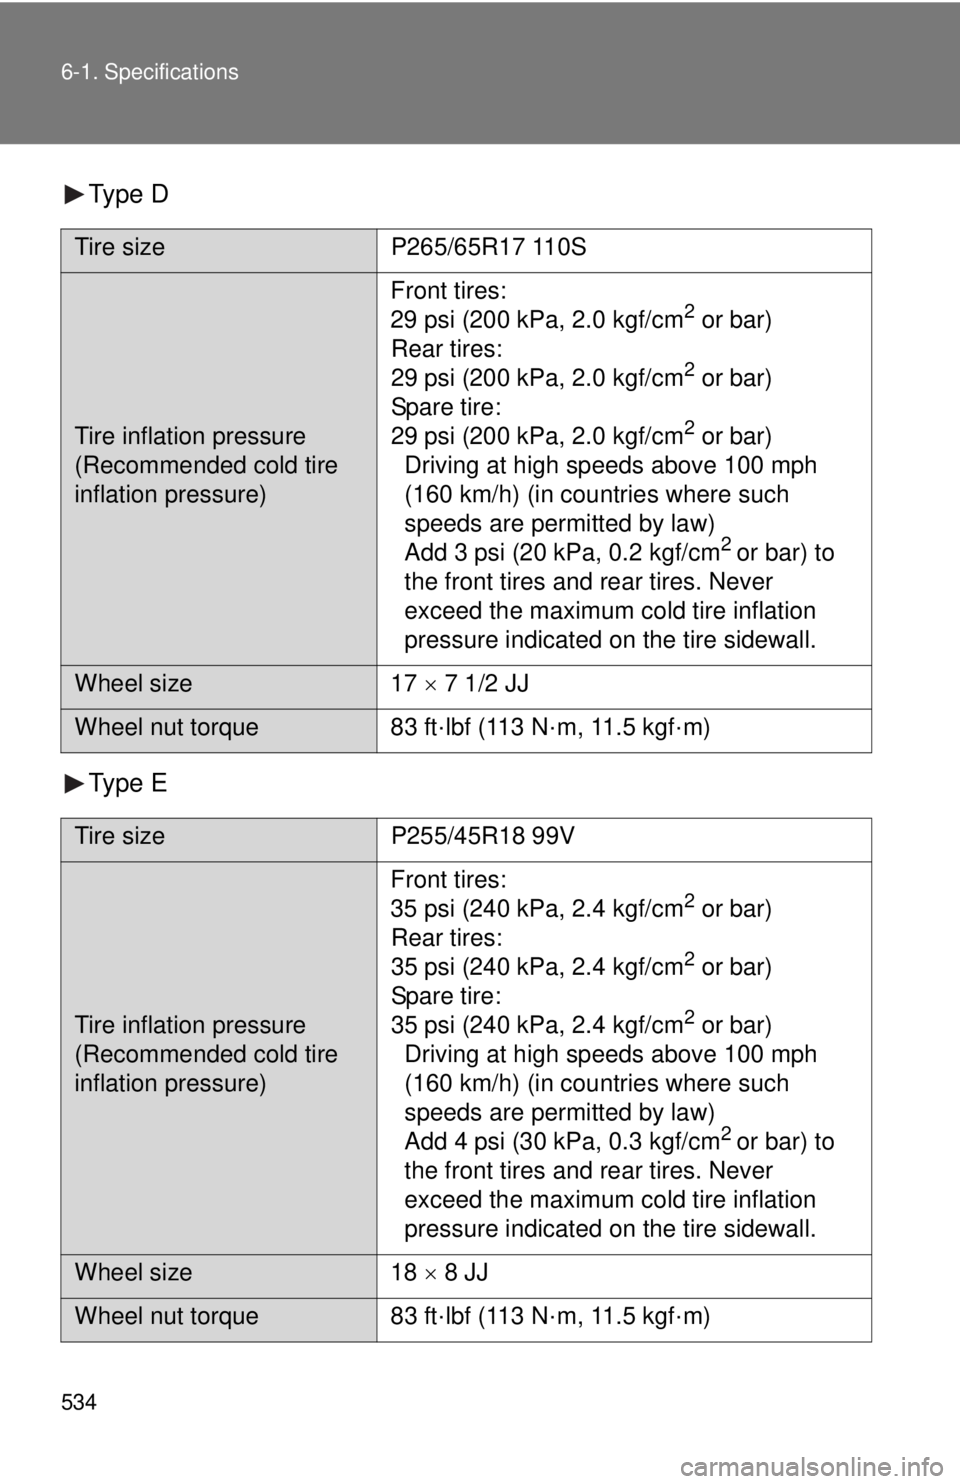
Type D
Type E
Tire sizeP265/65R17 110S
Tire inflation pressure
(Recommended cold tire
inflation pressure)Front tires:
29 psi (200 kPa, 2.0 kgf/cm
2 or bar)
Rear tires:
29 psi (200 kPa, 2.0 kgf/cm
2 or bar)
Spare tire:
29 psi (200 kPa, 2.0 kgf/cm
2 or bar)
Driving at high speeds above 100 mph
(160 km/h) (in countries where such
speeds are permitted by law)
Add 3 psi (20 kPa, 0.2 kgf/cm
2 or bar) to
the front tires and rear tires. Never
exceed the maximum co ld tire inflation
pressure indicated on the tire sidewall.
Wheel size 17 7 1/2 JJ
Wheel nut torque 83 ft·lbf (113 N·m, 11.5 kgf·m)
Tire size P255/45R18 99V
Tire inflation pressure
(Recommended cold tire
inflation pressure)Front tires:
35 psi (240 kPa, 2.4 kgf/cm
2 or bar)
Rear tires:
35 psi (240 kPa, 2.4 kgf/cm
2 or bar)
Spare tire:
35 psi (240 kPa, 2.4 kgf/cm
2 or bar)
Driving at high speeds above 100 mph
(160 km/h) (in countries where such
speeds are permitted by law)
Add 4 psi (30 kPa, 0.3 kgf/cm
2 or bar) to
the front tires and rear tires. Never
exceed the maximum co ld tire inflation
pressure indicated on the tire sidewall.
Wheel size 18 8 JJ
Wheel nut torque 83 ft·lbf (113 N·m, 11.5 kgf·m)