Page 503 of 728
503
3-7. Other interior features
3
Interior features
LC200_OM_OM60L83U_(U)
Test the HomeLink
operation
by pressing the newly pro-
grammed button.
If a HomeLink button has been
programmed for a garage door,
check to see if the garage door
opens and closes. If the garage
door does not operate, see if your
remote control transmitter is of
the rolling code type. Press and
hold the programmed HomeLink
button. The remote control trans-
mitter is of the rolling code type if
the HomeLink
indicator light
flashes rapidly for 2 seconds and
then remains lit. If your transmit-
ter is of the rolling code type, pro-
ceed to the heading
“Programming a rolling code sys-
tem”.
Repeat the steps above to program another device for each of
the remaining HomeLink buttons.
STEP3
STEP4
Page 505 of 728

505
3-7. Other interior features
3
Interior features
LC200_OM_OM60L83U_(U)
■
Programming an entry gate (f or U.S.A. owners)/Programming
all devices in the Canadian market
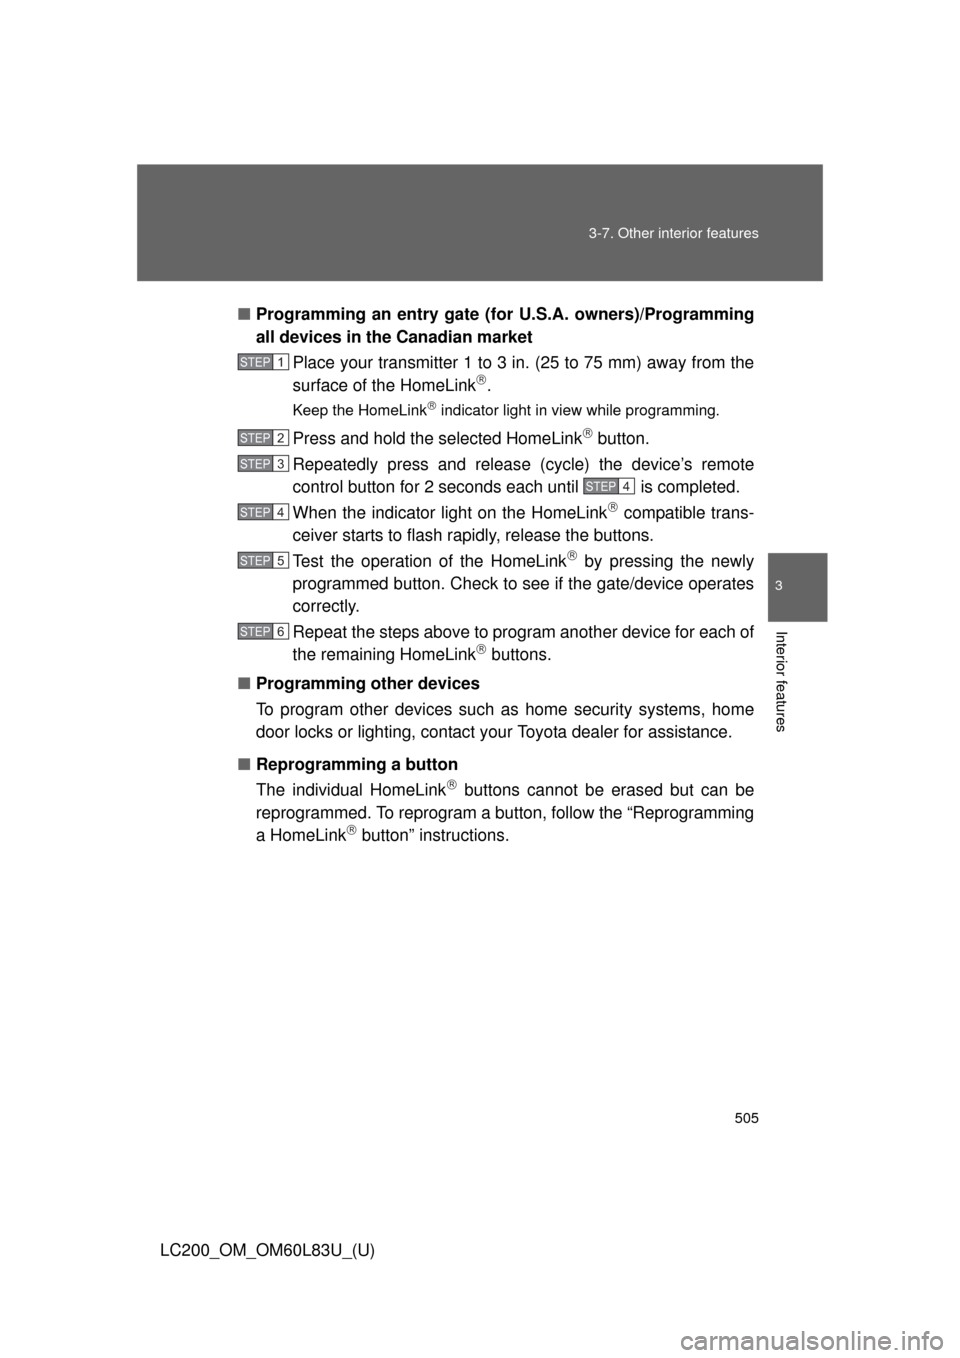
Place your transmitter 1 to 3 in. (25 to 75 mm) away from the
surface of the HomeLink
.
Keep the HomeLink indicator light in view while programming.
Press and hold the selected HomeLink button.
Repeatedly press and releas e (cycle) the device’s remote
control button for 2 second s each until is completed.
When the indicator light on the HomeLink
compatible trans-
ceiver starts to flash rapidly, release the buttons.
Test the operation of the HomeLink
by pressing the newly
programmed button. Check to see if the gate/device operates
correctly.
Repeat the steps above to program another device for each of
the remaining HomeLink
buttons.
■ Programming other devices
To program other devices such as home security systems, home
door locks or lighting, contact y our Toyota dealer for assistance.
■ Reprogramming a button
The individual HomeLink
buttons cannot be erased but can be
reprogrammed. To reprogram a button, follow the “Reprogramming
a HomeLink
button” instructions.
STEP1
STEP2
STEP3
STEP4
STEP4
STEP5
STEP6
Page 507 of 728

507
3-7. Other interior features
3
Interior features
LC200_OM_OM60L83U_(U)
■
Before programming
●Install a new battery in the remote control transmitter.
● The battery side of the remote control transmitter must be pointed away
from the HomeLink
button.
■ Certification for the garage door opener
FCC ID:NZLOBIHL4
FCC ID:NZLWZLHL4
NOTE:
This device complies with Part 15 of the FCC Rules. Operation is subject to
the following two conditions: (1) this device may not cause harmful interfer-
ence, and (2) this device must accept any interference received, including
interference that may cause undesired operation.
FCC WARNING:
Changes or modifications not expressly approved by the party responsible
for compliance could void the user’s authority to operate the equipment.
■ When support is necessary
Visit on the web at www.homelink.com
or call 1-800-355-3515.
CAUTION
■When programming a garage door or other remote control devices
The garage door or other devices may operate, so ensure people and
objects are out of danger to prevent potential harm.
■ Conforming to federal safety standards
Do not use the HomeLink
compatible transceiver with any garage door
opener or device that lacks safety stop and reverse features as required by
federal safety standards.
This includes any garage door that cannot detect an interfering object. A
door or device without these features increases the risk of death or serious
injury.
Page 568 of 728
568 4-3. Do-it-yourself maintenance
LC200_OM_OM60L83U_(U)
■If the electronic key battery is discharged
The following symptoms may occur.
●The smart key system and wireless remote control will not function prop-
erly.
● The operational range is reduced.
■ Use a CR1632 lithium battery
●Batteries can be purchased at your Toyota dealer, jewelers, or camera
stores.
● Replace only with the same or equivalent type recommended by a
Toyota dealer.
● Dispose of used batteries according to the local laws.
Remove the depleted battery.
Insert a new battery with the
“+” terminal facing up.
STEP3
Page 702 of 728
702 6-2. Customization
LC200_OM_OM60L83U_(U)
Wireless
remote
control
(P. 44) Wireless remote
control
On
Off — — O
Open door warn-
ing function
(when locking the
vehicle) On
Off — — O
Unlocking opera-
tion Driver’s door
unlocked in
one step, all doors
unlocked in two steps All doors
unlocked in one step O—O
Smart key
system
( P. 32)
and
wireless
remote
control
( P. 44) Operation signal
(Emergency
flashers)
On
Off O — O
Time elapsed
before automatic
door lock function
is activated if
door is not
opened after
being unlocked 60 seconds
Off
O—O
30 seconds
120 seconds
Adjust the vol-
ume of confirma-
tion buzzer
sounds when the
vehicle is locked
or unlocked 7
Off
O—O
1 to 6
ItemFunctionDefault settingCustomized setting
Page 703 of 728
703
6-2. Customization
6
Vehicle specifications
LC200_OM_OM60L83U_(U)
Door lock
(
P. 47) Unlocking using a
mechanical key
Driver’s door
unlocked in
one step, all doors
unlocked in two steps All doors
unlocked in one step O—O
Speed-detecting
automatic door
lock function Off On O O O
Shifting the shift
lever to position
other than “P”
locks all doors On Off O O O
Shifting the shift
lever to “P”
unlocks all doors On Off O O O
Opening driver’s
door unlocks all
doors Off On O O O
Power
windows
( P. 95) Mechanical key
linked operation
(close)
Off
On — — O
Mechanical key
linked operation
(open) Off
On — — O
Wireless remote
control linked
operation (open) Off
On — — O
Linked entry
function Off
On — — O
ItemFunctionDefault
settingCustomized setting
Page 704 of 728
704 6-2. Customization
LC200_OM_OM60L83U_(U)
Moon roof
(P. 99) Mechanical key
linked operation
(open)
*1Off
On — — O
Mechanical key
linked operation
(close)
*1Off On — — O
Linked operation
of components
when door key is
used Slide only Tilt only — — O
Wireless remote
control linked
operation
(open)
*2
Off On — — O
Linked operation
of components
when wireless
remote control
used Slide only Tilt only — — O
Linked entry
function
*3Off On — — O
ItemFunctionDefault
settingCustomized setting
Page 707 of 728

707
6-2. Customization
6
Vehicle specifications
LC200_OM_OM60L83U_(U)
*1: The settings can be changed when the mechanical key linked operation of
the power window is set to ON.
*2: The settings can be changed when the wireless remote control linked oper-ation of the power window is set to ON.
*3: The settings can be changed when the entry function linked operation of thepower window is set to ON.
■ Vehicle customization
●If the smart key system is turned “OFF”, unlock door cannot be selected.
● If the doors are not opened after unlocking and are then automatically re-
locked, a signal will be given if “Operation signal (Emergency flashers)”
or “Operation signal (Buzzer)” are set to ON.
■ When setting using the vehicle switches (vehicles with navigation sys-
tem)
When using the vehicle switches to set an item that can also be set using the
touch screen, the item displayed on the touch screen will not change imme-
diately.
If the “ENGINE START STOP” switch is first turned to OFF, the screen dis-
play will change once the “ENGINE START STOP” switch is turned to IGNI-
TION ON mode again.
■ When customizing using the touch screen (vehicles with navigation
system)
Stop the vehicle in a safe place, apply the parking brake, and shift the shift
lever to “P”. Also, to prevent battery discharge, leave the engine running
while customizing the features.