Page 357 of 464
357 4-3. Do-it-yourself maintenance
4
Maintenance and care
License plate lights
Vehicles with a trunk panel
cover: Remove the trunk panel
cover clips and partly remove the
trunk panel cover.
To prevent damage to the vehicle,
cover the tip of the screwdriver
with a rag.
Turn the bulb base counterclock-
wise.
Remove the light bulb.
When installing, reverse the steps listed.
STEP 1
STEP 2
STEP 3
STEP 4
Page 360 of 464
360 4-3. Do-it-yourself maintenance
CAUTION
Discharge headlights (if equipped)
Contact any authorized Toyota dealer or repairer, or another duly qualified
and equipped professional, before replacing the discharge headlights
(including light bulbs).
Do not touch the discharge headlight’s high voltage socket when the head-
lights are turned on.
An extremely high voltage of 25000 V will be discharged and could result
in serious injury or death by electric shock.
Do not attempt to take apart or repair the low beam discharge headlight
bulbs, connectors, power supply circuits, or related components.
Doing so could result in electric shock and serious injury or death.
To prevent damage or fire
Make sure bulbs are fully seated and locked.
Page 368 of 464
368 5-1. Essential information
Towing with a wheel lift-type truck
From the front
Vehicles with an automatic trans-
mission: Use a towing dolly
under the rear wheels.
Vehicles with a manual transmis-
sion: We recommend using a
towing dolly under the rear
wheels.
When not using a towing dolly,
release the parking brake and
shift the shift lever to N.
From the rear
Vehicles without a smart entry &
start system: Turn the engine
switch to the “ACC” position so
that the steering wheel is
unlocked.
Vehicles with a smart entry &
start system: Turn the “ENGINE
START STOP” switch to
ACCESSORY mode so that the
steering wheel is unlocked.
Page 369 of 464

5
369 5-1. Essential information
When trouble arises
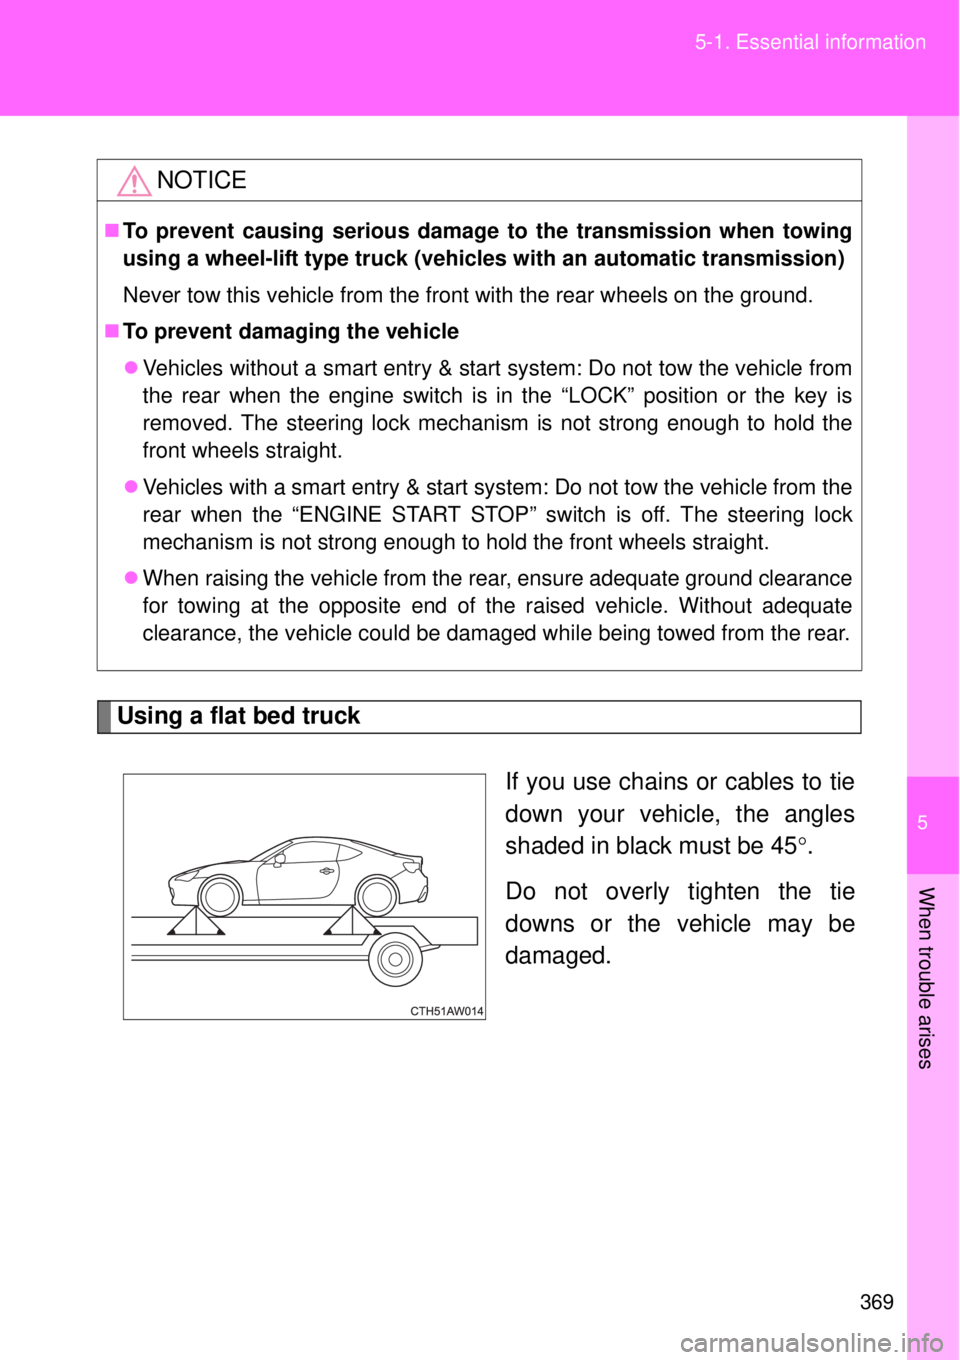
Using a flat bed truck
If you use chains or cables to tie
down your vehicle, the angles
shaded in black must be 45.
Do not overly tighten the tie
downs or the vehicle may be
damaged.
NOTICE
To prevent causing serious damage to the transmission when towing
using a wheel-lift type truck (vehicles with an automatic transmission)
Never tow this vehicle from the front with the rear wheels on the ground.
To prevent damaging the vehicle
Vehicles without a smart entry & start system: Do not tow the vehicle from
the rear when the engine switch is in the “LOCK” position or the key is
removed. The steering lock mechanism is not strong enough to hold the
front wheels straight.
Vehicles with a smart entry & start system: Do not tow the vehicle from the
rear when the “ENGINE START STOP” switch is off. The steering lock
mechanism is not strong enough to hold the front wheels straight.
When raising the vehicle from the rear, ensure adequate ground clearance
for towing at the opposite end of the raised vehicle. Without adequate
clearance, the vehicle could be damaged while being towed from the rear.
Page 371 of 464
5
371
5-1. Essential information
When trouble arises
Fuel pump shut off system
Follow the procedure below to restart the engine after the system is
activated.
Vehicles without a smart entry & start system
Turn the engine switch to the “ACC” or “LOCK” position.
Restart the engine.
Vehicles with a smart entry & start system
Turn the “ENGINE START STOP” switch to ACCESSORY mode
or turn it off.
Restart the engine.
NOTICE
Before starting the engine
Inspect the ground under the vehicle.
If you find that fuel has leaked on to the ground, the fuel system has been
damaged and is in need of repair. Do not restart the engine.
To minimize the risk of fuel leakage when the engine stalls or an air-
bag inflates upon collision, the fuel pump shut off system stops sup-
plying fuel to the engine.
STEP 1
STEP 2
STEP 1
STEP 2
Page 382 of 464

382 5-2. Steps to take in an emergency
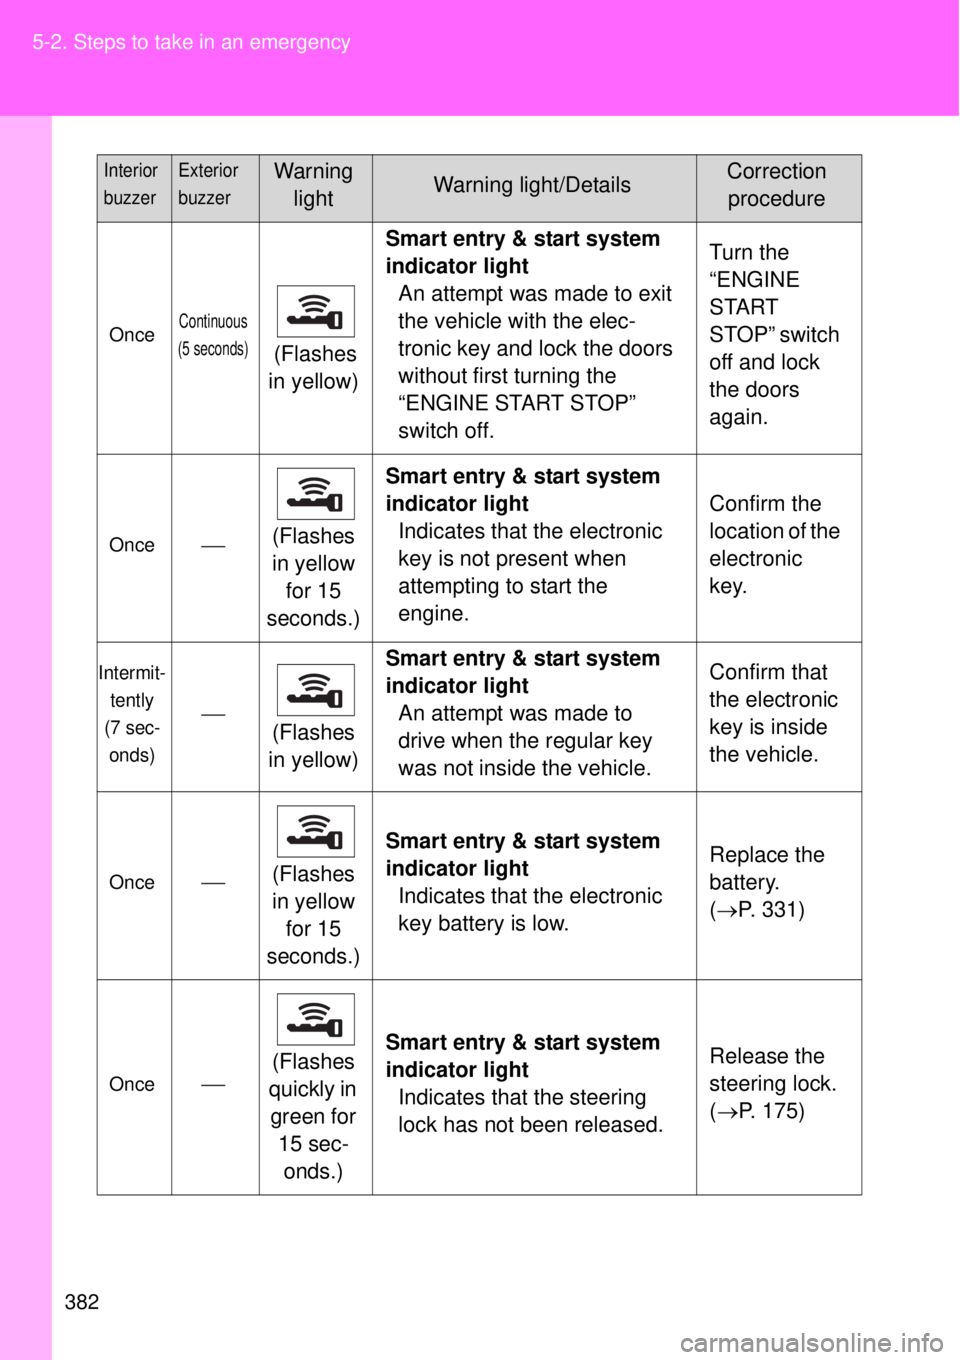
OnceContinuous
(5 seconds)
(Flashes
in yellow)Smart entry & start system
indicator light
An attempt was made to exit
the vehicle with the elec-
tronic key and lock the doors
without first turning the
“ENGINE START STOP”
switch off.Turn the
“ENGINE
START
STOP” switch
off and lock
the doors
again.
Once(Flashes
in yellow
for 15
seconds.)Smart entry & start system
indicator light
Indicates that the electronic
key is not present when
attempting to start the
engine.Confirm the
location of the
electronic
key.
Intermit-
tently
(7 sec-
onds)
(Flashes
in yellow)Smart entry & start system
indicator light
An attempt was made to
drive when the regular key
was not inside the vehicle.Confirm that
the electronic
key is inside
the vehicle.
Once(Flashes
in yellow
for 15
seconds.)Smart entry & start system
indicator light
Indicates that the electronic
key battery is low.Replace the
battery.
(P. 331)
Once(Flashes
quickly in
green for
15 sec-
onds.)Smart entry & start system
indicator light
Indicates that the steering
lock has not been released.Release the
steering lock.
(P. 175)
Interior
buzzerExterior
buzzerWarning
lightWarning light/DetailsCorrection
procedure
Page 398 of 464
398 5-2. Steps to take in an emergency
Pull out the valve core by turning
it counterclockwise using the
valve core tool.
Remove the plug from the injec-
tion hose.
Connect the injection hose to the
valve.
Inject the sealant that is in the
bottle. Hold and tilt the bottle,
then squeeze sealant out of the
bottle as shown.STEP 5
Va l v e c o r e
STEP 6
Plug
Injection
hose
STEP 7 Va l v e
Injection
hose
STEP 8
Page 399 of 464
5
399 5-2. Steps to take in an emergency
When trouble arises
Remove the injection hose from
the valve and screw the valve
core in the valve securely by
turning it clockwise with the
valve core tool.
Attach the sticker as shown.
Remove any dirt and moisture
from the wheel before attaching
the label. If it is impossible to
attach the label, make sure to tell
any authorized Toyota dealer or
repairer, or another duly qualified
and equipped professional when
you have them repair and replace
the tire that sealant is injected.
Store the kit and then attach the
sticker as shown.
STEP 9
Va l v e
core tool
Va l v e c o r e
STEP 10
STEP11