2015 Seat Leon SC reset infotainment system
[x] Cancel search: reset infotainment systemPage 9 of 52

Introduction
●
Lightly pr e
ssing the buttons or briefly
pressing the touchscreen is sufficient to op-
erate the unit.
● It is possible that not all the functions and
function b
uttons are available as the software
of the unit responds to the specific character-
istics of each market. A missing function but-
ton on the screen is not the result of an error
in the unit.
● Due to country-specific legislation, certain
function
s cannot be selected on the screen
when the vehicle is travelling above a certain
speed.
● Using a mobile telephone inside the vehicle
can cau
se noise in the speakers.
● There may be restrictions on the use of
Bluetooth devic
es in some countries. Infor-
mation is available from the local authorities.
● In some vehicles equipped with a parking
dist
ance warning system, the volume of the
audio source is automatically lowered when
the gear is engaged.
● If the steering wheel has a voice control
button
, it will not work in this radio mod-
el, so it has no function in relation to the ra-
dio. Rotary knobs and buttons
Rotary knobs
The l
ef
t
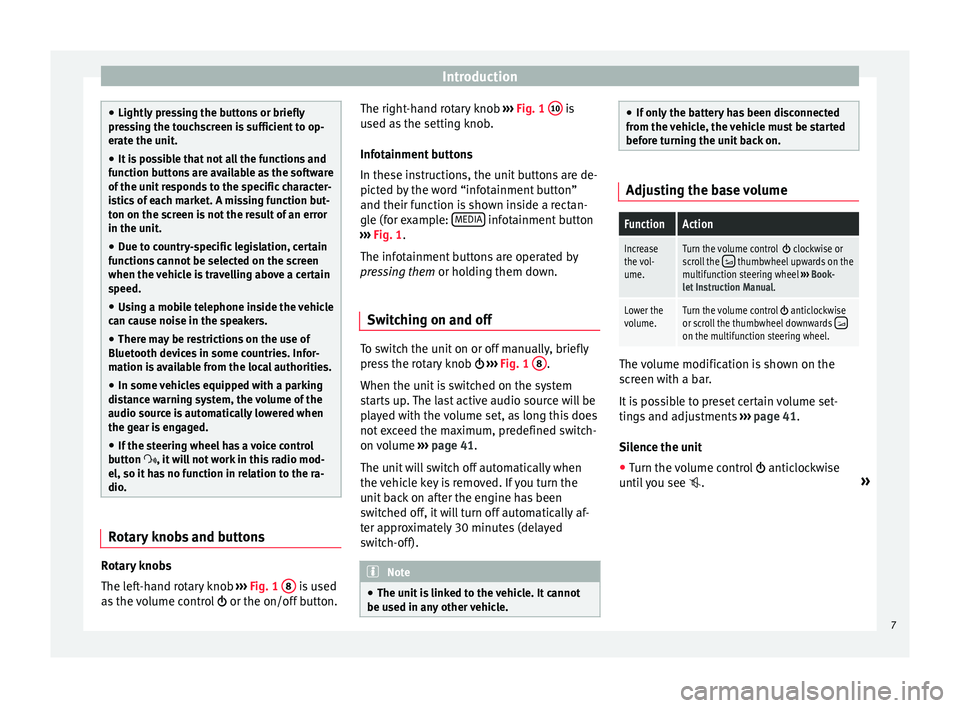
-hand rotary knob ››› Fig. 1 8 is used
a s
the
volume control or the on/off button. The right-hand rotary knob
›››
Fig. 1 10 is
u sed a
s
the setting knob.
Infotainment buttons
In these instructions, the unit buttons are de-
picted by the word “infotainment button”
and their function is shown inside a rectan-
gle (for example: MEDIA infotainment button
› ›
›
Fig. 1.
The infotainment buttons are operated by
pressing them or holding them down.
Switching on and off To switch the unit on or off manually, briefly
pr
e
s
s the rotary knob ››› Fig. 1 8 .
When the u nit
i
s switched on the system
starts up. The last active audio source will be
played with the volume set, as long this does
not exceed the maximum, predefined switch-
on volume ›››
page 41.
The unit will switch off automatically when
the vehicle key is removed. If you turn the
unit back on after the engine has been
switched off, it will turn off automatically af-
ter approximately 30 minutes (delayed
switch-off). Note
● The unit i
s linked to the vehicle. It cannot
be used in any other vehicle. ●
If on ly
the battery has been disconnected
from the vehicle, the vehicle must be started
before turning the unit back on. Adjusting the base volume
FunctionAction
Increase
the vol-
ume.Turn the volume control clockwise or
scroll the thumbwheel upwards on the
multifunction steering wheel ››› Book-
let Instruction Manual.
Lower the
volume.Turn the volume control anticlockwise
or scroll the thumbwheel downwards on the multifunction steering wheel. The volume modification is shown on the
s
c
r
een with a bar.
It is possible to preset certain volume set-
tings and adjustments ›››
page 41.
Silence the unit
● Turn the volume control anticlock
wise
until you see . »
7
Page 18 of 52

RadioFunction button: function
Radio data system (RDS): radio data system (RDS) acti-
vated ››› page 12. With the checkbox deselected ,
the functions depending on the RDS system will not
be available. The function buttons depending on the
RDS system will remain inactive (in grey).
Alternative frequency (AF): the automatic station track-
ing is active. With the checkbox deselected the
function button RDS Regional remains inactive (grey). a)
Regional RDS: determines the setup for the regional au-
tomatic station tracking via the RDS ››› page 12 a)
.
Fixed: the unit only switches to alternative frequen-
cies for the selected station if the same regional
service is being broadcast.
Automatic: the unit always switches to the station's
frequency that currently offers the best reception. As
a result, regional programmes may be interrupted.
a) This depends on the country and unit in question.
AM setup
● Select the AM frequency b
and by pressing
the RADIO infotainment button.
● Press the function button Set
up to open the
menu AM setup .
Function button: function
SCAN: Scan function. When the scan function is active,
all available stations on the current frequency band are
played in sequence for approximately 5 seconds each
››› page 12.
Function button: function
Traffic news station (TP): the TP function (traffic news sta-
tion tracking) is active ››› page 14.
Seek mode: determines the setup of the buttons with ar-
rows and . This setting applies to all frequency
bands (FM, AM and DAB).
Preset list: all stored stations on the selected frequen-
cy band can be selected with the arrow buttons.
Station list: all available stations on the selected fre-
quency band can be selected with the arrow buttons.
Delete presets: to delete all or some of the stored sta-
tions. DAB setup
● Select the DAB
fr
equency band by pressing
the RADIO infotainment button.
● Press the function button Set
up to open the
menu DAB setup .
Function button: function
SCAN: Scan function. When the scan function is active,
all available stations on the current frequency band are
played in sequence for approximately 5 seconds each
››› page 12.
Seek mode: determines the setup of the buttons with ar-
rows and . This setting applies to all frequency
bands (FM, AM and DAB).
Preset list: all stored stations on the selected frequen-
cy band can be selected with the arrow buttons.
Function button: function
Station list: all available stations on the selected fre-
quency band can be selected with the arrow buttons.
VIEW: to select the type of view of the DAB station list.
Ensemble: hierarchical view of stations and ensembles
in alphabetical order.
Station list: overall view of stations in alphabetical or-
der.
Traffic news station (TP): the TP function (traffic news sta-
tion tracking) is active ››› page 14.
Delete presets: to delete all or some of the stored sta-
tions.
Advanced settings: DAB services setup.
DAB traffic announcements: DAB traffic announcements
are played in the same way as TP traffic announce-
ments in all operating modes.
Other DAB alerts: DAB announcements (news, sport,
weather, warnings etc.) will interrupt the current DAB
radio mode.
DAB-DAB station tracking: automatic station tracking
within the DAB frequency band has been activated.
DAB-FM Automatic switching: switching to FM frequency
band is allowed for automatic station tracking. 16
Page 42 of 52

Setup
Setting the menu language The screen language can be adjusted.
● Press the Infotainment button, Setup to
open the System setup main menu.
● Pr e
ss the function button, Idioma/Languag
e .
● Press to select the required language from
the lis t
.
The additional keypad language and the sys-
tem language can be adjusted separately.
Date and time ●
Press the Infotainment button, Set
up to
open the System setup main menu.
● Pr e
ss the function button, Time and Date.
Summar
y of the indications and function
buttons
Function button: effect
Time: set the time by pressing the arrow buttons or.
Time format: select the time format (12 or 24 hour clock).
Automatic summer timea)
: Summer (DST) is automatically
adjusted.
Function button: effect
Date: set the time by pressing the arrow buttons or.
Date format: select the date format.
a) Option available depending on the equipment.
Units 1) ●
Press the Infotainment button, Setup to
open the System setup main menu.
● Pr e
ss the function button, Units.
Factory settings Restoring default settings
When
y
ou r
eset the settings to the vehicle's
default setup, all the data entered is deleted
accordingly, in addition to the settings
made.
● Scroll through the list below and press the
lower f
unction button, Factory settings .
● Select the required setting or the option
A l
l .
● Confirm the safety question that appears
b y
pr
essing the function button Reset . Note
The music files stored on the unit's hard disk
mus t
be manually deleted. 1)
See vehicle instruction manual, CAR System setup.
40