Page 152 of 298
2.48
1
BLIND SPOT WARNING (3/4)
Operation
This function will indicate:
– when the vehicle speed is between approximately 30 km/h (19 mph) and
140 km/h (87 mph);
– when another vehicle is in the blind spot area and travelling in the same
direction as your vehicle.
If another vehicle is being overtaken,
the indicator 4 will be activated only if
that vehicle remains in the blind spot for
more than one second.
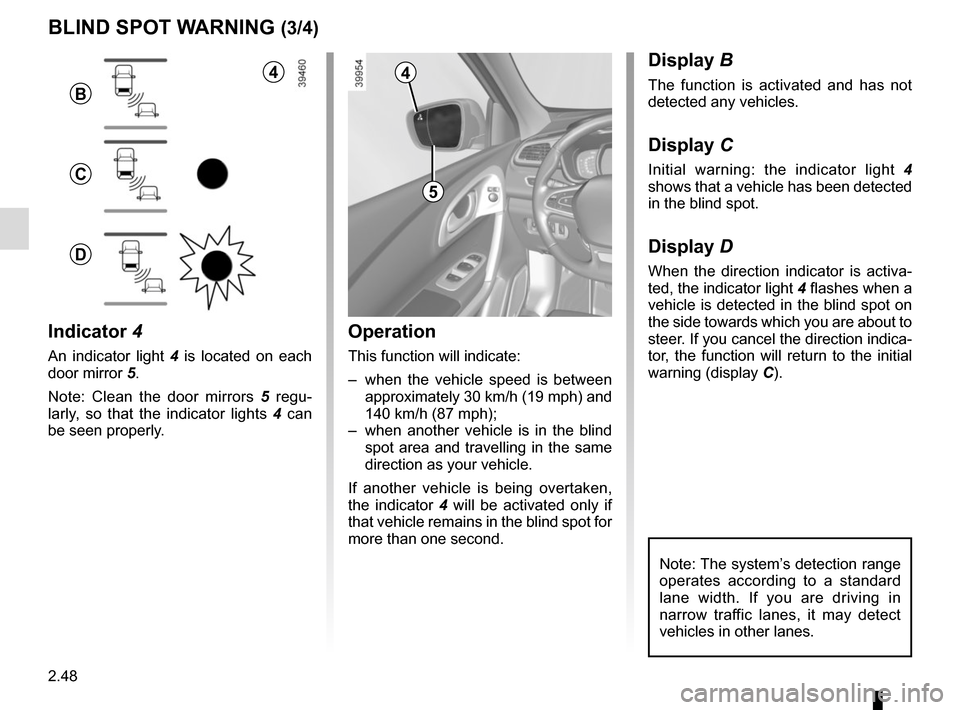
Indicator 4
An indicator light 4 is located on each
door mirror 5.
Note: Clean the door mirrors 5 regu-
larly, so that the indicator lights 4 can
be seen properly.
Display B
The function is activated and has not
detected any vehicles.
Display C
Initial warning: the indicator light 4
shows that a vehicle has been detected
in the blind spot.
Display D
When the direction indicator is activa-
ted, the indicator light 4 flashes when a
vehicle is detected in the blind spot on
the side towards which you are about to
steer. If you cancel the direction indica-
tor, the function will return to the initial
warning (display C).
5
4
B
C
D
Note: The system’s detection range
operates according to a standard
lane width. If you are driving in
narrow traffic lanes, it may detect
vehicles in other lanes.
4
Page 153 of 298
2.49
Operating faults
If the system detects a fault, the mes-
sage “Check blind spot alert” is dis-
played on the instrument panel. Consult
an authorised dealer.
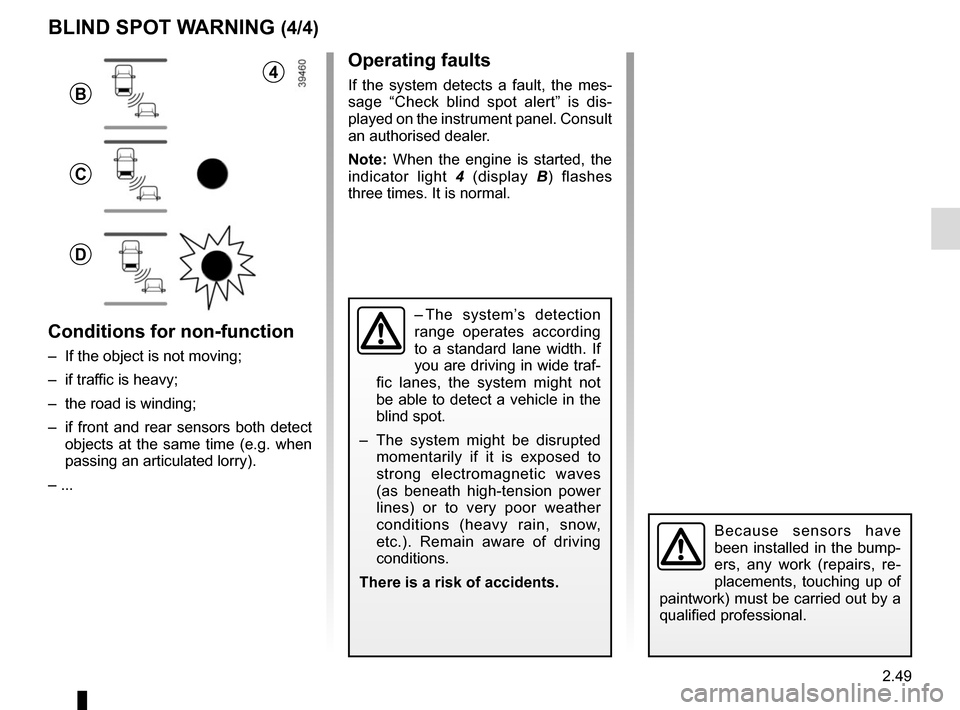
Note: When the engine is started, the
indicator light 4 (display B) flashes
three times. It is normal.
– The system’s detection
range operates according
to a standard lane width. If
you are driving in wide traf-
fic lanes, the system might not
be able to detect a vehicle in the
blind spot.
– The system might be disrupted momentarily if it is exposed to
strong electromagnetic waves
(as beneath high-tension power
lines) or to very poor weather
conditions (heavy rain, snow,
etc.). Remain aware of driving
conditions.
There is a risk of accidents.
BLIND SPOT WARNING (4/4)
Because sensors have
been installed in the bump-
ers, any work (repairs, re-
placements, touching up of
paintwork) must be carried out by a
qualified professional.
4
B
C
D
Conditions for non-function
– If the object is not moving;
– if traffic is heavy;
– the road is winding;
– if front and rear sensors both detect objects at the same time (e.g. when
passing an articulated lorry).
– ...
Page 154 of 298

2.50
CRUISE CONTROL/SPEED LIMITER: speed limiter function (1/3)
Switching on
Press switch 1 on side �. The indica-
tor light
� comes on, lit orange, and
the message “Speed limiter” appears
on the instrument panel, accompanied
by dashes to indicate that the speed
limiter function is activated and waiting
to store a limited speed.
To store the current speed, press the
switch 2 on side a (+): the limited speed
will replace the dashes.
The minimum stored speed is 20 mph
(30 km/h).
Controls
1 Main “On/Off” switch.
2 Controls for:
a speed limiter activation, memory
and increase (+);
b decreasing the speed limiter (-).
3 Activation and recall of memorised limited speed (R).
4 Speed limiter function standby (with limited speed memory) (O).
The speed limiter function helps you
stay within the driving speed limit that
you choose, known as the
limit speed.
If you wish, you can associate the
speed limiter and the “Overspeed
alert” function (please refer to the in-
formation on the “Overspeed alert”
in Section 2).
1
2
a3
4b
Page 156 of 298
2.52
CRUISE CONTROL/SPEED LIMITER: speed limiter function (3/3)
Recalling the limit speed
If a speed has been saved, it can be re-
called by pressing switch 3 ((R)).
Putting the function on
standby
The speed limiter function is sus-
pended when you press switch 4 (O).
In this case, the speed limit remains
stored and the message “Memorised”
accompanied by this speed appears on
the instrument panel.
Switching off the function
The speed limiter function is deacti-
vated if you press switch 1: in this case
a speed is no longer stored. The orange
� warning light and message on the
instrument panel goes out to confirm
that the function is deactivated.
When the speed limiter is put on
standby, pressing side a (+) on
the switch 2 reactivates the func-
tion without taking into account
the stored speed: it is the speed at
which the vehicle is moving that is
taken into account.
2
a3
4
1
Page 161 of 298
2.57
CRUISE CONTROL/SPEED LIMITER: cruise control function (2/4)Driving
Once a cruising speed is memorised
and the cruise control function is active,
you may lift your foot off the accelera-
tor pedal.
Please note that you are
strongly advised to keep
your feet close to the pedals
in order to react in an emer-
gency.
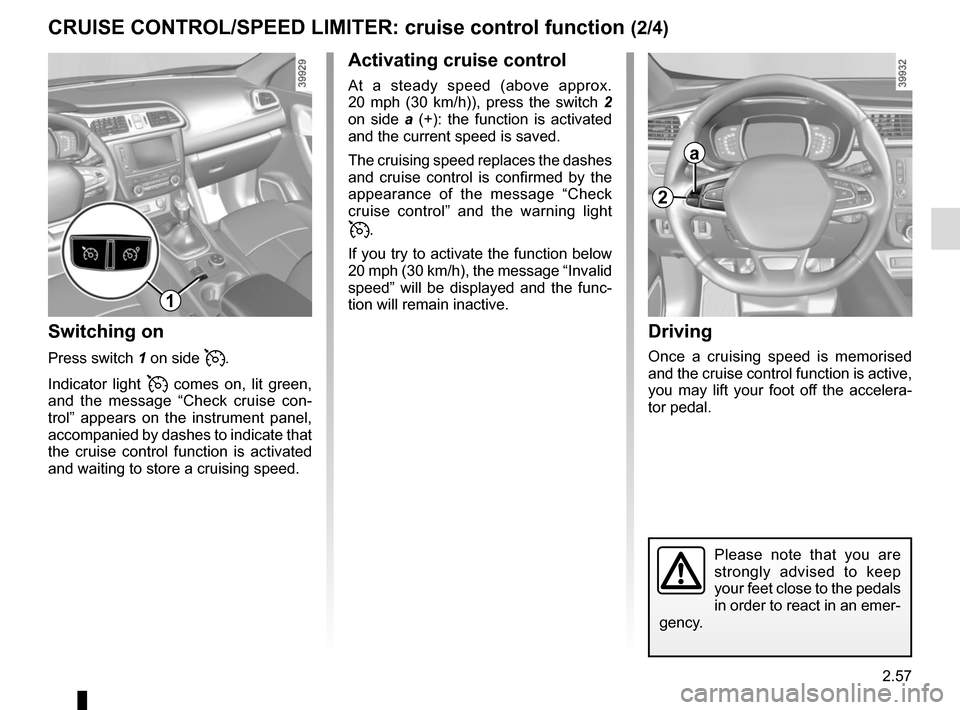
Activating cruise control
At a steady speed (above approx.
20 mph (30 km/h)), press the switch 2
on side a (+): the function is activated
and the current speed is saved.
The cruising speed replaces the dashes
and cruise control is confirmed by the
appearance of the message “Check
cruise control” and the warning light
�.
If you try to activate the function below
20 mph (30 km/h), the message “Invalid
speed” will be displayed and the func-
tion will remain inactive.
Switching on
Press switch 1 on side �.
Indicator light
� comes on, lit green,
and the message “Check cruise con-
trol” appears on the instrument panel,
accompanied by dashes to indicate that
the cruise control function is activated
and waiting to store a cruising speed.
2
a
1
Page 163 of 298
2.59
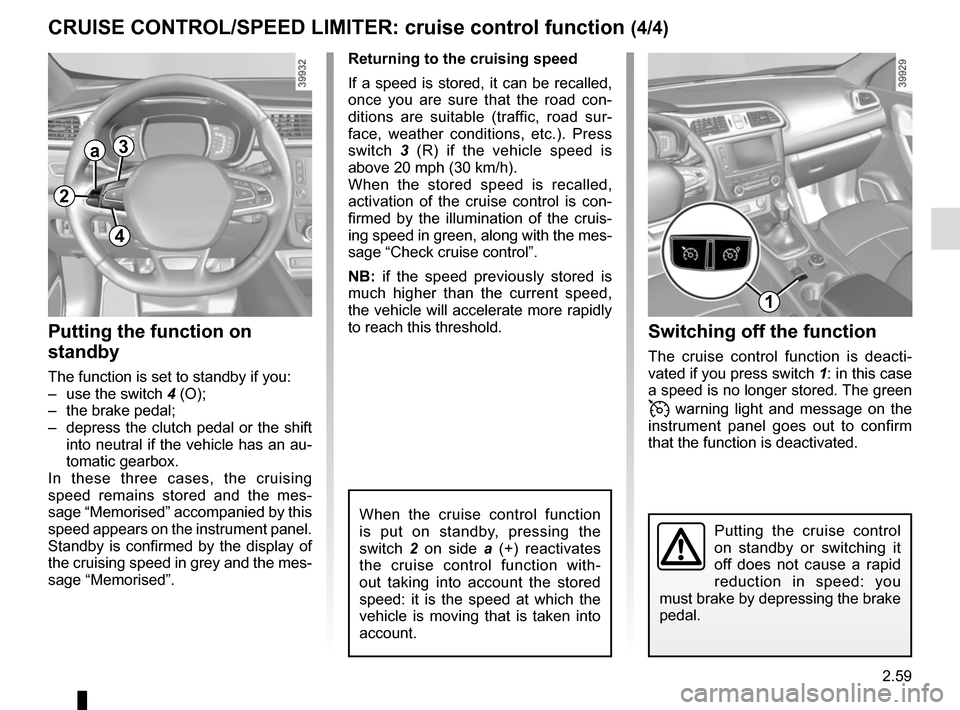
CRUISE CONTROL/SPEED LIMITER: cruise control function (4/4)Switching off the function
The cruise control function is deacti-
vated if you press switch 1: in this case
a speed is no longer stored. The green
� warning light and message on the
instrument panel goes out to confirm
that the function is deactivated.
Returning to the cruising speed
If a speed is stored, it can be recalled,
once you are sure that the road con-
ditions are suitable (traffic, road sur-
face, weather conditions, etc.). Press
switch
3 (R) if the vehicle speed is
above 20 mph (30 km/h).
When the stored speed is recalled,
activation of the cruise control is con-
firmed by the illumination of the cruis-
ing speed in green, along with the mes-
sage “Check cruise control”.
NB: if the speed previously stored is
much higher than the current speed,
the vehicle will accelerate more rapidly
to reach this threshold.
When the cruise control function
is put on standby, pressing the
switch 2 on side a (+) reactivates
the cruise control function with-
out taking into account the stored
speed: it is the speed at which the
vehicle is moving that is taken into
account.
Putting the function on
standby
The function is set to standby if you:
– use the switch 4 (O);
– the brake pedal;
– depress the clutch pedal or the shift into neutral if the vehicle has an au-
tomatic gearbox.
In these three cases, the cruising
speed remains stored and the mes-
sage “Memorised” accompanied by this
speed appears on the instrument panel.
Standby is confirmed by the display of
the cruising speed in grey and the mes-
sage “Memorised”.
Putting the cruise control
on standby or switching it
off does not cause a rapid
reduction in speed: you
must brake by depressing the brake
pedal.
2
a3
4
1
Page 170 of 298
2.66
This function is an additional
aid. It cannot, therefore,
under any circumstances
replace the vigilance or the
responsibility of the driver.
The driver should always look out
for sudden hazards during driving:
always ensure that there are no
moving obstacles (such as a child,
animal, pram, bicycle, etc.) or small,
narrow objects such as stones or
posts in your path when manoeu-
vring.
The screen shows a reverse mirror
image.
The frames are a representation
projected onto flat ground; this in-
formation must not be taken into
account when superimposed on a
vertical object or an object on the
ground.
Objects which appear on the edge
of the screen may be deformed.
In very bright light (snow, vehicle in
sunshine etc.), the camera vision
may be adversely affected.
If the boot is open or poorly closed,
the message “Boot open” appears
and the camera display disappears.
You can also adjust the camera image
settings (brightness, contrast, etc.)
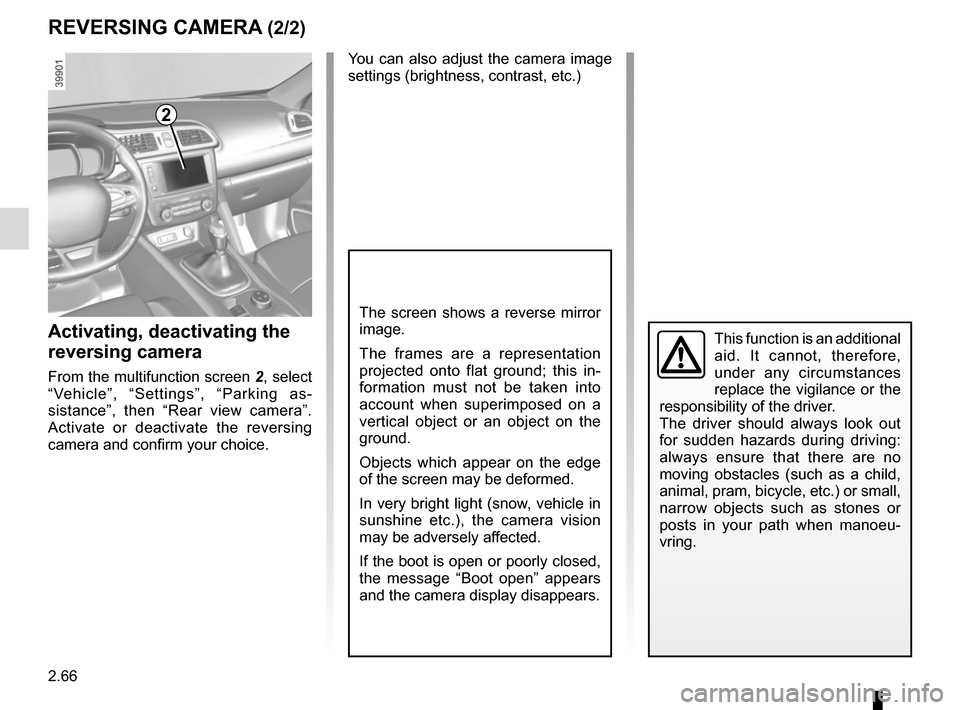
Activating, deactivating the
reversing camera
From the multifunction screen 2, select
“Vehicle”, “Settings”, “Parking as-
sistance”, then “Rear view camera”.
Activate or deactivate the reversing
camera and confirm your choice.
REVERSING CAMERA (2/2)
2
Page 171 of 298
2.67
ASSISTED PARKING (1/4)
This function assists with parking ma-
noeuvres.
Take your hands off the steering wheel.
You only control the pedals and the
gear lever.
You can retake control at any time by
operating the steering wheel.Switching on
With the vehicle at a standstill or driv-
ing at less than 6 mph (10 km/h), press
switch 1. The warning light integrated
on switch 1 lights up and the 2 screen
appears on the multifunction screen.
2
Special features
Ensure that the ultrasonic sensors indi-
cated by arrows 3 are not obscured (by
dirt, mud, snow, etc.).
32
1