Page 212 of 364

210
Never store bottles of AdBlue® in your
vehicle.
Recommendations on storage
AdBlue® freezes at about -11°C and
deteriorates above 25°C. It is recommended
that bottles be stored in a cool area and
protected from direct sunlight.
Under these conditions, the additive can be
kept for at least a year.
If the additive has frozen, it can be used once it
has completely thawed out.
Procedure
Before topping-up, ensure that the vehicle is
parked on a flat and level sur face.
In wintry conditions, ensure that the
temperature of the vehicle is above -11°C.
Otherwise the AdBlue
® may be frozen and
so cannot be poured into its tank. Park your
vehicle in a warmer area for a few hours to
allow the top-up to be carried out.
F
S
witch off the ignition and remove the key. F
F
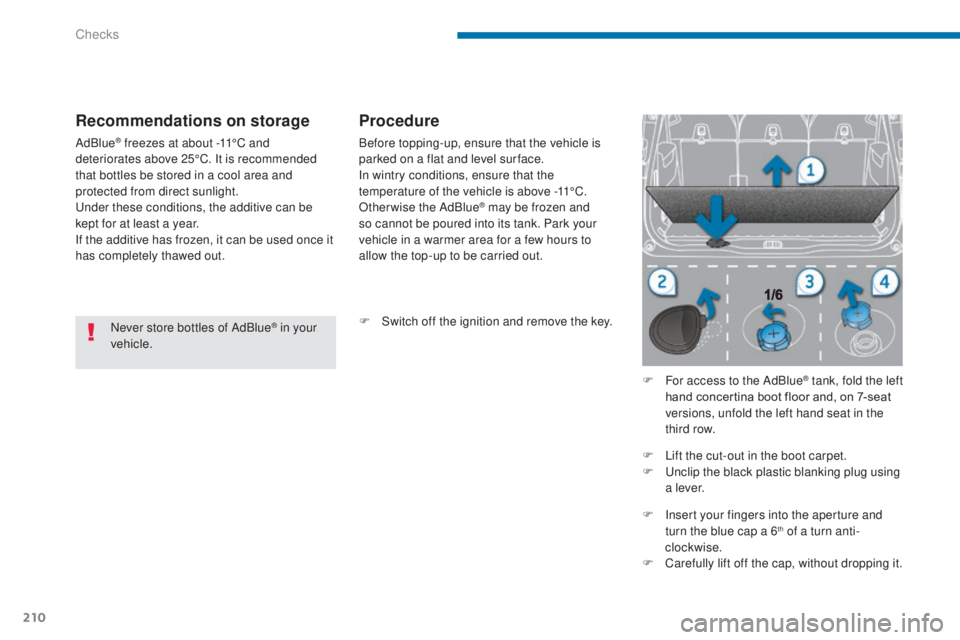
or access to the AdBlue
® tank, fold the left
hand concertina boot floor and, on 7-seat
versions, unfold the left hand seat in the
third row.
F
L
ift the cut-out in the boot carpet.
F
U
nclip the black plastic blanking plug using
a l eve r.
F
I
nsert your fingers into the aperture and
turn the blue cap a 6
th of a turn anti-
clockwise.
F
C
arefully lift off the cap, without dropping it.
Checks
Page 213 of 364

211
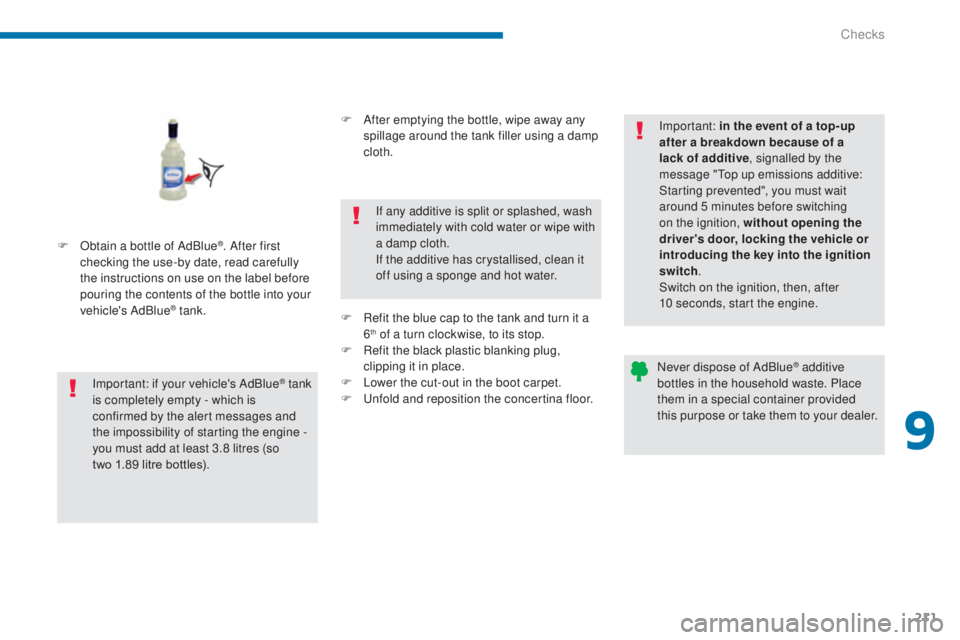
F Obtain a bottle of AdBlue®. After first
checking the use-by date, read carefully
the instructions on use on the label before
pouring the contents of the bottle into your
vehicle's AdBlue
® tank.
Important: if your vehicle's AdBlue
® tank
i
s completely empty - which is
confirmed by the alert messages and
the impossibility of starting the engine
-
you must add at least 3.8 litres (so
two
1.89 litre bottles). F
A
fter emptying the bottle, wipe away any
spillage around the tank filler using a damp
cloth.
If any additive is split or splashed, wash
immediately with cold water or wipe with
a damp cloth.
If the additive has crystallised, clean it
off using a sponge and hot water.
F
R
efit the blue cap to the tank and turn it a
6
th of a turn clockwise, to its stop.
F
R
efit the black plastic blanking plug,
clipping it in place.
F
L
ower the cut-out in the boot carpet.
F
U
nfold and reposition the concertina floor. Important: in the event of a top-up
after a breakdown because of a
lack of additive
, signalled by the
message "Top up emissions additive:
Starting prevented", you must wait
around 5 minutes before switching
on the ignition, without opening the
driver's door, locking the vehicle or
introducing the key into the ignition
switch .
Switch on the ignition, then, after
10 seconds, start the engine.
Never dispose of AdBlue
® additive
bottles in the household waste. Place
them in a special container provided
this purpose or take them to your dealer.
9
Checks
Page 226 of 364
224
F Detach the wheel/box assembly from the rear of the vehicle.
F
S
traighten the wheel for acces to the tool
box.
F
R
emove the link piece from the lid of the
tool box, as shown in the illustration.
F
P
ass the link piece through the hub of the
wheel.
F
P
lace the extension 7 onto the spare wheel
carrier drive nut.
F
F
it the wheelbrace 6 to the end of the
extension 7 .
F
T
urn the assembly fully clockwise to
unwind the carrier cable, until the spare
wheel is resting flat on the ground. When the spare wheel is fitted in place
of a wheel with a punctured tyre, it is
essential to return the carrier and tool
box to their position under the vehicle,
before moving off.
Refer to the "Putting the carrier and
spare wheel back in place" section.
Practical information
Page 227 of 364
225
This procedure is to be carried out with or
without the spare wheel. Without the spare
wheel, skip steps a and d.
Only a "space-saver" type can be secured
under the vehicle in the carrier.
F
S
tore the tools used in the box and close
the cover.
F
P
osition the box on the ground close to the
back of the vehicle.
F
S
traighten the wheel and pass the link
piece through the hub of the wheel.
F
I
nsert the link piece through the aperture in
the tool box lid, as shown in the illustration.
F
C
entre the spare wheel on the tool box. F
T
ighten fully and check that the wheel is
horizontally flush against the floor.
F
P
lace the assembly of wheel and tool box
under the rear of the vehicle.
F R aise the wheel and tool box by turning the
carrier drive nut anticlockwise using the
wheelbrace 6 and the extension 7 .
Putting the carrier and spare wheel back in place
10
Practical information