2015 NISSAN MURANO bluetooth
[x] Cancel search: bluetoothPage 9 of 424
BLUETOOTH® is a
trademark owned by
Bluetooth SIG, Inc.
and licensed to
Visteon.
SiriusXM® services
require a subscription
after trial period and
are sold separately or
as a package. The
satellite service is
available only in the
48 contiguous USA
and DC. SiriusXM
satellite service is
also available in
Canada; see
www.siriusxm.ca.
© 2015 NISSAN NORTH AMERICA, INC.
All rights reserved. No part of this Owner’s
Manual may be reproduced or stored in a retrieval
system, or transmitted in any form, or by any
means, electronic, mechanical, photocopying,
recording or otherwise, without the prior written
permission of Nissan North America, Inc.
Page 20 of 424
17. Cruise control main/Intelligent CruiseControl (ICC) (if so equipped) set
switches (P. 5-33)
18. Driver supplemental knee air bag
(P. 1-46)
19. Bluetooth Hands-Free Phone System/
Audio control switches (P. 4-29)
20. Hood release (P. 3-22)/Fuel door
release (P. 3-27)
21. Fuse box (P. 8-22)
22. Power liftgate main switch
(if so equipped) (P. 3-23)
Heated steering wheel switch
(if so equipped) (P. 2-34)
Vehicle Dynamic Control (VDC) OFF
switch (P. 2-38)
23. Instrument brightness control
(P. 2-30)/Twin trip odometer reset
switch (P. 2-3)
*: Refer to the separate Navigation System Own-
er’s Manual (if so equipped) .
Refer to the page number indicated in pa-
rentheses for operating details.
Illustrated table of contents0-7
Page 94 of 424
17. Cruise control main/Intelligent CruiseControl (ICC) (if so equipped) set
switches (P. 5-33)
18. Driver supplemental knee air bag
(P. 1-46)
19. Bluetooth Hands-Free Phone System/
Audio control switches (P. 4-29)
20. Hood release (P. 3-22)/Fuel door
release (P. 3-27)
21. Fuse box (P. 8-22)
22. Power liftgate main switch
(if so equipped) (P. 3-23)
Heated steering wheel switch (if so
equipped) (P. 2-34)
Vehicle Dynamic Control (VDC) OFF
switch (P. 2-38)
23. Instrument brightness control
(P. 2-30)/Twin trip odometer reset
switch (P. 2-3)
*: Refer to the separate Navigation System Own-
er’s Manual (if so equipped) .
Refer to the page number indicated in pa-
rentheses for operating details.
1. Tachometer
2. Warning/indicator lights
3. Vehicle Information Display/Odometer/Twin trip odometer
4. Speedometer
5. Fuel gauge 6. Engine coolant temperature gauge
LIC2920
METERS AND GAUGES
Instruments and controls2-3
Page 185 of 424
4 Display screen, heater, air conditioner,
audio and phone systems
RearView Monitor without Navigation System
(if so equipped)...................................4-2
How to read the displayed lines ..................4-3
Adjusting the screen ............................4-4
Difference between predicted and actual
distances ......................................4-4
RearView Monitor with Navigation System
(if so equipped) ...................................4-7
How to read the displayed lines ..................4-8
Adjusting the screen ............................4-9
How to turn on and off predictive course
lines ..........................................4-9
Difference between predicted and actual
distances ......................................4-9
Around View® Monitor (if so equipped) .............4-12
Available views ................................ 4-14
Difference between predictive and actual
distances ..................................... 4-17
How to switch the display ......................4-20
Moving Object Detection (MOD) ................4-20
Around View® Monitor Settings .................4-23
View malfunction .............................. 4-23
How to adjust the screen view ..................4-24
Operating tips ................................. 4-24Vents
........................................... 4-25
Heater and Air Conditioner (automatic) ..............4-26
Automatic operation ........................... 4-27
Manual operation .............................. 4-28
Operating tips ................................. 4-28
Servicing air conditioner ........................... 4-29
Audio system .................................... 4-29
Radio ........................................ 4-29
FM radio reception ............................ 4-30
AM radio reception ............................ 4-30
Satellite radio reception ........................ 4-30
Audio operation precautions ....................4-31
FM/AM/SAT radio with compact disc (CD)
player (if so equipped) ......................... 4-38
USB (Universal Serial Bus) Connection Port
(models without Navigation System)
(if so equipped) ............................... 4-42
iPod®* player operation without Navigation
System (if so equipped) ........................ 4-44
Bluetooth® streaming audio without
Navigation System ............................. 4-46
CD
care and cleaning .......................... 4-47
Steering wheel switch for audio control ..........4-48
NissanConnect
SMMobile Apps .................... 4-49
Page 186 of 424
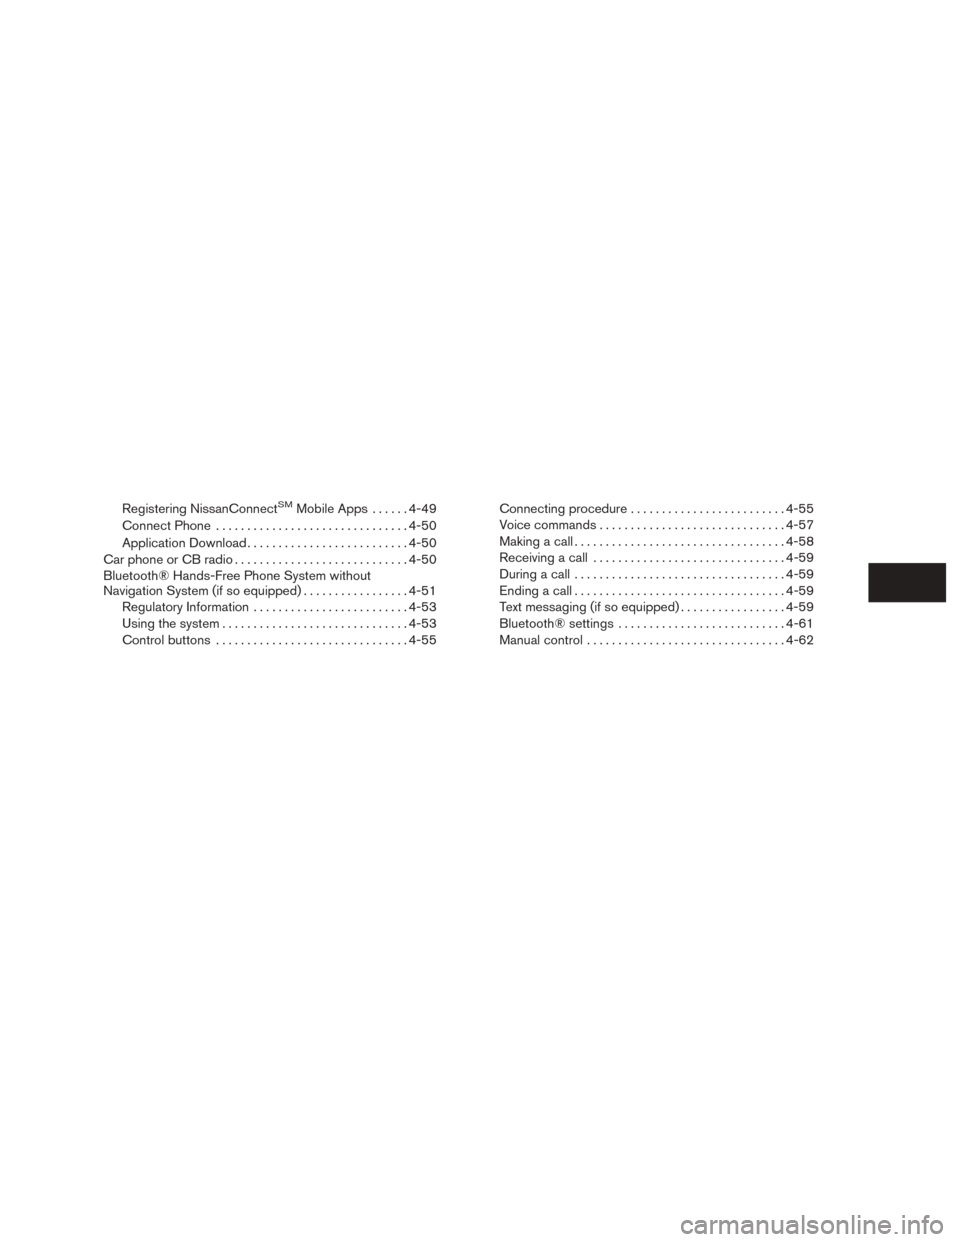
Registering NissanConnectSMMobile Apps......4-49
Connect Phone ............................... 4-50
Application Download .......................... 4-50
Car phone or CB radio ............................ 4-50
Bluetooth® Hands-Free Phone System without
Navigation System (if so equipped) .................4-51
Regulatory Information ......................... 4-53
Using the system .............................. 4-53
Control buttons ............................... 4-55Connecting procedure
......................... 4-55
Voice commands .............................. 4-57
Making a call . ................................. 4-58
Receiving a call ............................... 4-59
During a call .................................. 4-59
Ending a call .................................. 4-59
Text messaging (if so equipped) .................4-59
Bluetooth® settings ........................... 4-61
Manual control . . .............................. 4-62
Page 222 of 424
Bluetooth® streaming audio
●Some Bluetooth® audio devices may not be
recognized by the in-vehicle audio system.
● It is necessary to set up the wireless con-
nection between a compatible Bluetooth®
audio device and the in-vehicle Bluetooth®
module before using the Bluetooth® audio.
● Operating procedure of the Bluetooth® au-
dio will vary depending on the devices. Make
sure how to operate your audio device be-
fore using it with this system.
● The Bluetooth® audio may be stopped un-
der the following conditions:
● Receiving a call on the Hands-Free
Phone System.
● Checking the connection to the hands-
free phone.
● Do not place the Bluetooth® audio device in
an area surrounded by metal or far away from
the in-vehicle Bluetooth® module to prevent
tone quality degradation and wireless con-
nection disruption.
● While an audio device is connected through
the Bluetooth® wireless connection, the
battery power of the device may discharge
quicker than usual. ●
This system supports the Bluetooth® Audio
Distribution Profile (A2DP, AVRCP) .
BLUETOOTH® is a
trademark owned by
Bluetooth SIG, Inc.
and licensed to
Visteon.
Display screen, heater, air conditioner, audio and phone systems4-37
Page 224 of 424
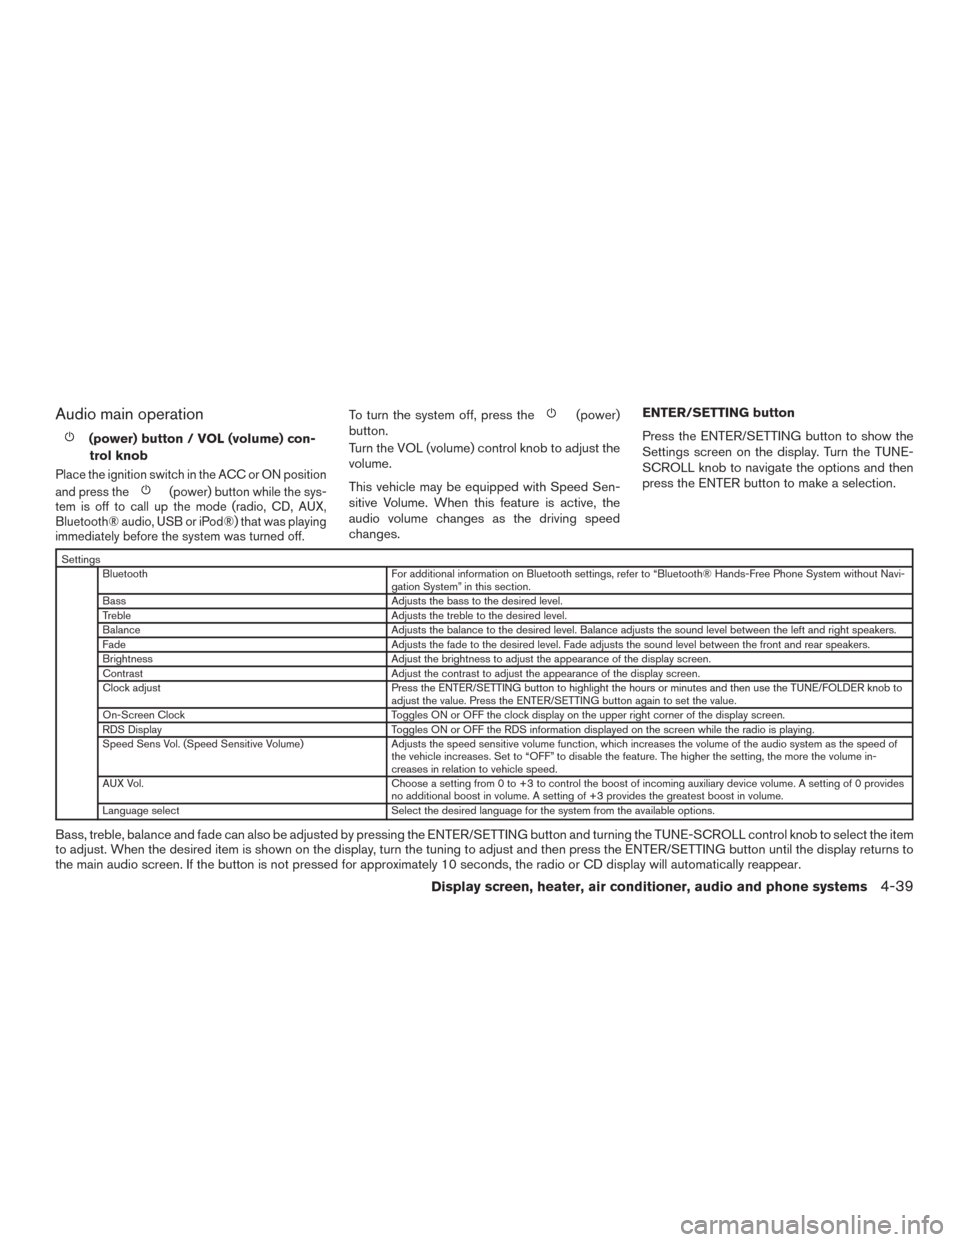
Audio main operation
(power) button / VOL (volume) con-trol knob
Place the ignition switch in the ACC or ON position
and press the
(power) button while the sys-
tem is off to call up the mode (radio, CD, AUX,
Bluetooth® audio, USB or iPod®) that was playing
immediately before the system was turned off.
To turn the system off, press the(power)
button.
Turn the VOL (volume) control knob to adjust the
volume.
This vehicle may be equipped with Speed Sen-
sitive Volume. When this feature is active, the
audio volume changes as the driving speed
changes. ENTER/SETTING button
Press the ENTER/SETTING button to show the
Settings screen on the display. Turn the TUNE-
SCROLL knob to navigate the options and then
press the ENTER button to make a selection.
Settings
Bluetooth For additional information on Bluetooth settings, refer to “Bluetooth® Hands-Free Phone System without Navi- gation System” in this section.
Bass Adjusts the bass to the desired level.
Treble Adjusts the treble to the desired level.
Balance Adjusts the balance to the desired level. Balance adjusts the sound level between the left and right speakers.
Fade Adjusts the fade to the desired level. Fade adjusts the sound level between the front and rear speakers.
Brightness Adjust the brightness to adjust the appearance of the display screen.
Contrast Adjust the contrast to adjust the appearance of the display screen.
Clock adjust Press the ENTER/SETTING button to highlight the hours or minutes and then use the TUNE/FOLDER knob to adjust the value. Press the ENTER/SETTING button again to set the value.
On-Screen Clock Toggles ON or OFF the clock display on the upper right corner of the display screen.
RDS Display Toggles ON or OFF the RDS information displayed on the screen while the radio is playing.
Speed Sens Vol. (Speed Sensitive Volume) Adjusts the speed sensitive volume function, which increases the volume of the audio system as the speed of the vehicle increases. Set to “OFF” to disable the feature. The higher the setting, the more the volume in-
creases in relation to vehicle speed.
AUX Vol. Choose a setting from 0 to +3 to control the boost of incoming auxiliary device volume. A setting of 0 provides no additional boost in volume. A setting of +3 provides the greatest boost in volume.
Language select Select the desired language for the system from the available options.
Bass, treble, balance and fade can also be adjusted by pressing the ENTER/SETTING button and turning the TUNE-SCROLL control knob to select the item
to adjust. When the desired item is shown on the display, turn the tuning to adjust and then press the ENTER/SETTING button until the display returns to
the main audio screen. If the button is not pressed for approximately 10 seconds, the radio or CD display will automatically reappear.
Display screen, heater, air conditioner, audio and phone systems4-39
Page 225 of 424
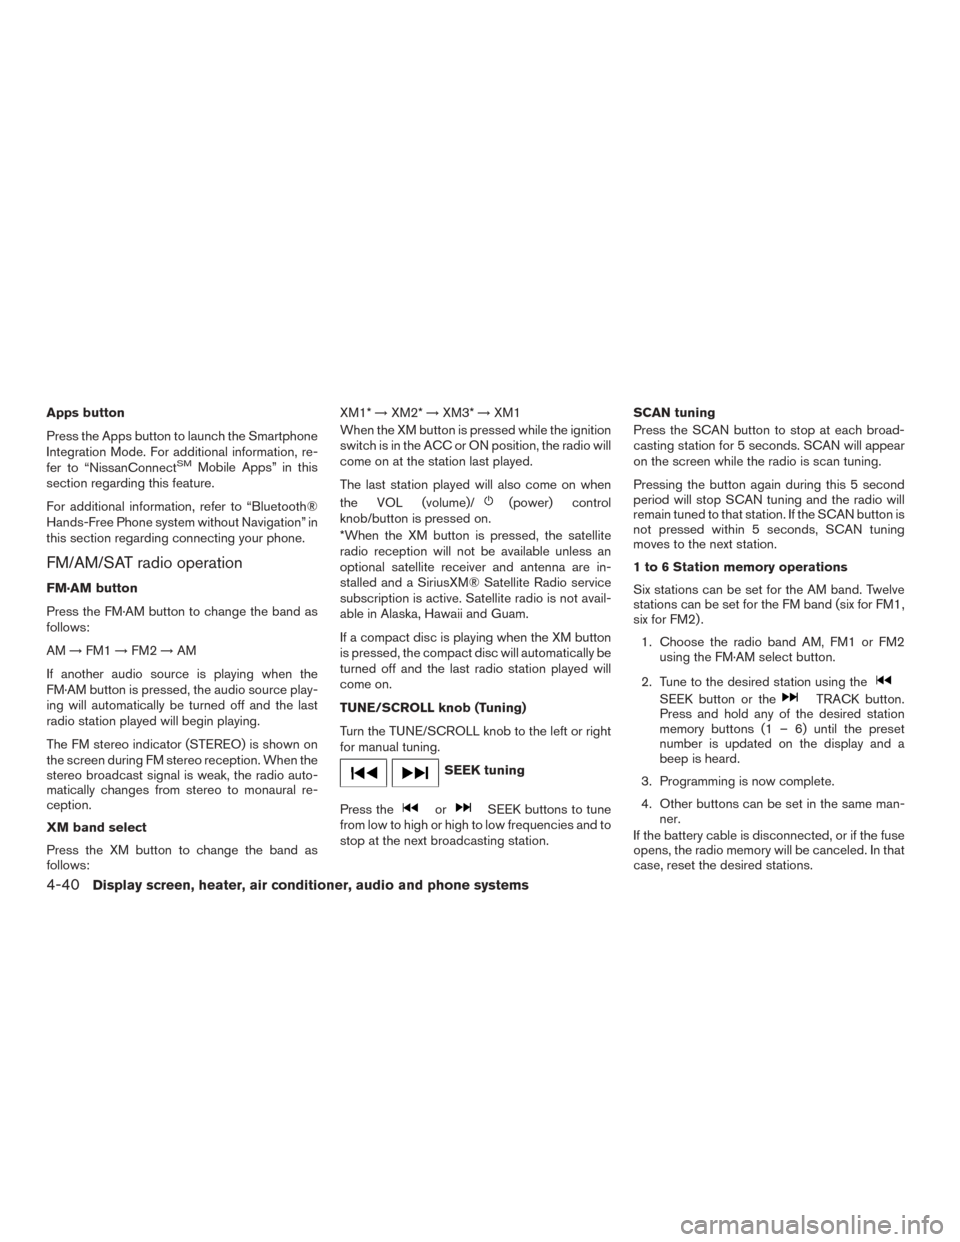
Apps button
Press the Apps button to launch the Smartphone
Integration Mode. For additional information, re-
fer to “NissanConnect
SMMobile Apps” in this
section regarding this feature.
For additional information, refer to “Bluetooth®
Hands-Free Phone system without Navigation” in
this section regarding connecting your phone.
FM/AM/SAT radio operation
FM·AM button
Press the FM·AM button to change the band as
follows:
AM →FM1 →FM2 →AM
If another audio source is playing when the
FM·AM button is pressed, the audio source play-
ing will automatically be turned off and the last
radio station played will begin playing.
The FM stereo indicator (STEREO) is shown on
the screen during FM stereo reception. When the
stereo broadcast signal is weak, the radio auto-
matically changes from stereo to monaural re-
ception.
XM band select
Press the XM button to change the band as
follows: XM1*
→XM2* →XM3* →XM1
When the XM button is pressed while the ignition
switch is in the ACC or ON position, the radio will
come on at the station last played.
The last station played will also come on when
the VOL (volume)/
(power) control
knob/button is pressed on.
*When the XM button is pressed, the satellite
radio reception will not be available unless an
optional satellite receiver and antenna are in-
stalled and a SiriusXM® Satellite Radio service
subscription is active. Satellite radio is not avail-
able in Alaska, Hawaii and Guam.
If a compact disc is playing when the XM button
is pressed, the compact disc will automatically be
turned off and the last radio station played will
come on.
TUNE/SCROLL knob (Tuning)
Turn the TUNE/SCROLL knob to the left or right
for manual tuning.
SEEK tuning
Press the
orSEEK buttons to tune
from low to high or high to low frequencies and to
stop at the next broadcasting station. SCAN tuning
Press the SCAN button to stop at each broad-
casting station for 5 seconds. SCAN will appear
on the screen while the radio is scan tuning.
Pressing the button again during this 5 second
period will stop SCAN tuning and the radio will
remain tuned to that station. If the SCAN button is
not pressed within 5 seconds, SCAN tuning
moves to the next station.
1 to 6 Station memory operations
Six stations can be set for the AM band. Twelve
stations can be set for the FM band (six for FM1,
six for FM2) .
1. Choose the radio band AM, FM1 or FM2 using the FM·AM select button.
2. Tune to the desired station using the
SEEK button or theTRACK button.
Press and hold any of the desired station
memory buttons (1 – 6) until the preset
number is updated on the display and a
beep is heard.
3. Programming is now complete.
4. Other buttons can be set in the same man- ner.
If the battery cable is disconnected, or if the fuse
opens, the radio memory will be canceled. In that
case, reset the desired stations.
4-40Display screen, heater, air conditioner, audio and phone systems