2015 NISSAN LEAF mirror
[x] Cancel search: mirrorPage 226 of 412
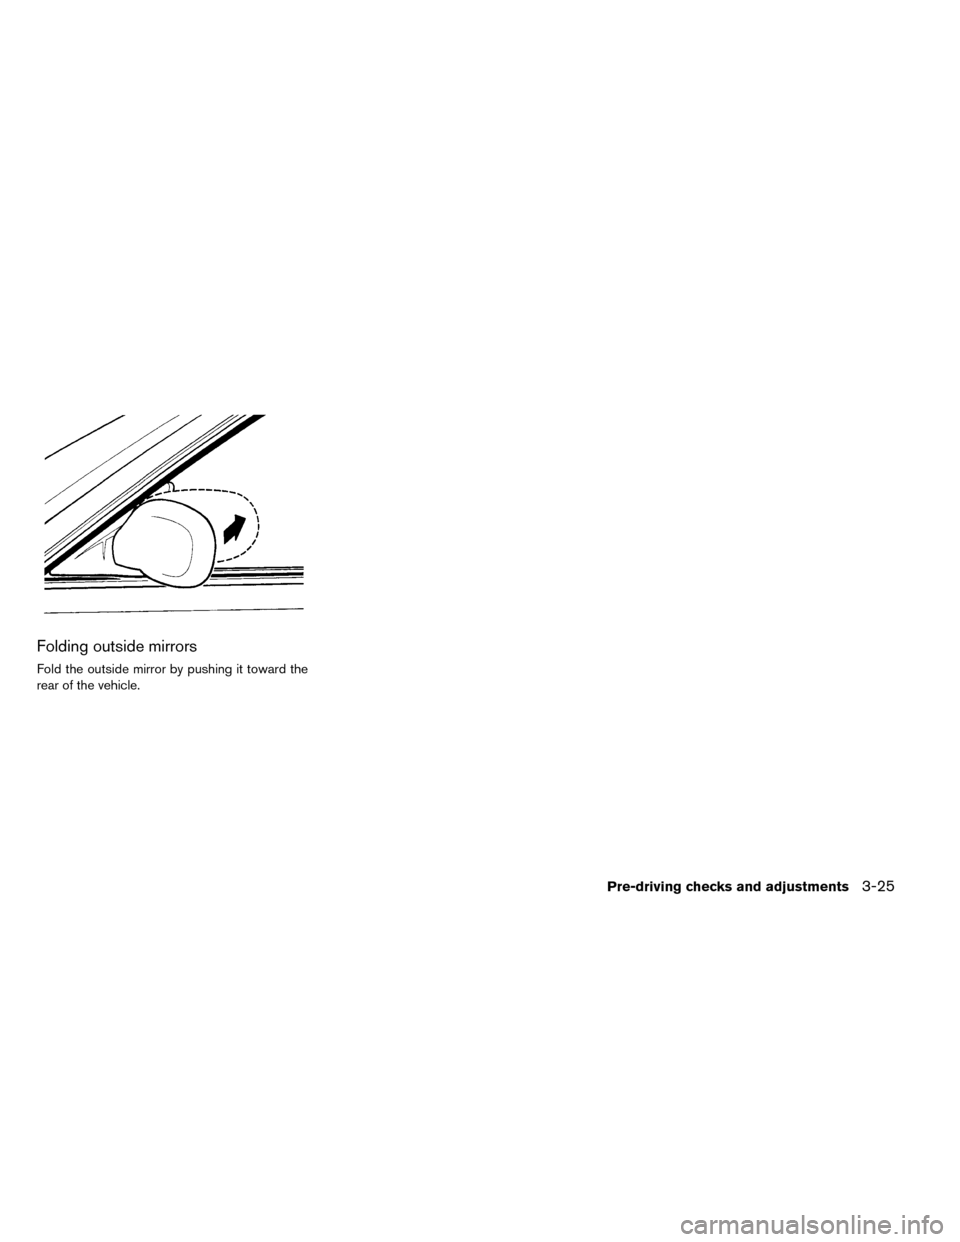
Folding outside mirrors
Fold the outside mirror by pushing it toward the
rear of the vehicle.
Pre-driving checks and adjustments3-25
Page 229 of 412
When the shift lever is shifted into the R (Re-
verse) position, the monitor display shows a rear-
ward view from the vehicle.
WARNING
Failure to follow the warnings and in-
structions for proper use of the Rear View
Monitor could result in serious injury or
death.
• The RearView Monitor is a conve- nience but it is not a substitute for
proper backing. Always turn and look
out the windows, and check mirrors to
be sure that it is safe to move before
operating the vehicle. Always back up
slowly.
• The system is designed as an aid to the driver in showing large stationary ob-
jects directly behind the vehicle, to
help avoid damaging the vehicle.
• The system will not detect small ob- jects below the bumper, and may not
detect objects close to the bumper or
on the ground.
• The system cannot completely elimi- nate blind spots and may not show
every object. • Underneath the bumper and the corner
areas of the bumper cannot be viewed
on the RearView Monitor because of
its monitoring range limitation. The
system will not show objects below
the bumper, and may not show objects
close to the bumper or on the ground.
• Objects viewed in the RearView Moni- tor differ from actual distance because
a wide-angle lens is used.
• Objects in the RearView Monitor will appear visually opposite than when
viewed in the rear view and outside
mirrors.
• Make sure that the hatch is securely closed when backing up.
• Do not put anything on the rearview camera. The rearview camera is in-
stalled on top of the hatch.
• When washing the vehicle with high pressure water, be sure not to spray it
around the camera. Otherwise, water
may enter the camera unit causing wa-
ter condensation on the lens, a mal-
function, fire or an electric shock.
• Do not strike the camera. It is a preci- sion instrument. Otherwise, it may
malfunction or cause damage result-
ing in a fire or an electric shock.
CAUTION
There is a plastic cover over the camera.
Do not scratch the cover when cleaning
dirt or snow from the cover.
REARVIEW MONITOR
4-2Display screen, heater, air conditioner, audio and phone systems
Page 239 of 412
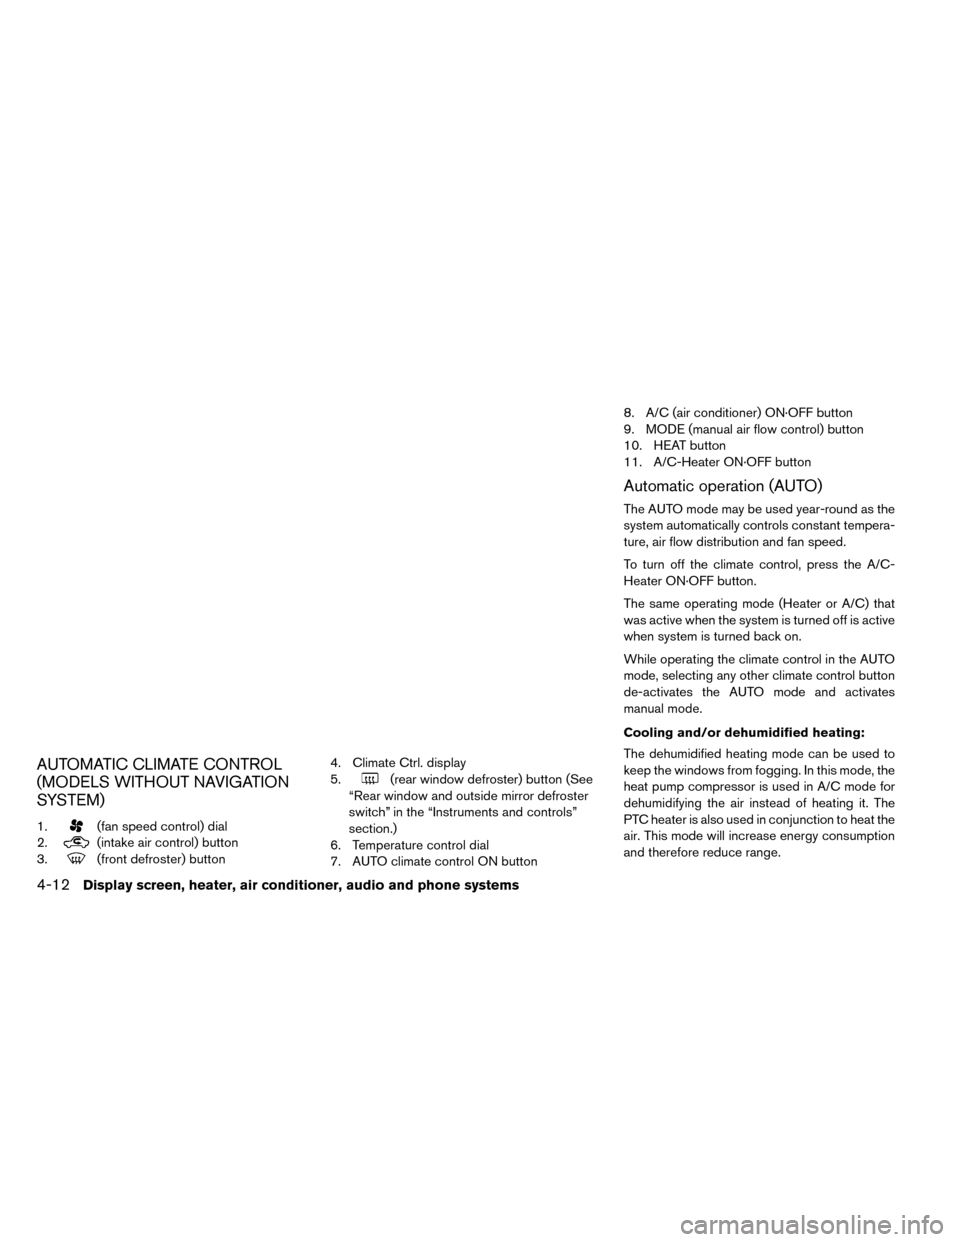
AUTOMATIC CLIMATE CONTROL
(MODELS WITHOUT NAVIGATION
SYSTEM)
1.(fan speed control) dial
2.
(intake air control) button
3.
(front defroster) button 4. Climate Ctrl. display
5.
(rear window defroster) button (See
“Rear window and outside mirror defroster
switch” in the “Instruments and controls”
section.)
6. Temperature control dial
7. AUTO climate control ON button 8. A/C (air conditioner) ON·OFF button
9. MODE (manual air flow control) button
10. HEAT button
11. A/C-Heater ON·OFF button
Automatic operation (AUTO)
The AUTO mode may be used year-round as the
system automatically controls constant tempera-
ture, air flow distribution and fan speed.
To turn off the climate control, press the A/C-
Heater ON·OFF button.
The same operating mode (Heater or A/C) that
was active when the system is turned off is active
when system is turned back on.
While operating the climate control in the AUTO
mode, selecting any other climate control button
de-activates the AUTO mode and activates
manual mode.
Cooling and/or dehumidified heating:
The dehumidified heating mode can be used to
keep the windows from fogging. In this mode, the
heat pump compressor is used in A/C mode for
dehumidifying the air instead of heating it. The
PTC heater is also used in conjunction to heat the
air. This mode will increase energy consumption
and therefore reduce range.
4-12Display screen, heater, air conditioner, audio and phone systems
Page 247 of 412
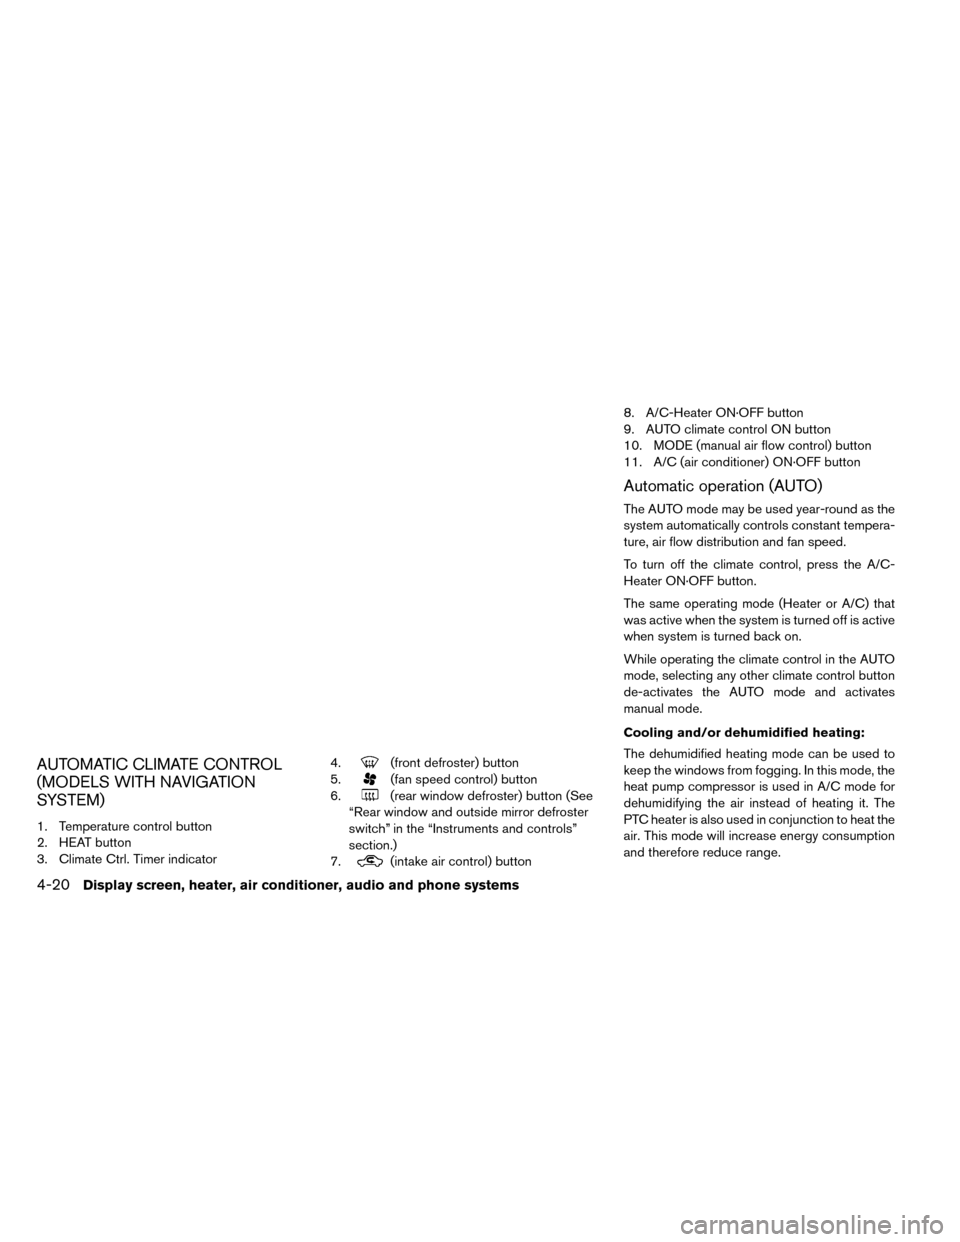
AUTOMATIC CLIMATE CONTROL
(MODELS WITH NAVIGATION
SYSTEM)
1. Temperature control button
2. HEAT button
3. Climate Ctrl. Timer indicator4.
(front defroster) button
5.
(fan speed control) button
6.
(rear window defroster) button (See
“Rear window and outside mirror defroster
switch” in the “Instruments and controls”
section.)
7.
(intake air control) button 8. A/C-Heater ON·OFF button
9. AUTO climate control ON button
10. MODE (manual air flow control) button
11. A/C (air conditioner) ON·OFF button
Automatic operation (AUTO)
The AUTO mode may be used year-round as the
system automatically controls constant tempera-
ture, air flow distribution and fan speed.
To turn off the climate control, press the A/C-
Heater ON·OFF button.
The same operating mode (Heater or A/C) that
was active when the system is turned off is active
when system is turned back on.
While operating the climate control in the AUTO
mode, selecting any other climate control button
de-activates the AUTO mode and activates
manual mode.
Cooling and/or dehumidified heating:
The dehumidified heating mode can be used to
keep the windows from fogging. In this mode, the
heat pump compressor is used in A/C mode for
dehumidifying the air instead of heating it. The
PTC heater is also used in conjunction to heat the
air. This mode will increase energy consumption
and therefore reduce range.
4-20Display screen, heater, air conditioner, audio and phone systems
Page 297 of 412
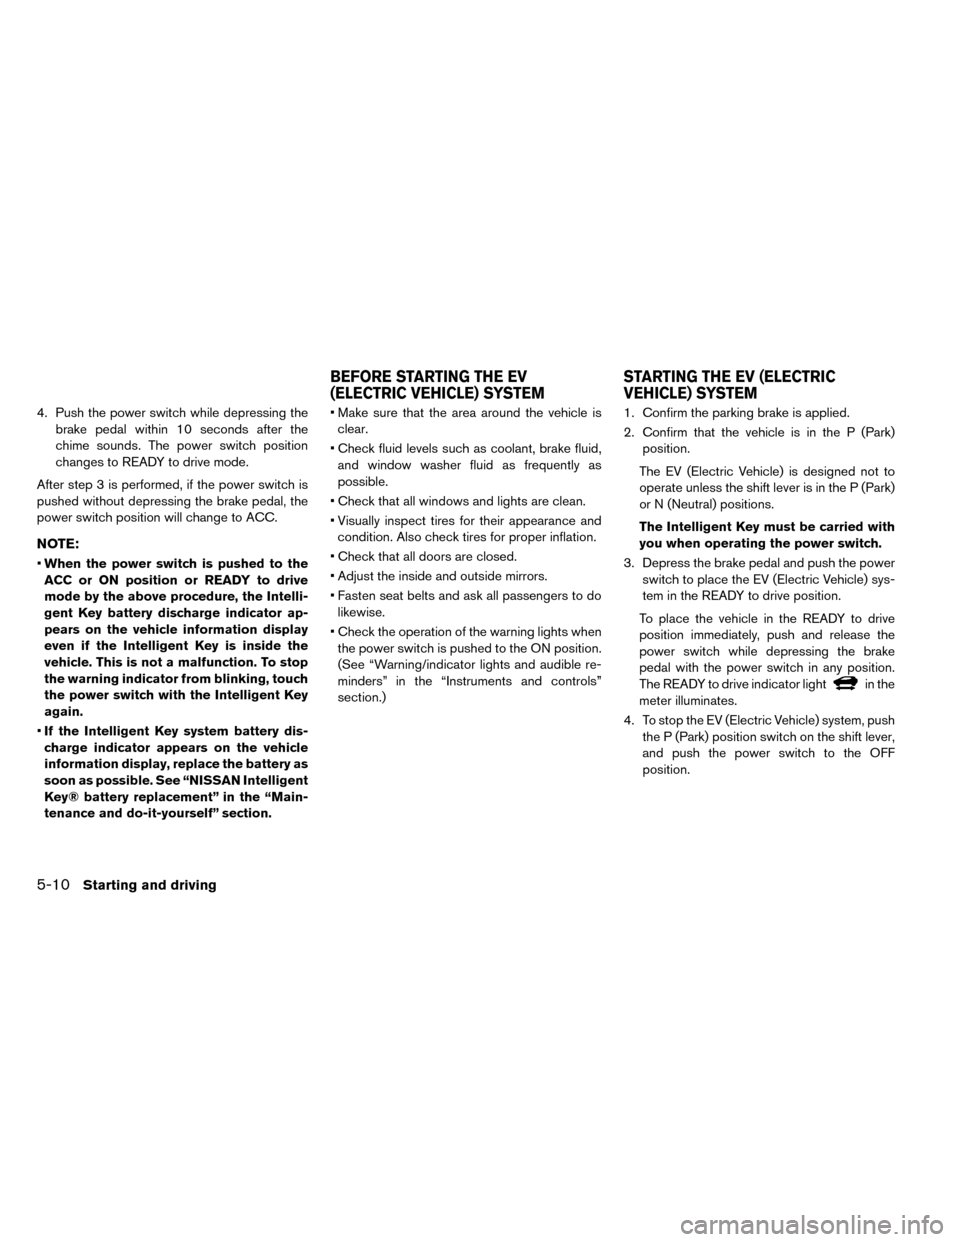
4. Push the power switch while depressing thebrake pedal within 10 seconds after the
chime sounds. The power switch position
changes to READY to drive mode.
After step 3 is performed, if the power switch is
pushed without depressing the brake pedal, the
power switch position will change to ACC.
NOTE:
• When the power switch is pushed to the
ACC or ON position or READY to drive
mode by the above procedure, the Intelli-
gent Key battery discharge indicator ap-
pears on the vehicle information display
even if the Intelligent Key is inside the
vehicle. This is not a malfunction. To stop
the warning indicator from blinking, touch
the power switch with the Intelligent Key
again.
• If the Intelligent Key system battery dis-
charge indicator appears on the vehicle
information display, replace the battery as
soon as possible. See “NISSAN Intelligent
Key® battery replacement” in the “Main-
tenance and do-it-yourself” section. • Make sure that the area around the vehicle is
clear.
• Check fluid levels such as coolant, brake fluid, and window washer fluid as frequently as
possible.
• Check that all windows and lights are clean.
• Visually inspect tires for their appearance and condition. Also check tires for proper inflation.
• Check that all doors are closed.
• Adjust the inside and outside mirrors.
• Fasten seat belts and ask all passengers to do likewise.
• Check the operation of the warning lights when the power switch is pushed to the ON position.
(See “Warning/indicator lights and audible re-
minders” in the “Instruments and controls”
section.) 1. Confirm the parking brake is applied.
2. Confirm that the vehicle is in the P (Park)
position.
The EV (Electric Vehicle) is designed not to
operate unless the shift lever is in the P (Park)
or N (Neutral) positions.
The Intelligent Key must be carried with
you when operating the power switch.
3. Depress the brake pedal and push the power switch to place the EV (Electric Vehicle) sys-
tem in the READY to drive position.
To place the vehicle in the READY to drive
position immediately, push and release the
power switch while depressing the brake
pedal with the power switch in any position.
The READY to drive indicator light
in the
meter illuminates.
4. To stop the EV (Electric Vehicle) system, push the P (Park) position switch on the shift lever,
and push the power switch to the OFF
position.
BEFORE STARTING THE EV
(ELECTRIC VEHICLE) SYSTEM STARTING THE EV (ELECTRIC
VEHICLE) SYSTEM
5-10Starting and driving
Page 399 of 412
Boosterseats.................1-33
Precautions on child restraints.......1-18
Top tether strap ................1-21
Childsafety....................1-15
Child safety rear door lock ............3-6
Circuit breaker, Fusible link ...........8-17
Cleaning exterior and interior ........7-2,7-4
Climatecontrol..................4-19 Climate control service ............4-19
Climate control system refrigerant
and lubricant recommendations .......4-19
In-cabin microfilter ..............4-19
Climate control system ..............4-9
Climate control operation ...........4-9
Climate Ctrl. Timer ............4-14,4-22
Clock.......................2-11
Cockpit.......................2-3
Cold weather driving ...............5-25
Consolebox...................2-52
Coolant.......................8-9 Changingcoolant ...............8-9
Checkingcoolantlevel.............8-8
Recommended fluids/lubricants and
capacities ....................9-2
Cooling system ..................8-7
Corrosionprotection ...............7-6
Cruisecontrol..................5-15
Cupholders...................2-50D
Defroster switch, Rear window and outside
mirror defroster switch ..............2-41
Dimensionsandweights.............9-6
Display, vehicle information ...........2-22
Driving ......................5-25
Cold weather driving .............5-25
Driving vehicle ................5-11
Precautions when starting and driving ....5-2
Driving range ....................2-8
Driving vehicle ..................5-11
E
ECO .......................2-46
ECO switch ..................2-46
ECOindicator..................2-10
Efficient use of your vehicle ..........EV-23
Emergency charge ..............CH-11
Emergency EV (Electric Vehicle) shut off. .5-9, 6-2
Emergency shutoff system ...........EV-9
Emission control information label ........9-8
EV Characteristics ...............EV-9
Event Data Recorder (EDR) ...........9-18
EVSE (Electric Vehicle Supply Equipment) .CH-11
EVSE (Electric Vehicle Supply Equipment)
cleaning ......................7-6
EV system ....................EV-2
EV unique information .............EV-25
F
Flashers (See hazard warning flasher switch) . .6-2
Flat tire.......................6-3
Flattowing....................9-14
Floormatcleaning.................7-5
Fluid ........................8-10
Brake fluid ...................8-10
coolant.....................8-7
Recommended fluids/lubricants and
capacities ....................9-2
Reduction gear fluid ..............8-9
Window washer fluid .............8-10
F.M.V.S.S./C.M.V.S.S. certification label .....9-8
Foglightswitch .................2-44
Frontmanualseatadjustment ..........1-3
Front passenger air bag and status light ....1-44
Front seat, Front seat adjustment ........1-3
Fuses.......................8-16
Fusiblelinks ...................8-17
G
Garage door open, HomeLink® Universal . . .2-59 Transceiver ..................2-59
Gauge.......................2-5 Driving range ..................2-8
ECO indicator ................2-10
Li-ion battery available charge gauge .....2-9
Li-ion battery capacity level gauge .....2-10
10-2Technical and consumer information
Page 400 of 412
Li-ion battery temperature gauge.......2-7
Odometer ....................2-6
Power meter ..................2-7
Speedometer ..................2-6
Generalmaintenance...............8-2
Glovebox.....................2-52
H
Hazard warning flasher switch ..........6-2
Headlights ....................8-22
Bulb replacement ...............8-22
Headlightswitch...............2-42
Heatedseatswitch ...............2-46
Heated steering wheel switch .........2-45
High voltage precautions ............EV-7
HillStart .....................5-24
Hill Start Assist ..................5-24
HomeLink® universal transceiver ........2-59
Hood release ...................3-17
Horn .......................2-46
Howtonormalcharge.............CH-9
Howtoquickcharge.............CH-15
How to trickle charge (if so equipped) ....CH-11
I
If the Li-ion battery becomes completely
discharged....................6-11
Immediate charge...............CH-26 Immobilizer system
................2-37
In-cabin microfilter ................4-19
Indicatorlights..................2-19
Indicators for operation .............2-23
Inside rearview mirror ..............3-23
Instrument brightness control ..........2-41
Instrument panel ..................2-4
Intelligent Key system ..............3-13
Remote keyless operation ..........3-13
Interior light replacement ............8-23
Interior lights ...................2-57
ISOFIX child restraint ..............1-19
J
Jump starting...................6-9
K
Keylessentry...................3-13
With Intelligent Key system (See Intelligent
Key system) ..................3-13
Keys ........................3-2 For Intelligent Key system ...........3-6
L
Labels.......................1-50
Airbagwarninglabels............1-50
Air conditioner specification label .......9-9Emission control information label
......9-8
F.M.V.S.S./C.M.V.S.S. certification label . . .9-8
Motor serial number ..............9-7
Tire and Loading information label . . .8-27, 9-8
Vehicle identification number (VIN) ......9-7
LATCH system ..................1-19
License plate, Installing front license plate . . .9-9
Light .......................1-50 Airbagwarninglight.............1-50
Bulb replacement ...............8-21
Ceiling light ..................2-58
Fog light switch ................2-44
Headlightsbulbreplacement ........8-22
Headlightswitch...............2-42
Indicatorlights ................2-19
Interiorlights .................2-57
Maplights...................2-57
Replacement.................8-21
Warning lights ................2-13
Lightreminderwarning .............2-25
Lights, Exterior and interior light
replacement ...................8-23
Li-ion battery ...................EV-2
Li-ion battery available charge gauge ......2-9
Li-ion battery capacity level gauge .......2-10
Li-ion battery status check ..........CH-27
Li-ion battery temperature gauge .........2-7
Li-ion battery warmer ..............EV-5
Limited power ..................2-33
Loading information (See vehicle loading
information)....................9-10
Technical and consumer information10-3
Page 401 of 412
Lock........................3-5
Automatic door locks .............3-5
Door locks ...................3-3
Power door lock ................3-3
Rearhatchlock................3-18
Low tire pressure warning light .........2-16
Low tire pressure warning system (See tire
pressure monitoring system (TPMS)) ......5-2
Luggage side hook ...............2-54
M
Maintenance...................8-11
12-volt battery ................8-11
Generalmaintenance .............8-2
Indicatorsformaintenance..........2-34
Inside vehicle ..................8-3
Maintenance precautions ...........8-5
Maintenance requirements ..........8-2
Outside vehicle .................8-2
Seatbeltmaintenance............1-15
Manual front seat adjustment ...........1-3
Maplights ....................2-57
Mechanical key (Intelligent Key system) .....3-3
Meters and gauges ................2-5
Mirror .......................3-23
Inside rearview mirror.............3-23
Outside mirrors ................3-24
Vanity mirror ..................3-22
Motor....................5-10,9-5 Before starting system
............5-10
Motor compartment ................8-7
N
NISSAN Intelligent Key® system ......3-6,5-7
Key operating range of the door lock/unlock
function.....................3-8
Key operation ..................3-9
NISSAN Vehicle Immobilizer System ......2-37
Normalcharge..................CH-9 Home charge ................CH-9
Occasional charge .............CH-9
Publiccharge ................CH-9
O
Odometer .....................2-6
Off-road recovery .................5-5
Oil .........................9-2 Recommended fluids/lubricants and
capacities ....................9-2
Opening rear hatch ...............3-10
Outside air temperature .............2-10
Outside mirrors .................3-24
Owner’s Manual/Service Manual order
information ....................9-19
P
Panic alarm....................3-14
Parking ......................5-15
Parking on hills ................5-18
Parking brake break-in ..............5-21
Power .......................3-3 Power door lock ................3-3
Power steering system ............5-19
Power windows ................2-55
Powereconomy.................5-17
Powermeter....................2-7
Power outlet ...................2-49
Power steering system .............5-19
Powerswitch.................5-7,5-8
Precautions ....................5-20
Brake precautions ..............5-20
Charging ...................CH-2
Child restraints ................1-18
Cruise control .................5-15
High voltage precautions ..........EV-7
Maintenance..................8-5
Road accident precautions .........EV-8
Seatbeltusage ................1-8
Supplemental restraint system........1-36
When starting and driving ...........5-2
Push starting ...................6-12
10-4Technical and consumer information