2015 NISSAN LEAF power steering
[x] Cancel search: power steeringPage 15 of 412
1. TRIP switch for twin trip odometer (P 2-6)
2. Trip computer switch (P 2-27)
3. Instrument brightness control switch(P 2-41)
4. Headlight, fog light and turn signal switch — Headlight (P 2-42)
— Turn signal light (P 2-44)
— Fog light (if so equipped) (P 2-44)
5. Steering-wheel-mounted controls (left side) (See LEAF Navigation System Owner’s
Manual.)
—
Driving range button (if so
equipped)
— Audio control
— Bluetooth® Hands-Free Phone System
control
6. Steering wheel — Power steering system (P 5-19)
— Horn (P 2-46)
— Driver’s supplemental air bag (P 1-36)
7. Wiper and washer switch (P 2-38)
8. Steering-wheel-mounted controls (right side)
— Cruise control switches (P 5-15)
— ECO button (if so equipped) (P 2-46)
9. Fuse box cover (P 8-16)
10. Heated steering wheel (P 2-45)
COCKPIT
0-6Illustrated table of contents
Page 20 of 412
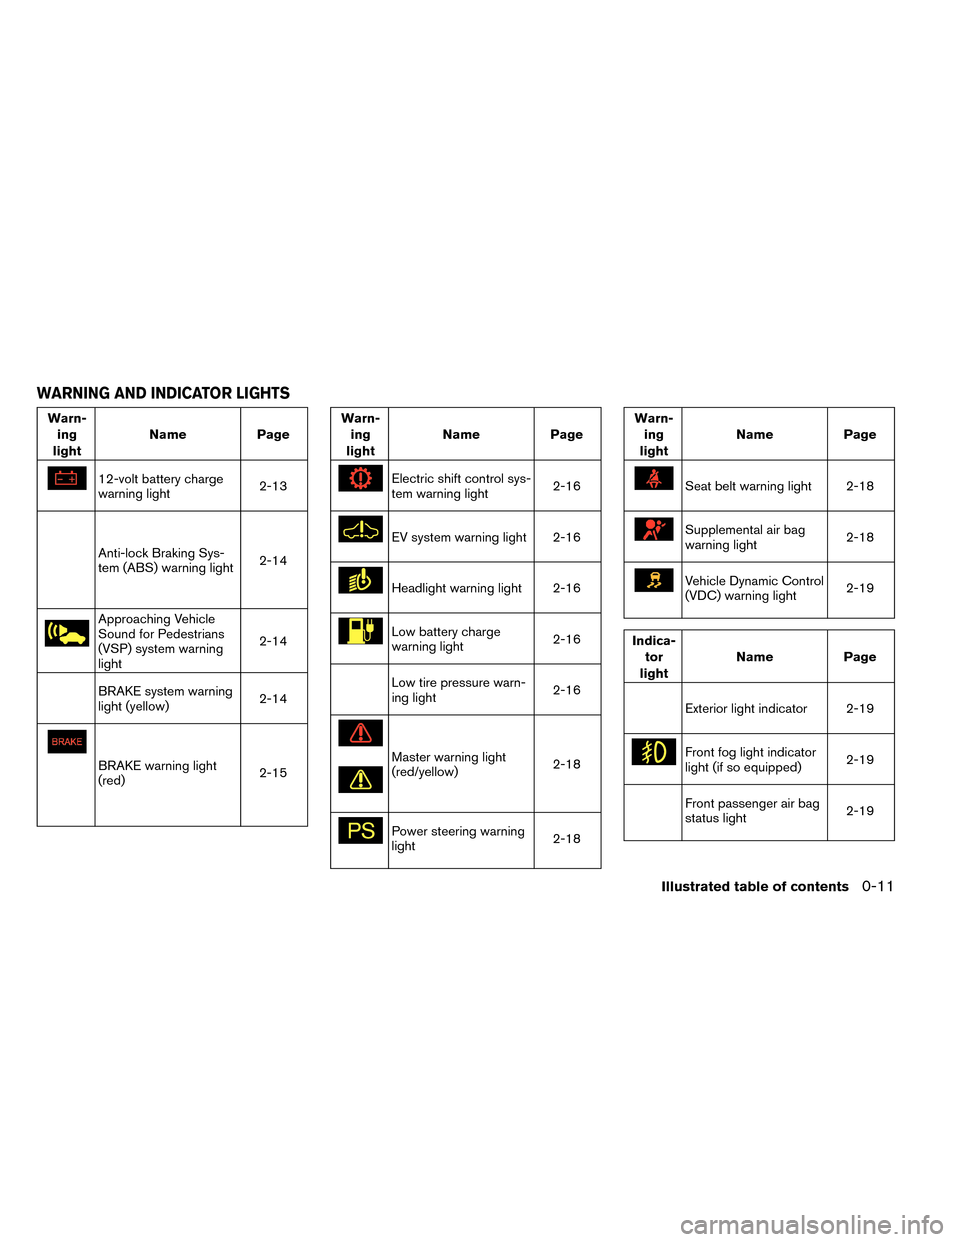
Warn-ing
light Name
Page
12-volt battery charge
warning light 2-13
Anti-lock Braking Sys-
tem (ABS) warning light2-14
Approaching Vehicle
Sound for Pedestrians
(VSP) system warning
light2-14
BRAKE system warning
light (yellow)
2-14
BRAKE warning light
(red)2-15
Warn-
ing
light Name
Page
Electric shift control sys-
tem warning light 2-16
EV system warning light 2-16
Headlight warning light 2-16
Low battery charge
warning light2-16
Low tire pressure warn-
ing light2-16
Master warning light
(red/yellow)2-18
Power steering warning
light2-18
Warn-
ing
light Name
Page
Seat belt warning light 2-18
Supplemental air bag
warning light 2-18
Vehicle Dynamic Control
(VDC) warning light2-19
Indica-
tor
light Name
Page
Exterior light indicator 2-19
Front fog light indicator
light (if so equipped) 2-19
Front passenger air bag
status light2-19
WARNING AND INDICATOR LIGHTS
Illustrated table of contents0-11
Page 51 of 412
SOLAR CELL MODULE (IF SO
EQUIPPED)
This vehicle uses a solar cell module to provide
power to the 12-volt battery. The solar cell mod-
ule only provides power to help maintain the
charge of the 12-volt battery; it will not recharge
a discharged 12-volt battery.
The solar cell module does not provide power to
the Li-ion battery.
For maintenance, see “Cleaning exterior” in the
“Appearance and care” section.
NOTE:
The solar cell may not provide full charging
power in the following situations.
•When the intensity of sunlight is weak.
• When the solar cell module is in the
shade.
• When the solar cell module is covered by
leaves or dirt.
DRIVING RANGE BUTTON (IF SO
EQUIPPED)
Push the driving range button on the steering
wheel to check the estimated distance the ve-
hicle may be driven with the available Li-ion bat-
tery charge. See LEAF Navigation System Own-
er’s Manual.
Solar cell module on the rear spoiler
EV-30EV Overview
Page 124 of 412
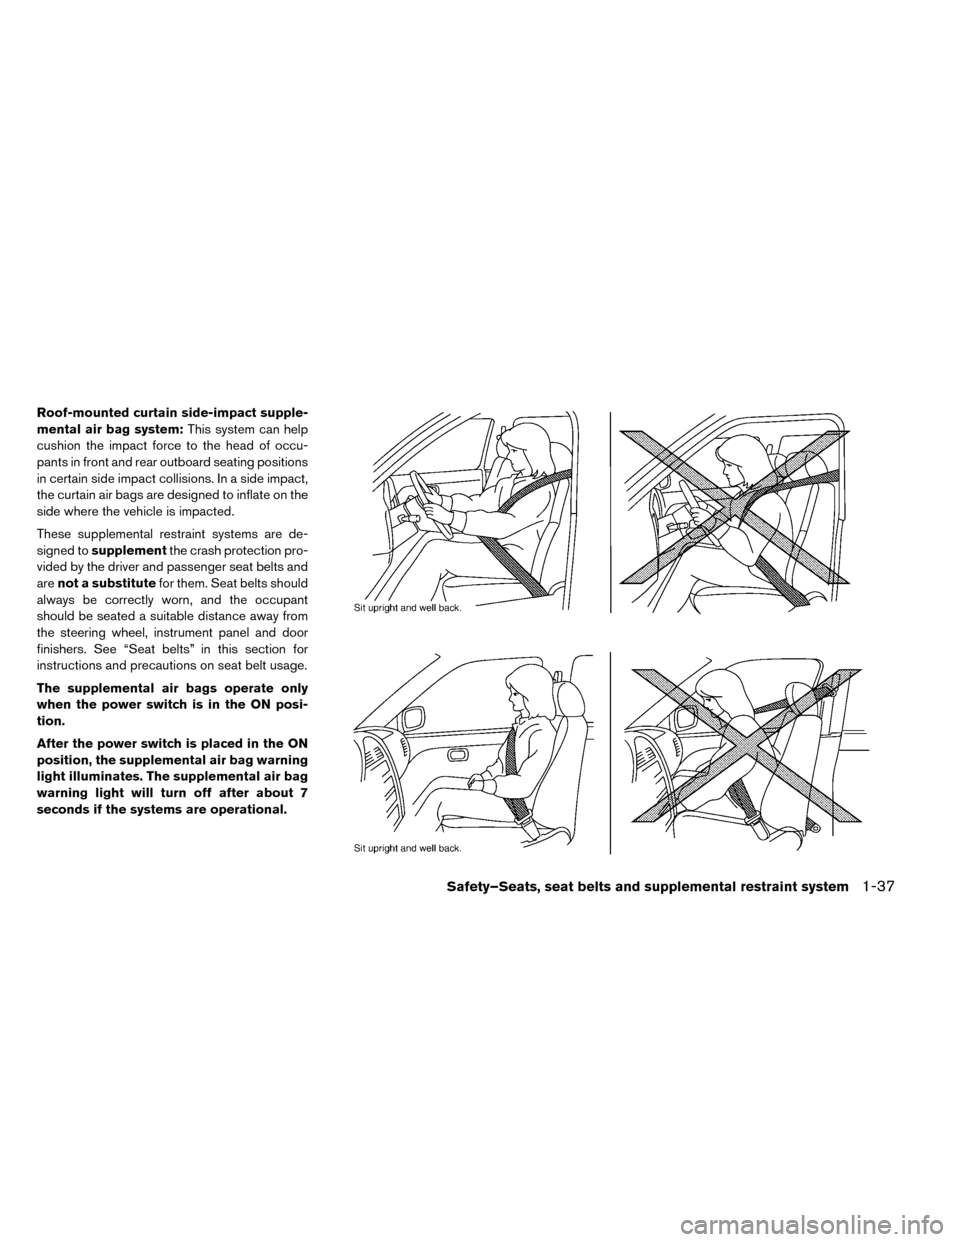
Roof-mounted curtain side-impact supple-
mental air bag system:This system can help
cushion the impact force to the head of occu-
pants in front and rear outboard seating positions
in certain side impact collisions. In a side impact,
the curtain air bags are designed to inflate on the
side where the vehicle is impacted.
These supplemental restraint systems are de-
signed to supplement the crash protection pro-
vided by the driver and passenger seat belts and
are not a substitute for them. Seat belts should
always be correctly worn, and the occupant
should be seated a suitable distance away from
the steering wheel, instrument panel and door
finishers. See “Seat belts” in this section for
instructions and precautions on seat belt usage.
The supplemental air bags operate only
when the power switch is in the ON posi-
tion.
After the power switch is placed in the ON
position, the supplemental air bag warning
light illuminates. The supplemental air bag
warning light will turn off after about 7
seconds if the systems are operational.
Safety–Seats, seat belts and supplemental restraint system1-37
Page 140 of 412
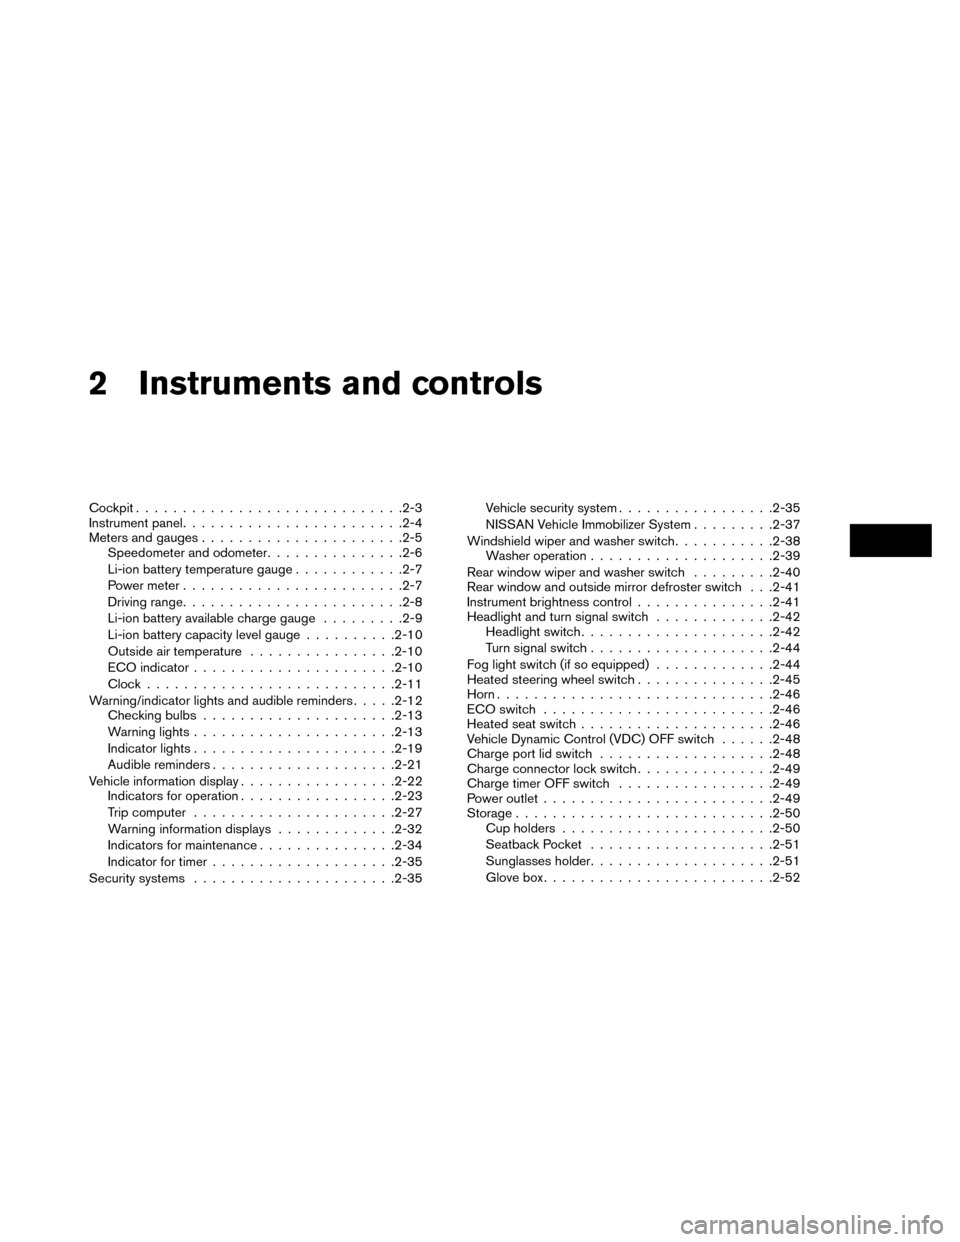
2 Instruments and controls
Cockpit............................ .2-3
Instrument panel ....................... .2-4
Meters and gauges ..................... .2-5
Speedometer and odometer ...............2-6
Li-ion battery temperature gauge ............2-7
Power meter ....................... .2-7
Driving range ....................... .2-8
Li-ion battery available charge gauge .........2-9
Li-ion battery capacity level gauge ..........2-10
Outside air temperature ................2-10
ECO indicator ..................... .2-10
Clock .......................... .2-11
Warning/indicator lights and audible reminders .....2-12
Checking bulbs .................... .2-13
Warning lights ..................... .2-13
Indicator lights ..................... .2-19
Audible reminders ................... .2-21
Vehicle information display .................2-22
Indicators for operation ................ .2-23
Trip computer ..................... .2-27
Warning information displays .............2-32
Indicators for maintenance ...............2-34
Indicator for timer ................... .2-35
Security systems ..................... .2-35Vehicle security system
................ .2-35
NISSAN Vehicle Immobilizer System .........2-37
Windshield wiper and washer switch ...........2-38
Washer operation ................... .2-39
Rear window wiper and washer switch .........2-40
Rear window and outside mirror defroster switch . . .2-41
Instrument brightness control ...............2-41
Headlight and turn signal switch .............2-42
Headlight switch .................... .2-42
Turn signal switch ................... .2-44
Fog light switch (if so equipped) .............2-44
Heated steering
wheel switch ...............2-45
Horn ............................. .2-46
ECO switch ........................ .2-46
Heated seat switch .................... .2-46
Vehicle Dynamic Control (VDC) OFF switch ......2-48
Charge port lid switch .................. .2-48
Charge connector lock switch ...............2-49
Charge timer OFF switch .................2-49
Power outlet ........................ .2-49
Storage ........................... .2-50
Cup holders ...................... .2-50
Seatback Pocket ................... .2-51
Sunglasses holder ................... .2-51
Glove box ........................ .2-52
Page 142 of 412
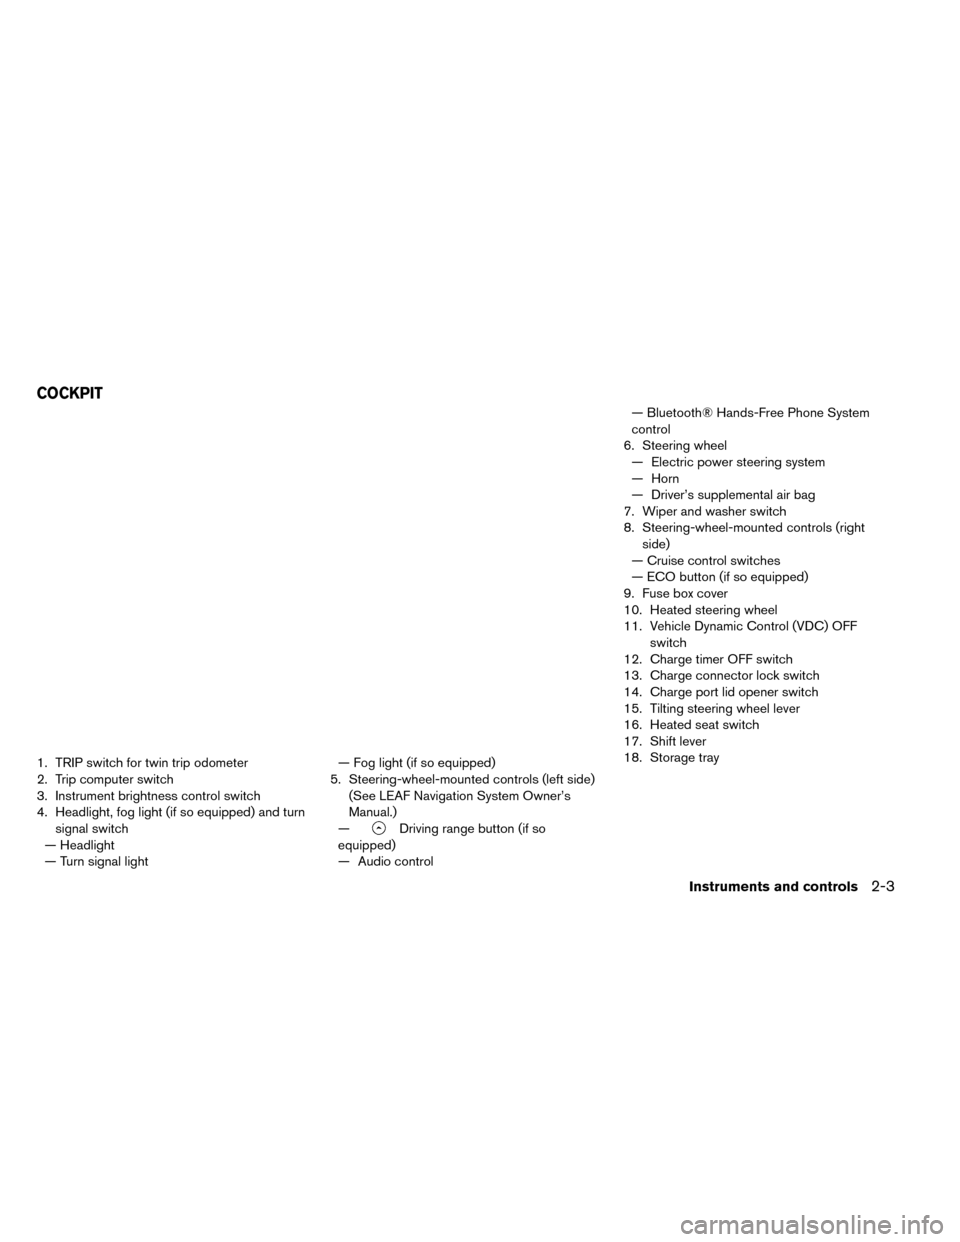
1. TRIP switch for twin trip odometer
2. Trip computer switch
3. Instrument brightness control switch
4. Headlight, fog light (if so equipped) and turnsignal switch
— Headlight
— Turn signal light — Fog light (if so equipped)
5. Steering-wheel-mounted controls (left side) (See LEAF Navigation System Owner’s
Manual.)
—
Driving range button (if so
equipped)
— Audio control — Bluetooth® Hands-Free Phone System
control
6. Steering wheel — Electric power steering system
— Horn
— Driver’s supplemental air bag
7. Wiper and washer switch
8. Steering-wheel-mounted controls (right side)
— Cruise control switches
— ECO button (if so equipped)
9. Fuse box cover
10. Heated steering wheel
11. Vehicle Dynamic Control (VDC) OFF switch
12. Charge timer OFF switch
13. Charge connector lock switch
14. Charge port lid opener switch
15. Tilting steering wheel lever
16. Heated seat switch
17. Shift lever
18. Storage tray
COCKPIT
Instruments and controls2-3
Page 151 of 412
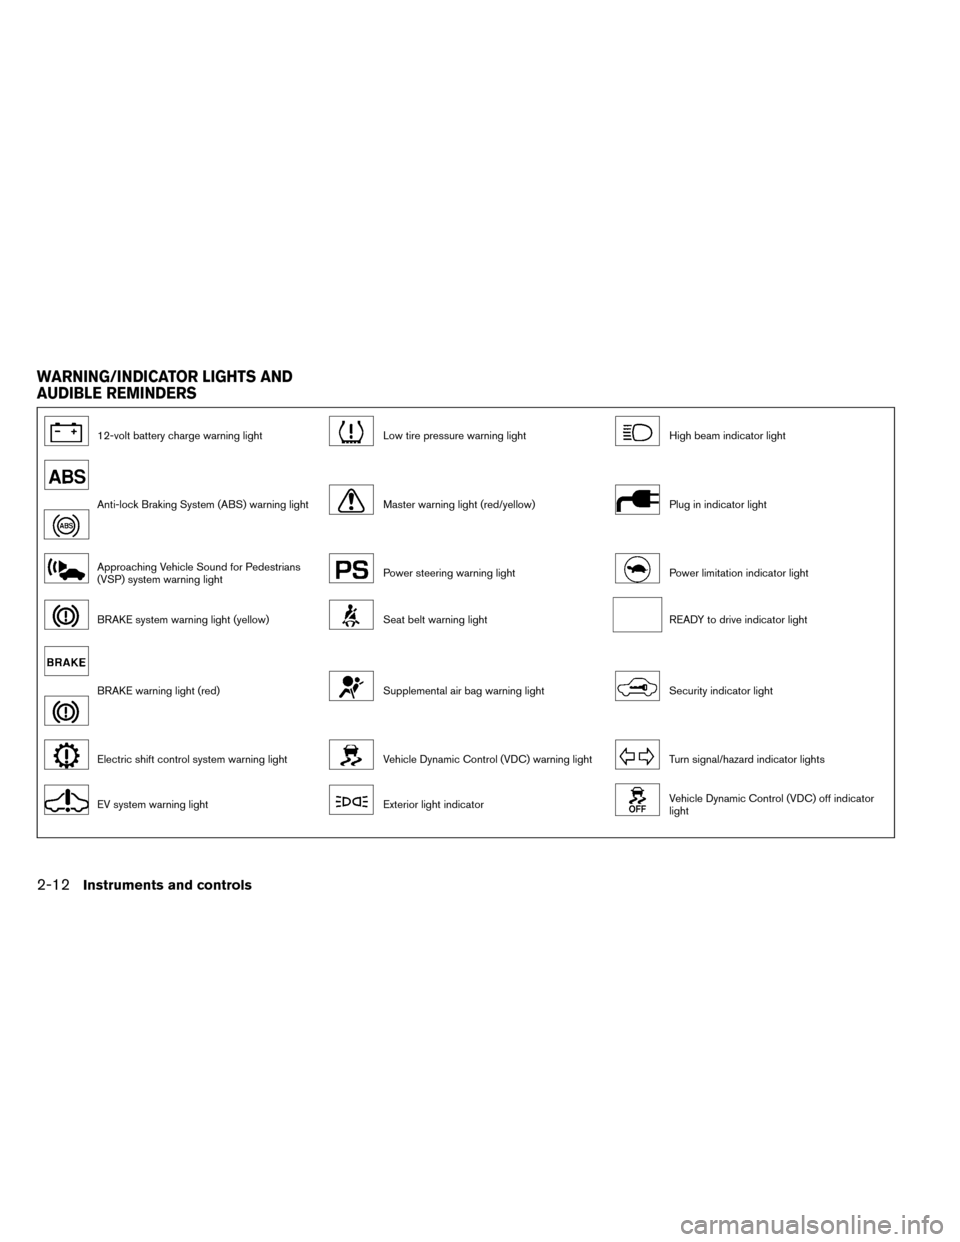
12-volt battery charge warning lightLow tire pressure warning lightHigh beam indicator light
Anti-lock Braking System (ABS) warning lightMaster warning light (red/yellow)Plug in indicator light
Approaching Vehicle Sound for Pedestrians
(VSP) system warning lightPower steering warning lightPower limitation indicator light
BRAKE system warning light (yellow)Seat belt warning lightREADY to drive indicator light
BRAKE warning light (red)Supplemental air bag warning lightSecurity indicator light
Electric shift control system warning lightVehicle Dynamic Control (VDC) warning lightTurn signal/hazard indicator lights
EV system warning lightExterior light indicatorVehicle Dynamic Control (VDC) off indicator
light
WARNING/INDICATOR LIGHTS AND
AUDIBLE REMINDERS
2-12Instruments and controls
Page 156 of 412
When the low tire pressure warning light illumi-
nates, you should stop and adjust the tire pres-
sure to the recommended COLD tire pressure
shown on the Tire and Loading Information label.
The low tire pressure warning light does not
automatically turn off when the tire pressure is
adjusted. After the tire is inflated to the recom-
mended pressure, the vehicle must be driven at
speeds above 16 MPH (25 km/h) to activate the
TPMS and turn off the low tire pressure warning
light. Use a tire pressure gauge to check the tire
pressure.
The CHECK TIRE PRESSURE warning appears
each time the ignition switch is placed in the ON
position as long as the low tire pressure warning
light remains illuminated.
For additional information, see “Vehicle informa-
tion display” in the “Instruments and Controls”
section and “Tire Pressure Monitoring System
(TPMS)” in the “Starting and driving” section and
“In case of emergency” section.
TPMS malfunction:
If the TPMS is not functioning properly, the low
tire pressure warning light will flash for approxi-
mately 1 minute when the power switch is placed
in the ON position. The light will remain on after
the 1 minute. Have the system checked by aNISSAN certified LEAF dealer. The CHECK TIRE
PRESSURE warning does not appear if the low
tire pressure warning light illuminates to indicate
a TPMS malfunction.
For additional information, see “Vehicle informa-
tion display” and “Tire Pressure Monitoring Sys-
tem (TPMS)” in the “Starting and driving” section.
WARNING
• Radio waves could adversely affect electric medical equipment. Those
who use a pacemaker should contact
the electric medical equipment manu-
facturer for the possible influences be-
fore use.
• If the light does not illuminate when the power switch is placed in the ON
position, have the vehicle checked by a
NISSAN certified LEAF dealer as soon
as possible.
• If the light illuminates while driving, avoid sudden steering maneuvers or
abrupt braking, reduce vehicle speed,
pull off the road to a safe location and
stop the vehicle as soon as possible.
Driving with under-inflated tires may
permanently damage the tires and in-
crease the likelihood of tire failure.
Serious vehicle damage could occur and may lead to an accident and could
result in serious personal injury. Check
the tire pressure for all four tires. Ad-
just the tire pressure to the recom-
mended COLD tire pressure shown on
the Tire and Loading Information label
to turn the low tire pressure warning
light OFF. If the light still illuminates
while driving after adjusting the tire
pressure, a tire may be flat. If you have
a flat tire, repair it as soon as possible.
• When a wheel is replaced, the TPMS will not function and the low tire pres-
sure warning light will flash for ap-
proximately 1 minute. The light will re-
main on after 1 minute. Contact your
NISSAN certified LEAF dealer as soon
as possible for tire replacement
and/or system resetting.
• Replacing tires with those not origi- nally specified by NISSAN could affect
the proper operation of the TPMS.
CAUTION
• The TPMS is not a substitute for the regular tire pressure check. Be sure to
check the tire pressure regularly.
Instruments and controls2-17