2015 MITSUBISHI OUTLANDER SPORT clock
[x] Cancel search: clockPage 262 of 384
Automatic air conditioning-Type1 (if so equipped)
Comfort controls 7-15
7
N00736900153
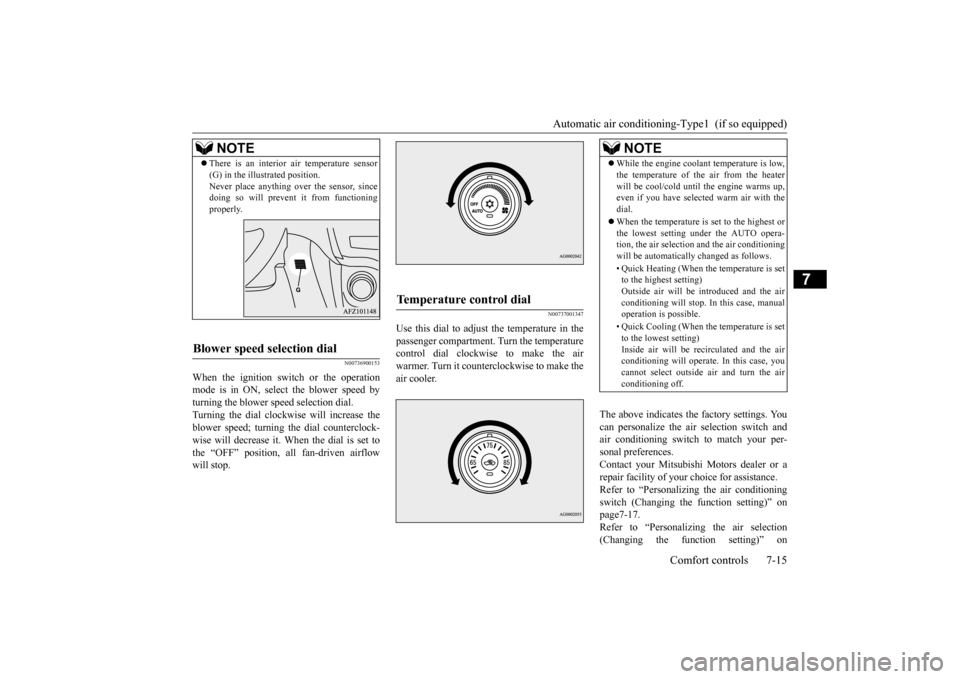
When the ignition switch or the operation mode is in ON, select the blower speed by turning the blower speed selection dial.Turning the dial clockwise will increase the blower speed; turning the dial counterclock- wise will decrease it. When the dial is set tothe “OFF” position, all fan-driven airflow will stop.
N00737001347
Use this dial to adjust the temperature in the passenger compartment. Turn the temperaturecontrol dial clockwise to make the air warmer. Turn it counterclockwise to make the air cooler.
The above indicates the factory settings. You can personalize the air selection switch and air conditioning switch to match your per-sonal preferences. Contact your Mitsubishi Motors dealer or a repair facility of your choice for assistance.Refer to “Personalizing the air conditioning switch (Changing the function setting)” on page7-17.Refer to “Personalizing the air selection (Changing the function setting)” on
NOTE
There is an interior air temperature sensor (G) in the illustrated position. Never place anything over the sensor, since doing so will prevent it from functioning properly.
Blower speed selection dial
Temperature control dial
NOTE
While the engine coolant temperature is low, the temperature of the air from the heater will be cool/cold until the engine warms up, even if you have selected warm air with the dial. When the temperature is set to the highest or the lowest setting under the AUTO opera-tion, the air selection and the air conditioning will be automatically changed as follows. • Quick Heating (When the temperature is set to the highest setting) Outside air will be introduced and the airconditioning will stop. In this case, manual operation is possible. • Quick Cooling (When the temperature is set to the lowest setting) Inside air will be recirculated and the airconditioning will operate. In this case, you cannot select outside air and turn the air conditioning off.
BK0206700US.bo
ok 15 ページ 2014年3月25日 火曜日 午後4時42分
Page 267 of 384
Automatic air conditioning
-Type2 (if so equipped)
7-20 Comfort controls
7
N00731500271 N00711801611
N00736900166
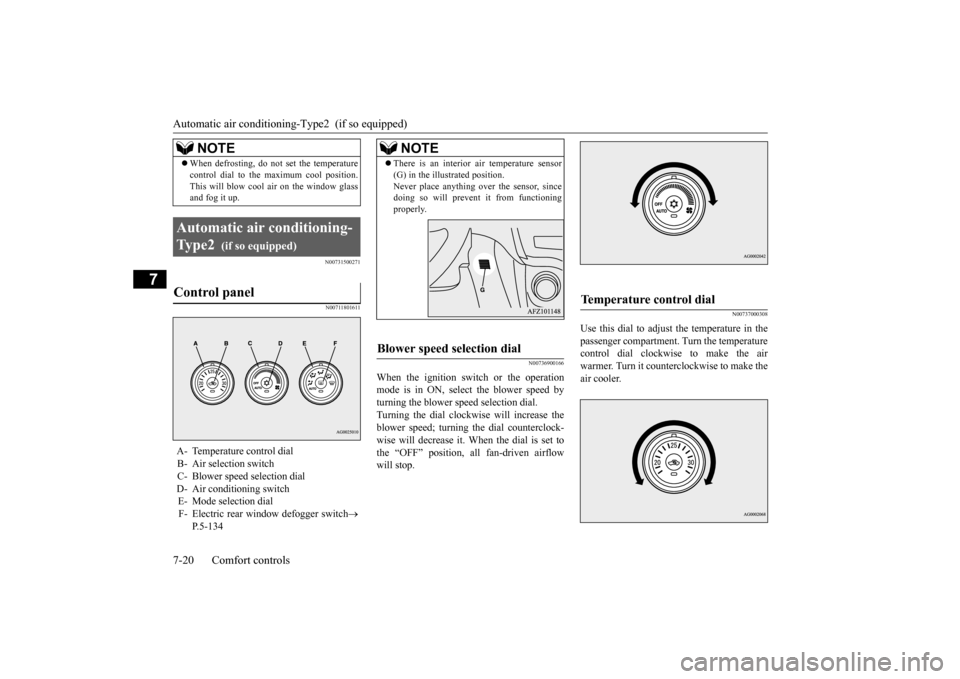
When the ignition switch or the operation mode is in ON, select the blower speed by turning the blower speed selection dial.Turning the dial clockwise will increase the blower speed; turning the dial counterclock- wise will decrease it. When the dial is set tothe “OFF” position, all fan-driven airflow will stop.
N00737000308
Use this dial to adjust the temperature in the passenger compartment. Turn the temperaturecontrol dial clockwise to make the air warmer. Turn it counterclockwise to make the air cooler.
When defrosting, do not set the temperature control dial to the maximum cool position. This will blow cool air on the window glass and fog it up.
Automatic air conditioning- Ty p e 2
(if so equipped)
Control panel
A- Temperature control dial B- Air selection switch C- Blower speed selection dial D- Air conditioning switchE- Mode selection dial F- Electric rear window defogger switch
P.5-134NOTE
NOTE
There is an interior air temperature sensor (G) in the illustrated position. Never place anything over the sensor, since doing so will prevent it from functioning properly.
Blower speed selection dial
Temperature control dial
BK0206700US.bo
ok 20 ページ 2014年3月25日 火曜日 午後4時42分
Page 283 of 384
Operation Keys 7-36 Comfort controls
7
N00716300021 N00716400022
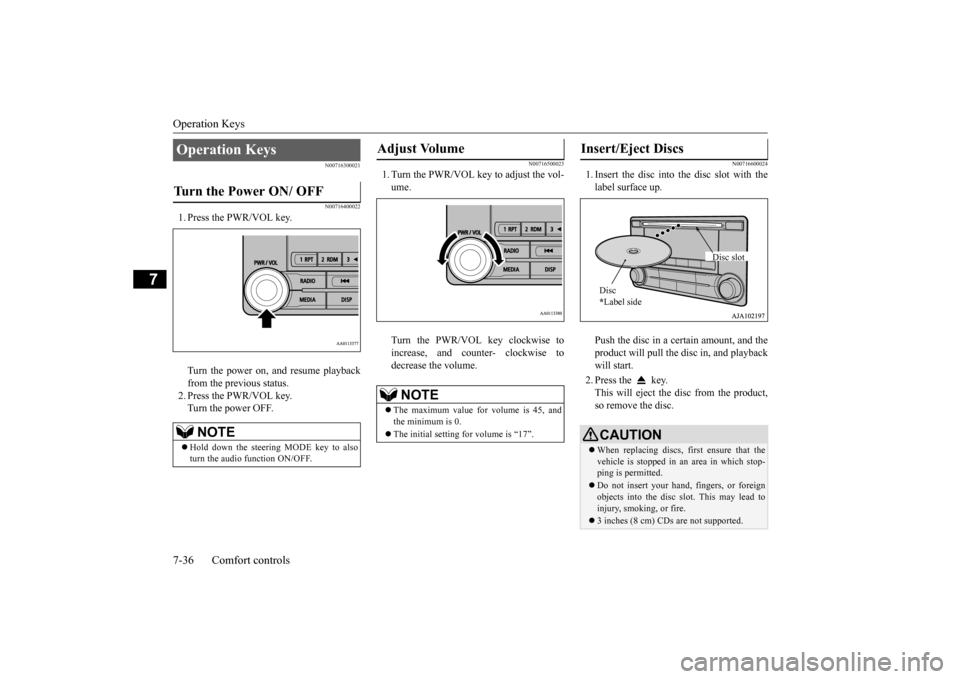
1. Press the PWR/VOL key. Turn the power on, and resume playback from the previous status. 2. Press the PWR/VOL key.Turn the power OFF.
N00716500023
1. Turn the PWR/VOL key to adjust the vol-ume. Turn the PWR/VOL key clockwise to increase, and counter- clockwise todecrease the volume.
N00716600024
1. Insert the disc into the disc slot with thelabel surface up. Push the disc in a certain amount, and the product will pull the disc in, and playbackwill start. 2. Press the key. This will eject the disc from the product, so remove the disc.
Operation Keys Turn the Power ON/ OFF
NOTE
Hold down the steering MODE key to also turn the audio function ON/OFF.
Adjust Volume
NOTE
The maximum value for volume is 45, and the minimum is 0. The initial setting for volume is “17”.
Insert/Eject Discs
CAUTIONWhen replacing discs, first ensure that the vehicle is stopped in an area in which stop-ping is permitted. Do not insert your hand, fingers, or foreign objects into the disc slot. This may lead to injury, smoking, or fire. 3 inches (8 cm) CDs are not supported.Disc * Label side
Disc slot
BK0206700US.bo
ok 36 ページ 2014年3月25日 火曜日 午後4時42分
Page 286 of 384
Listen to Radio
Comfort controls 7-39
7
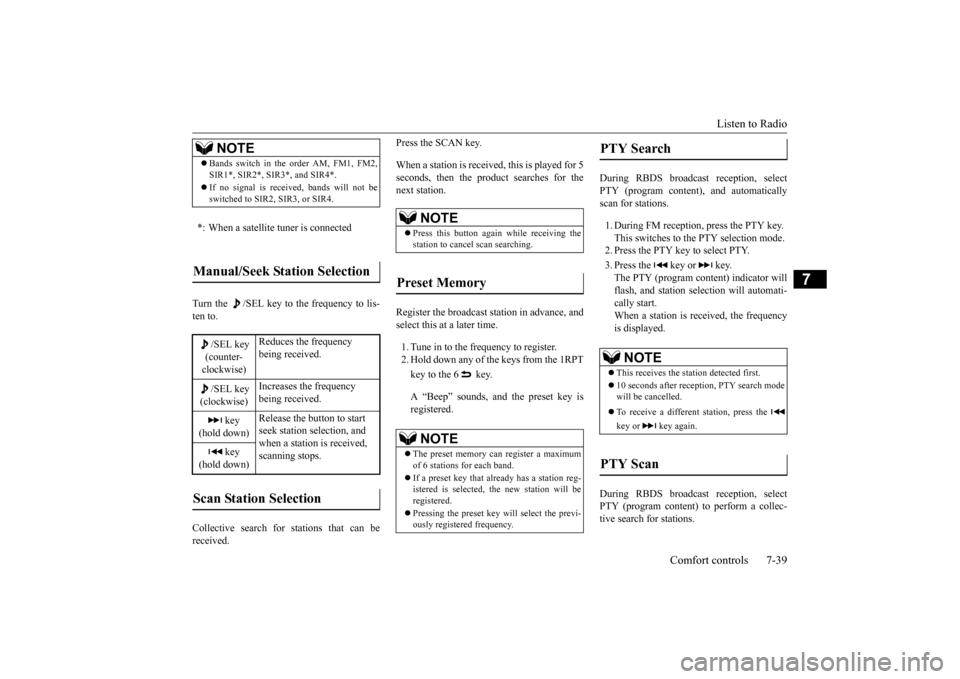
Turn the /SEL key to the frequency to lis- ten to. Collective search for stations that can be received.
Press the SCAN key. When a station is received, this is played for 5 seconds, then the product searches for the next station. Register the broadcast station in advance, and select this at a later time. 1. Tune in to the frequency to register. 2. Hold down any of the keys from the 1RPT key to the 6 key. A “Beep” sounds, and the preset key is registered.
During RBDS broadcast reception, select PTY (program content), and automaticallyscan for stations. 1. During FM reception, press the PTY key. This switches to the PTY selection mode. 2. Press the PTY key to select PTY. 3. Press the key or key. The PTY (program content) indicator willflash, and station selection will automati- cally start. When a station is r
eceived, the frequency
is displayed.
During RBDS broadcast reception, select PTY (program content) to perform a collec- tive search for stations.
NOTE
Bands switch in the order AM, FM1, FM2, SIR1*, SIR2*, SIR3*, and SIR4*. If no signal is received, bands will not be switched to SIR2, SIR3, or SIR4.
*: When a satellite tuner is connectedManual/Seek Station Selection
/SEL key (counter-clockwise)
Reduces the frequency being received.
/SEL key (clockwise)
Increases the frequency being received.
key
(hold down)
Release the button to start seek station selection, and when a station is received, scanning stops.
key
(hold down)Scan Station Selection
NOTE
Press this button again while receiving the station to cancel scan searching.
Preset Memory
NOTE
The preset memory can register a maximum of 6 stations for each band. If a preset key that already has a station reg- istered is selected, the new station will be registered. Pressing the preset key will select the previ- ously registered frequency.
PTY Search
NOTE
This receives the station detected first. 10 seconds after reception, PTY search mode will be cancelled. To receive a different station, press the key or key again.
PTY Scan
BK0206700US.bo
ok 39 ページ 2014年3月25日 火曜日 午後4時42分
Page 300 of 384
System Settings
Comfort controls 7-53
7
N00718500056
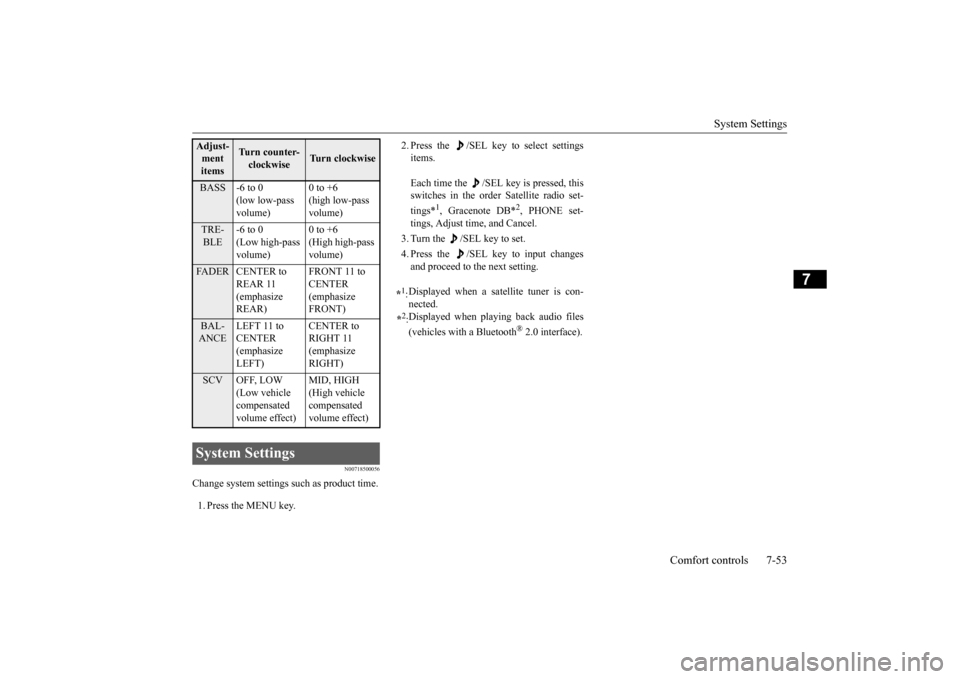
Change system settings such as product time. 1. Press the MENU key.
2. Press the /SEL key to select settings items. Each time the /SEL key is pressed, this switches in the order Satellite radio set- tings*
1, Gracenote DB*
2, PHONE set-
tings, Adjust time, and Cancel. 3. Turn the /SEL key to set.4. Press the /SEL key to input changes and proceed to the next setting.
Adjust- ment items
Turn counter-clockwise
Turn clockwise
BASS -6 to 0
(low low-pass volume)
0 to +6 (high low-pass volume)
TRE- BLE
-6 to 0 (Low high-pass volume)
0 to +6 (High high-pass volume)
FADER CENTER to
REAR 11 (emphasize REAR)
FRONT 11 to CENTER (emphasize FRONT)
BAL- ANCE
LEFT 11 to CENTER (emphasize LEFT)
CENTER to RIGHT 11 (emphasize RIGHT)
SCV OFF, LOW
(Low vehicle compensated volume effect)
MID, HIGH (High vehicle compensated volume effect)
System Settings
*1: Displayed when a satellite tuner is con- nected.
*2: Displayed when playing back audio files (vehicles with a Bluetooth
® 2.0 interface).
BK0206700US.bo
ok 53 ページ 2014年3月25日 火曜日 午後4時42分
Page 305 of 384
Antenna 7-58 Comfort controls
7
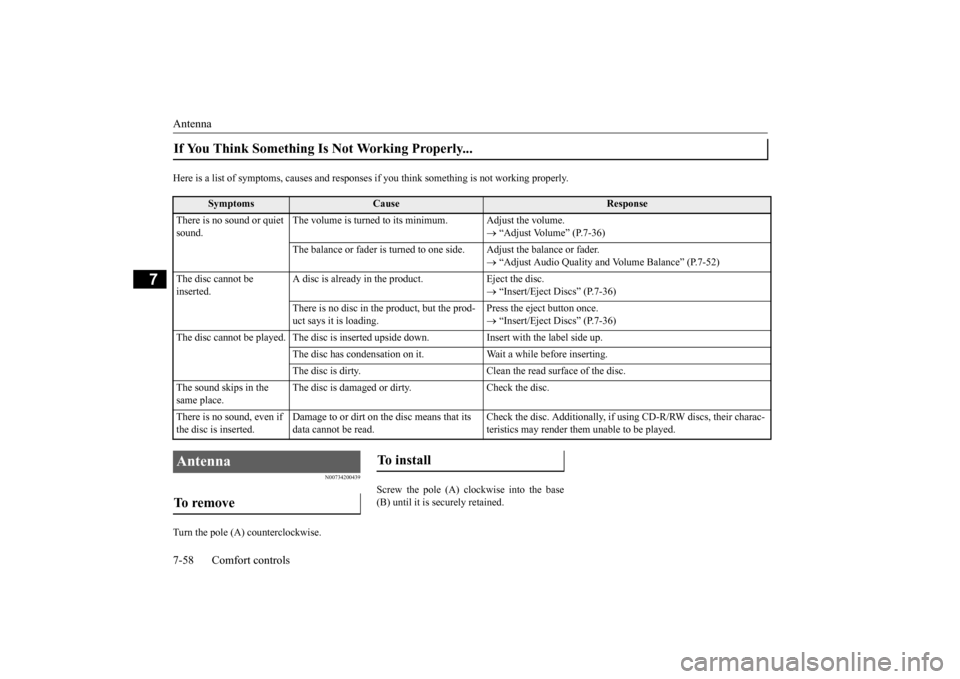
Here is a list of symptoms, causes and responses
if you think something is not working properly.
N00734200439
Turn the pole (A) counterclockwise.
Screw the pole (A) clockwise into the base (B) until it is securely retained.
If You Think Something Is Not Working Properly...
Symptoms
Cause
Response
There is no sound or quiet sound.
The volume is turned to its minimum. Adjust the volume.
“Adjust Volume” (P.7-36)
The balance or fader is turned to one side. Adjust the balance or fader.
“Adjust Audio Quality and Volume Balance” (P.7-52)
The disc cannot be inserted.
A disc is already in the product. Eject the disc.
“Insert/Eject Discs” (P.7-36)
There is no disc in the product, but the prod- uct says it is loading.
Press the eject button once. “Insert/Eject Discs” (P.7-36)
The disc cannot be played. The disc is inserted upside down. Insert with the label side up.
The disc has condensation on it. W
ait a while before inserting.
The disc is dirty. Clean the read surface of the disc.
The sound skips in the same place.
The disc is damaged or dirty. Check the disc.
There is no sound, even if the disc is inserted.
Damage to or dirt on the disc means that its data cannot be read.
Check the disc. Additionally, if using CD-R/RW discs, their charac- teristics may render them unable to be played.
Antenna To remove
To install
BK0206700US.bo
ok 58 ページ 2014年3月25日 火曜日 午後4時42分
Page 311 of 384
Engine overheating 8-4 For emergencies
8
If you drive your vehicle with a low battery charge after the engine has been started by using jumper cables, the engine may misfire. This can cause the anti-lock braking systemwarning light to blink on and off. This is only due to the low battery voltage. It is not a problem with the brake system. If this hap-pens, fully charge the battery and ensure thecharging system is operating properly.
N00836500352
When the engine is overheating, the informa-tion screen in the multi-information display will be interrupted and the engine coolant temperature warning display will appear. Also “ ” blink. If this happens: 1. Stop the vehicle in a safe place. Turn on the hazard warning flashers. 2. With the engine still running, carefullyraise the engine hood to vent the engine compartment.
3. Check that the cooling fan is running. If the fan is not turning, stop the engine immediately and contact an authorized Mitsubishi Motors dealer or a repair facil-ity of your choice for assistance. 4. If you see steam or spray coming from under the hood, turn off the engine. 5. If you do not see steam or spray comingfrom under the hood, leave the engine on until the bar graph for the engine coolant temperature warning display on the multi-information display goes down. When it is in the middle of the normal zone, you can start driving again. If the bar graphstays in the red zone, turn off the engine.
6. When you do not see any more steam or spray, open the hood. Look for obvious leaks, such as a split radiator hose. Be careful as components will be hot. Anyleak source must be repaired. 7. If there is no obvious leak source, check the coolant level in the engine coolantreserve tank. If there is none, or if it is too low, slowly add coolant. 8. If the engine coolant reserve tank needscoolant, you will probably also need toadd coolant to the radiator. Do not loosen or remove the radiator cap until the engine has cooled down. 9. Start the engine, and slowly add coolant, up to the bottom of the filler neck. Useplain water if you have to (and replace it with the right coolant as soon as possible).
As your vehicle has anti-lock brakes Engine overheating
WA R N I N G To avoid personal injury, keep hands, hair, jewelry and clothes away from the coolingfan. The cooling fan can start at any time.WA R N I N G Before raising the engine hood, check to see if there is steam or spray coming from under the hood. Steam or spray coming from an overheated engine could seriously scald you.Do not open the hood until there is no steam or spray.
WA R N I N G Removing the radiator cap could scald you with escaping hot water or steam.When checking the radiator level, cover the cap with a cloth before trying to remove it. Turn it slowly counterclock-wise, without pressing down, to the first notch. The pressure in the system will then be let out. When the pressure is COM-PLETELY LET OUT, press down and keep turning the cap counterclockwise until it comes off.
BK0206700US.bo
ok 4 ページ 2014年3月25日 火曜日 午後4時42分
Page 314 of 384
How to change a tire
For emergencies 8-7
8
N00849700273
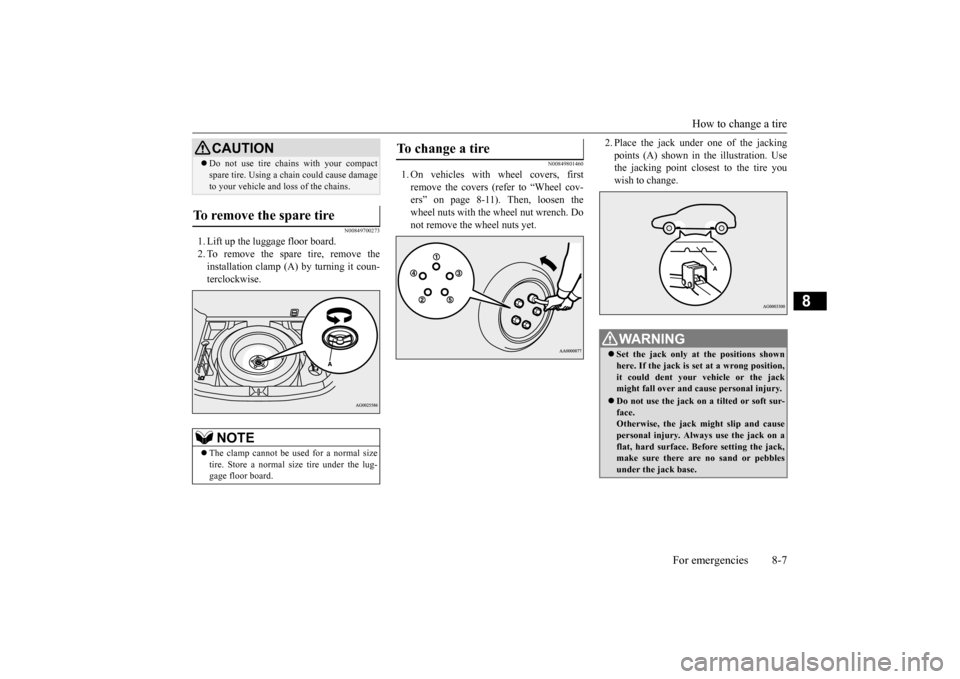
1. Lift up the luggage floor board. 2. To remove the spare tire, remove theinstallation clamp (A) by turning it coun-terclockwise.
N00849801460
1. On vehicles with wheel covers, firstremove the covers (refer to “Wheel cov-ers” on page 8-11). Then, loosen the wheel nuts with the wheel nut wrench. Do not remove the wheel nuts yet.
2. Place the jack under
one of the jacking
points (A) shown in the illustration. Use the jacking point closest to the tire you wish to change.
Do not use tire chains with your compact spare tire. Using a chain could cause damage to your vehicle and loss of the chains.
To remove the spare tire
NOTE
The clamp cannot be used for a normal size tire. Store a normal size tire under the lug- gage floor board.CAUTION
To change a tire
WA R N I N G Set the jack only at the positions shown here. If the jack is set at a wrong position, it could dent your vehicle or the jack might fall over and cause personal injury. Do not use the jack on a tilted or soft sur- face.Otherwise, the jack might slip and cause personal injury. Always use the jack on a flat, hard surface. Before setting the jack,make sure there are no sand or pebbles under the jack base.
BK0206700US.bo
ok 7 ページ 2014年3月25日 火曜日 午後4時42分