Page 27 of 231

MalfunctionsThe function of the remote control may be im‐
paired by local radio waves. If this occurs, un‐ lock and lock the vehicle at the door lock with
the integrated key.
If it should become impossible to lock the vehi‐
cle with a remote control, the battery in the re‐
mote control is discharged. Use this remote control on an extended trip to recharge the
battery, refer to page 20.
For US owners only The transmitter and receiver units comply with
part 15 of the FCC/Federal Communication
Commission regulations. Operation is governed
by the following:
FCC ID:
LX8766S
LX8766E
LX8CAS
Compliance statement:
This device complies with part 15 of the FCC
Rules. Operation is subject to the following two
conditions:▷This device may not cause harmful interfer‐
ence, and▷this device must accept any interference re‐
ceived, including interference that may
cause undesired operation.
Any unauthorized modifications or changes to
these devices could void the user's authority to
operate this equipment.
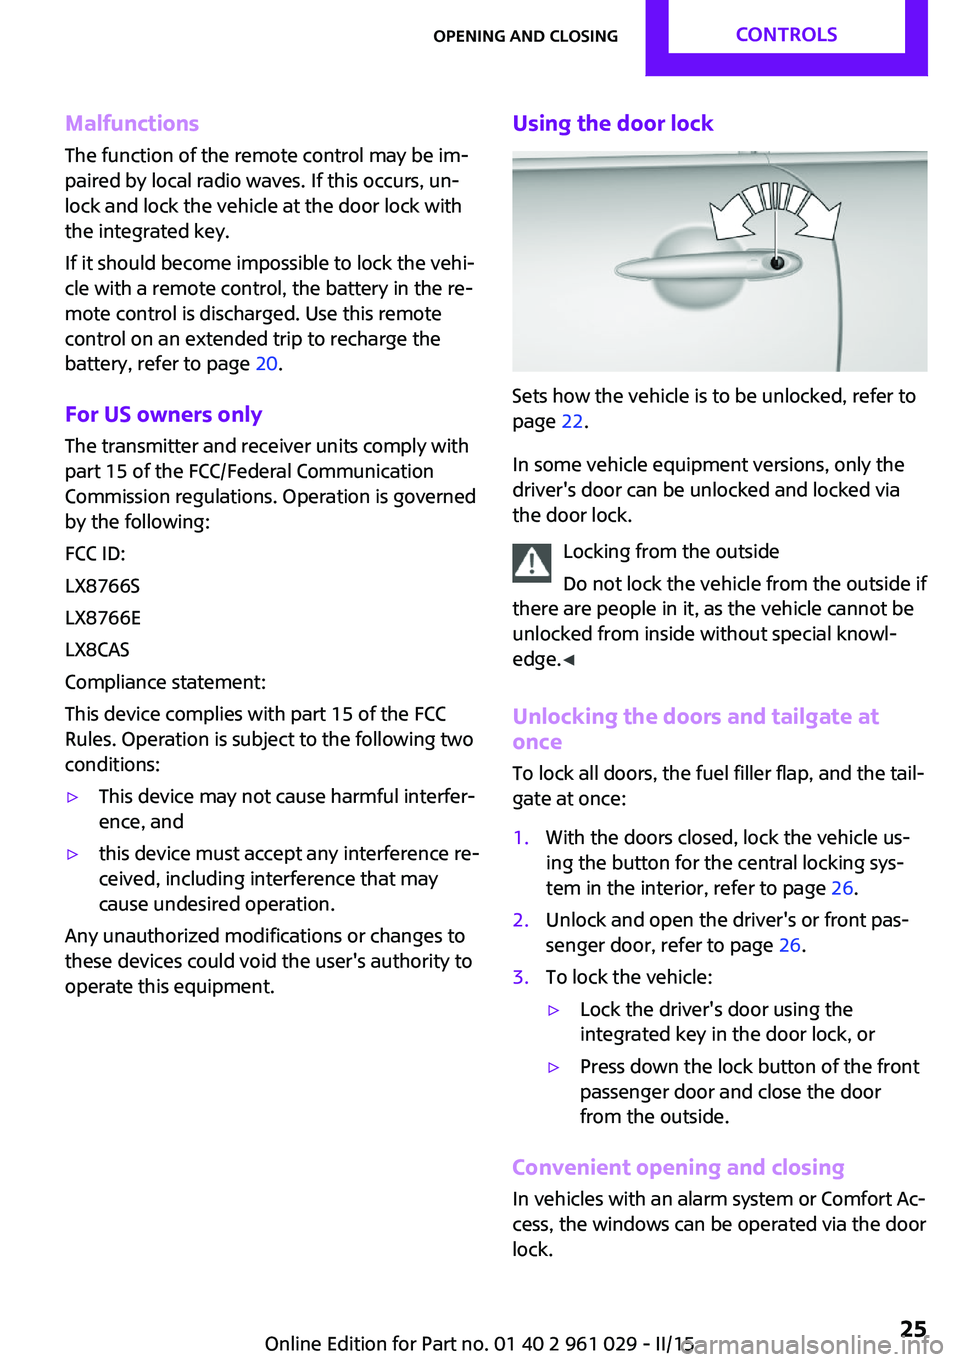
Using the door lock
Sets how the vehicle is to be unlocked, refer to
page 22.
In some vehicle equipment versions, only the
driver's door can be unlocked and locked via
the door lock.
Locking from the outside
Do not lock the vehicle from the outside if
there are people in it, as the vehicle cannot be
unlocked from inside without special knowl‐
edge. ◀
Unlocking the doors and tailgate at
once
To lock all doors, the fuel filler flap, and the tail‐
gate at once:
1.With the doors closed, lock the vehicle us‐
ing the button for the central locking sys‐
tem in the interior, refer to page 26.2.Unlock and open the driver's or front pas‐
senger door, refer to page 26.3.To lock the vehicle:▷Lock the driver's door using the
integrated key in the door lock, or▷Press down the lock button of the front
passenger door and close the door
from the outside.
Convenient opening and closing
In vehicles with an alarm system or Comfort Ac‐
cess, the windows can be operated via the door
lock.
Seite 25Opening and closingCONTROLS25
Online Edition for Part no. 01 40 2 961 029 - II/15
Page 38 of 231

moves to a stable position. The sequence can
be continued using the switch.
The opening or closing procedure is also inter‐
rupted when it is blocked mechanically. To be
able to reactivate the convertible top in this
case:1.Switch the ignition off and on again.2.Press the switch to continue the sequence
in the desired direction.
Opening and closing procedure
Do not interrupt the closing procedure
Do not interrupt and resume the closing
procedure several times in close succession as
this could damage the convertible top mecha‐
nism. ◀
If, after having been activated a number of
times in close succession, the convertible top
can only be moved in one direction, the
convertible top system is overheated. Let the
system cool for approx. 4 minutes.
If the battery was disconnected, for example to
change the battery or to put the vehicle into
storage, reinitialize, refer to page 33, the power
windows; otherwise, the windows will not be
lowered, and it will not be possible to open the
convertible top.
Convenient opening and closing Convenient operation is possible via the remote
control, refer to page 22, and the door lock, re‐
fer to page 25.
Manual closing in case of electrical
malfunction
Only close the convertible top manually if
there is an electrical malfunction
Only close the convertible top manually if this is
absolutely necessary; never open it manually.
Damage may occur if incorrectly operated. The
closing procedure must be fully completed;
otherwise, there is a risk of injury or damage. ◀
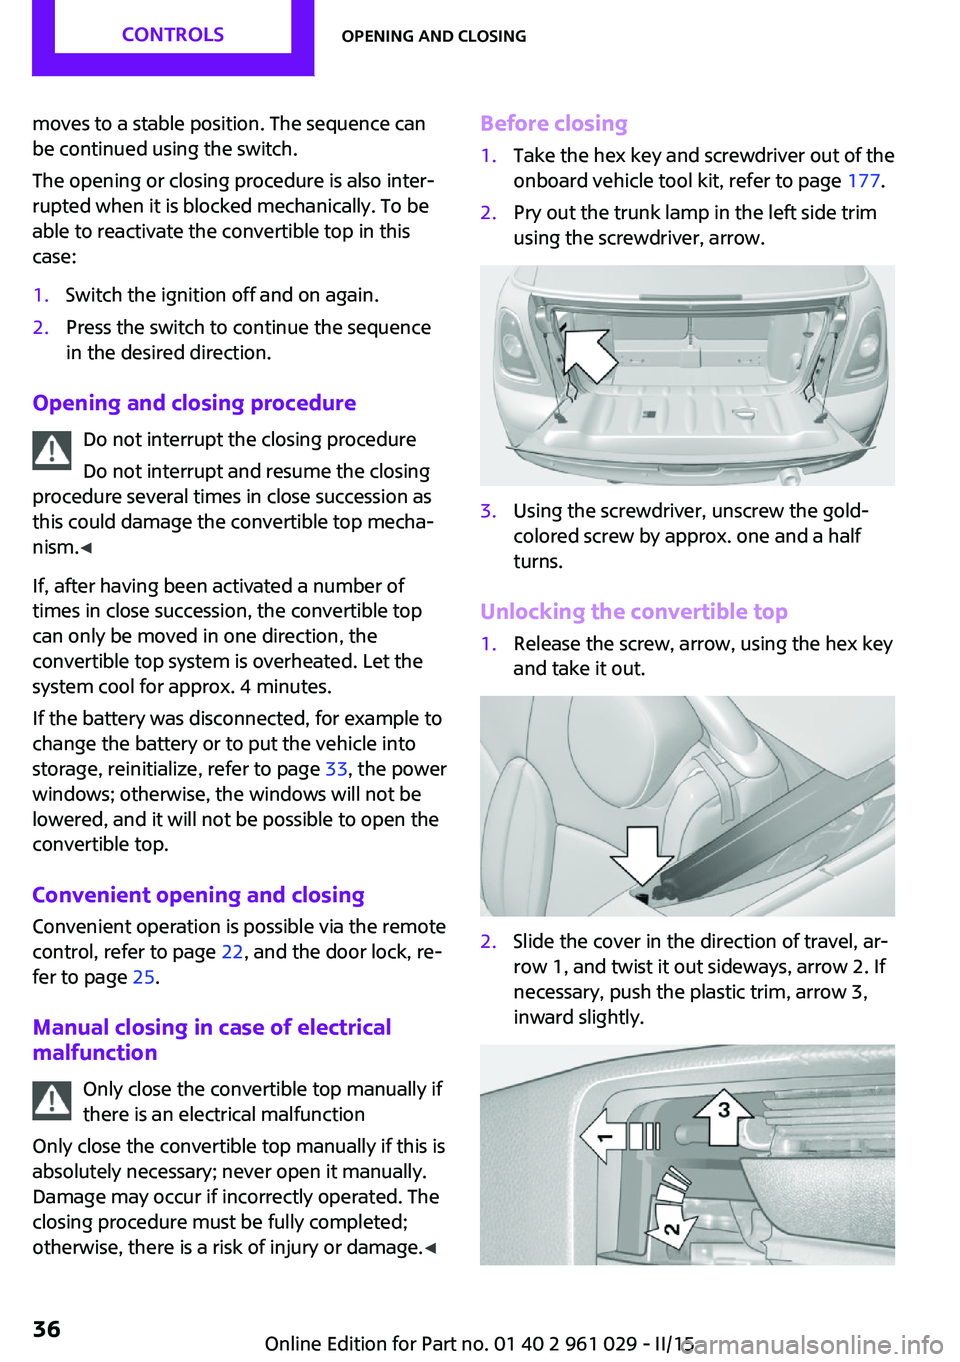
Before closing1.Take the hex key and screwdriver out of the
onboard vehicle tool kit, refer to page 177.2.Pry out the trunk lamp in the left side trim
using the screwdriver, arrow.3.Using the screwdriver, unscrew the gold-
colored screw by approx. one and a half
turns.
Unlocking the convertible top
1.Release the screw, arrow, using the hex key
and take it out.2.Slide the cover in the direction of travel, ar‐
row 1, and twist it out sideways, arrow 2. If
necessary, push the plastic trim, arrow 3,
inward slightly.Seite 36CONTROLSOpening and closing36
Online Edition for Part no. 01 40 2 961 029 - II/15
Page 142 of 231

TelephoneVehicle equipment
This chapter describes all series equipment as
well as country-specific and special equipment
offered for this model series. Therefore, it also
describes equipment that may not be found in
your vehicle, for instance due to the selected
special equipment or the country version. This
also applies to safety-related functions and sys‐
tems.
When using the features and systems described
here, adhere to local regulations.
At a glance
The concept
Mobile phones can be connected with the vehi‐
cle via Bluetooth.
After a suitable mobile phone is paired with the
vehicle once, you can operate the mobile
phone via the radio and via the buttons on the
steering wheel.
Bluetooth® is a registered trademark of Blue‐
tooth® SIG, Inc.
Certain functions may need to be enabled by
the mobile phone provider or service provider.
Using the mobile phone while driving
Make entries only when traffic and road
conditions allow. Do not hold the mobile phone
in your hand while you are driving; use the
hands-free system instead. If you do not ob‐
serve this precaution, you can endanger the ve‐
hicle occupants and other road users. ◀
Snap-in adapter
The snap-in adapter is used to:▷Hold the mobile phone.▷Recharge the battery.▷Connect the mobile phone to an outside
antenna of the vehicle.
This provides for better network reception
and consistent sound quality.
Do not operate a mobile phone that is con‐
nected to the vehicle on the mobile phone key‐
pad, as this may lead to a malfunction.
Approved mobile phones
Details on which mobile phones with a Blue‐
tooth interface are supported by the mobile
phone preparation package can be obtained at
www.mini.com/connectivity.
Notes At high temperatures, the charging function of
the mobile phone may be limited and functions
may not be executed.
Controls
1Display.2Function buttons for selecting the menu
items shown directly above them on the
display.3Redial, accept a call, start dialing, terminate
a call and change to the Telephone menu.4▷Turn: highlight the menu item on the
display or set the value.Seite 140COMMUNICATIONTelephone140
Online Edition for Part no. 01 40 2 961 029 - II/15