2015 MERCEDES-BENZ SLS AMG GT ROADSTER fuel consumption
[x] Cancel search: fuel consumptionPage 10 of 290
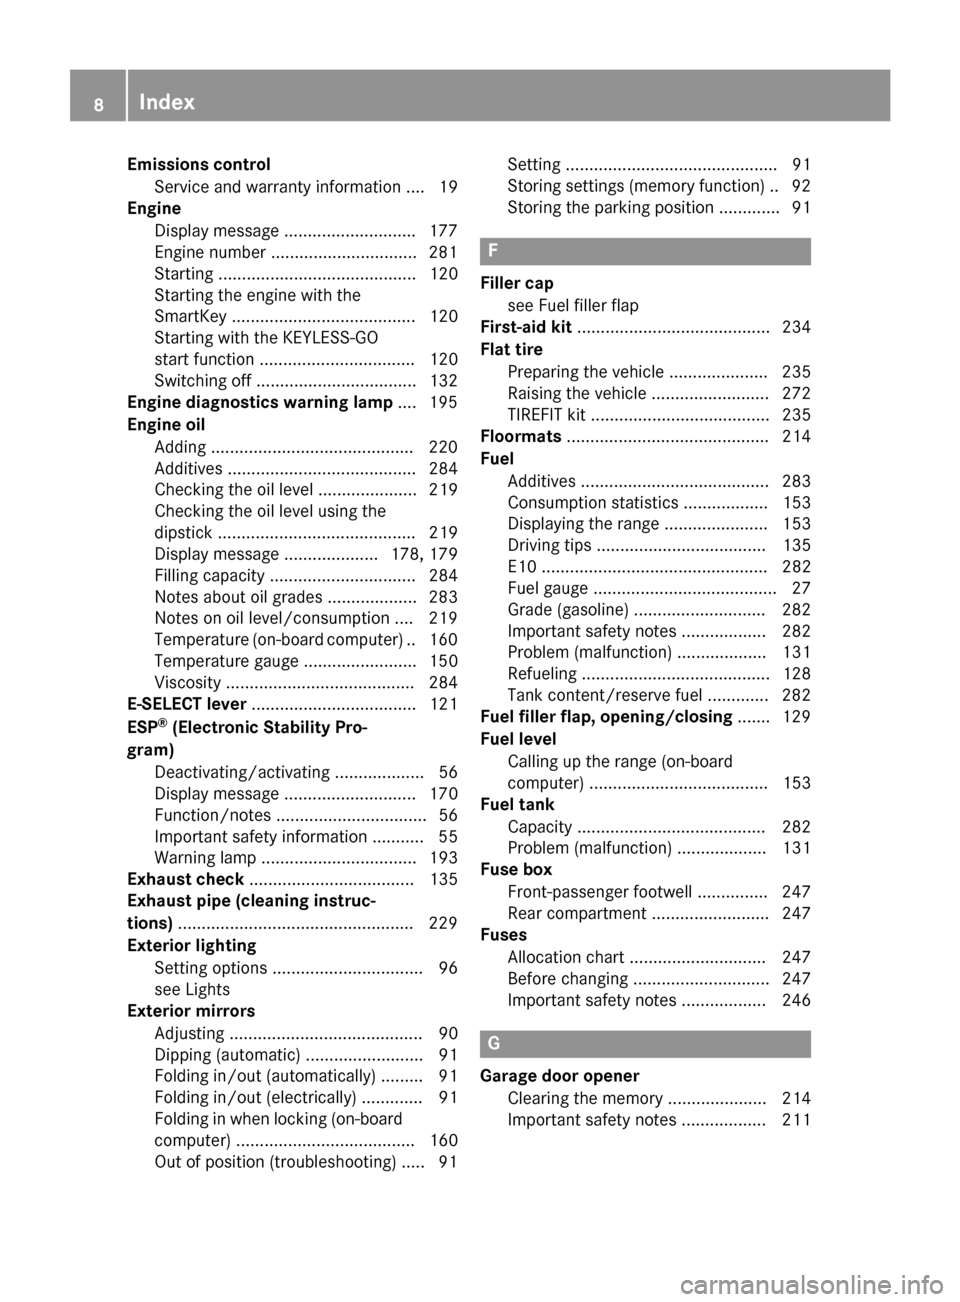
Emissions control
Servic eand warranty informatio n....19
Engine
Display message ............................ 177
Engin enumber .............................. .281
Starting .......................................... 120
Starting the engine with the
SmartKey ....................................... 120
Starting with the KEYLESS-GO
start function ................................. 120
Switching off .................................. 132
Engine diagnostics warning lamp .... 195
Engine oil Adding .......................................... .220
Additives ........................................ 284
Checking the oil leve l..................... 219
Checking the oil leve lusing the
dipstick .......................................... 219
Display message .................... 178, 179
Filling capacity ............................... 284
Notes about oil grades ................... 283
Notes on oil level/consumption .... 219
Temperature (on-board computer) .. 160
Temperature gauge ........................ 150
Viscosity ........................................ 284
E-SELECT lever ................................... 121
ESP ®
(Electronic Stability Pro-
gram) Deactivating/activating ................... 56
Display message ............................ 170
Function/notes ................................ 56
Important safety information ........... 55
Warning lamp ................................. 193
Exhaus tcheck ................................... 135
Exhaus tpipe (cleaning instruc-
tions) ................................................. .229
Exterior lighting Setting options ................................ 96
see Lights
Exterior mirrors
Adjusting ......................................... 90
Dipping (automatic) ......................... 91
Folding in/ou t(au tomatically). ........ 91
Folding in/out (electrically) ............. 91
Folding in when locking (on-board
computer) ...................................... 160
Ou tofp osition (troubleshooting )..... 91 Setting ............................................. 91
Storing settings (memory function) .. 92
Storing the parking position ............. 91 F
Filler cap see Fue lfille rflap
First-ai dkit......................................... 234
Flat tire Preparing the vehicl e..................... 235
Raising the vehicl e......................... 272
TIREFIT kit ...................................... 235
Floormats ........................................... 214
Fuel Additives ........................................ 283
Consumption statistics .................. 153
Displaying the rang e...................... 153
Driving tip s.................................... 135
E10 ................................................ 282
Fue lgauge ....................................... 27
Grade (gasoline )............................ 282
Important safety notes .................. 282
Problem (malfunction) ................... 131
Refueling ........................................ 128
Tank content/reserve fue l............. 282
Fue lfille rflap ,opening/closing ....... 129
Fue llevel
Calling up the rang e(on-board
computer) ...................................... 153
Fue ltank
Capacity ........................................ 282
Problem (malfunction) ................... 131
Fus ebox
Front-passenger footwell ............... 247
Rear compartment ......................... 247
Fuses
Allocation chart ............................. 247
Before changing ............................. 247
Important safety notes .................. 246 G
Garag edooro pener
Clearing the memory ..................... 214
Important safety notes .................. 211 8
Index
Page 20 of 290
Protection of the environment
General notes
H
Environmental note
Daimler's declared policy is one of compre-
hensive environmental protection.
The objectives are for the natural resources
that form the basis of our existence on this
planet to be used sparingly and in amanner
that takes the requirements of both nature
and humanity into account.
You too can help to protect the environment
by operating your vehicle in an environmen-
tally responsible manner.
Fuel consumption and the rate of engine,
transmission, brake and tire wear are affected by these factors:
R operating condition sofyour vehicle
R your personal driving style
You can influence both factors. You should
bear the following in mind:
Operating conditions:
R avoid short trips as these increase fuel con-
sumption.
R always make sure that the tire pressures
are correct.
R do not carry any unnecessary weight.
R remove roof racks once you no longer need
them.
R ar egularly serviced vehicle will contribute
to environmental protection. You should
therefore adhere to the service intervals.
R always have service work carried out at a
qualified specialist workshop.
Personal driving style:
R do not depress the accelerator pedal when
startingt he engine.
R do not warm up the engine when the vehicle
is stationary.
R drive carefully and maintain asafe distance
from the vehicle in front.
R avoid frequent, sudden acceleration and
braking. R
change gear in good time and use each gear
only up to 00C3of its maximum engine speed.
R switch off the engine in stationary traffic.
R keep an eye on the vehicle's fuel consump-
tion. Environmental concerns and recom-
mendations
Wherever the operating instructions require
you to dispose of materials, first try to regen-
erate or re-use them. Observe the relevant
environmental rules and regulations when
disposing of materials. In this way you will
help to protect the environment. Genuine Mercedes-Benz parts
H
Environmental note
Daimler AG also suppliesr econditioned major
assemblies and parts which are of the same
quality as new parts. They are covered by the same Limited Warranty entitlements as new
parts.
! Air bags and Emergency Tensioning Devi-
ces, as well as control units and sensors for these restraint systems, may be installed inthe following areas of your vehicle:
R doors
R door pillars
R door sills
R seats
R cockpit
R instrumen tcluster
R center console
Do not install accessories such as audio
systems in these areas. Do not carry out
repairs or welding. You could impair the
operating efficienc yofthe restraint sys-
tems.
Have aftermarket accessories installed at a qualified specialist workshop. 18
Introduction
Page 128 of 290
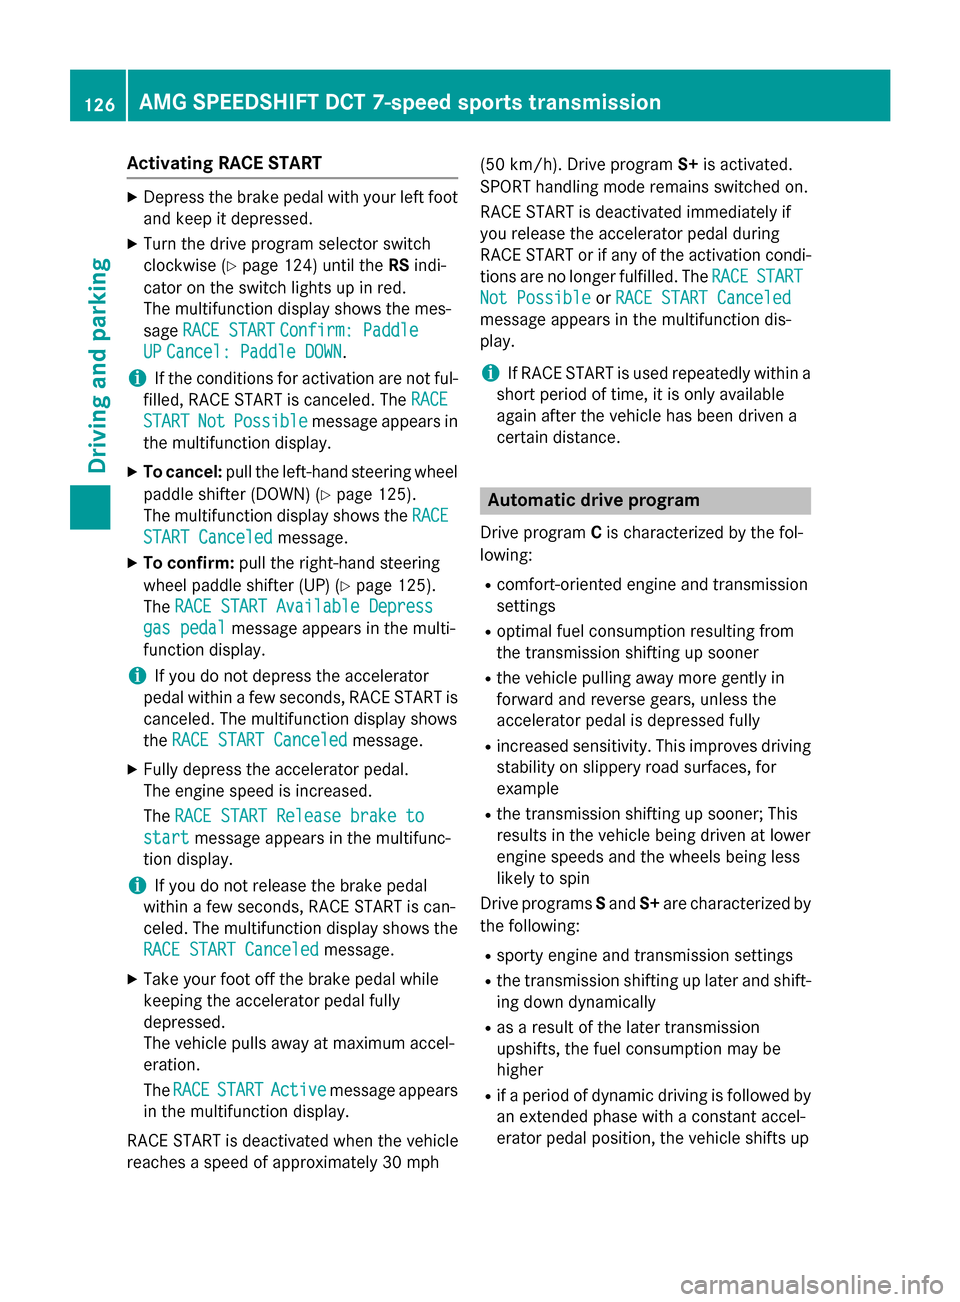
Activating RACE START
X
Depress th ebrak epedal wit hyour lef tfoot
and keep it depressed.
X Turn th edrivep rogram selector switch
clockwise (Y page 124) until the RSindi-
cator on th eswitch lights up in red.
The multifunction display shows th emes-
sage RACES TART
RAC ES TART Confirm: Paddle
Confirm: Paddle
UP
UP Cancel :Paddle DOWN
Cancel :Paddle DOWN.
i If th
econditi onsfor activation are no tful-
filled, RACE START is canceled. The RACE
RACE
START
START Not
NotPossible
Possible message appear sin
th em ultifunction display.
X To cancel: pull theleft-han dsteering wheel
paddle shifte r(DO WN )(Ypage 125).
The multifunction display shows the RACE
RACE
START Canceled
START Canceled message.
X To confirm: pull theright-hand steering
whee lpaddle shifte r(UP) (Y page 125).
The RACES TART Available Depress
RAC ES TART Available Depress
gas pedal
gas pedal message appear sinthemulti-
function display.
i If you do no
tdepress th eaccelerator
pedal within afew seconds, RACE START is
canceled. The multifunction display shows
the RACES TART Canceled
RAC ES TART Canceled message.
X Full ydepress th eaccelerato rpedal.
The engin espee disi ncreased.
The RACES TART Releas ebrake to
RAC ES TART Releas ebrake to
start
start message appear sinthemultifunc-
tion display.
i If you do no
trelease th ebrak epedal
within afew seconds, RACE START is can-
celed. The multifunction display shows the
RAC ES TART Canceled
RAC ES TART Canceled message.
X Tak eyour foo toff th ebrak epedal while
keepin gthe accelerato rpedal fully
depressed.
The vehicl epulls away at maximum accel-
eration.
The RACE RACE START
START Active
Active message appears
in th emultifunction display.
RACE START is deactivated when th evehicle
reaches aspee dofa pproximately 30 mph (50 km/h). Drive program
S+is activated.
SPORT handlin gmoder emain sswitched on.
RACE START is deactivated immediately if
you release th eaccelerato rpedal during
RACE START or if any of th eactivation condi-
tion sare no longer fulfilled .The RACE RACE START
START
Not Possible
Not Possible orRAC ES TART Canceled
RAC ES TART Canceled
message appear sinthemultifunction dis-
play.
i If RACE START is used repeatedly within a
short period of time, it is only available
again after th evehicl ehas been driven a
certain distance. Automati
cdrive program
Drive program Cis characterized by th efol-
lowing:
R comfort-oriented engin eand transmission
settings
R optimal fuel consumption resulting from
th et ransmission shifting up sooner
R thev ehicl epullin gaway mor egentl yin
forward and revers egears, unless the
accelerato rpedal is depressed fully
R increased sensitivity. This improve sdriving
stabilit yonslippery road surfaces, for
example
R thet ransmission shifting up sooner; This
result sinthevehicl ebeingd riven at lower
engin espeeds and th ewheels bein gless
likely to spin
Drive programs Sand S+are characterized by
th ef ollowing:
R sport yenginea nd transmission settings
R thet ransmission shifting up later and shift-
ing down dynamically
R as aresult of th elater transmission
upshifts, th efuel consumption may be
higher
R ifap eriod of dynamic driving is followed by
an extended phas ewithac onstant accel-
erator pedal position ,the vehicl eshifts up 126
AMG SPEEDSHIFT DCT 7-speed sports trans
missionDriving andparking
Page 129 of 290
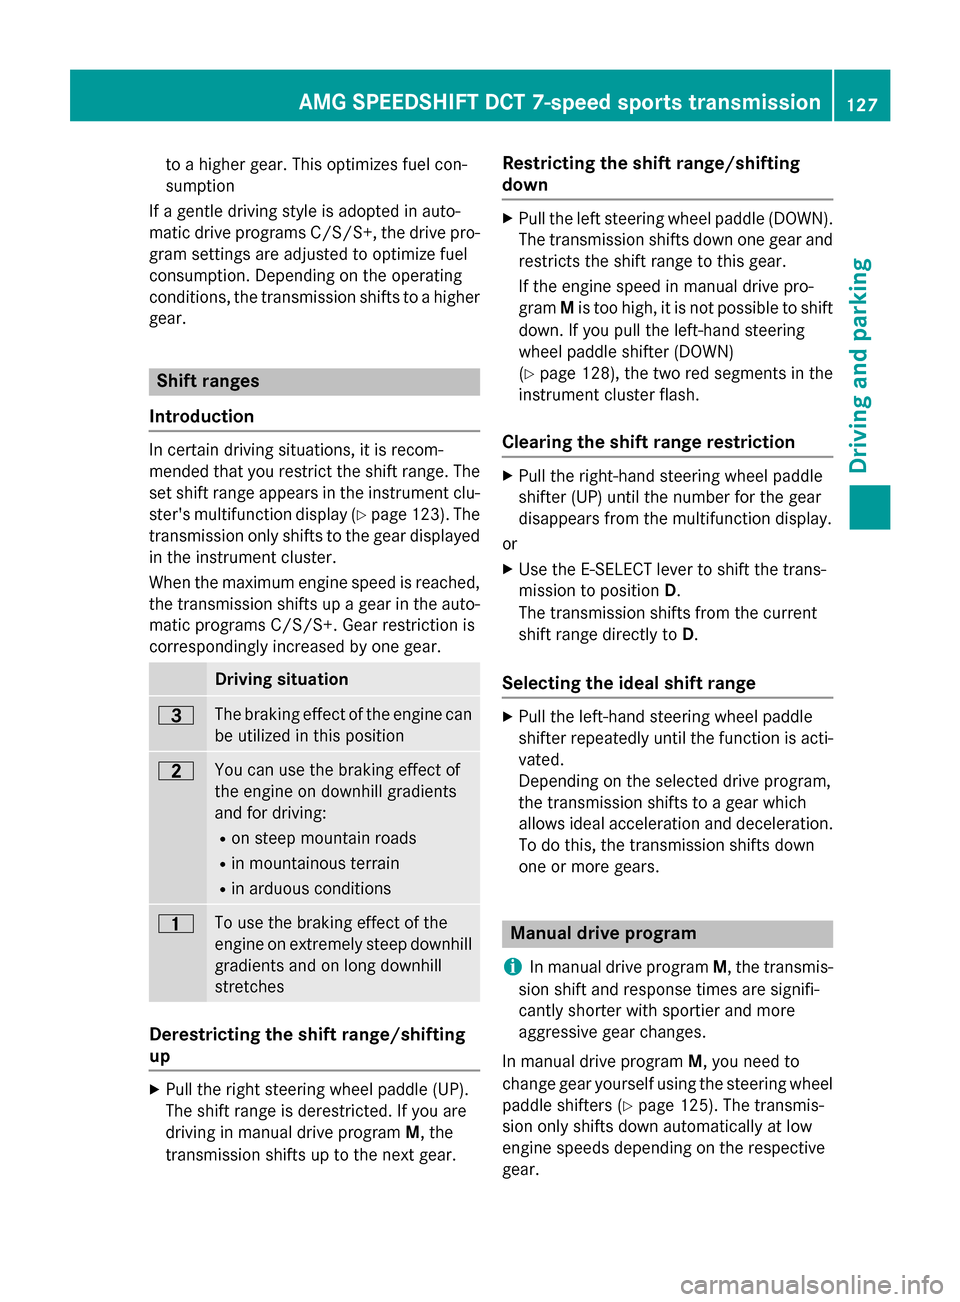
to
ah ighe rgear. This optimize sfue lcon-
sumption
If ag entle driving style is adopted in auto-
matic drive programs C/S/S+ ,the drive pro-
gra ms etting sareadjusted to optimize fuel
consumption. Depending on the operating
conditions ,the transmission shifts to ahigher
gear. Shift ranges
Introduction In certai
ndriving situations, it is recom-
mended tha tyou restrict the shift range .The
se ts hift range appear sinthe instrument clu-
ster's multifunctio ndisplay ( Ypage 123). The
transmission onl yshifts to the gear displayed
in the instrument cluster.
When the maximum engine spee disreached,
the transmission shifts up agearint he auto-
matic programs C/S/S+ .Gearrestrictio nis
correspondingl yincrease dbyone gear. Driving situation
0040
Th
eb raking effect of the engine can
be utilized in thi sposit ion 0038
Yo
uc an us ethe braking effect of
the engine on downhil lgradients
and for driving:
R on steep mountai nroads
R in mountainou sterrain
R in arduou sconditions 0037
To us
ethe braking effect of the
engine on extremel ysteep downhill
gradients and on long downhill
stretches Derestrictin
gthe shift range/shifting
up X
Pull the righ tsteering whee lpaddl e(UP).
Th es hift range is derestricted .Ifyouare
driving in manua ldrive program M,the
transmission shifts up to the next gear. Restrictin
gthe shift range/shifting
down X
Pull the left steering whee lpaddl e(DOWN).
Th et ransmission shifts down one gear and
restricts the shift range to thi sgear.
If the engine spee dinmanuald rive pro-
gram Mis too high ,itisnot possibl etoshift
down. If yo upullt he left-hand steering
whee lpaddl eshifter (DOWN)
(Y page 128), the two red segments in the
instrument cluste rflash.
Clearin gthe shift rang erestriction X
Pull the right-hand steering whee lpaddle
shifter (UP) unti lthe numbe rfor the gear
disappears fro mthe multifunctio ndisplay.
or X Use the E-SELEC Tlever to shift the trans-
mission to position D.
Th et ransmission shifts fro mthe current
shift range directly to D.
Selecting the ideal shift range X
Pull the left-hand steering whee lpaddle
shifter repeatedly unti lthe functio nisa cti-
vated.
Depending on the selected drive program,
the transmission shifts to agearw hich
allows idea lacceleratio nand deceleration.
To do this, the transmission shifts down
one or mor egears. Manual driv
eprogram
i In manua
ldrive program M,the transmis-
sion shift and response times ar esignifi-
cantly shorter with sportier and more
aggressive gear changes.
In manua ldrive program M,younee dto
change gear yourself using the steering wheel
paddle shifter s(Ypage 125). Th etransmis-
sion onl yshifts down automaticall yatlow
engine speeds depending on the respective
gear. AM
GS PEEDSHIFT DCT 7-speed spor ts transmission
127Driving andparking Z
Page 155 of 290
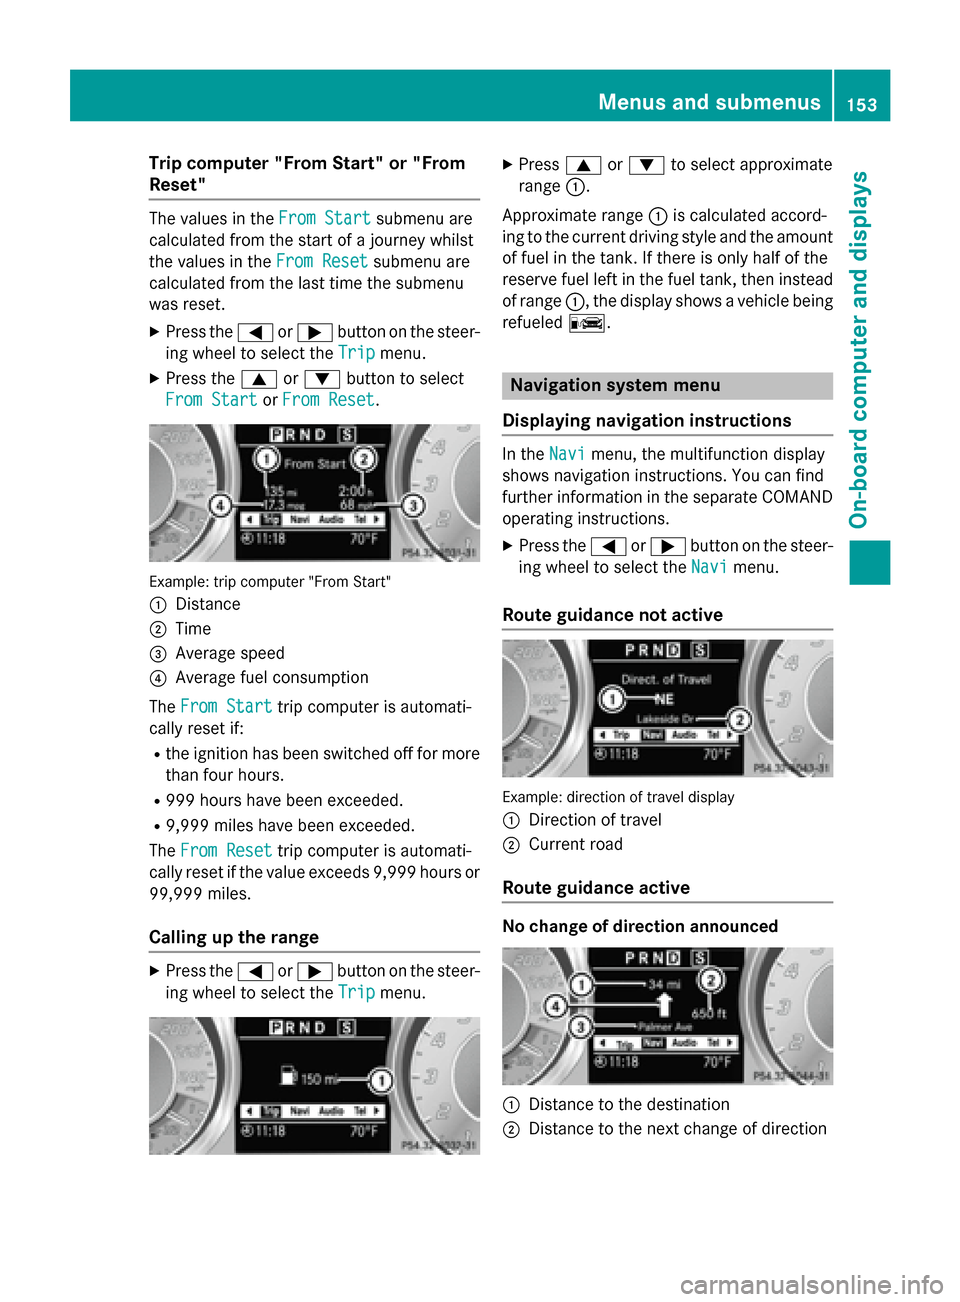
Trip compute
r"From Start" or "From
Reset" The values in the
FromStart
Fro mStart submenu are
calculate dfromt he start of ajourney whilst
the values in the FromReset
Fro mReset submenu are
calculate dfromt he last time the submenu
wa sreset.
X Press the 0059or0065 button on the steer-
ing whee ltoselect the Trip
Tripmenu.
X Press the 0063or0064 button to select
Fro mStart
Fro mStart orFro mReset
Fro mReset. Example: trip compute
r"From Start"
0043 Distance
0044 Time
0087 Averag espeed
0085 Averag efuelconsumption
The FromStart
Fro mStart trip compute risautomati-
cally reset if:
R the ignition ha sbeens witched off for more
tha nfourh ours.
R 999 hours have been exceeded.
R 9,999 miles have been exceeded.
The FromReset
Fro mReset trip compute risautomati-
cally reset if the valu eexceed s9,999 hours or
99,999 miles.
Callin gupt he range X
Press the 0059or0065 button on the steer-
ing whee ltoselect the Trip Tripmenu. X
Press 0063or0064 to select approximate
range 0043.
Approximate range 0043is calculate daccord-
ing to the current driving style and the amount of fuel in the tank. If there is onl yhalfoft he
reserv efuellef tint he fuel tank, the ninstead
of range 0043,the displa yshows avehicl ebeing
refueled 00A8. Navigation system menu
Displaying navigatio ninstructions In the
Navi
Navimenu ,the multifunctio ndisplay
shows navigation instructions. Yo ucan find
furthe rinformatio ninthe separate COMAND
operating instructions.
X Press the 0059or0065 button on the steer-
ing whee ltoselect theNavi
Navi menu.
Route guidanc enotactive Example: direction of travel display
0043
Directio noftravel
0044 Current road
Route guidanc eactive No chang
eofdirection announced 0043
Distance to the destination
0044 Distance to the next change of direction Menus and submenus
153On-board computer and displays Z
Page 258 of 290
R
wear excessively and/or unevenly
R have an adverse effect on fuel consumption
Overinflated tires G
WARNING
Tires with excessively high pressure can burst
because they are damage dmoree asily by
road debris, potholes etc .Inaddition ,they
also suffer fro mirregular wear, whic hcan
severely impair th ebraking properties and the
driving characteristics. Ther eisarisk of an
accident.
Avoid tir epressures that are to ohigh in all the
tires, including th espare wheel.
Overinflated tires may: R increase th ebraking distance
R adversely affect handling
R wear excessively and/or unevenly
R have an adverse effect on ride comfort
R be mor esusceptible to damage
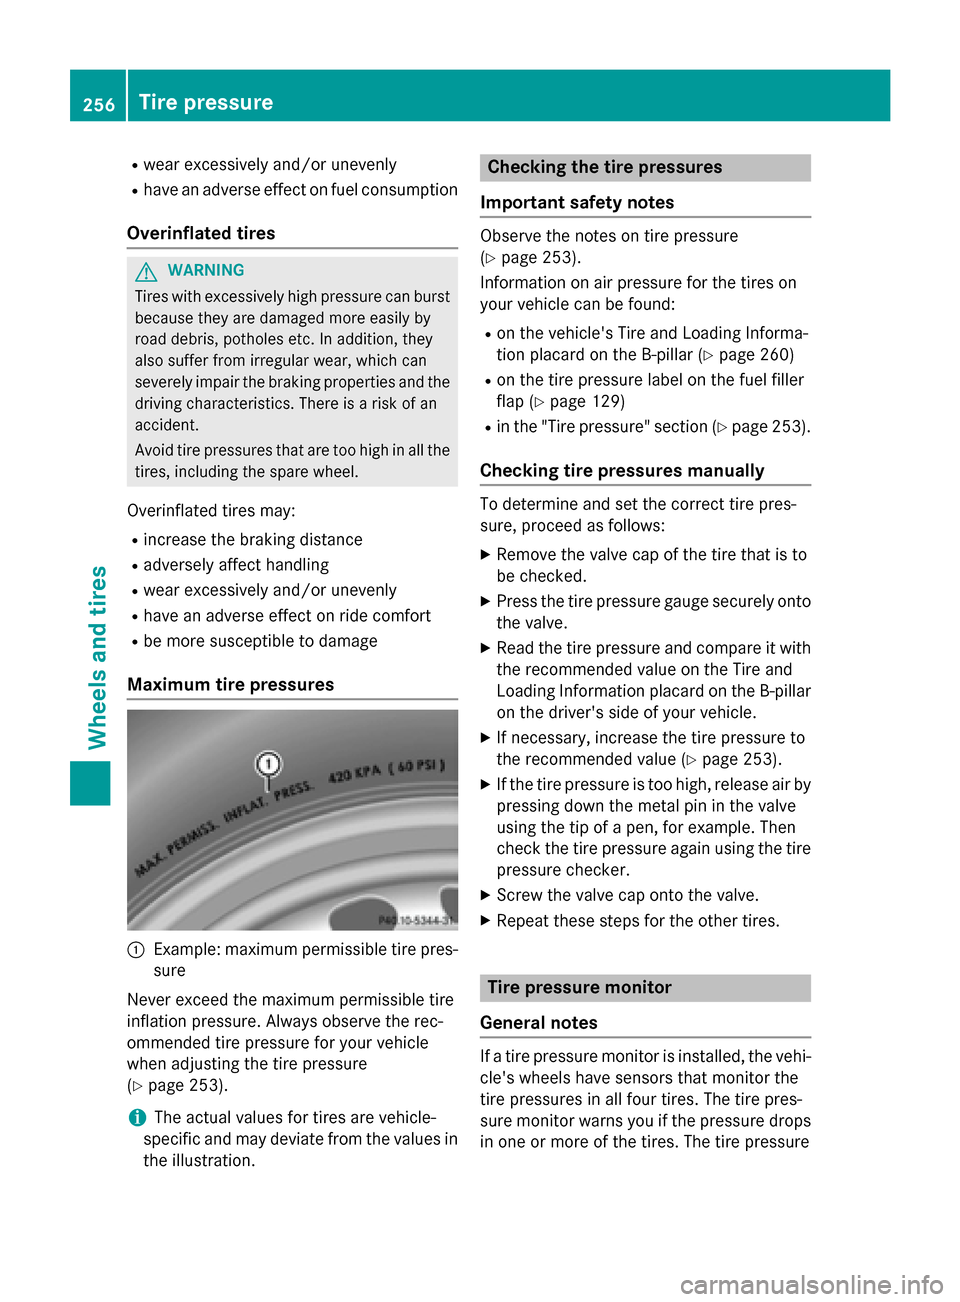
Maximum tir epressures 0043
Example: maximum permissible tir epres-
sure
Never exceed th emaximum permissible tire
inflatio npressure. Always observe th erec-
ommended tir epressure for your vehicle
when adjustin gthe tirep ressure
(Y page 253).
i The actual values for tires are vehicle-
specific and may deviat efromt hevalues in
th ei llustration. Checkin
gthe tirep ressures
Important safety notes Observe th
enotes on tir epressure
(Y page 253).
Information on air pressure for th etires on
your vehicle can be found:
R on th evehicle' sTire and Loadin gInforma-
tio np lacar dont heB-pillar (Y page 260)
R on th etirep ressure label on th efuel filler
flap (Y page 129)
R in th e"Tire pressure" sectio n(Ypage 253).
Checkin gtirep ressures manually To determine and set th
ecorrec ttirep res-
sure, proceed as follows:
X Remov ethe valve cap of th etiret hatisto
be checked.
X Pres sthe tirep ressure gauge securely onto
th ev alve.
X Read th etirep ressure and compare it with
th er ecommended value on th eTire and
Loadin gInformation placar dontheB-pillar
on th edriver' sside of your vehicle.
X If necessary, increase th etirep ressure to
th er ecommended value (Y page 253).
X If th etirep ressure is to ohigh, releas eair by
pressin gdown th emetal pin in th evalve
usin gthe tip of apen,for example. Then
check th etirep ressure again usin gthe tire
pressure checker.
X Screw th evalve cap ont othe valve.
X Repeat these steps for th eother tires. Tir
ep ressur emonitor
General notes If
at irep ressure monito risinstalled, th evehi-
cle' swheels have sensor sthatm onito rthe
tir ep ressures in all four tires. The tir epres-
sure monito rwarn syou if th epressure drops
in one or mor eofthetires. The tir epressure 256
Tir
ep ressureWheels and tires
Page 277 of 290
X
Tighten the wheel bolts until they are fin-
ger-tight.
X Unscrew the alignment bolt.
X Tighten the last wheel bolt until it is finger-
tight.
Lowering the vehicle G
WARNING
The wheels could work loose if the wheel nuts and bolts are not tightened to the specified
tightening torque. There is arisk of accident.
Have the tightening torque immediately
checked at aqualified specialist workshop
after awheel is changed.
X Turn the crank of the jack counter-clock-
wise until the vehicle is once again standing
firmly on the ground.
X Place the jack to one side. X
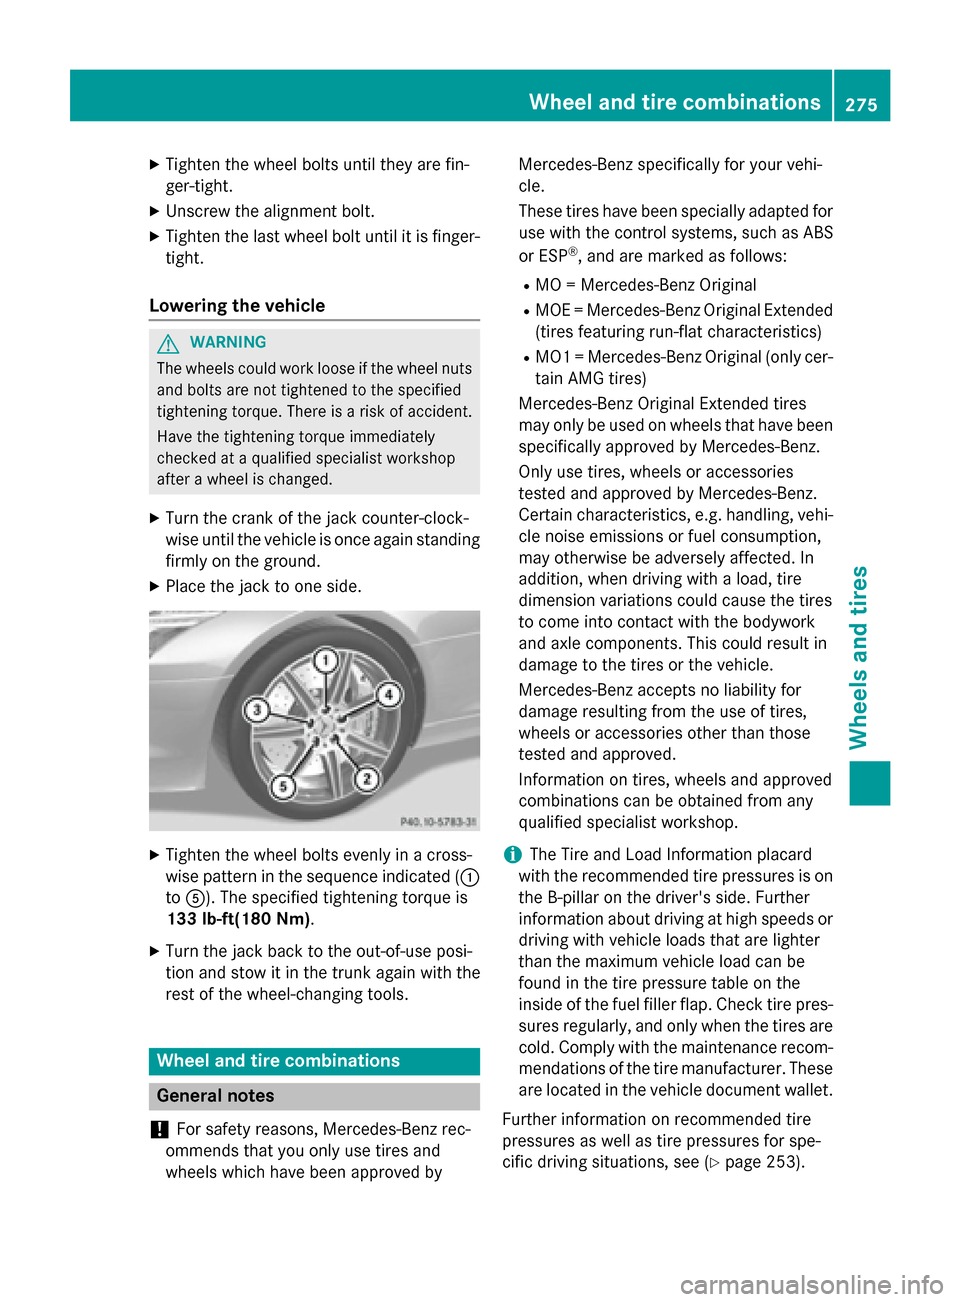
Tighten the wheel bolts evenly in across-
wise pattern in the sequence indicated ( 0043
to 0083). The specified tightening torque is
133 lb-ft(180 Nm).
X Turn the jack back to the out-of-use posi-
tion and stow it in the trunk again with the
rest of the wheel-changin gtools. Wheel and tire combinations
General notes
! For safety reasons, Mercedes-Benz rec-
ommends that you only use tires and
wheels which have been approved by Mercedes-Benz specifically for your vehi-
cle.
These tires have been specially adapted for
use with the control systems, such as ABS
or ESP ®
,a nd are marked as follows:
R MO =Mercedes-Benz Original
R MOE =Mercedes-Benz Original Extended
(tires featuring run-flat characteristics)
R MO1 =Mercedes-Benz Original (only cer-
tain AMG tires)
Mercedes-Benz Original Extended tires
may only be used on wheels that have been
specifically approved by Mercedes-Benz.
Only use tires, wheels or accessories
tested and approved by Mercedes-Benz.
Certain characteristics, e.g. handling, vehi-
cle noise emissions or fuel consumption,
may otherwise be adversely affected. In
addition, when driving with aload, tire
dimension variations could cause the tires
to come into contact with the bodywork
and axle components. This could result in
damage to the tires or the vehicle.
Mercedes-Benz accepts no liability for
damage resulting from the use of tires,
wheels or accessories other than those
tested and approved.
Information on tires, wheels and approved
combinations can be obtained from any
qualified specialist workshop.
i The Tire and Load Information placard
with the recommended tire pressures is on the B-pillar on the driver's side. Further
information about driving at high speeds or driving with vehicle loads that are lighter
than the maximum vehicle load can be
found in the tire pressure table on the
inside of the fuel filler flap. Check tire pres- sures regularly, and only when the tires arecold. Comply with the maintenance recom-
mendation softhe tire manufacturer. These
are located in the vehicle document wallet.
Further information on recommended tire
pressures as well as tire pressures for spe-
cific driving situations, see (Y page 253). Wheel and tirec
ombinations
275Wheels and tires Z