2015 MERCEDES-BENZ S-CLASS COUPE key battery
[x] Cancel search: key batteryPage 150 of 417
tinue closing the side window, pull on the
W switch.
X Convenience closing feature: press and
hold the grocker switch up or down
until the side windows are completely
closed.
The indicator lamp in the grocker
switch lights up. Air-recirculation mode is
activated.
If parts of the body are in the closing area
during convenience closing, proceed as fol-
lows: X Release the grocker switch.
The side windows stop.
X Press the Wbutton to open or close the
side windows.
Observe the notes on the automatic reversing
feature for the side windows (Y page 99).
X Convenience opening feature: press and
hold the grocker switch up or down
until the side windows are fully opened.
The indicator lamp the grocker switch
goes out. Air-recirculation mode is deacti-
vated. Switching the residual heat on/off
General notes Once the engine is switched off, it is possible
to make use of the residual heat of the engine to continue heating or ventilating the front
compartment of the vehicle for approximately
30 minutes.
The heating or ventilation time depends on
the temperature that has been set. Activating/deactivating X
Turn the key to position 0in the ignition
lock or remove it (Y page 161).
X To activate: press the!orÁ rocker
switch up or down.
The indicator lamp in the !orÁ
rocker switch lights up.
The blower will run at a low speed regardless of the airflow setting.
If you activate the residual heat function at
high temperatures, only the ventilation will be activated. The blower runs at medium speed.
X To deactivate: press the!orÁ
rocker switch up or down.
The indicator lamp in the !orÁ
rocker switch goes out.
Residual heat is deactivated automatically:
R after approximately 30 minutes
R when the ignition is switched on
R if the battery voltage drops
R when the auxiliary heating is switched on Perfume atomiser
Operating the perfume atomiser G
WARNING
If children open the perfume vial, they could
drink the perfume or it could come into con-
tact with their eyes. There is a risk of injury. Do not leave children unsupervised in the vehicle.
If the perfume liquid has been drunk, consult
a doctor. If perfume comes into contact with
your eyes or skin, rinse the eyes with clean
water. If you continue to experience difficul-
ties, consult a doctor. H
Environmental note Full perfume vials must not
be disposed of with house-
hold rubbish. They must be
collected separately and dis-
posed of in an environmen- Operating the climate control system
147Climate control
Z
Page 153 of 417
When the auxiliary heating is switched on,
make sure that:
R no flammable materials come into contact
with hot vehicle components
R the exhaust gas can escape from the
exhaust pipe unhindered
R the exhaust gas does not come into contact
with flammable materials.
The auxiliary heating and the exhaust gas out-
let are situated behind the right-hand front
wheel.
! Operating the auxiliary heating/ventila-
tion draws on the vehicle battery. After you
have heated or ventilated the vehicle a
maximum of two times, drive for a longer
distance.
Switch the auxiliary heating on regularly once
a month for about ten minutes.
The auxiliary heating heats the air in the vehi-
cle interior to the set temperature. This
occurs without using the heat of the running
engine. The auxiliary heating is operated
directly using the vehicle's fuel. For this rea-
son, the tank content must be at least at
reserve fuel level to ensure that the auxiliary
heating functions.
The auxiliary heating or auxiliary ventilation
automatically adjusts to changes in temper-
ature and weather conditions. For this rea-
son, the auxiliary heating could switch from
ventilation mode to heating mode or from
heating mode to ventilation mode.
The auxiliary heating switches off when the
engine is switched off. The auxiliary ventila-
tion switches off when you turn the key to key position 2(Y page 161).
The auxiliary heating switches off automati-
cally after 50 minutes. This time limit can be
altered. To do this, visit a qualified specialist
workshop.
You cannot use the auxiliary ventilation to
cool the vehicle interior to a temperature
lower than the outside temperature. Before switching on X
Turn the key to position 2in the ignition
lock (Y page 161).
X Set the desired temperature using the
w rocker switch on the front control
panel or using COMAND Online (see the
separate operating instructions).
If you do not alter the temperature before
switching on the auxiliary heating or auxiliary
ventilation, the last temperature setting will
be adopted.
Auxiliary heating or auxiliary ventilation can
also be switched on if the manually set cli-
mate control is activated. Optimum comfort
can be attained when the system is set to
automatic mode. Set the temperature to
22 †.
You can switch the auxiliary heating or auxil-
iary ventilation on or off:
R using the rocker switch on the centre con-
sole (Y page 150)
R using the remote control (Y page 151)
The on-board computer can be used to spec-
ify up to three departure times, one of which
may be preselected:
R using the remote control (Y page 151)
R using COMAND Online (see the separate
operating instructions)
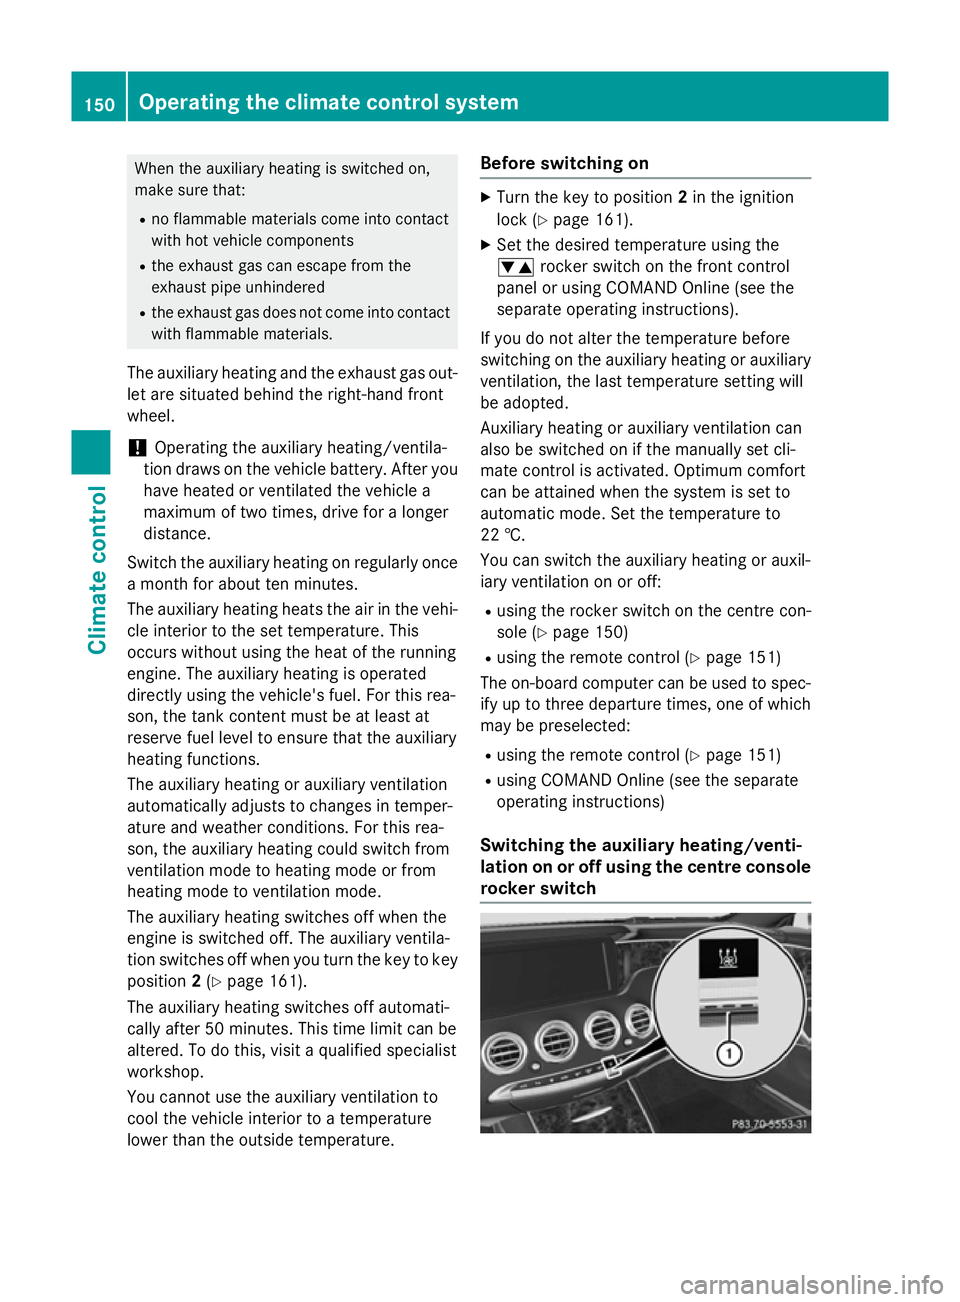
Switching the auxiliary heating/venti-
lation on or off using the centre console
rocker switch 150
Operating the climate control systemClimate control
Page 168 of 417
ECO start/stop function
Introduction The ECO start/stop function switches the
engine off automatically if the vehicle is stop-
ped under certain conditions.
When pulling away again, the engine starts
automatically. The ECO start/stop function
thereby helps you to reduce the fuel con-
sumption and emissions of your vehicle.
Important safety notes G
WARNING
If the engine is switched off automatically and you exit the vehicle, the engine is restarted
automatically. The vehicle may begin moving. There is a risk of accident and injury.
If you wish to exit the vehicle, always turn off
the ignition and secure the vehicle against
rolling away.
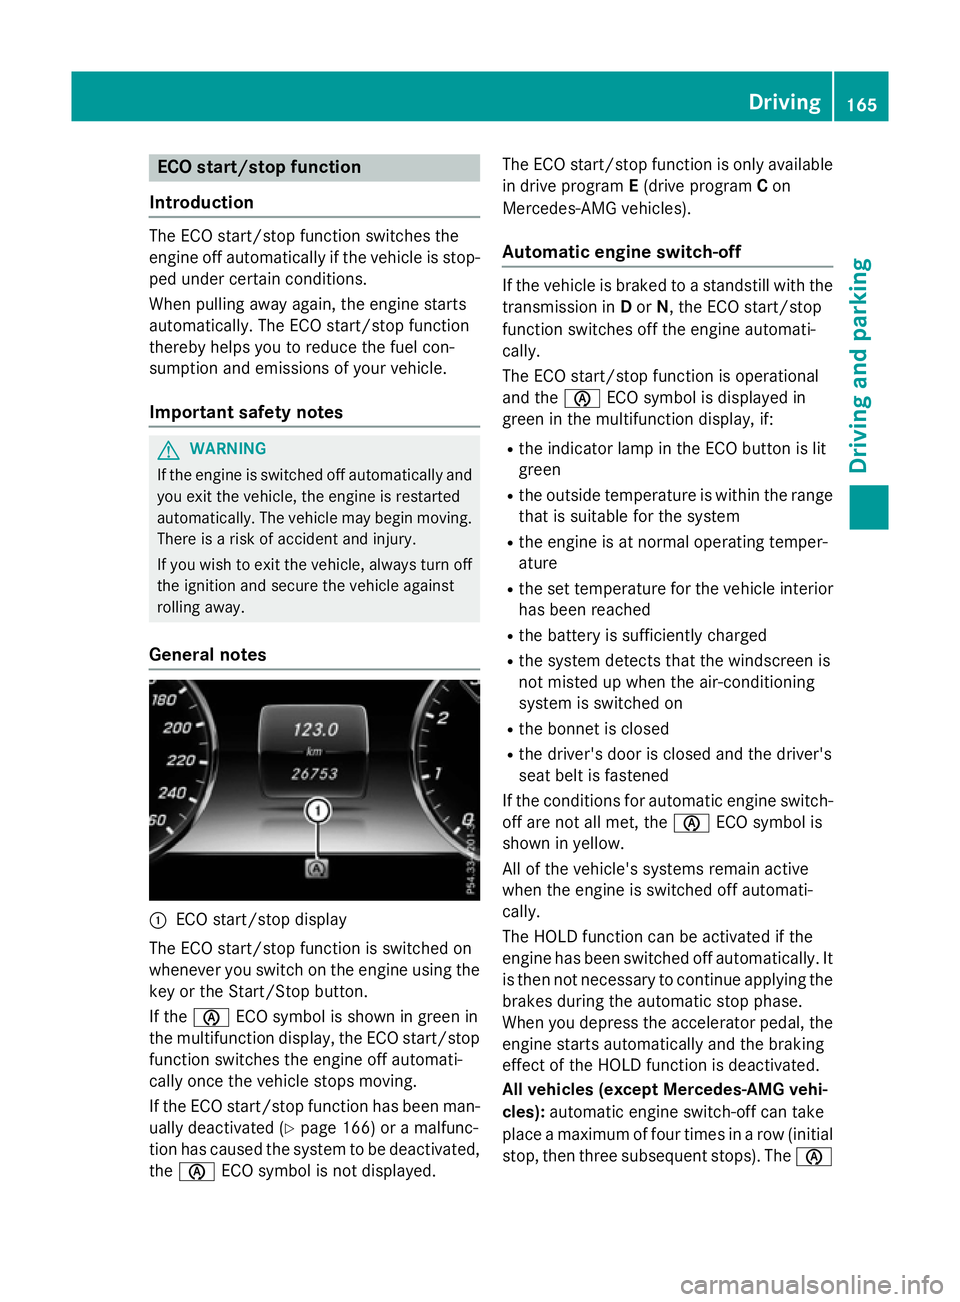
General notes :
ECO start/stop display
The ECO start/stop function is switched on
whenever you switch on the engine using the
key or the Start/Stop button.
If the è ECO symbol is shown in green in
the multifunction display, the ECO start/stop function switches the engine off automati-
cally once the vehicle stops moving.
If the ECO start/stop function has been man-
ually deactivated (Y page 166) or a malfunc-
tion has caused the system to be deactivated,
the è ECO symbol is not displayed. The ECO start/stop function is only available
in drive program E(drive program Con
Mercedes-AMG vehicles).
Automatic engine switch-off If the vehicle is braked to a standstill with the
transmission in Dor N, the ECO start/stop
function switches off the engine automati-
cally.
The ECO start/stop function is operational
and the èECO symbol is displayed in
green in the multifunction display, if:
R the indicator lamp in the ECO button is lit
green
R the outside temperature is within the range
that is suitable for the system
R the engine is at normal operating temper-
ature
R the set temperature for the vehicle interior
has been reached
R the battery is sufficiently charged
R the system detects that the windscreen is
not misted up when the air-conditioning
system is switched on
R the bonnet is closed
R the driver's door is closed and the driver's
seat belt is fastened
If the conditions for automatic engine switch- off are not all met, the èECO symbol is
shown in yellow.
All of the vehicle's systems remain active
when the engine is switched off automati-
cally.
The HOLD function can be activated if the
engine has been switched off automatically. It is then not necessary to continue applying the
brakes during the automatic stop phase.
When you depress the accelerator pedal, the engine starts automatically and the braking
effect of the HOLD function is deactivated.
All vehicles (except Mercedes-AMG vehi-
cles): automatic engine switch-off can take
place a maximum of four times in a row (initial
stop, then three subsequent stops). The è Driving
165Driving and parking Z
Page 171 of 417
Problems with the engine
Problem
Possible causes/consequences and
M
MSolutions The engine does not
start. The starter motor
can be heard. R
There is a malfunction in the engine electronics.
R There is a malfunction in the fuel supply.
Before attempting to start the engine again:
X Turn the key back to position 0in the ignition lock.
or
X Press the Start/Stop button repeatedly until all indicator lamps
in the instrument cluster go out.
X Try to start the engine again (Y page 163). Avoid excessively
long and frequent attempts to start the engine, as this will drain the battery.
If the engine does not start after several attempts: X Consult a qualified specialist workshop. The engine does not
start. The starter motor
can be heard. The
reserve fuel warning
lamp is lit and the fuel
gauge display is at the
reserve level. The fuel tank is empty.
X Refuel the vehicle. The engine does not
start. You cannot hear
the starter motor. The on-board voltage is too low because the battery is too weak or
discharged.
X Jump-start the vehicle (Y page 366).
If the engine does not start despite attempts to jump-start it:
X Consult a qualified specialist workshop. The starter motor was exposed to a thermal load that was too high.
X Try to start the engine again.
If the engine still does not start:
X Consult a qualified specialist workshop. The engine is not run-
ning smoothly and is
misfiring. There is a malfunction in the engine electronics or in a mechanical
component of the engine management system.
X Only depress the accelerator pedal slightly.
Otherwise, non-combusted fuel may get into the catalytic con-
verter and damage it.
X Have the cause rectified immediately at a qualified specialist
workshop. 168
DrivingDriving and parking
Page 184 of 417
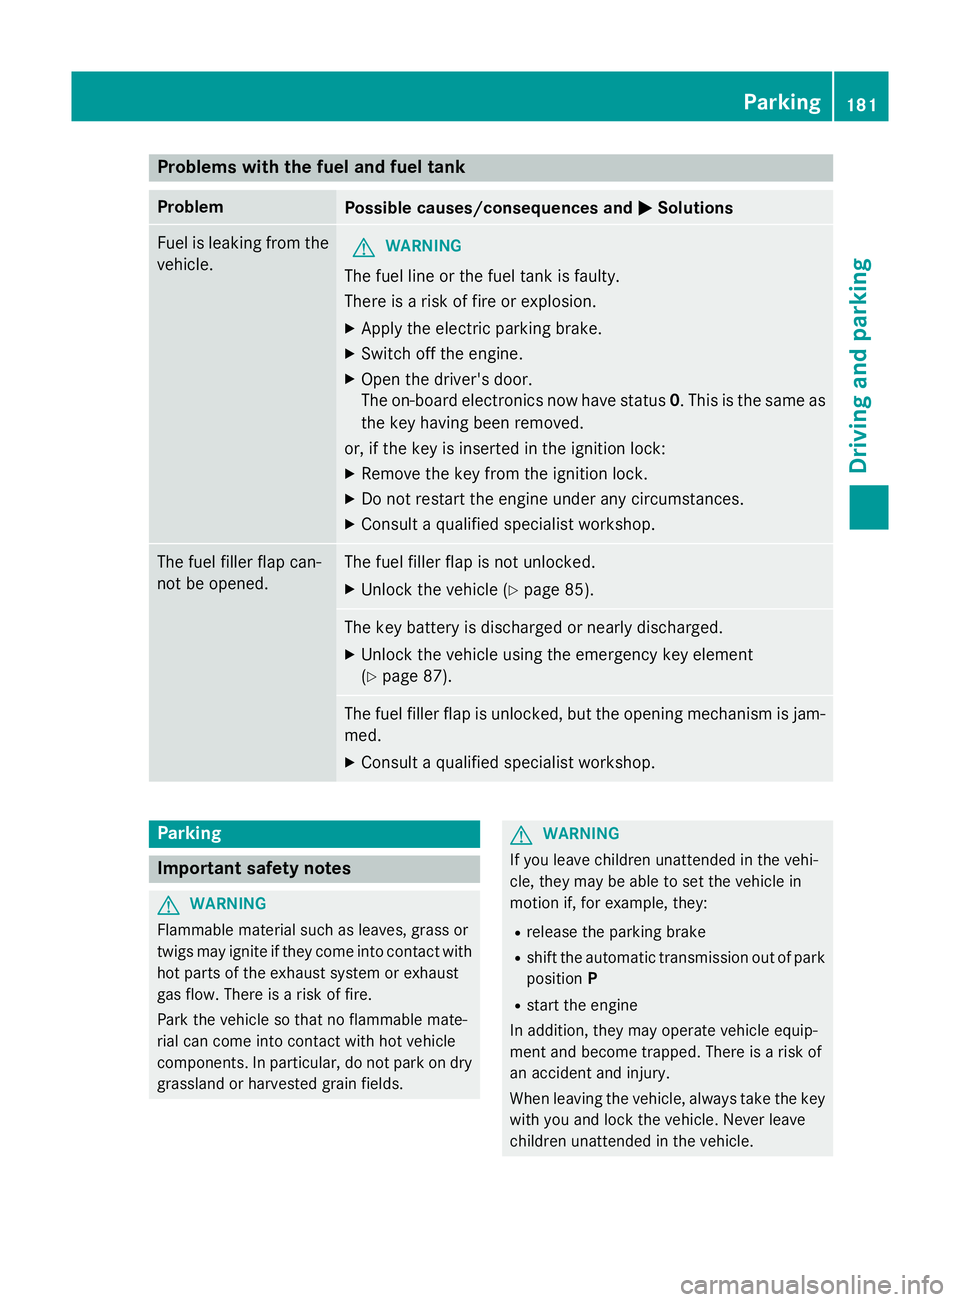
Problems with the fuel and fuel tank
Problem
Possible causes/consequences and
M
MSolutions Fuel is leaking from the
vehicle. G
WARNING
The fuel line or the fuel tank is faulty.
There is a risk of fire or explosion. X Apply the electric parking brake.
X Switch off the engine.
X Open the driver's door.
The on-board electronics now have status 0. This is the same as
the key having been removed.
or, if the key is inserted in the ignition lock:
X Remove the key from the ignition lock.
X Do not restart the engine under any circumstances.
X Consult a qualified specialist workshop. The fuel filler flap can-
not be opened. The fuel filler flap is not unlocked.
X Unlock the vehicle (Y page 85). The key battery is discharged or nearly discharged.
X Unlock the vehicle using the emergency key element
(Y page 87). The fuel filler flap is unlocked, but the opening mechanism is jam-
med.
X Consult a qualified specialist workshop. Parking
Important safety notes
G
WARNING
Flammable material such as leaves, grass or
twigs may ignite if they come into contact with hot parts of the exhaust system or exhaust
gas flow. There is a risk of fire.
Park the vehicle so that no flammable mate-
rial can come into contact with hot vehicle
components. In particular, do not park on dry grassland or harvested grain fields. G
WARNING
If you leave children unattended in the vehi-
cle, they may be able to set the vehicle in
motion if, for example, they:
R release the parking brake
R shift the automatic transmission out of park
position P
R start the engine
In addition, they may operate vehicle equip-
ment and become trapped. There is a risk of
an accident and injury.
When leaving the vehicle, always take the key
with you and lock the vehicle. Never leave
children unattended in the vehicle. Parking
181Driving and parking Z
Page 304 of 417
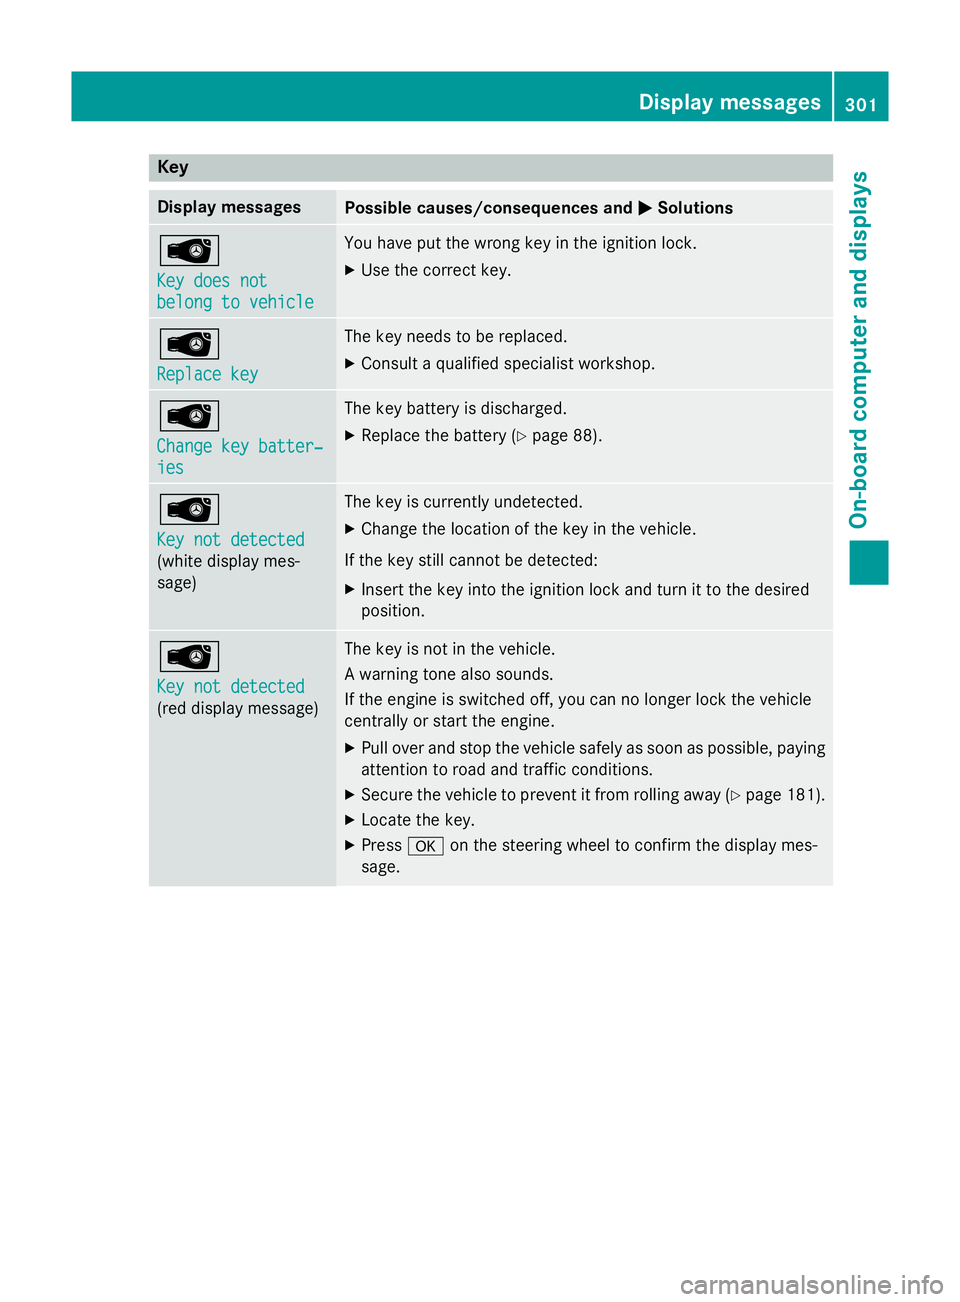
Key
Display messages
Possible causes/consequences and
M
M Solutions Â
Key does not Key does not
belong to vehicle belong to vehicle You have put the wrong key in the ignition lock.
X Use the correct key. Â
Replace key Replace key The key needs to be replaced.
X Consult a qualified specialist workshop. Â
Change key batter‐ Change key batter‐
ies ies The key battery is discharged.
X Replace the battery (Y page 88).Â
Key not detected Key not detected
(white display mes-
sage) The key is currently undetected.
X Change the location of the key in the vehicle.
If the key still cannot be detected: X Insert the key into the ignition lock and turn it to the desired
position. Â
Key not detected Key not detected
(red display message) The key is not in the vehicle.
A warning tone also sounds.
If the engine is switched off, you can no longer lock the vehicle
centrally or start the engine.
X Pull over and stop the vehicle safely as soon as possible, paying
attention to road and traffic conditions.
X Secure the vehicle to prevent it from rolling away (Y page 181).
X Locate the key.
X Press aon the steering wheel to confirm the display mes-
sage. Display
messages
301On-board computer and displays Z
Page 328 of 417
lighter when road and traffic conditions per-
mit.
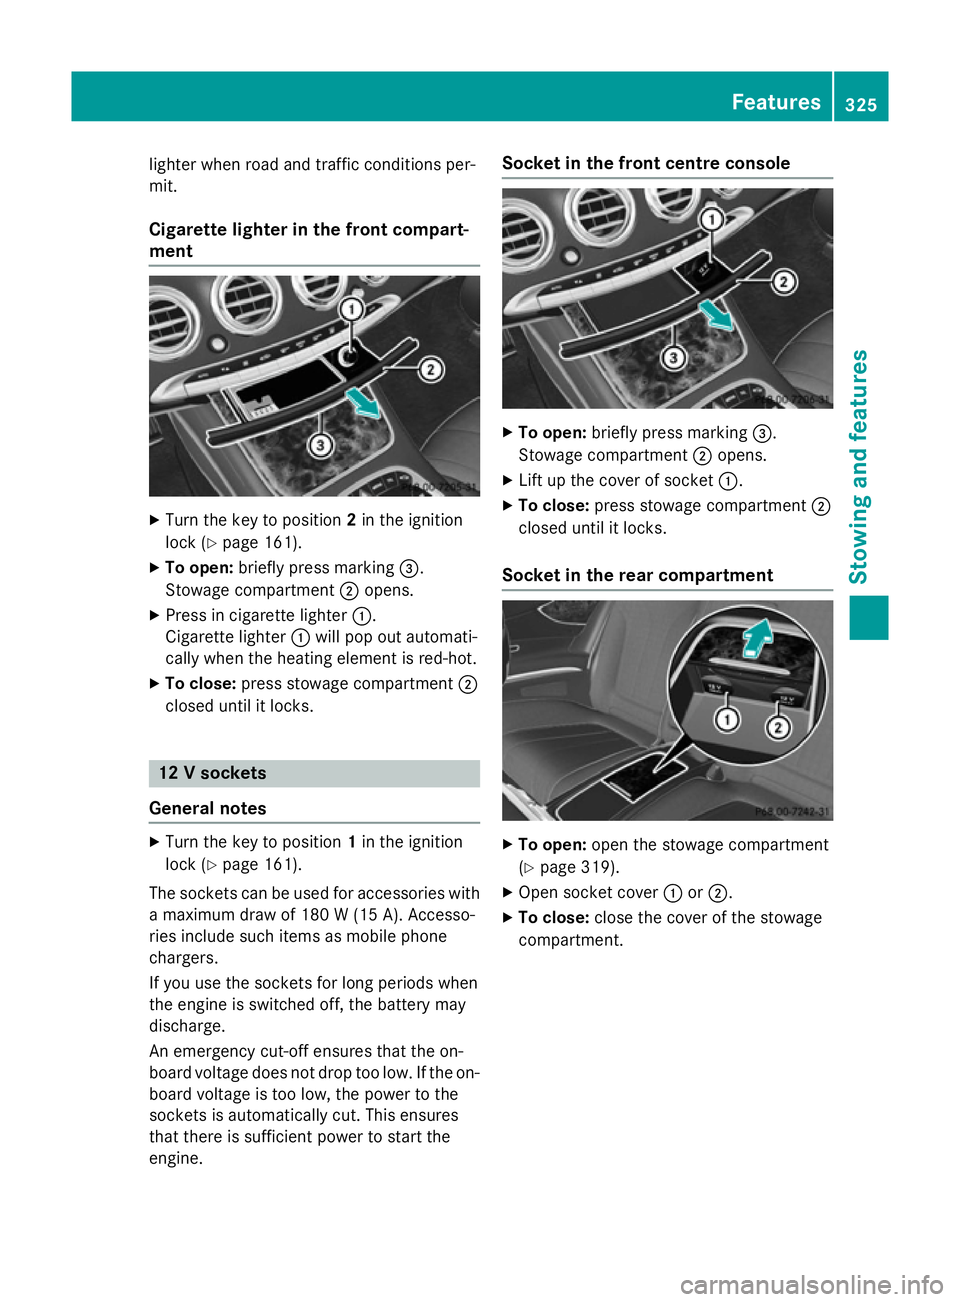
Cigarette lighter in the front compart-
ment X
Turn the key to position 2in the ignition
lock (Y page 161).
X To open: briefly press marking =.
Stowage compartment ;opens.
X Press in cigarette lighter :.
Cigarette lighter :will pop out automati-
cally when the heating element is red-hot.
X To close: press stowage compartment ;
closed until it locks. 12 V sockets
General notes X
Turn the key to position 1in the ignition
lock (Y page 161).
The sockets can be used for accessories with a maximum draw of 180 W (15A). Accesso-
ries include such items as mobile phone
chargers.
If you use the sockets for long periods when
the engine is switched off, the battery may
discharge.
An emergency cut-off ensures that the on-
board voltage does not drop too low. If the on-
board voltage is too low, the power to the
sockets is automatically cut. This ensures
that there is sufficient power to start the
engine. Socket in the front cent
re console X
To open: briefly press marking =.
Stowage compartment ;opens.
X Lift up the cover of socket :.
X To close: press stowage compartment ;
closed until it locks.
Socket in the rear compartment X
To open: open the stowage compartment
(Y page 319).
X Open socket cover :or;.
X To close: close the cover of the stowage
compartment. Features
325Stowing an d features Z
Page 350 of 417
Wash off excess dirt before cleaning the vehi-
cle in an automatic car wash.
After using an automatic car wash, wipe off
wax from the windscreen and the wiper
blades. This will prevent smears and reduce
wiping noises caused by residue on the wind- screen.
Washing by hand In some countries, washing by hand is only
allowed at specially equipped washing bays.
Observe the legal requirements for each indi- vidual country.
X Do not use hot water and do not wash the
vehicle in direct sunlight.
X Use a soft sponge to clean.
X Use a mild cleaning agent, such as a car
shampoo approved by Mercedes-Benz.
X Thoroughly hose down the vehicle with a
gentle jet of water.
X Do not point the water jet directly towards
the air inlet.
X Use plenty of water and rinse out the
sponge frequently.
X Rinse the vehicle with clean water and dry
thoroughly with a chamois.
X Do not let the cleaning agent dry on the
paintwork.
When using the vehicle in winter, remove all
traces of road salt deposits carefully and as
soon as possible.
High-pressure cleaning equipment G
WARNING
The water jet of circular-jet nozzles (dirt grind- ers) can cause damage not visible from the
outside to tyres or chassis components. Com-
ponents damaged in this way can unexpect-
edly fail. There is a risk of an accident.
Do not use high-pressure cleaners with circu-
lar-jet nozzles to clean the vehicle. Have dam- aged tyres or chassis components replaced
immediately. !
Always maintain a distance of at least
30 cm between the vehicle and the high-
pressure cleaner nozzle. Information about
the correct distance is available from the
equipment manufacturer.
Move the high-pressure cleaner nozzle
around when cleaning your vehicle.
Do not aim directly at any of the following:
R tyres
R door gaps, roof gaps, joints etc.
R electrical components
R battery
R connectors
R lights
R seals
R trim elements
R ventilation slots
Damaged seals or electrical components
can lead to leaks or failures.
! If the key is within the rear detection
range of KEYLESS-GO, the following situa-
tions, for example, could lead to the boot lid opening unintentionally:
R using a car wash
R using a high-pressure cleaner
Make sure that the key is at least 3 m away
from the vehicle.
Cleaning the paintwork !
Do not affix:
R stickers
R films
R magnetic plates or similar items
to painted surfaces. You could otherwise
damage the paintwork.
Scratches, corrosive deposits, areas affected by corrosion and damage caused by inade-
quate care cannot always be completely
repaired. In such cases, visit a qualified spe-
cialist workshop. Care
347Maintenance and care Z