2015 MERCEDES-BENZ S-CLASS COUPE remote control
[x] Cancel search: remote controlPage 8 of 417

AIRMATIC
Display message ............................ 287
Function/notes ............................ .210
Alarm
ATA (Anti-Theft Alarm system) ......... 80
Switching off (ATA) .......................... 80
Switching the function on/off
(ATA) ................................................ 80
Alarm system
see ATA (Anti-Theft Alarm system)
Anti-glare film ................................... .336
Anti-lock braking system
see ABS (Anti-lock Braking System)
Anti-Theft Alarm system
see ATA (Anti-Theft Alarm system)
Aquaplaning ....................................... 187
Armrest
Stowage compartment .................. 318
Ashtray ............................................... 324
Assistance display (on-board com-
puter) ................................................. .257
Assistance menu (on-board com-
puter) ................................................. .258
ASSYST PLUS
Displaying a service message ....... .344
Hiding a service message .............. 344
Resetting the service interval dis-
play ................................................ 344
Service message ............................ 344
Special service requirements ......... 345
ATA (Anti-Theft Alarm system)
Activating/deactivating ................... 80
Function .......................................... .80
Switching off the alarm .................... 80
ATTENTION ASSIST
Activating/deactivating ................. 261
Display message ............................ 287
Function/note s............................. 228
Authorised workshop
see Qualified specialist workshop
AUTO lights
Display message ............................ 282
see Lights
Automatic engine start (ECO start/
stop function) .................................... 166
Automatic engine switch-off (ECO
start/stop function) .......................... 165 Automatic front-passenger front
airbag deactivation
Display message ............................ 279
Automatic front-passenger front
airbag deactivation system
Operation ......................................... 52
Problems ......................................... 56
System self-test ............................... 55
Automatic headlamp mode .............. 127
Automatic transmission
Accelerator pedal position ............. 173
Automatic drive program ............... 174
Changing gear ............................... 173
DIRECT SELECT lever ..................... 169
Display message ............................ 297
Driving tips .................................... 173
Emergency running mode .............. 178
Engaging drive position .................. 171
Engaging neutral ............................ 170
Engaging park position automati-
cally ............................................... 170
Engaging reverse gear ................... 170
Engaging the park position ............ 170
Kickdown ....................................... 173
Manual drive progra m.................... 175
Manual drive program (Mercedes-
AMG vehicles) ................................ 176
Oil temperature (on-board com-
puter, Mercedes-AMG vehicles) ..... 265
Overview ........................................ 169
Problem (fault) ............................... 178
Program selector button ................ 173
Pulling away ................................... 164
Starting the engine ........................ 163
Steering wheel gearshift paddle s... 174
Transmission position display ........ 171
Transmission positions .................. 172
Automatic transmission emer-
gency running mode ......................... 178
Auxiliary heating/ventilation
Display message ............................ 299
Heater booster function ................. 153
Important safety notes .................. 149
Problem (display message) ............ 155
Remote control .............................. 151
Switching on/off (on the centre
console) ......................................... 150 Index
5
Page 20 of 417
Rear-view mirror
Anti-dazzle mode (automatic) ........ 121
Dipping (manual) ........................... 119
Refuelling
Fuel gaug e....................................... 32
Important safety notes .................. 178
Notes for Mercedes‑ AMG vehi-
cles ................................................ 406
Refuelling process ......................... 179
see Fuel
Remote control
Auxiliary heating/ventilation .......... 151
Changing the batteries (auxiliary
heating) ......................................... 153
Garage door opener ....................... 330
Programming (garage door
opener) .......................................... 330
Replacing bulbs
General notes ................................ 133
Replacing the battery (auxiliary
heating remote control) .................... 153
Rescue card ......................................... 27
Reserve (fuel tank)
see Fuel
Reserve fuel
Display message ............................ 286
Warning lamp ................................. 310
Residual heat (climate control) ........ 147
Restraint system
Display message ............................ 276
Introduction ..................................... 42
Warning lamp ................................. 309
Warning lamp (function) ................... 43
Rev counter ........................................ 244
Reversing camera
Cleaning instructions ..................... 350
Displays in the COMAND display ... 221
Function/note s............................. 220
Reversing feature
Side windows ................................... 99
Reversing function
Boot lid ............................................ 94
Roller sunblind ............................... 103
Reversing lamp (display message) .. 282
ROAD SURFACE SCAN ....................... 209
Roller sunblind
Panorama roof ............................... 103 Rear window .................................. 324
Roller sunblind of the panorama
roof
Opening and closing ...................... 104
Operating ....................................... 103
Resetting ....................................... 104
Roof lining and carpets (cleaning
instructions) ...................................... 353
Roof load (maximum) ........................ 410 S
Safety Children in the vehicle ..................... 60
see Occupant safety
see Operating safety
Safety system
see Driving safety systems
SD memory card
Selecting ........................................ 254
Seat
Adjusting the front-passenger
seat from the driver's seat ............. 110
Seat backrest display message ..... 299
Seat belt
Correct usage .................................. 45
Seat belts
Adjusting the driver's and front-
passenger seat belt ......................... 47
Cleaning ......................................... 353
Display message ............................ 275
Fastening ......................................... 46
Important safety guidelines ............. 44
Introduction ..................................... 44
Rear seat belt status indicator ......... 48
Releasing ......................................... 47
Warning lamp ................................. 302
Warning lamp (function) ................... 48
Seating
Seating comfort packag e............... 113
Seating comfort package ................. 113
Seats
Active multicontour seat ................ 113
Adjusting (electrically) ................... 110
Adjusting the 4-way lumbar sup-
port ................................................ 113
Adjusting the head restraint .......... 111 Index
17
Page 87 of 417

Useful information
i This Owner's Manual describes all mod-
els, series and optional equipment for your
vehicle that were available at the time of
going to press. National variations are pos- sible. Note that your vehicle may not be
equipped with all of the functions descri-
bed. This is also the case for systems and
functions relevant to safety.
i Read the information on qualified special-
ist workshops: (Y page 26). Key
Important safety notes
United Kingdom only: G
WARNING
When the double locks are activated, the
doors can no longer be opened from the
inside. People in the vehicle can no longer get out, e.g. in hazardous situations. There is a
risk of injury.
Therefore, do not leave any people unsuper-
vised in the vehicle, particularly children, eld-
erly people or people in need of special assis-
tance. Do not activate the double lock when
people are in the vehicle.
If the vehicle has been locked from the out-
side, the double lock function is activated as
standard. It is then not possible to open the
doors from inside the vehicle. You can deac-
tivate the double lock function by deactivat-
ing the interior motion sensor . The doors can
then be opened from the inside after the vehi- cle has been locked from the outside. The
anti-theft alarm system is triggered if the door
is opened from the inside. Switch off the
alarm (Y page 80).
All countries: G
WARNING
If children are left unsupervised in the vehicle, they can:
R open doors and endanger other persons or
road users
R climb out and be injured by the traffic
R operate vehicle equipment and, for exam-
ple, trap themselves.
Children could also set the vehicle in motion, for example by:
R releasing the parking brake
R shifting the automatic transmission out of
park position P
R starting the engine.
There is a risk of an accident and injury.
When leaving the vehicle, always take the key
with you and lock the vehicle. Never leave
children unattended in the vehicle. Always
keep the key out of reach of children. G
WARNING
If you attach heavy or large objects to the key, the key could be unintentionally turned in the
ignition lock. This could cause the engine to
be switched off. There is a risk of an accident.
Do not attach any heavy or large objects to the
key. Remove any bulky keyrings before insert-
ing the key into the ignition lock.
! Keep the key away from strong magnetic
fields. Otherwise, the remote control func-
tion could be affected.
Strong magnetic fields can occur in the
vicinity of powerful electrical installations.
Do not keep the key: R with electronic devices, e.g. a mobile
phone or another key
R with metallic objects, e.g. coins or metal
film
R inside metallic objects, e.g. a metal case
This can affect the key's functionality.
Vehicles with KEYLESS-GO start function: do not keep the key on the parcel shelf or in 84
KeyOpening and closing
Page 88 of 417

the boot. Otherwise, the key may not be
detected, e.g. when starting the engine using
the Start/Stop button.
A check which periodically establishes a radio
connection between the vehicle and the key
determines whether a valid key is in the vehi- cle. This occurs, for example:
R when starting the engine
R whilst driving
R when using HANDS-FREE ACCESS
R when the external door handles are
touched
R during convenience closing Key functions
:
& Locks the vehicle
; F Opens/closes the boot lid
= % Unlocks the vehicle
X To unlock centrally: press button=.
If you do not open the vehicle within
approximately 40 second s of unlocking:
R the vehicle is locked again
R the anti-theft alarm system is primed
again
X To lock centrally: press button:.
The key centrally locks and unlocks the fol-
lowing components:
R the doors
R the boot lid
R the fuel filler flap When unlocking, the turn signals flash once.
When locking, they flash three times.
You can also set an audible signal to confirm
that the vehicle has been locked. The audible
signal can be activated and deactivated using COMAND Online (see the separate operating
instructions).
Only when all the components have been
locked, does the optical or acoustic locking
confirmation sound.
When the surround lighting is activated in
COMAND Online, it comes on when it is dark after the vehicle is unlocked using the remotecontrol. Information on activating and deac-
tivating the surround lighting can be found in
the separate operating instructions.
X To open the boot lid automatically from
outside the vehicle: press and hold but-
ton ;until the boot lid opens. KEYLESS-GO
General notes Bear in mind that the engine can be started by
any of the vehicle occupants if there is a key
in the vehicle.
Locking and unlocking centrally You can start, lock or unlock the vehicle using
KEYLESS-GO. To do this, you only need carry
the key with you. You can combine the KEY-
LESS-GO functions with the functions of a
conventional key. Unlock the vehicle by using KEYLESS-GO, for instance, and lock it using
the & button on the key.
The driver's door and the door at which the
handle is used, must both be closed. The key
must be outside the vehicle. When locking or unlocking with KEYLESS-GO, the distance
between the key and the corresponding door
handle must not be greater than 1 m. Key
85Opening and closing Z
Page 92 of 417
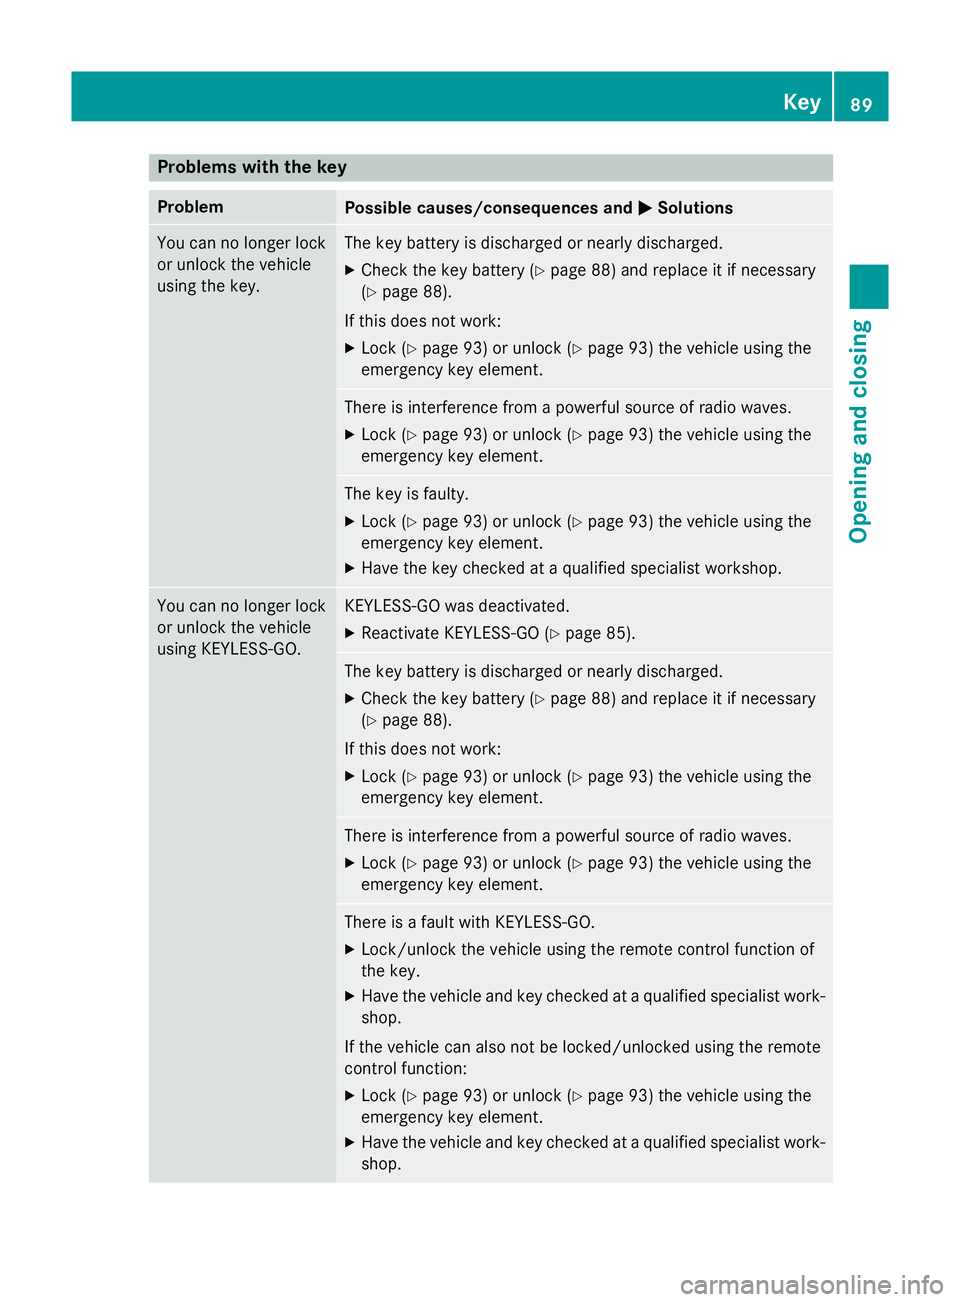
Problems with the key
Problem
Possible causes/consequences and
M
MSolutions You can no longer lock
or unlock the vehicle
using the key. The key battery is discharged or nearly discharged.
X Check the key battery (Y page 88) and replace it if necessary
(Y page 88).
If this does not work: X Lock (Y page 93) or unlock (Y page 93) the vehicle using the
emergency key element. There is interference from a powerful source of radio waves.
X Lock (Y page 93) or unlock (Y page 93) the vehicle using the
emergency key element. The key is faulty.
X Lock (Y page 93) or unlock (Y page 93) the vehicle using the
emergency key element.
X Have the key checked at a qualified specialist workshop. You can no longer lock
or unlock the vehicle
using KEYLESS-GO. KEYLESS-GO was deactivated.
X Reactivate KEYLESS-GO (Y page 85). The key battery is discharged or nearly discharged.
X Check the key battery (Y page 88) and replace it if necessary
(Y page 88).
If this does not work: X Lock (Y page 93) or unlock (Y page 93) the vehicle using the
emergency key element. There is interference from a powerful source of radio waves.
X Lock (Y page 93) or unlock (Y page 93) the vehicle using the
emergency key element. There is a fault with KEYLESS-GO.
X Lock/unlock the vehicle using the remote control function of
the key.
X Have the vehicle and key checked at a qualified specialist work-
shop.
If the vehicle can also not be locked/unlocked using the remote
control function:
X Lock (Y page 93) or unlock (Y page 93) the vehicle using the
emergency key element.
X Have the vehicle and key checked at a qualified specialist work-
shop. Key
89Opening and closing Z
Page 101 of 417
Opening and closing
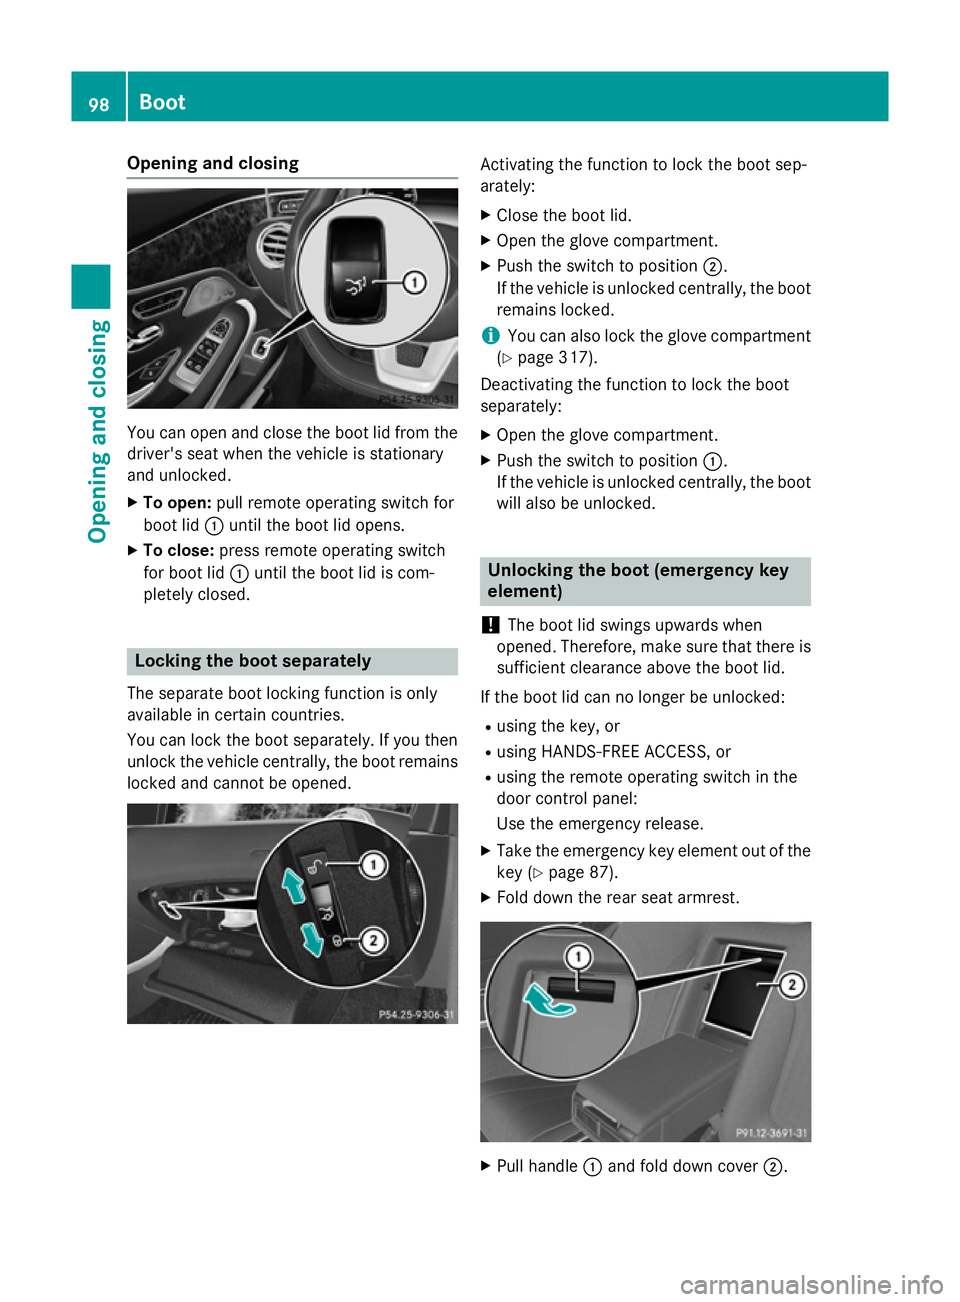
You can open and close the boot lid from the
driver's seat when the vehicle is stationary
and unlocked.
X To open: pull remote operating switch for
boot lid :until the boot lid opens.
X To close: press remote operating switch
for boot lid :until the boot lid is com-
pletely closed. Locking the boot separately
The separate boot locking function is only
available in certain countries.
You can lock the boot separately. If you then
unlock the vehicle centrally, the boot remains locked and cannot be opened. Activating the function to lock the boot sep-
arately:
X Close the boot lid.
X Open the glove compartment.
X Push the switch to position ;.
If the vehicle is unlocked centrally, the boot remains locked.
i You can also lock the glove compartment
(Y page 317).
Deactivating the function to lock the boot
separately:
X Open the glove compartment.
X Push the switch to position :.
If the vehicle is unlocked centrally, the boot will also be unlocked. Unlocking the boot (emergency key
element)
! The boot lid swings upwards when
opened. Therefore, make sure that there is sufficient clearance above the boot lid.
If the boot lid can no longer be unlocked:
R using the key, or
R using HANDS-FREE ACCESS, or
R using the remote operating switch in the
door control panel:
Use the emergency release.
X Take the emergency key element out of the
key (Y page 87).
X Fold down the rear seat armrest. X
Pull handle :and fold down cover ;.98
BootOpening and closing
Page 153 of 417
When the auxiliary heating is switched on,
make sure that:
R no flammable materials come into contact
with hot vehicle components
R the exhaust gas can escape from the
exhaust pipe unhindered
R the exhaust gas does not come into contact
with flammable materials.
The auxiliary heating and the exhaust gas out-
let are situated behind the right-hand front
wheel.
! Operating the auxiliary heating/ventila-
tion draws on the vehicle battery. After you
have heated or ventilated the vehicle a
maximum of two times, drive for a longer
distance.
Switch the auxiliary heating on regularly once
a month for about ten minutes.
The auxiliary heating heats the air in the vehi-
cle interior to the set temperature. This
occurs without using the heat of the running
engine. The auxiliary heating is operated
directly using the vehicle's fuel. For this rea-
son, the tank content must be at least at
reserve fuel level to ensure that the auxiliary
heating functions.
The auxiliary heating or auxiliary ventilation
automatically adjusts to changes in temper-
ature and weather conditions. For this rea-
son, the auxiliary heating could switch from
ventilation mode to heating mode or from
heating mode to ventilation mode.
The auxiliary heating switches off when the
engine is switched off. The auxiliary ventila-
tion switches off when you turn the key to key position 2(Y page 161).
The auxiliary heating switches off automati-
cally after 50 minutes. This time limit can be
altered. To do this, visit a qualified specialist
workshop.
You cannot use the auxiliary ventilation to
cool the vehicle interior to a temperature
lower than the outside temperature. Before switching on X
Turn the key to position 2in the ignition
lock (Y page 161).
X Set the desired temperature using the
w rocker switch on the front control
panel or using COMAND Online (see the
separate operating instructions).
If you do not alter the temperature before
switching on the auxiliary heating or auxiliary
ventilation, the last temperature setting will
be adopted.
Auxiliary heating or auxiliary ventilation can
also be switched on if the manually set cli-
mate control is activated. Optimum comfort
can be attained when the system is set to
automatic mode. Set the temperature to
22 †.
You can switch the auxiliary heating or auxil-
iary ventilation on or off:
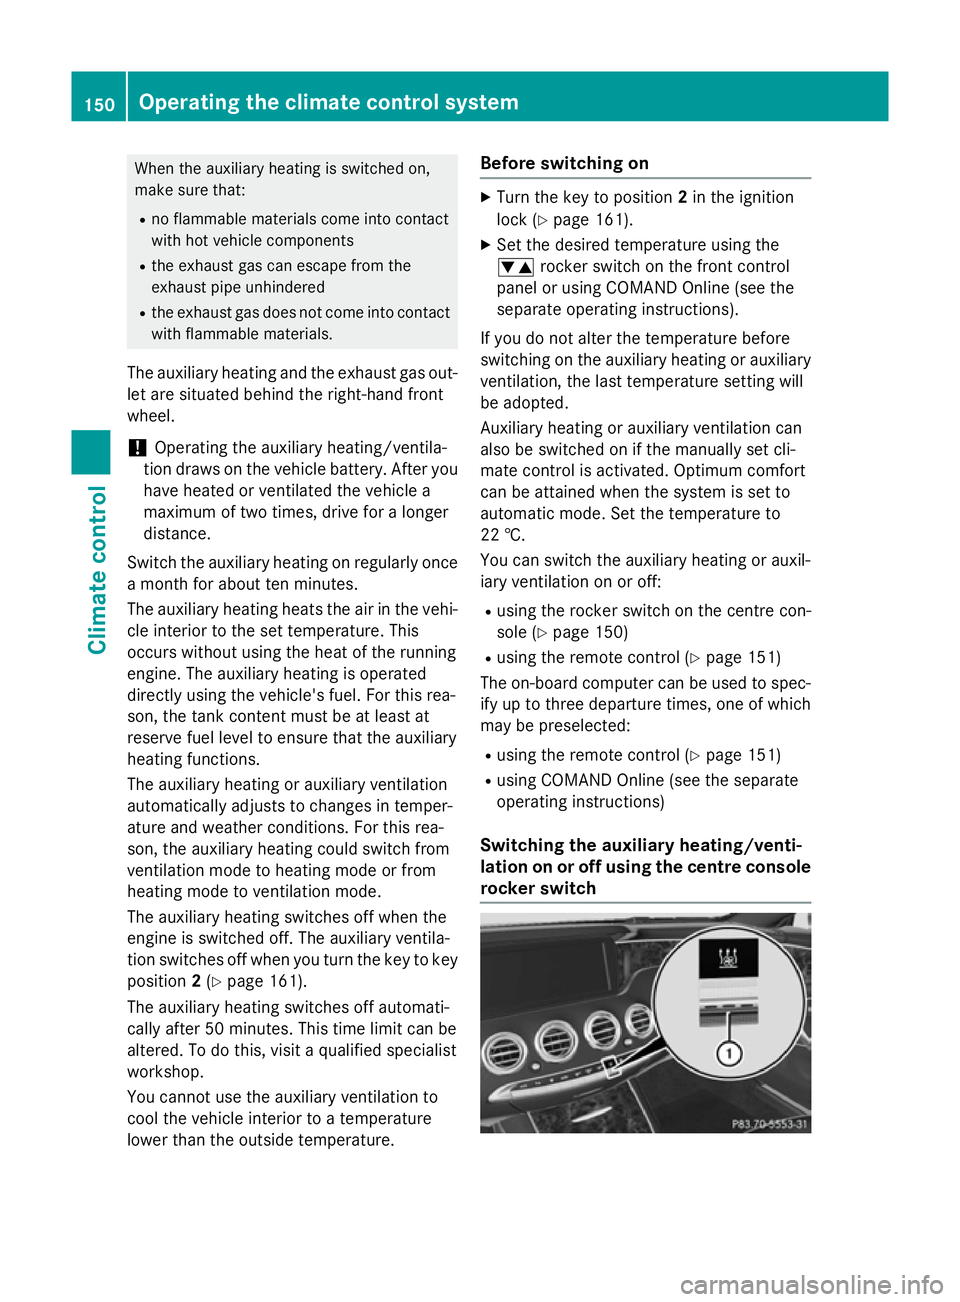
R using the rocker switch on the centre con-
sole (Y page 150)
R using the remote control (Y page 151)
The on-board computer can be used to spec-
ify up to three departure times, one of which
may be preselected:
R using the remote control (Y page 151)
R using COMAND Online (see the separate
operating instructions)
Switching the auxiliary heating/venti-
lation on or off using the centre console
rocker switch 150
Operating the climate control systemClimate control
Page 154 of 417
The colours of the indicator lamps in the
rocker switch have the following meanings:
R blue: cooling activated
R red: heating activated
R yellow: departure time is preselected
X To switch on auxiliary heating or auxili-
ary ventilation: press rocker switch :up
or down.
The red or the blue indicator lamp in rocker
switch :lights up.
X To set the temperature: switch on auxili-
ary heating or auxiliary ventilation.
COMAND Online is activated for approx-
imately one minute.
X Set the desired temperature using
COMAND Online (see the separate operat-
ing instructions).
In addition you can adjust the temperature at
any time using COMAND Online if the auxili-
ary heating/ventilation is switched on. To do so, call up COMAND Online using the qbut-
ton on the centre console.
X To switch off auxiliary heating or auxil-
iary ventilation: press rocker switch :up
or down.
The red or the blue indicator lamp in rocker
switch :goes out.
Switching the auxiliary heating/venti-
lation on or off using the remote control General notes
Your vehicle comes with one remote control.
You may use two additional remote controls
for your vehicle. For more information, please
contact a qualified specialist workshop.
Store the remote control for the auxiliary
heating so that the auxiliary heating cannot
be switched on unintentionally. In particular,
ensure that the remote control for the auxili-
ary heating is kept out of the reach of chil-
dren. The remote control has a range of approx-
imately 300 metres. This range is reduced by:
R sources of radio interference
R solid objects between the remote control
and the vehicle
R the remote control being in an unfavoura-
ble position in relation to the vehicle
R transmitting from an enclosed space
If the remote control battery is low, the bat-
tery symbol on the left of the display is shown as empty. Replace the remote control battery and observe the important safety notes when
doing so (Y page 153).
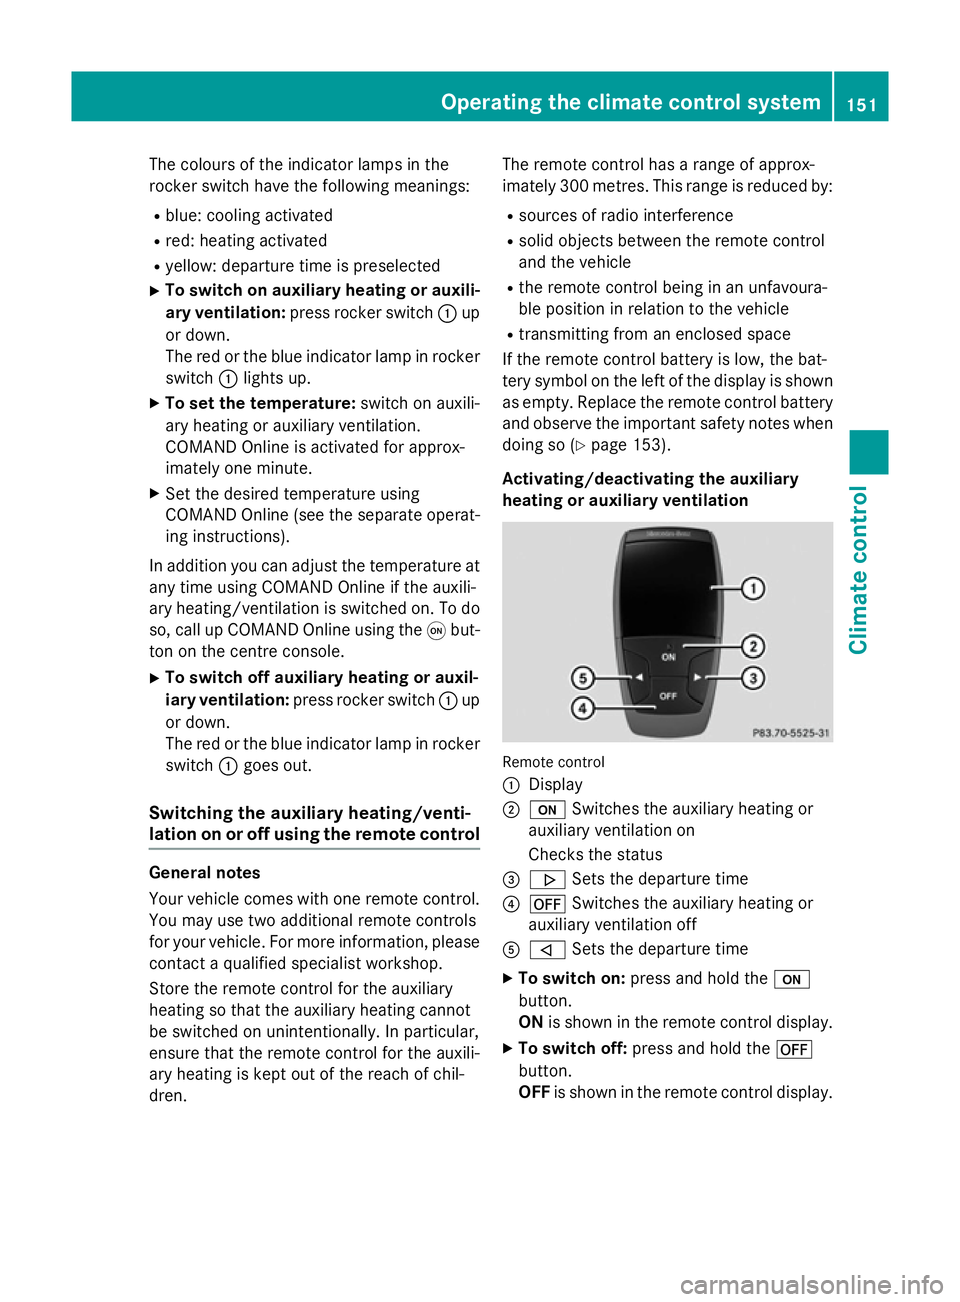
Activating/deactivating the auxiliary
heating or auxiliary ventilation Remote control
:
Display
; u Switches the auxiliary heating or
auxiliary ventilation on
Checks the status
= . Sets the departure time
? ^ Switches the auxiliary heating or
auxiliary ventilation off
A , Sets the departure time
X To switch on: press and hold the u
button.
ON is shown in the remote control display.
X To switch off: press and hold the ^
button.
OFF is shown in the remote control display. Operating the climate control system
151Climate control Z