2015 MERCEDES-BENZ M-Class sunroof
[x] Cancel search: sunroofPage 100 of 466

!
Only open the sliding sunroof if it is free of
snow and ice. Otherwise, malfunctions may
occur.
Do not allow anything to protrude from the sliding sunroof. Otherwise, the seals could
be damaged.
i Resonance noises can occur in addition to
the usual airflow noises when the sliding
sunroof is open. They are caused by minor
pressure fluctuations in the vehicle interior.
Change the position of the sliding sunroof
or open a side window. The noise will be
reduced or eliminated. Sliding sunroof reversing feature
The sliding sunroof is equipped with an auto- matic reversing feature. If a solid object
blocks or restricts the sliding sunroof during
the closing process, the sliding sunroof opens
again automatically. However, the automatic
reversing feature is only an aid and does not
relieve you of the responsibility of paying
attention when closing the sliding sunroof. G
WARNING
The reversing feature does not react:
R to soft, light and thin objects, e.g. small fin-
gers
R over the last 1/6 in(4 mm) of the closing
movement
R during resetting
R when closing the sliding sunroof again man-
ually immediately after automatic reversing
This means that the reversing feature cannot
prevent someone being trapped in these sit-
uations. There is a risk of injury.
Make sure that no body parts are in close
proximity during the closing procedure.
If somebody becomes trapped:
R release the switch immediately, or
R during automatic operation, push the
switch briefly in any direction
The closing process is stopped. Operating the sliding sunroof
Opening and closing Overhead control panel
0043
To raise
0044 To open
0087 To close/lower
X Turn the SmartKey to position 1or 2in the
ignition lock.
X Press or pull the 0056switch in the corre-
sponding direction.
i If you press the
0056switch beyond the
point of resistance, an automatic opening/ closing process is started in the corre-
sponding direction. You can stop automatic
operation by operating the switch again.
When opening and raising the roof, auto-
matic operation is only available if the slid- ing sunroof is in the closed position.
The sun protection cover automatically opens
along with the sliding sunroof. You can open
or close the sun protection cover manually
when the sliding sunroof is raised or closed.
i You can continue to operate the sliding
sunroof after switching off the engine or
removing the SmartKey from the ignition
lock. This function is available for up to five minutes or until the driver's or front-
passenger door is opened.
Resetting !
If the sliding sunroof still cannot be
opened or closed fully after resetting, con- tact a qualified specialist workshop. 98
Sliding sunroofOpening and closing
Page 101 of 466

Reset the sliding sunroof if it does not move
smoothly.
X Turn the SmartKey to position 1or 2in the
ignition lock.
X Raise the sliding sunroof fully at the rear
(Y page 98).
X Keep the 0056switch pressed for another
second.
X Make sure that the sliding sunroof can be
fully opened and closed again (Y page 98).
X If this is not the case, repeat the steps
above again. Operating the panorama roof with
power tilt/sliding panel
Overhead control panel
0043
To raise
0044 To open
0087 To close/lower
The panorama roof with power tilt/sliding
panel can only be operated when the roller
sunblind is open (Y page 100).
X To open and close: turn the SmartKey to
position 1or 2in the ignition lock.
X Press or pull the 0056switch in the corre-
sponding direction.
i If you press the
0056switch beyond the
point of resistance, an automatic opening/ closing process is started in the corre-
sponding direction. You can stop automatic
operation by operating the switch again.
The automatic raising feature is available
only when the sliding sunroof is closed. Operating the roller sunblinds for the
panorama roof with power tilt/sliding
panel
Important safety notes G
WARNING
When opening or closing the roller sunblind,
parts of the body could be trapped between
the roller sunblind and the frame or sliding
sunroof. There is a risk of injury.
When opening or closing make sure that no
parts of the body are in the sweep of the roller sunblind.
If somebody becomes trapped:
R release the switch immediately, or
R during automatic operation, push the
switch briefly in any direction
The opening or closing procedure will be stop-
ped.
The roller sunblinds shield the vehicle interior from sunlight. The roller sunblinds can only be
opened and closed together when the pano-
rama roof with power tilt/sliding panel is
closed.
Roller sunblind reversing feature The roller sunblinds are equipped with an
automatic reversing feature. If a solid object
blocks or restricts a roller sunblind during the
closing process, the roller sunblind opens
again automatically. However, the automatic
reversing feature is only an aid and does not
relieve you of the responsibility of paying
attention when closing the roller sunblinds. G
WARNING
The reversing feature especially does not
react to soft, light and thin objects such as
small fingers. This means that the reversing
feature cannot prevent someone being trap-
ped in these situations. There is a risk of
injury.
When closing make sure that no parts of the
body are in the sweep of the roller sunblind. Sliding sun
roof
99Opening and closing
Z
Page 102 of 466

If somebody becomes trapped:
R release the switch immediately, or
R during automatic operation, push the
switch briefly in any direction
The closing process is stopped.
Opening and closing the roller sun-
blinds Overhead control panel
0043 To open
0044 To open
0087 To close
X Turn the SmartKey to position 1or 2in the
ignition lock.
X Press or pull the 0056switch in the corre-
sponding direction.
i If you press/pull the
0056switch beyond
the point of resistance, automatic opera-
tion is started in the corresponding direc-
tion. You can stop automatic operation by
pressing/pulling the switch again.
Resetting the panorama roof with
power tilt/sliding panel and the roller
sunblinds !
If the panorama roof with power tilt/slid-
ing panel and the roller sunblinds cannot be
fully opened or closed after resetting, con- tact a qualified specialist workshop. Overhead control panel
0043
To open
0044 To open
0087 To close
Reset the panorama roof with power tilt/slid- ing panel and the roller sunblinds if the pan-
orama roof with power tilt/sliding panel or
the roller sunblinds do not move smoothly.
X Turn the SmartKey to position 1or 2in the
ignition lock.
X Pull the 0056switch repeatedly to the point
of resistance in the direction of arrow 0087
until the panorama roof with power tilt/
sliding panel is fully closed.
X Keep the 0056switch pulled for an addi-
tional second.
X Pull the 0056switch repeatedly to the point
of resistance in the direction of arrow 0087
until the roller sunblinds are fully closed.
X Keep the 0056switch pulled for an addi-
tional second.
X Make sure that the panorama roof with
power tilt/sliding panel (Y page 99) and the
roller sunblinds (Y page 100) can be fully
opened again.
X If this is not the case, repeat the steps
above again. 100
Sliding sunroofOpening and closing
Page 103 of 466

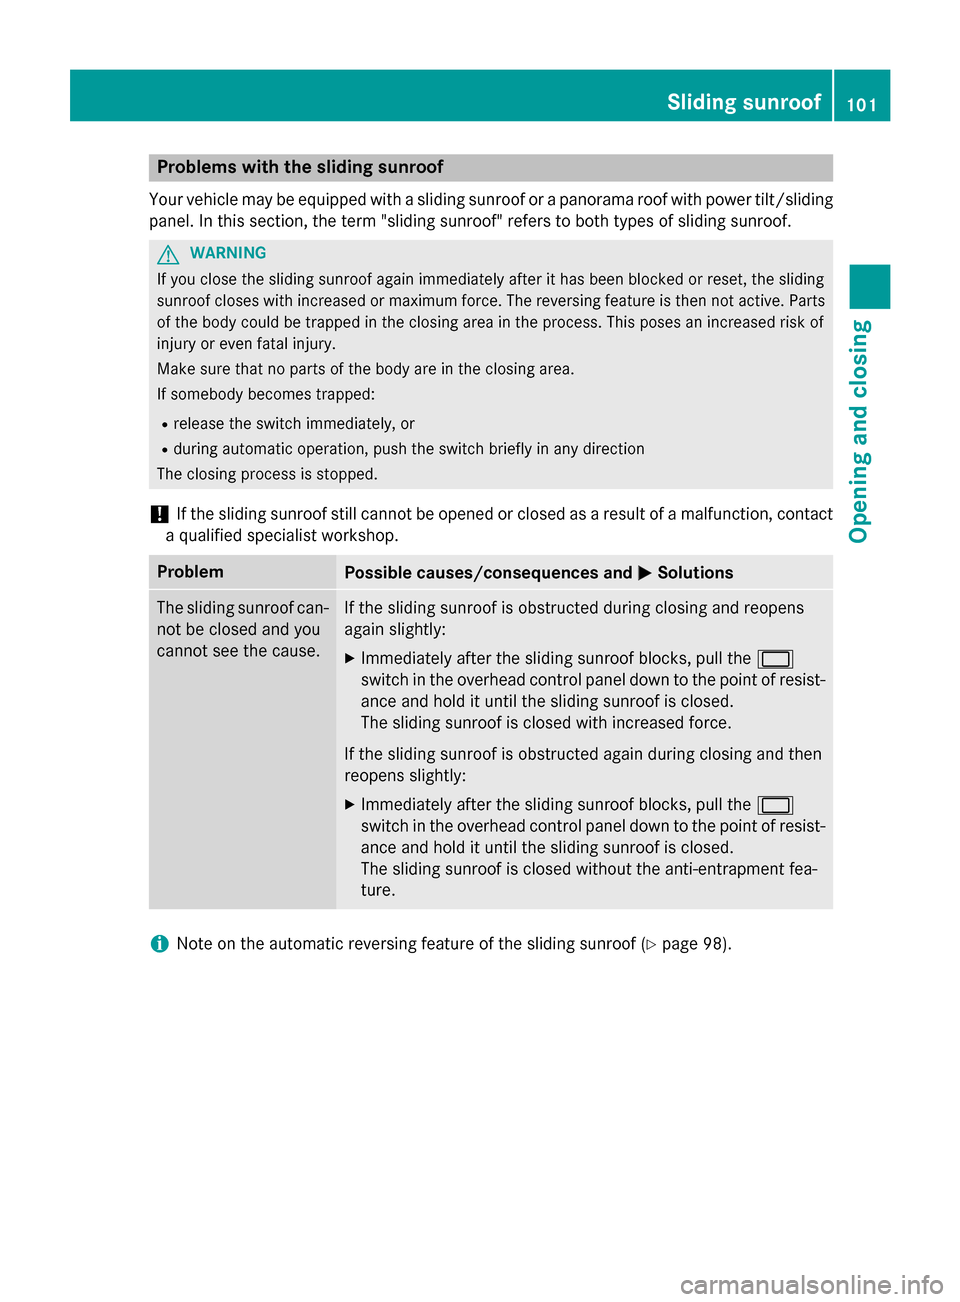
Problems with the sliding sunroof
Your vehicle may be equipped with a sliding sunroof or a panorama roof with power tilt/sliding
panel. In this section, the term "sliding sunroof" refers to both types of sliding sunroof. G
WARNING
If you close the sliding sunroof again immediately after it has been blocked or reset, the sliding
sunroof closes with increased or maximum force. The reversing feature is then not active. Parts of the body could be trapped in the closing area in the process. This poses an increased risk of
injury or even fatal injury.
Make sure that no parts of the body are in the closing area.
If somebody becomes trapped:
R release the switch immediately, or
R during automatic operation, push the switch briefly in any direction
The closing process is stopped.
! If the sliding sunroof still cannot be opened or closed as a result of a malfunction, contact
a qualified specialist workshop. Problem
Possible causes/consequences and
0050
0050Solutions The sliding sunroof can-
not be closed and you
cannot see the cause. If the sliding sunroof is obstructed during closing and reopens
again slightly:
X Immediately after the sliding sunroof blocks, pull the 0056
switch in the overhead control panel down to the point of resist-
ance and hold it until the sliding sunroof is closed.
The sliding sunroof is closed with increased force.
If the sliding sunroof is obstructed again during closing and then
reopens slightly:
X Immediately after the sliding sunroof blocks, pull the 0056
switch in the overhead control panel down to the point of resist-
ance and hold it until the sliding sunroof is closed.
The sliding sunroof is closed without the anti-entrapment fea-
ture. i
Note on the automatic reversing feature of the sliding sunroof (Y
page 98). Sliding sunroof
101Opening and closing Z
Page 112 of 466

Problems with the seat heating
Problem
Possible causes/consequences and
0050
0050Solutions The seat heating has
switched off prema-
turely or cannot be
switched on. The on-board voltage is too low because too many electrical con-
sumers are switched on.
X Switch off electrical consumers that you do not need, such as
the rear window defroster or interior lighting.
Once the battery is sufficiently charged, the seat heating will
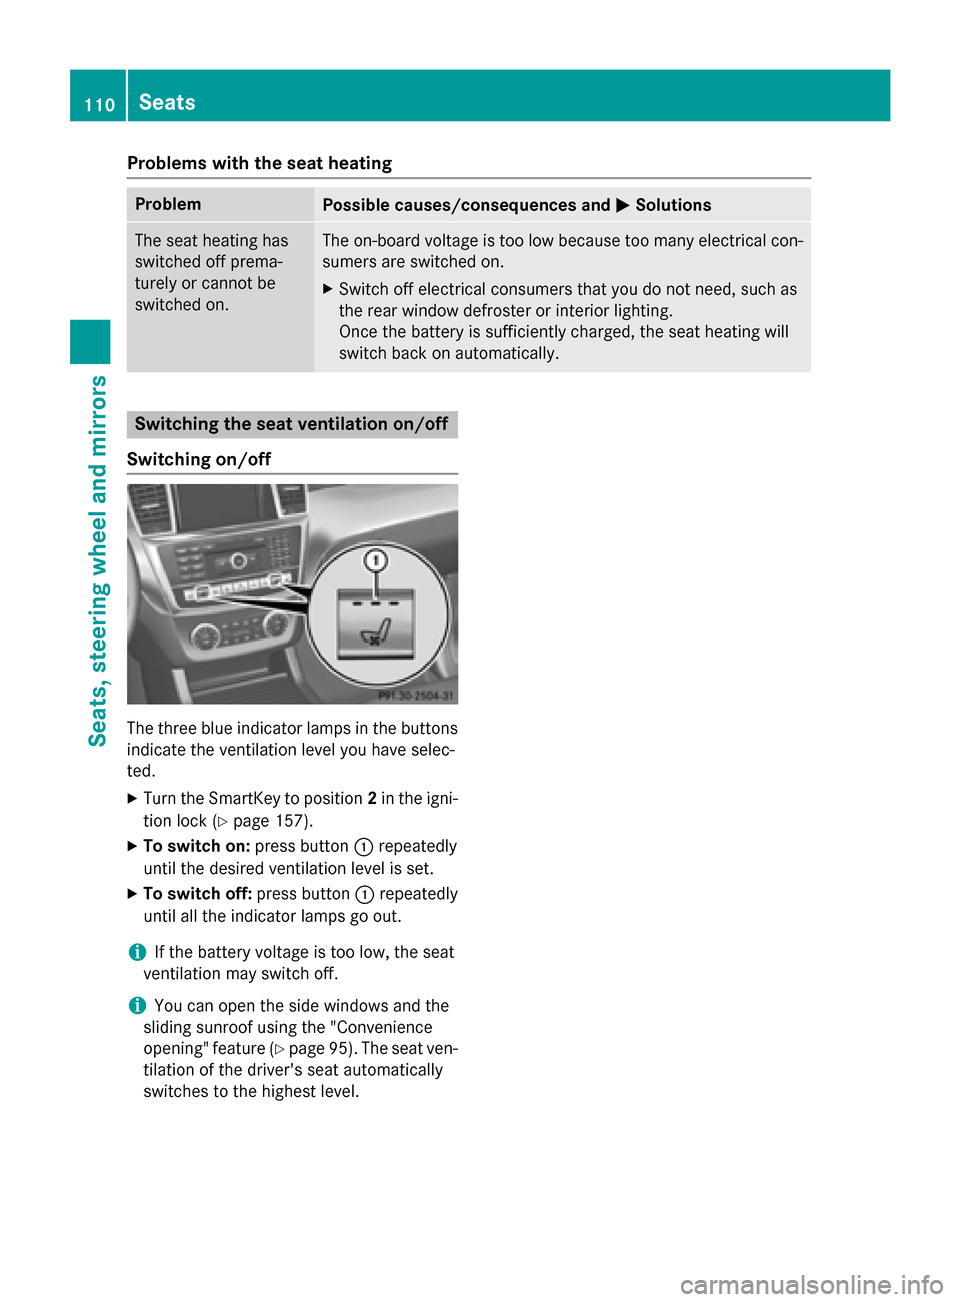
switch back on automatically. Switching the seat ventilation on/off
Switching on/off The three blue indicator lamps in the buttons
indicate the ventilation level you have selec-
ted.
X Turn the SmartKey to position 2in the igni-
tion lock (Y page 157).
X To switch on: press button0043repeatedly
until the desired ventilation level is set.
X To switch off: press button0043repeatedly
until all the indicator lamps go out.
i If the battery voltage is too low, the seat
ventilation may switch off.
i You can open the side windows and the
sliding sunroof using the "Convenience
opening" feature (Y page 95). The seat ven-
tilation of the driver's seat automatically
switches to the highest level. 110
SeatsSeats, steering wheel and mirrors
Page 194 of 466

Driving off-road increases the likelihood of
damage to the vehicle, which, in turn, can lead to failure of the mechanical assembly or sys-
tems. Adapt your driving style to suit the ter- rain conditions. Drive carefully. Have damage
to the vehicle rectified immediately at a quali-
fied specialist workshop.
Do not switch to transmission position N
when driving off-road. You could lose control
of the vehicle if you attempt to brake using
the service brake. If the gradient is too steep, drive backwards in reverse gear.
General notes Read this section carefully before driving your
vehicle off-road. Practice by driving over more gentle off-road terrain first.
Familiarize yourself with the characteristics
of your vehicle and the gear shift operation
before driving through difficult terrain.
The following driving systems are specially
adapted to off-road driving:
R Off-road program 1 and 2 (vehicles with the
ON&OFFROAD package) (Y page 251)
R LOW RANGE off-road gear (vehicles with
the ON&OFFROAD package)
(Y page 253)
R Differential lock (vehicles with the
ON&OFFROAD package) (Y page 252)
R Off-road ABS (Y page 68)
R Off-road 4ETS (Y page 73)
R AIRMATIC package (vehicle level)
(Y page 211)
R DSR (Downhill Speed Regulation)
(Y page 250)
Observe the following notes:
R Stop the vehicle before starting to drive
along an off-road route.
R For vehicles with the AIRMATIC pack-
age: select a vehicle level that is suitable
for the off-road terrain. To avoid damaging
the vehicle, make sure there is always suf-
ficient ground clearance. R
Check that items of luggage and loads are
stowed safely and are well secured
(Y page 339).
R Always keep the engine running and in gear
when driving on a downhill gradient. Acti-
vate DSR (Y page 250).
R Always keep the doors, tailgate, windows
and sliding sunroof closed while driving.
R Adapt your speed to the terrain. The
rougher, steeper or more ruts on the ter-
rain, the slower your speed should be.
R Drive slowly and at an even speed through
the water. Ensure that a bow wave does not
form as you drive.
R Drive with extreme care on unfamiliar off-
road routes where visibility is poor. For
safety reasons, get out of the vehicle first
and survey the off-road route.
R Look out for obstacles, such as rocks,
holes, tree stumps and furrows.
R Check the depth of water before fording
rivers and streams.
R When fording, do not stop and do not
switch off the engine.
R On sand, drive quickly to overcome the roll-
ing resistance. Otherwise the vehicle's
wheels could become stuck in loose
ground.
R Do not jump with the vehicle as this will
interrupt the vehicle's propulsion.
R Always keep the engine running and in gear
when driving on a slope.
R Do not shift the automatic transmission to
transmission position N.
i Do not use the HOLD function when driv-
ing off-road, on steep uphill or downhill gra-
dients or on slippery or loose surfaces. The HOLD function cannot hold the vehicle on
such surfaces.
Checklist before driving off-road !
If the engine oil warning lamp lights up
while the vehicle is in motion, stop the vehi-
cle in a safe place as soon as possible. 192
Driving
tipsDriving an d parking
Page 347 of 466

Roof carrier
Important safety notes G
WARNING
When you load the roof, the center of gravity
of the vehicle rises and the driving character- istics change. If you exceed the maximum roof
load, the driving characteristics, as well as
steering and braking, will be greatly impaired. There is a risk of an accident.
Never exceed the maximum roof load and
adjust your driving style.
! Mercedes-Benz recommends that you
only use roof carriers that have been tested
and approved for Mercedes-Benz vehicles.
This helps to prevent damage to the vehi-
cle.
Position the load on the roof carrier in such
a way that the vehicle will not sustain dam-
age even when it is in motion.
Depending on the vehicle equipment,
ensure that when the roof carrier is instal-
led you can:
R raise the sliding sunroof fully
R open the panorama roof with power tilt/
sliding panel fully
R open the tailgate fully
The maximum roof load is 220 lbs(100 kg).
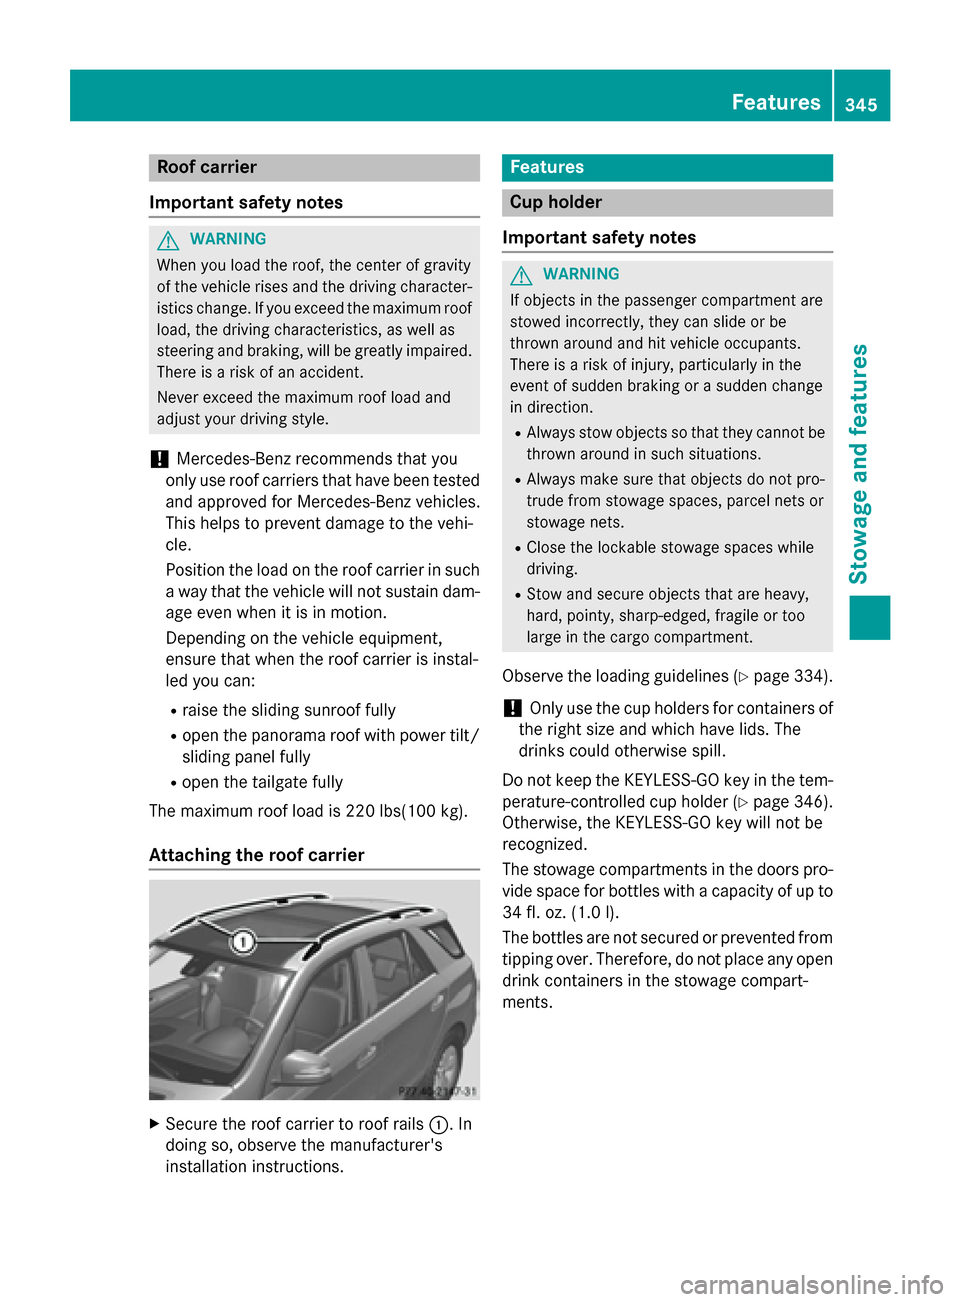
Attaching the roof carrier X
Secure the roof carrier to roof rails 0043. In
doing so, observe the manufacturer's
installation instructions. Features
Cup holder
Important safety notes G
WARNING
If objects in the passenger compartment are
stowed incorrectly, they can slide or be
thrown around and hit vehicle occupants.
There is a risk of injury, particularly in the
event of sudden braking or a sudden change
in direction. R Always stow objects so that they cannot be
thrown around in such situations.
R Always make sure that objects do not pro-
trude from stowage spaces, parcel nets or
stowage nets.
R Close the lockable stowage spaces while
driving.
R Stow and secure objects that are heavy,
hard, pointy, sharp-edged, fragile or too
large in the cargo compartment.
Observe the loading guidelines (Y page 334).
! Only use the cup holders for containers of
the right size and which have lids. The
drinks could otherwise spill.
Do not keep the KEYLESS-GO key in the tem-
perature-controlled cup holder (Y page 346).
Otherwise, the KEYLESS-GO key will not be
recognized.
The stowage compartments in the doors pro- vide space for bottles with a capacity of up to
34 fl. oz. (1.0 l).
The bottles are not secured or prevented from
tipping over. Therefore, do not place any open
drink containers in the stowage compart-
ments. Features
345Stowage and features Z
Page 374 of 466

!
For cleaning your vehicle, do not use any
of the following:
R dry, rough or hard cloths
R abrasive cleaning agents
R solvents
R cleaning agents containing solvents
Do not scrub.
Do not touch the surfaces or protective
films with hard objects, e.g. a ring or ice
scraper. You could otherwise scratch or
damage the surfaces and protective film.
! Do not park the vehicle for an extended
period straight after cleaning it, particularly after having cleaned the wheels with wheel
cleaner. Wheel cleaners could cause
increased corrosion of the brake discs and brake pads/linings. For this reason, you
should drive for a few minutes after clean-
ing. Braking heats the brake discs and the
brake pads/linings, thus drying them. The
vehicle can then be parked.
Regular care of your vehicle is a condition for
retaining the quality in the long term.
Use care products and cleaning agents rec-
ommended and approved by Mercedes-Benz. Washing the vehicle and cleaning the
paintwork
Automatic car wash G
WARNING
Braking efficiency is reduced after washing
the vehicle. There is a risk of an accident.
After the vehicle has been washed, brake
carefully while paying attention to the traffic
conditions until full braking power is restored. !
If DISTRONIC PLUS or the HOLD function
is activated, the vehicle brakes automati-
cally in certain situations. To prevent dam-
age to the vehicle, deactivate DISTRONIC
PLUS and the HOLD function in the follow-
ing or other similar situations:
R when towing the vehicle
R in the car wash
! Never clean your vehicle in a Touchless
Automatic Car Wash as these use special
cleaning agents. These cleaning agents can
damage the paintwork or plastic parts.
! Make sure that:
R the side windows and the sliding sunroof
are fully closed.
R the ventilation/heating is switched off
(the OFF button has been pressed).
R the windshield wiper switch is in position
0.
Otherwise, the vehicle might be damaged.
! In car washes with a towing mechanism,
make sure that the automatic transmission
is in transmission position N, otherwise the
vehicle could be damaged.
R Vehicles with a SmartKey:
Do not remove the SmartKey from the
ignition lock. Do not open the driver's
door or front-passenger door when the
engine is switched off. Otherwise, the
automatic transmission selects park
position Pautomatically and locks the
wheels. You can prevent this by shifting
the automatic transmission to Nbefore-
hand.
R Vehicles with KEYLESS-GO:
Do not open the driver's door or front-
passenger door when the engine is
switched off. Otherwise, the automatic
transmission selects park position P
automatically and locks the wheels.
Observe the following to make sure that the
automatic transmission stays in position N:372
CareMaintenance and care