2015 MERCEDES-BENZ GLE SUV reset
[x] Cancel search: resetPage 290 of 453
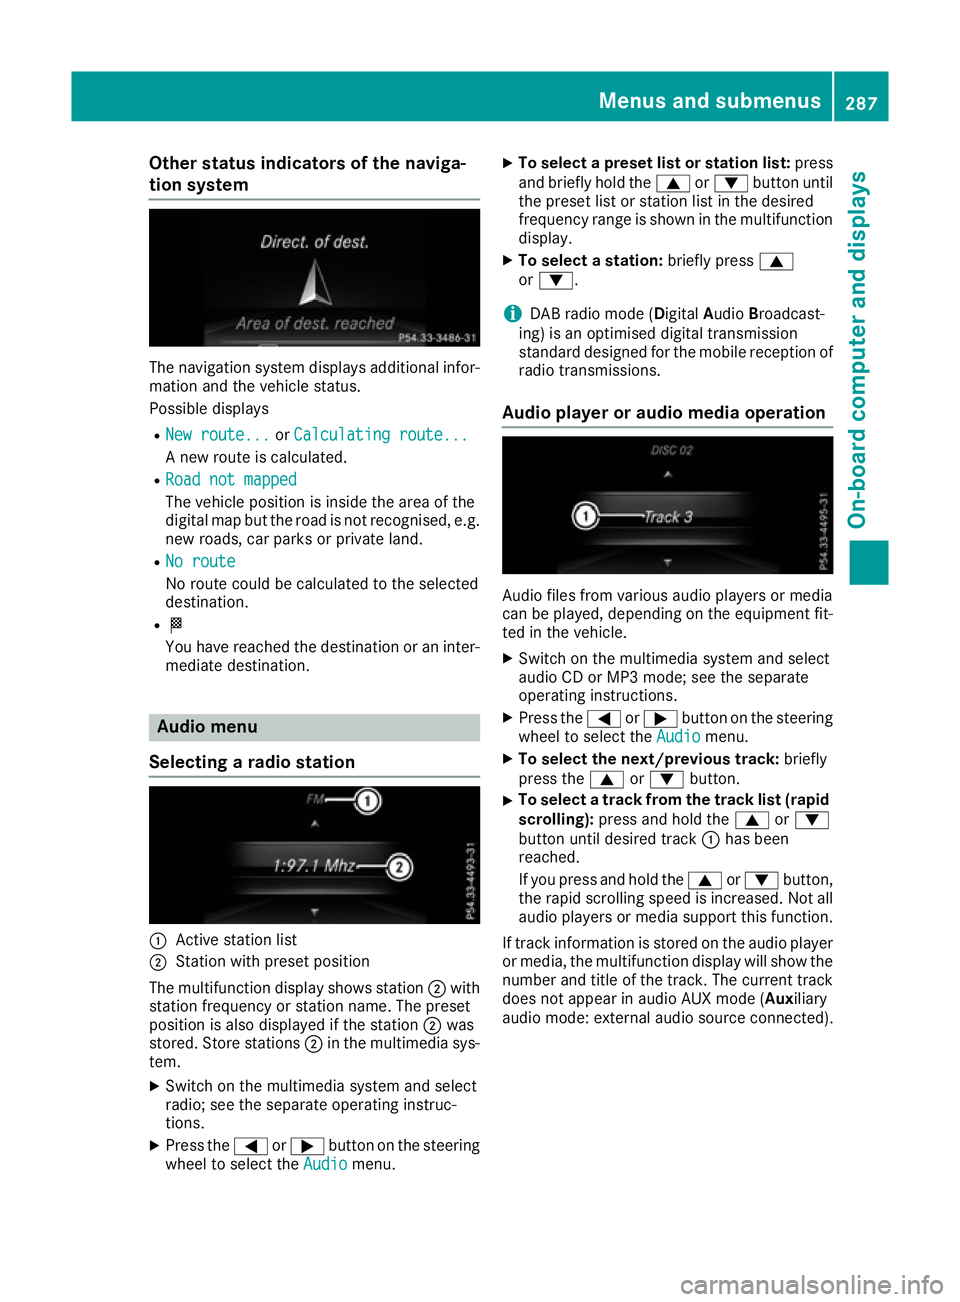
Other status indicators of the naviga-
tion system The navigation system displays additional infor-
mation and the vehicle status.
Possible displays
R New route...
New route... orCalculating route... Calculating route...
A new route is calculated.
R Road not mapped
Road not mapped
The vehicle position is inside the area of the
digital map but the road is not recognised, e.g.
new roads, car parks or private land.
R No route
No route
No route could be calculated to the selected
destination.
R O
You have reached the destination or an inter-
mediate destination. Audio menu
Selecting a radio station :
Active station list
; Station with preset position
The multifunction display shows station ;with
station frequency or station name. The preset
position is also displayed if the station ;was
stored. Store stations ;in the multimedia sys-
tem.
X Switch on the multimedia system and select
radio; see the separate operating instruc-
tions.
X Press the =or; button on the steering
wheel to select the Audio
Audio menu. X
To select a preset list or station list: press
and briefly hold the 9or: button until
the preset list or station list in the desired
frequency range is shown in the multifunction display.
X To select a station: briefly press9
or :.
i DAB radio mode (Digital
AudioBroadcast-
ing) is an optimised digital transmission
standard designed for the mobile reception of
radio transmissions.
Audio player or audio media operation Audio files from various audio players or media
can be played, depending on the equipment fit-
ted in the vehicle.
X Switch on the multimedia system and select
audio CD or MP3 mode; see the separate
operating instructions.
X Press the =or; button on the steering
wheel to select the Audio Audiomenu.
X To select the next/previous track: briefly
press the 9or: button.
X To select a track from the track list (rapid
scrolling): press and hold the 9or:
button until desired track :has been
reached.
If you press and hold the 9or: button,
the rapid scrolling speed is increased. Not all audio players or media support this function.
If track information is stored on the audio player or media, the multifunction display will show the
number and title of the track. The current track does not appear in audio AUX mode ( Auxiliary
audio mode: external audio source connected). Menus and submenus
287On-board computer and displays Z
Page 291 of 453
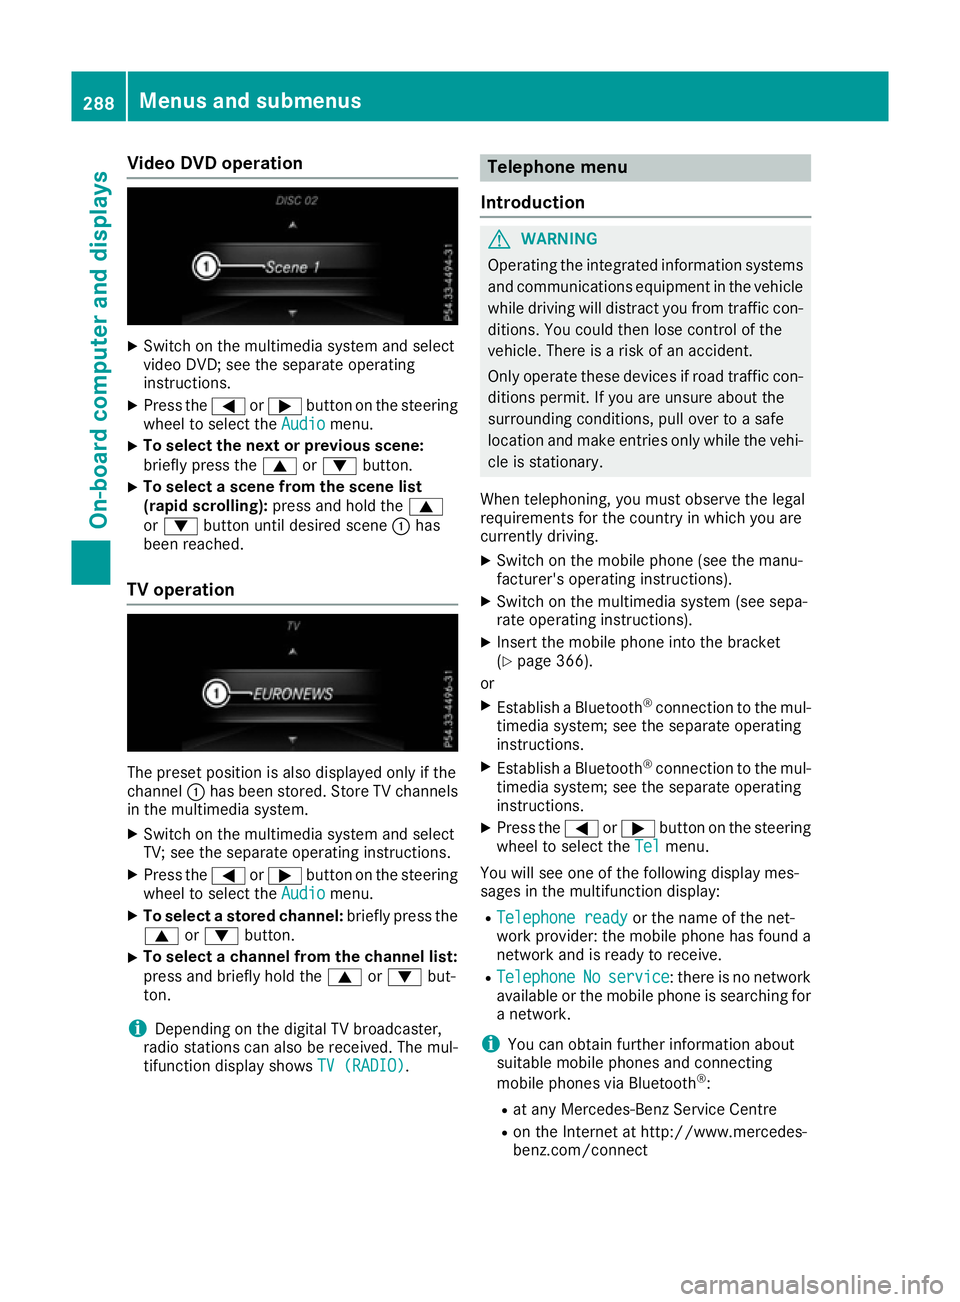
Video DVD operation
X
Switch on the multimedia system and select
video DVD; see the separate operating
instructions.
X Press the =or; button on the steering
wheel to select the Audio
Audio menu.
X To select the next or previous scene:
briefly press the 9or: button.
X To select a scene from the scene list
(rapid scrolling): press and hold the 9
or : button until desired scene :has
been reached.
TV operation The preset position is also displayed only if the
channel :has been stored. Store TV channels
in the multimedia system.
X Switch on the multimedia system and select
TV; see the separate operating instructions.
X Press the =or; button on the steering
wheel to select the Audio
Audio menu.
X To select a stored channel: briefly press the
9 or: button.
X To select a channel from the channel list:
press and briefly hold the
9or: but-
ton.
i Depending on the digital TV broadcaster,
radio stations can also be received. The mul-
tifunction display shows TV (RADIO) TV (RADIO). Telephone menu
Introduction G
WARNING
Operating the integrated information systems and communications equipment in the vehicle
while driving will distract you from traffic con-
ditions. You could then lose control of the
vehicle. There is a risk of an accident.
Only operate these devices if road traffic con-
ditions permit. If you are unsure about the
surrounding conditions, pull over to a safe
location and make entries only while the vehi-
cle is stationary.
When telephoning, you must observe the legal
requirements for the country in which you are
currently driving. X Switch on the mobile phone (see the manu-
facturer's operating instructions).
X Switch on the multimedia system (see sepa-
rate operating instructions).
X Insert the mobile phone into the bracket
(Y page 366).
or X Establish a Bluetooth ®
connection to the mul-
timedia system; see the separate operating
instructions.
X Establish a Bluetooth ®
connection to the mul-
timedia system; see the separate operating
instructions.
X Press the =or; button on the steering
wheel to select the Tel
Tel menu.
You will see one of the following display mes-
sages in the multifunction display:
R Telephone ready Telephone ready or the name of the net-
work provider: the mobile phone has found a
network and is ready to receive.
R Telephone
Telephone No
Noservice
service: there is no network
available or the mobile phone is searching for a network.
i You can obtain further information about
suitable mobile phones and connecting
mobile phones via Bluetooth ®
:
R at any Mercedes-Benz Service Centre
R on the Internet at http://www.mercedes-
benz.com/connect 288
Menus and submenusOn-board computer and displays
Page 296 of 453
X
Press the =or; button on the steering
wheel to select the Settings
Settings menu.
X Press the :or9 button to select the
Hybrid
Hybrid submenu.
X Confirm by pressing aon the steering
wheel.
X Press the :or9 button to select the
Departure time:
Departure time: function.
You will see the selected setting.
X To set no departure time: press the:or
9 button to select No preselection
No preselection.
X Press ato confirm.
If you recharge the high-voltage battery, the
multifunction display also shows the time
when the high-voltage battery will be fully
charged.
or X To set a departure time: press:or9
A
A, B Bor C
Cto select the desired preset.
X Press ato confirm the selection.
X Press :or9 to set the hours.
X Press ato confirm.
X Press :or9 to set the minutes.
X Press ato confirm.
If you recharge the high-voltage battery, the
multifunction display shows the expected
charge status of the high-voltage battery for
the departure time set.
Further information on charging the high-volt-
age battery (PLUG-IN HYBRID vehicles)
(Y page 183).
Instrument cluster submenu Selecting the distance unit
The Display unit Speed-/odometer: Display unit Speed-/odometer: func-
tion allows you to choose whether certain dis-
plays appear in kilometres or miles in the mul-
tifunction display.
X Press the =or; button on the steering
wheel to select the Settings Settingsmenu.
X Press the :or9 button to select the
Instrument cluster
Instrument cluster submenu.
X Press ato confirm.
X Press the :or9 button to select the
Display unit Speed-/odometer
Display unit Speed-/odometer function.
You will see the selected setting: km
km ormiles miles.
X Press the abutton to save the setting. The selected unit of measurement for distance
applies to the:
R digital speedometer in the Trip Tripmenu
R total distance recorder and the trip meter
R trip computer
R current consumption and the range
R navigation instructions in the Navi
Navimenu
R cruise control
R SPEEDTRONIC
R DISTRONIC PLUS
R ASSYST PLUS service interval display
Selecting permanent display
United Kingdom: this function is unavailable.
The Permanent display: Permanent display: function allows you
to choose whether the multifunction display
always shows the outside temperature or the
speed.
The speed display is inverse to your speedome- ter.
X Press the =or; button on the steering
wheel to select the Settings
Settings menu.
X Press the :or9 button to select the
Instrument cluster Instrument cluster submenu.
X Confirm by pressing aon the steering
wheel.
X Press the :or9 button to select the
Permanent display:
Permanent display: function.
The current setting, outside temperature
outside temperature
or Dig. speedo [mph]:
Dig. speedo [mph]:, appears.
X To change the setting: pressaagain.
Light submenu Setting the daytime driving lights
The Daytime driving lights
Daytime driving lights function can
only be switched on with the engine turned off.
X Press the =or; button on the steering
wheel to select the Settings
Settings menu.
X Press the :or9 button to select the
Lights
Lights submenu.
X Press ato confirm.
X Press the :or9 button to select the
Daytime driving lights
Daytime driving lights function.
If the Daytime
Daytime driving
drivinglights
lightsfunction has
been switched on, the cone of light and the
W symbol in the multifunction display are
shown in orange.
X Press the abutton to save the setting. Menus and submenus
293On-board computer and displays Z
Page 300 of 453
X
Press the =or; button on the steering
wheel to select the Settings
Settings menu.
X Press the :or9 button to select the
Convenience
Convenience submenu.
X Press ato confirm.
X Press the :or9 button to select the
Auto. fold-in mirrors
Auto. fold-in mirrors function.
If the Auto. fold-in mirrors
Auto. fold-in mirrors function is
switched on, the multifunction display shows
the exterior mirror in orange.
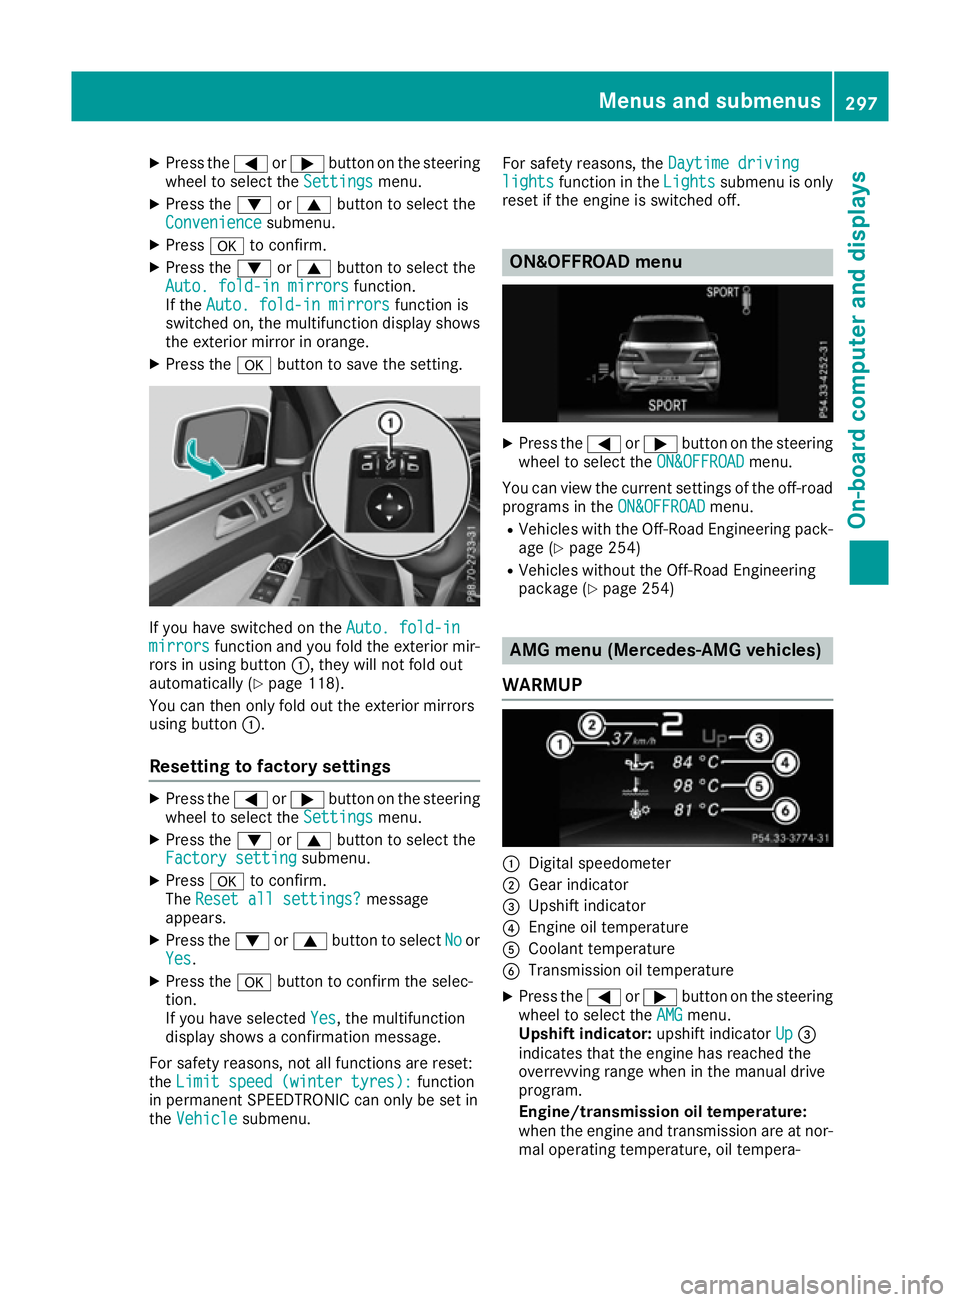
X Press the abutton to save the setting. If you have switched on the
Auto. fold-in
Auto. fold-in
mirrors
mirrors function and you fold the exterior mir-
rors in using button :, they will not fold out
automatically (Y page 118).
You can then only fold out the exterior mirrors
using button :.
Resetting to factory settings X
Press the =or; button on the steering
wheel to select the Settings
Settings menu.
X Press the :or9 button to select the
Factory setting Factory setting submenu.
X Press ato confirm.
The Reset all settings?
Reset all settings? message
appears.
X Press the :or9 button to select No
Noor
Yes
Yes.
X Press the abutton to confirm the selec-
tion.
If you have selected Yes Yes, the multifunction
display shows a confirmation message.
For safety reasons, not all functions are reset:
the Limit speed (winter tyres):
Limit speed (winter tyres): function
in permanent SPEEDTRONIC can only be set in
the Vehicle Vehicle submenu. For safety reasons, the
Daytime driving
Daytime driving
lights
lights function in the Lights
Lightssubmenu is only
reset if the engine is switched off. ON&OFFROAD menu
X
Press the =or; button on the steering
wheel to select the ON&OFFROAD
ON&OFFROADmenu.
You can view the current settings of the off-road programs in the ON&OFFROAD
ON&OFFROADmenu.
R Vehicles with the Off-Road Engineering pack-
age (Y page 254)
R Vehicles without the Off-Road Engineering
package (Y page 254) AMG menu (Mercedes-AMG vehicles)
WARMUP :
Digital speedometer
; Gear indicator
= Upshift indicator
? Engine oil temperature
A Coolant temperature
B Transmission oil temperature
X Press the =or; button on the steering
wheel to select the AMG AMGmenu.
Upshift indicator: upshift indicatorUp Up=
indicates that the engine has reached the
overrevving range when in the manual drive
program.
Engine/transmission oil temperature:
when the engine and transmission are at nor-
mal operating temperature, oil tempera- Menus and submenus
297On-board computer and displays Z
Page 302 of 453
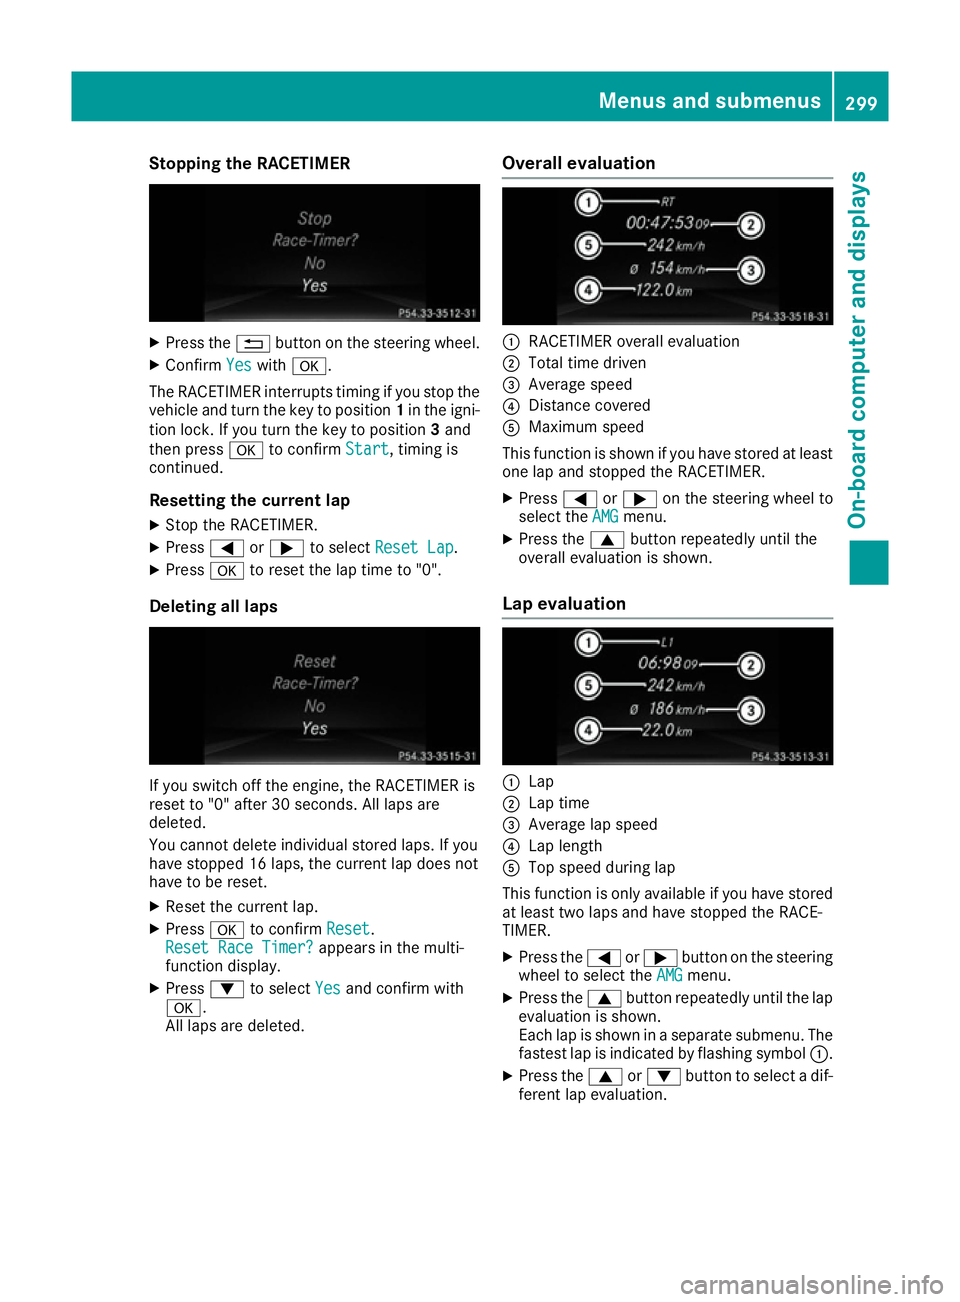
Stopping the RACETIMER
X
Press the %button on the steering wheel.
X Confirm Yes
Yes with a.
The RACETIMER interrupts timing if you stop the
vehicle and turn the key to position 1in the igni-
tion lock. If you turn the key to position 3and
then press ato confirm Start
Start, timing is
continued.
Resetting the current lap
X Stop the RACETIMER.
X Press =or; to select Reset Lap
Reset Lap.
X Press ato reset the lap time to "0".
Deleting all laps If you switch off the engine, the RACETIMER is
reset to "0" after 30 seconds. All laps are
deleted.
You cannot delete individual stored laps. If you
have stopped 16 laps, the current lap does not
have to be reset.
X Reset the current lap.
X Press ato confirm Reset Reset.
Reset Race Timer?
Reset Race Timer? appears in the multi-
function display.
X Press :to select Yes
Yes and confirm with
a.
All laps are deleted. Overall evaluation :
RACETIMER overall evaluation
; Total time driven
= Average speed
? Distance covered
A Maximum speed
This function is shown if you have stored at least one lap and stopped the RACETIMER.
X Press =or; on the steering wheel to
select the AMG AMGmenu.
X Press the 9button repeatedly until the
overall evaluation is shown.
Lap evaluation :
Lap
; Lap time
= Average lap speed
? Lap length
A Top speed during lap
This function is only available if you have stored
at least two laps and have stopped the RACE-
TIMER.
X Press the =or; button on the steering
wheel to select the AMG
AMG menu.
X Press the 9button repeatedly until the lap
evaluation is shown.
Each lap is shown in a separate submenu. The fastest lap is indicated by flashing symbol :.
X Press the 9or: button to select a dif-
ferent lap evaluation. Menus and submenus
299On-board computer and displays Z
Page 377 of 453
approximately 100 mm. The active bonnet is
triggered by pyrotechnics.
For the drive to the workshop, reset the trig-
gered active bonnet yourself. After being reset,
the active bonnet rests in the area of the hinges on the seals, and the hinges do not engage. For
this reason, we recommend that you do not
exceed a maximum permissible speed of
130 km/h on the way to the workshop. If the
active bonnet has been triggered, pedestrian
protection may be limited.
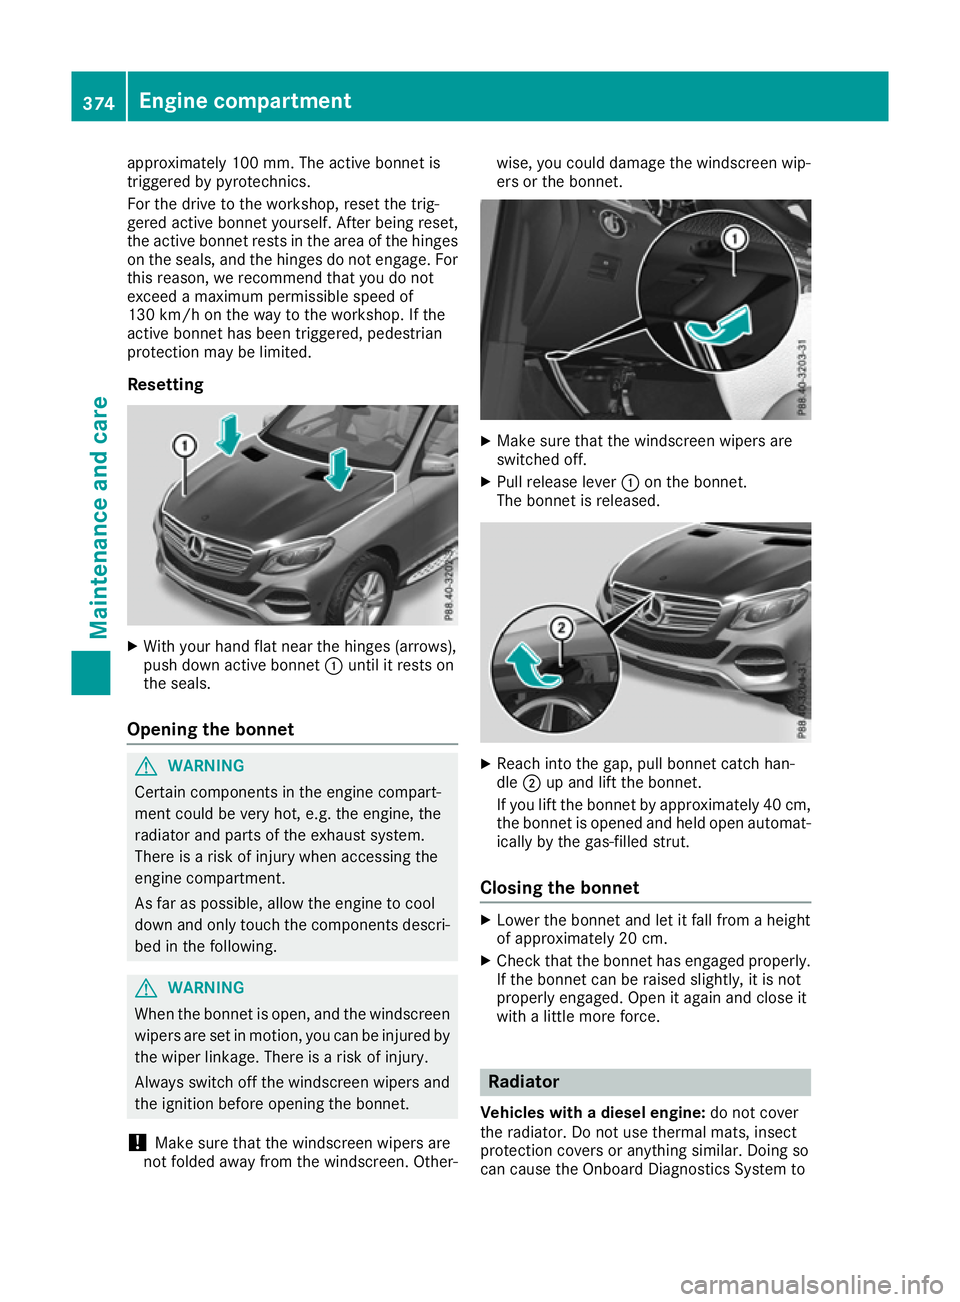
Resetting X
With your hand flat near the hinges (arrows),
push down active bonnet :until it rests on
the seals.
Opening the bonnet G
WARNING
Certain components in the engine compart-
ment could be very hot, e.g. the engine, the
radiator and parts of the exhaust system.
There is a risk of injury when accessing the
engine compartment.
As far as possible, allow the engine to cool
down and only touch the components descri- bed in the following. G
WARNING
When the bonnet is open, and the windscreen wipers are set in motion, you can be injured by
the wiper linkage. There is a risk of injury.
Always switch off the windscreen wipers and
the ignition before opening the bonnet.
! Make sure that the windscreen wipers are
not folded away from the windscreen. Other- wise, you could damage the windscreen wip-
ers or the bonnet.
X
Make sure that the windscreen wipers are
switched off.
X Pull release lever :on the bonnet.
The bonnet is released. X
Reach into the gap, pull bonnet catch han-
dle ;up and lift the bonnet.
If you lift the bonnet by approximately 40 cm, the bonnet is opened and held open automat-
ically by the gas-filled strut.
Closing the bonnet X
Lower the bonnet and let it fall from a height
of approximately 20 cm.
X Check that the bonnet has engaged properly.
If the bonnet can be raised slightly, it is not
properly engaged. Open it again and close it
with a little more force. Radiator
Vehicles with a diesel engine: do not cover
the radiator. Do not use thermal mats, insect
protection covers or anything similar. Doing so
can cause the Onboard Diagnostics System to 374
Engine compartmentMaintenance and care
Page 381 of 453
Depending on the operating conditions of the
vehicle, the remaining time or distance until the
next service due date is displayed.
The letter indicates which service is due. A A
stands for a minor service and B
B for a major ser-
vice. A number or another letter may be dis-
played after the letter.
Only for certain countries: the position after the
letter A
A or B Bindicates any necessary additional
maintenance work to be performed. If you notify a qualified specialist workshop of this display,
you will receive a statement on the associated
costs.
The ASSYST PLUS service interval display does
not take into account any periods of time during which the battery is disconnected.
Maintaining the time-dependent service sched-
ule:
X Note down the service due date displayed in
the multifunction display before disconnect-
ing the battery.
or X After reconnecting the battery, subtract the
battery disconnection periods from the ser-
vice date shown on the display. Hiding service messages
X Press the %ora button on the steering
wheel. Displaying service messages
X Switch the ignition on.
X Press the =or; button on the steering
wheel to select the Serv. Serv.menu.
X Press the 9or: button to select the
ASSYST
ASSYST PLUS
PLUSsubmenu and confirm by press-
ing the abutton.
The service due date appears in the multi-
function display. Information about Service
Resetting the ASSYST PLUS service
interval display !
If the ASSYST PLUS service interval display
has been inadvertently reset, this setting can be corrected at a qualified specialist work-
shop.
Have service work carried out as described in the Service Booklet. This may otherwise lead
to increased wear and damage to the major
assemblies or the vehicle.
A qualified specialist workshop, e.g. a
Mercedes-Benz Dealership, will reset the
ASSYST PLUS service interval display after the
service work has been carried out. You can also
obtain further information on maintenance
work, for example.
Special service requirements The prescribed service interval is based on nor-
mal operation of the vehicle. Service work will
need to be performed more often if the vehicle is
operated under arduous conditions or increased loads, for example:
R regular city driving with frequent intermediate
stops
R if the vehicle is primarily used to travel short
distances
R for frequent operation in mountainous terrain
or on poor road surfaces
R if the engine is often left idling for long periods
In these or similar operating conditions, have,
for example, the air filter, engine oil and oil filter changed more frequently. The tyres must be
checked more frequently if the vehicle is oper-
ated under increased loads. Further informationcan be obtained at a qualified specialist work-
shop, e.g. a Mercedes-Benz Service Centre.
Driving abroad An extensive Mercedes-Benz Service network is
also available in other countries. You can obtain further information from any Mercedes-Benz
Service Centre. Care
General notes
H
Environmental note
Dispose of empty packaging and cleaning
cloths in an environmentally responsible man-
ner. 378
CareMaintenance and care
Page 397 of 453
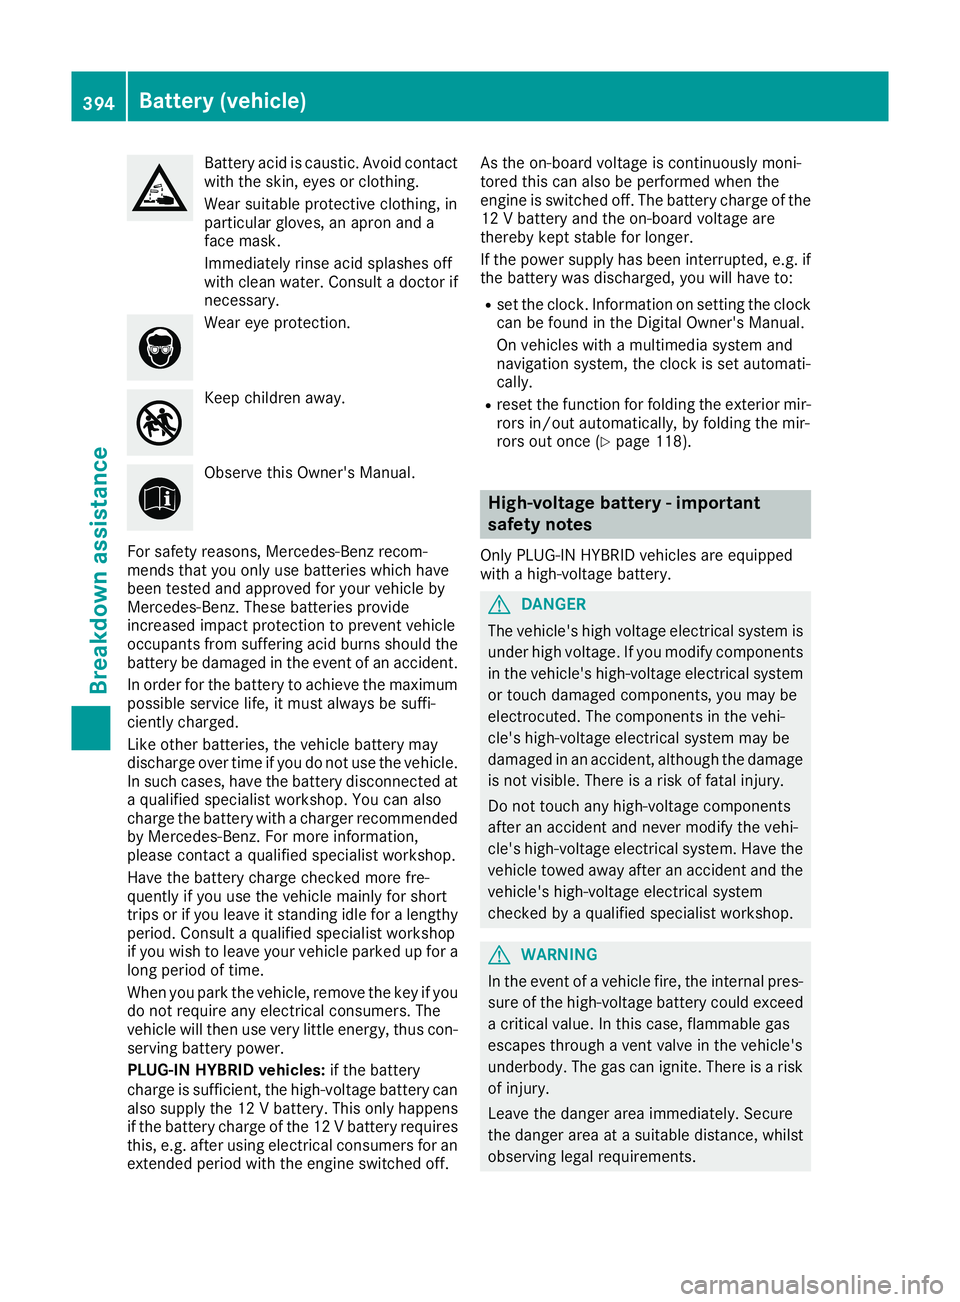
Battery acid is caustic. Avoid contact
with the skin, eyes or clothing.
Wear suitable protective clothing, in
particular gloves, an apron and a
face mask.
Immediately rinse acid splashes off
with clean water. Consult a doctor if
necessary. Wear eye protection.
Keep children away.
Observe this Owner's Manual.
For safety reasons, Mercedes-Benz recom-
mends that you only use batteries which have
been tested and approved for your vehicle by
Mercedes-Benz. These batteries provide
increased impact protection to prevent vehicle
occupants from suffering acid burns should the battery be damaged in the event of an accident.
In order for the battery to achieve the maximum possible service life, it must always be suffi-
ciently charged.
Like other batteries, the vehicle battery may
discharge over time if you do not use the vehicle.In such cases, have the battery disconnected ata qualified specialist workshop. You can also
charge the battery with a charger recommended
by Mercedes-Benz. For more information,
please contact a qualified specialist workshop.
Have the battery charge checked more fre-
quently if you use the vehicle mainly for short
trips or if you leave it standing idle for a lengthy period. Consult a qualified specialist workshop
if you wish to leave your vehicle parked up for a
long period of time.
When you park the vehicle, remove the key if you do not require any electrical consumers. The
vehicle will then use very little energy, thus con- serving battery power.
PLUG-IN HYBRID vehicles: if the battery
charge is sufficient, the high-voltage battery can also supply the 12 V battery. This only happens
if the battery charge of the 12 V battery requires this, e.g. after using electrical consumers for anextended period with the engine switched off. As the on-board voltage is continuously moni-
tored this can also be performed when the
engine is switched off. The battery charge of the
12 V battery and the on-board voltage are
thereby kept stable for longer.
If the power supply has been interrupted, e.g. if the battery was discharged, you will have to:
R set the clock. Information on setting the clock
can be found in the Digital Owner's Manual.
On vehicles with a multimedia system and
navigation system, the clock is set automati-
cally.
R reset the function for folding the exterior mir-
rors in/out automatically, by folding the mir-
rors out once (Y page 118). High-voltage battery - important
safety notes
Only PLUG-IN HYBRID vehicles are equipped
with a high-voltage battery. G
DANGER
The vehicle's high voltage electrical system is under high voltage. If you modify components
in the vehicle's high-voltage electrical system or touch damaged components, you may be
electrocuted. The components in the vehi-
cle's high-voltage electrical system may be
damaged in an accident, although the damage
is not visible. There is a risk of fatal injury.
Do not touch any high-voltage components
after an accident and never modify the vehi-
cle's high-voltage electrical system. Have the vehicle towed away after an accident and the vehicle's high-voltage electrical system
checked by a qualified specialist workshop. G
WARNING
In the event of a vehicle fire, the internal pres- sure of the high-voltage battery could exceeda critical value. In this case, flammable gas
escapes through a vent valve in the vehicle's
underbody. The gas can ignite. There is a risk
of injury.
Leave the danger area immediately. Secure
the danger area at a suitable distance, whilst
observing legal requirements. 394
Battery (vehicle)Breakdown assistance