2015 MERCEDES-BENZ GLE SUV child lock
[x] Cancel search: child lockPage 194 of 453
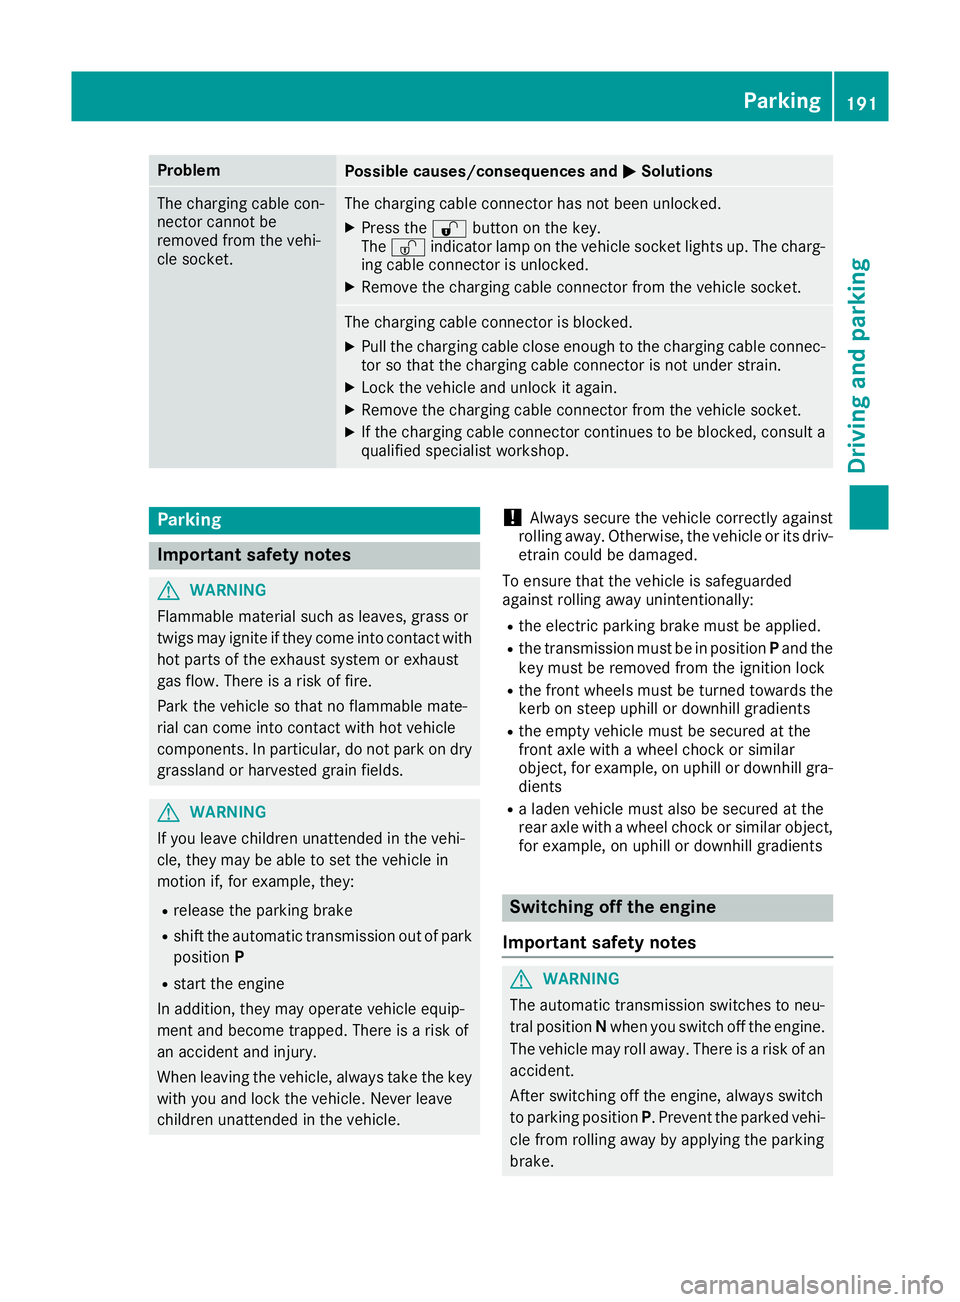
Problem
Possible causes/consequences and
M
MSolutions The charging cable con-
nector cannot be
removed from the vehi-
cle socket. The charging cable connector has not been unlocked.
X Press the %button on the key.
The Ì indicator lamp on the vehicle socket lights up. The charg-
ing cable connector is unlocked.
X Remove the charging cable connector from the vehicle socket. The charging cable connector is blocked.
X Pull the charging cable close enough to the charging cable connec-
tor so that the charging cable connector is not under strain.
X Lock the vehicle and unlock it again.
X Remove the charging cable connector from the vehicle socket.
X If the charging cable connector continues to be blocked, consult a
qualified specialist workshop. Parking
Important safety notes
G
WARNING
Flammable material such as leaves, grass or
twigs may ignite if they come into contact with hot parts of the exhaust system or exhaust
gas flow. There is a risk of fire.
Park the vehicle so that no flammable mate-
rial can come into contact with hot vehicle
components. In particular, do not park on dry grassland or harvested grain fields. G
WARNING
If you leave children unattended in the vehi-
cle, they may be able to set the vehicle in
motion if, for example, they:
R release the parking brake
R shift the automatic transmission out of park
position P
R start the engine
In addition, they may operate vehicle equip-
ment and become trapped. There is a risk of
an accident and injury.
When leaving the vehicle, always take the key
with you and lock the vehicle. Never leave
children unattended in the vehicle. !
Always secure the vehicle correctly against
rolling away. Otherwise, the vehicle or its driv-
etrain could be damaged.
To ensure that the vehicle is safeguarded
against rolling away unintentionally:
R the electric parking brake must be applied.
R the transmission must be in position Pand the
key must be removed from the ignition lock
R the front wheels must be turned towards the
kerb on steep uphill or downhill gradients
R the empty vehicle must be secured at the
front axle with a wheel chock or similar
object, for example, on uphill or downhill gra-
dients
R a laden vehicle must also be secured at the
rear axle with a wheel chock or similar object,
for example, on uphill or downhill gradients Switching off the engine
Important safety notes G
WARNING
The automatic transmission switches to neu-
tral position Nwhen you switch off the engine.
The vehicle may roll away. There is a risk of an
accident.
After switching off the engine, always switch
to parking position P. Prevent the parked vehi-
cle from rolling away by applying the parking
brake. Parking
191Driving and parking Z
Page 195 of 453
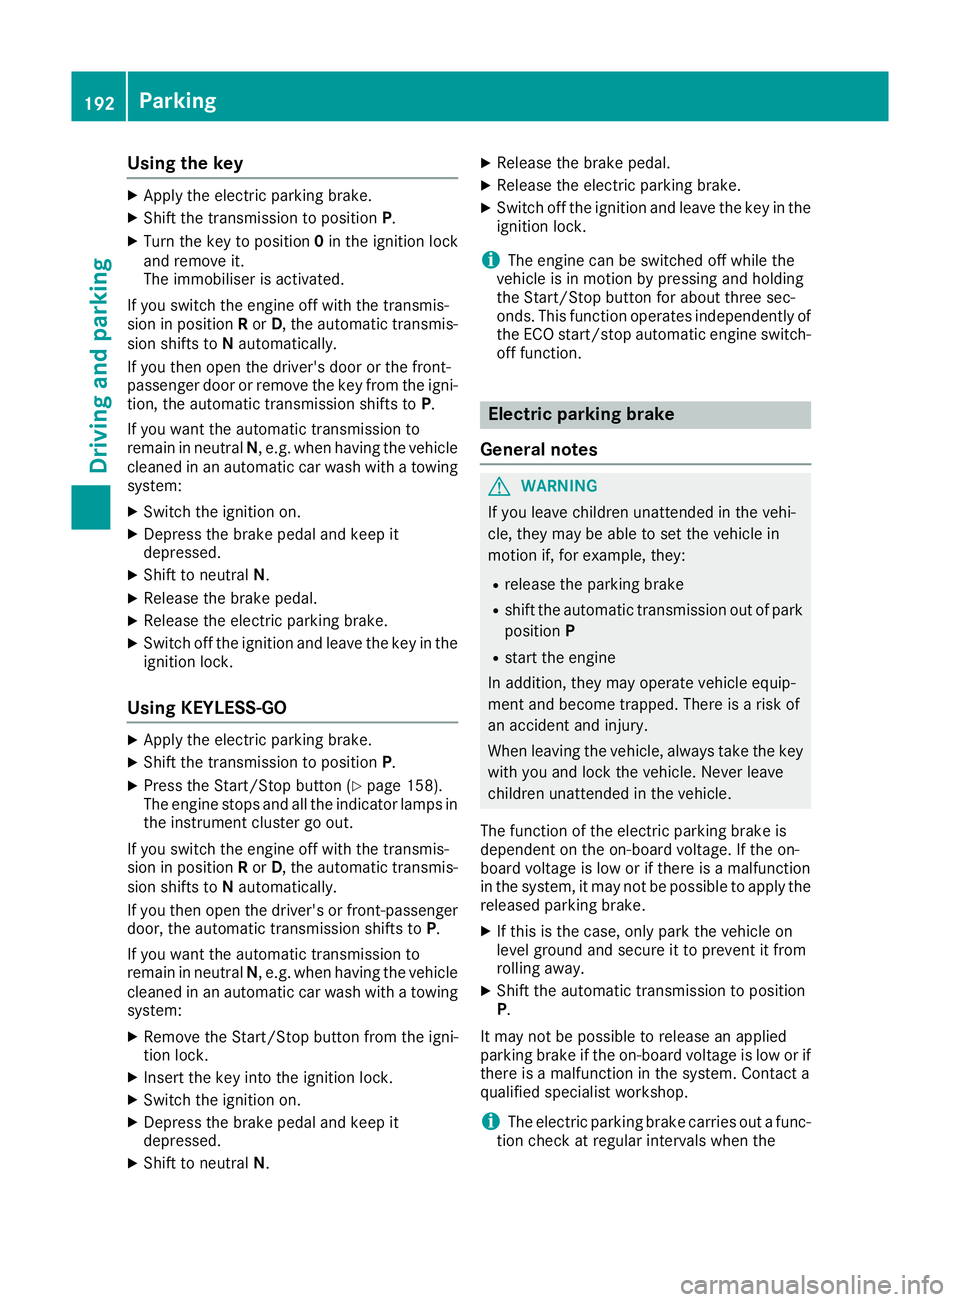
Using the key
X
Apply the electric parking brake.
X Shift the transmission to position P.
X Turn the key to position 0in the ignition lock
and remove it.
The immobiliser is activated.
If you switch the engine off with the transmis-
sion in position Ror D, the automatic transmis-
sion shifts to Nautomatically.
If you then open the driver's door or the front-
passenger door or remove the key from the igni- tion, the automatic transmission shifts to P.
If you want the automatic transmission to
remain in neutral N, e.g. when having the vehicle
cleaned in an automatic car wash with a towing
system:
X Switch the ignition on.
X Depress the brake pedal and keep it
depressed.
X Shift to neutral N.
X Release the brake pedal.
X Release the electric parking brake.
X Switch off the ignition and leave the key in the
ignition lock.
Using KEYLESS-GO X
Apply the electric parking brake.
X Shift the transmission to position P.
X Press the Start/Stop button (Y page 158).
The engine stops and all the indicator lamps in the instrument cluster go out.
If you switch the engine off with the transmis-
sion in position Ror D, the automatic transmis-
sion shifts to Nautomatically.
If you then open the driver's or front-passenger door, the automatic transmission shifts to P.
If you want the automatic transmission to
remain in neutral N, e.g. when having the vehicle
cleaned in an automatic car wash with a towing
system:
X Remove the Start/Stop button from the igni-
tion lock.
X Insert the key into the ignition lock.
X Switch the ignition on.
X Depress the brake pedal and keep it
depressed.
X Shift to neutral N. X
Release the brake pedal.
X Release the electric parking brake.
X Switch off the ignition and leave the key in the
ignition lock.
i The engine can be switched off while the
vehicle is in motion by pressing and holding
the Start/Stop button for about three sec-
onds. This function operates independently of
the ECO start/stop automatic engine switch-
off function. Electric parking brake
General notes G
WARNING
If you leave children unattended in the vehi-
cle, they may be able to set the vehicle in
motion if, for example, they:
R release the parking brake
R shift the automatic transmission out of park
position P
R start the engine
In addition, they may operate vehicle equip-
ment and become trapped. There is a risk of
an accident and injury.
When leaving the vehicle, always take the key
with you and lock the vehicle. Never leave
children unattended in the vehicle.
The function of the electric parking brake is
dependent on the on-board voltage. If the on-
board voltage is low or if there is a malfunction
in the system, it may not be possible to apply the
released parking brake.
X If this is the case, only park the vehicle on
level ground and secure it to prevent it from
rolling away.
X Shift the automatic transmission to position
P.
It may not be possible to release an applied
parking brake if the on-board voltage is low or if there is a malfunction in the system. Contact a
qualified specialist workshop.
i The electric parking brake carries out a func-
tion check at regular intervals when the 192
ParkingDriving and parking
Page 299 of 453
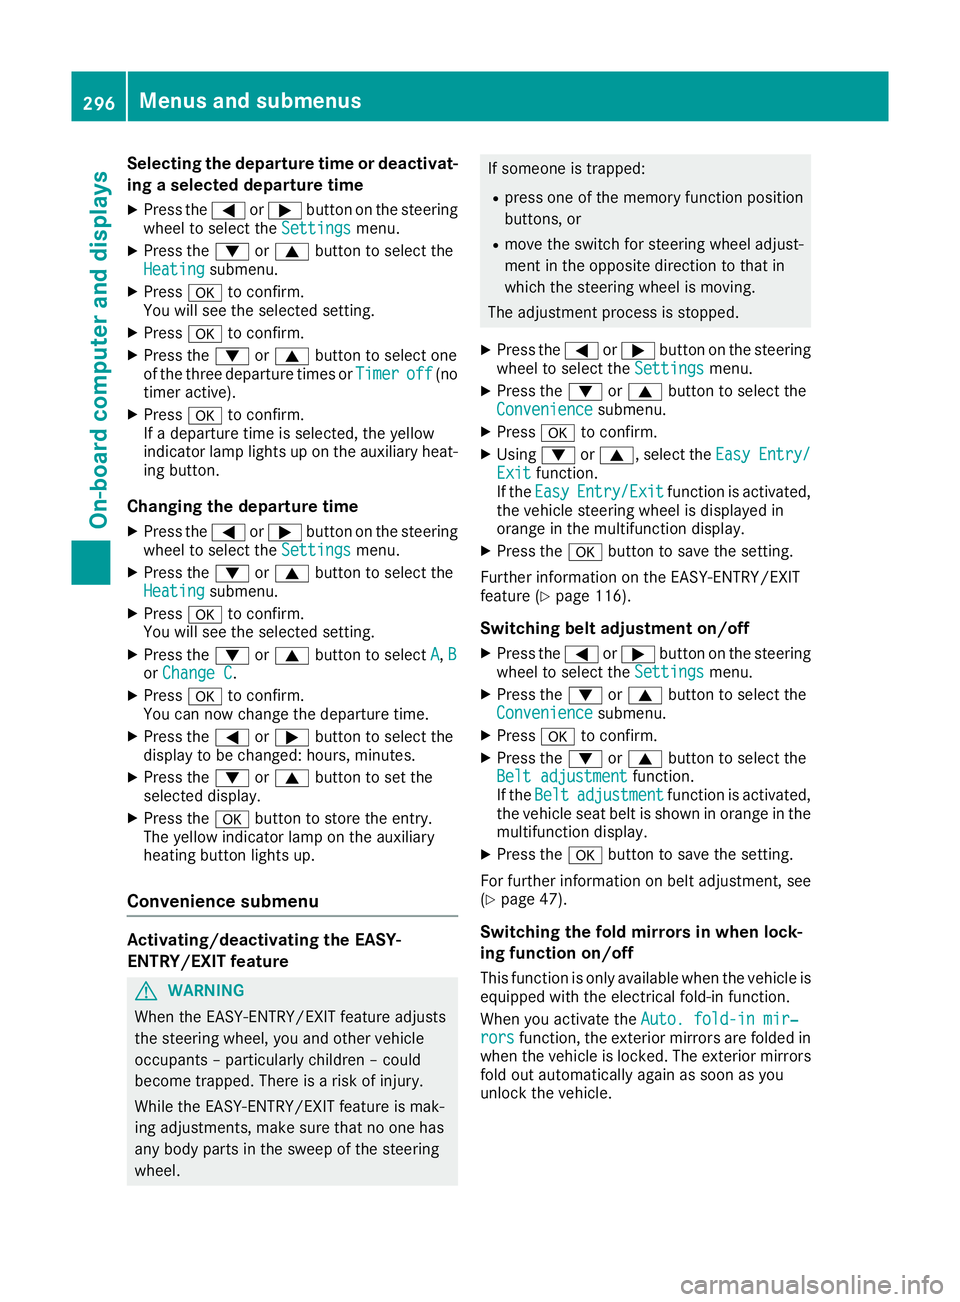
Selecting the departure time or deactivat-
ing a selected departure time
X Press the =or; button on the steering
wheel to select the Settings
Settingsmenu.
X Press the :or9 button to select the
Heating
Heating submenu.
X Press ato confirm.
You will see the selected setting.
X Press ato confirm.
X Press the :or9 button to select one
of the three departure times or Timer
Timer off
off(no
timer active).
X Press ato confirm.
If a departure time is selected, the yellow
indicator lamp lights up on the auxiliary heat- ing button.
Changing the departure time
X Press the =or; button on the steering
wheel to select the Settings
Settings menu.
X Press the :or9 button to select the
Heating Heating submenu.
X Press ato confirm.
You will see the selected setting.
X Press the :or9 button to select A
A,B
B
or Change C
Change C.
X Press ato confirm.
You can now change the departure time.
X Press the =or; button to select the
display to be changed: hours, minutes.
X Press the :or9 button to set the
selected display.
X Press the abutton to store the entry.
The yellow indicator lamp on the auxiliary
heating button lights up.
Convenience submenu Activating/deactivating the EASY-
ENTRY/EXIT feature G
WARNING
When the EASY-ENTRY/EXIT feature adjusts
the steering wheel, you and other vehicle
occupants – particularly children – could
become trapped. There is a risk of injury.
While the EASY-ENTRY/EXIT feature is mak-
ing adjustments, make sure that no one has
any body parts in the sweep of the steering
wheel. If someone is trapped:
R press one of the memory function position
buttons, or
R move the switch for steering wheel adjust-
ment in the opposite direction to that in
which the steering wheel is moving.
The adjustment process is stopped.
X Press the =or; button on the steering
wheel to select the Settings Settingsmenu.
X Press the :or9 button to select the
Convenience
Convenience submenu.
X Press ato confirm.
X Using :or9, select the Easy
EasyEntry/
Entry/
Exit
Exit function.
If the Easy
Easy Entry/Exit
Entry/Exit function is activated,
the vehicle steering wheel is displayed in
orange in the multifunction display.
X Press the abutton to save the setting.
Further information on the EASY-ENTRY/EXIT
feature (Y page 116).
Switching belt adjustment on/off
X Press the =or; button on the steering
wheel to select the Settings Settingsmenu.
X Press the :or9 button to select the
Convenience
Convenience submenu.
X Press ato confirm.
X Press the :or9 button to select the
Belt adjustment
Belt adjustment function.
If the Belt
Belt adjustment
adjustment function is activated,
the vehicle seat belt is shown in orange in the multifunction display.
X Press the abutton to save the setting.
For further information on belt adjustment, see
(Y page 47).
Switching the fold mirrors in when lock-
ing function on/off This function is only available when the vehicle is
equipped with the electrical fold-in function.
When you activate the Auto. fold-in mir‐
Auto. fold-in mir‐
rors rors function, the exterior mirrors are folded in
when the vehicle is locked. The exterior mirrors fold out automatically again as soon as you
unlock the vehicle. 296
Menus and submenusOn-board computer and displays
Page 367 of 453
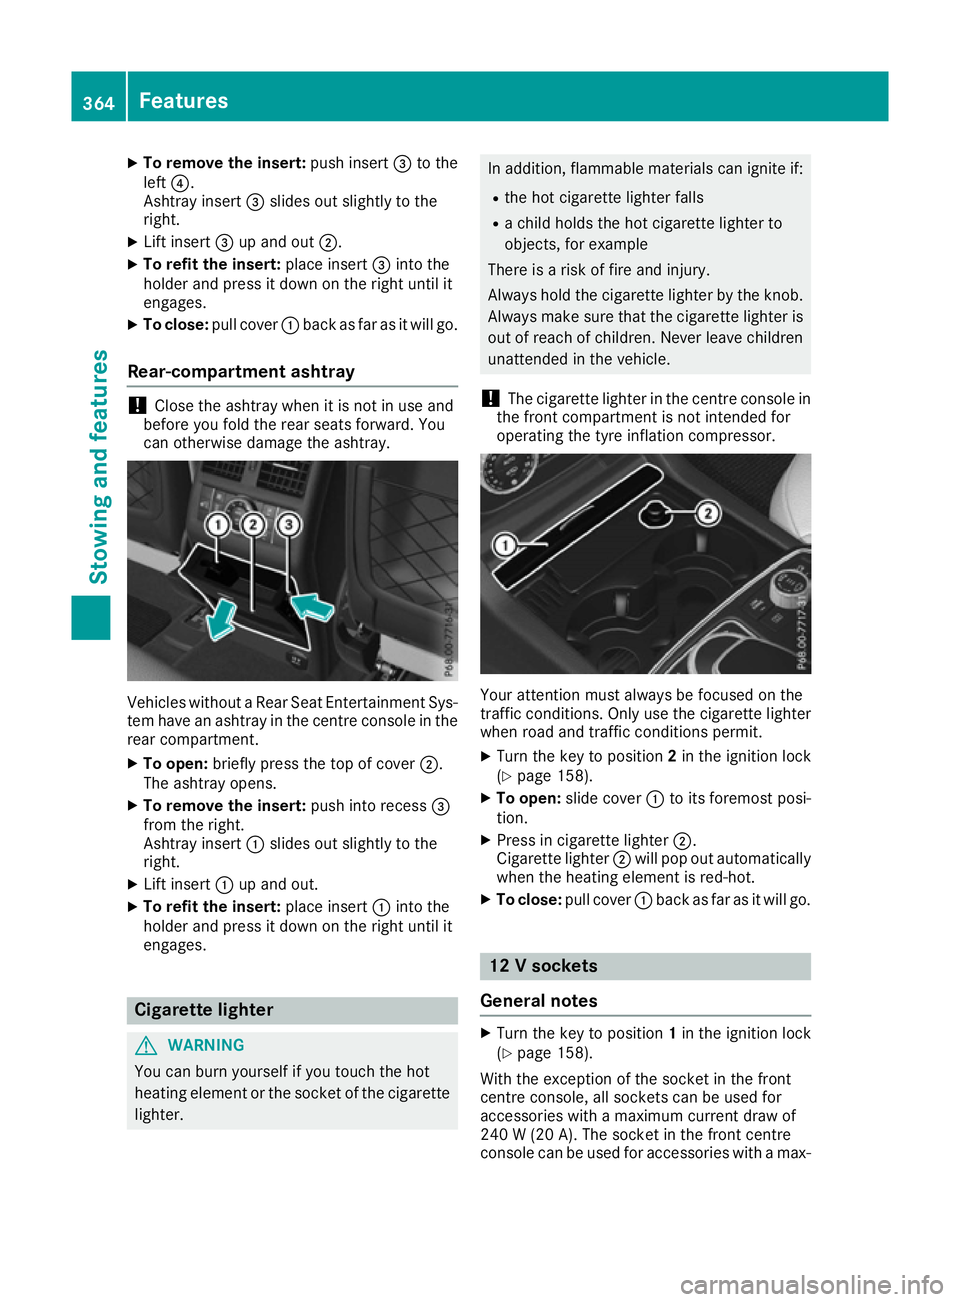
X
To remove the insert: push insert=to the
left ?.
Ashtray insert =slides out slightly to the
right.
X Lift insert =up and out ;.
X To refit the insert: place insert=into the
holder and press it down on the right until it
engages.
X To close: pull cover :back as far as it will go.
Rear-compartment ashtray !
Close the ashtray when it is not in use and
before you fold the rear seats forward. You
can otherwise damage the ashtray. Vehicles without a Rear Seat Entertainment Sys-
tem have an ashtray in the centre console in the rear compartment.
X To open: briefly press the top of cover ;.
The ashtray opens.
X To remove the insert: push into recess=
from the right.
Ashtray insert :slides out slightly to the
right.
X Lift insert :up and out.
X To refit the insert: place insert:into the
holder and press it down on the right until it
engages. Cigarette lighter
G
WARNING
You can burn yourself if you touch the hot
heating element or the socket of the cigarette lighter. In addition, flammable materials can ignite if:
R the hot cigarette lighter falls
R a child holds the hot cigarette lighter to
objects, for example
There is a risk of fire and injury.
Always hold the cigarette lighter by the knob.
Always make sure that the cigarette lighter is
out of reach of children. Never leave children unattended in the vehicle.
! The cigarette lighter in the centre console in
the front compartment is not intended for
operating the tyre inflation compressor. Your attention must always be focused on the
traffic conditions. Only use the cigarette lighter
when road and traffic conditions permit.
X Turn the key to position 2in the ignition lock
(Y page 158).
X To open: slide cover :to its foremost posi-
tion.
X Press in cigarette lighter ;.
Cigarette lighter ;will pop out automatically
when the heating element is red-hot.
X To close: pull cover :back as far as it will go. 12 V sockets
General notes X
Turn the key to position 1in the ignition lock
(Y page 158).
With the exception of the socket in the front
centre console, all sockets can be used for
accessories with a maximum current draw of
240 W (20 A). The socket in the front centre
console can be used for accessories with a max- 364
FeaturesSto
wing an d features
Page 396 of 453
The highly flammable gas mixture is created
while the battery is charging and when jump-
starting.
Always make sure that neither you nor the bat-
tery is electrostatically charged. Electrostatic
charge is created, for example:
R by wearing synthetic fibre clothing
R by friction between clothing and the seat
R when you pull or push the battery across car-
pet or other synthetic materials
R when you rub the battery with a cloth G
WARNING
During the charging process, a battery produ- ces hydrogen gas. If a short circuit occurs or
sparks are created, the hydrogen gas can
ignite. There is a risk of an explosion.
R Make sure that the positive terminal of a
connected battery does not come into con- tact with vehicle parts.
R Never place metal objects or tools on a bat-
tery.
R It is important that you observe the descri-
bed order of the battery terminals when
connecting and disconnecting a battery.
R When jump-starting, make sure that the
battery poles with identical polarity are
connected.
R It is particularly important to observe the
described order when connecting and dis-
connecting the jump leads.
R Never connect or disconnect the battery
terminals while the engine is running. G
WARNING
Battery acid is caustic. There is a risk of injury. Avoid contact with the skin, eyes or clothing.
Do not breathe in any battery gases. Do not
lean over the battery. Keep the batteries out
of the reach of children. Immediately rinse off
battery acid thoroughly with plenty of clean
water and seek medical attention at once. H
Environmental note Batteries contain pollutants.
It is illegal to dispose of them
with the household rubbish.
They must be collected sep-
arately and disposed of in anenvironmentally responsible
recycling system. Dispose of batteries in an
environmentally responsible
manner. Take discharged
batteries to a qualified spe-
cialist workshop or to a col-
lection point for used batter-
ies.
! Have the battery checked regularly at a
qualified specialist workshop.
Observe the service intervals in the Service
Booklet or contact a qualified specialist work- shop for more information.
! Always have work on the batteries carried
out at a qualified specialist workshop. Should
it, in exceptional circumstances, be abso-
lutely necessary to disconnect the 12-volt
battery yourself, please observe the follow-
ing:
R secure the vehicle to prevent it from rolling
away.
R switch the ignition off.
R first, disconnect the negative terminal, fol-
lowed by the positive terminal.
The transmission is locked in position Pafter
disconnecting the battery.
After the work has been completed, firmly
reinstall the battery and the cover of the pos- itive terminal.
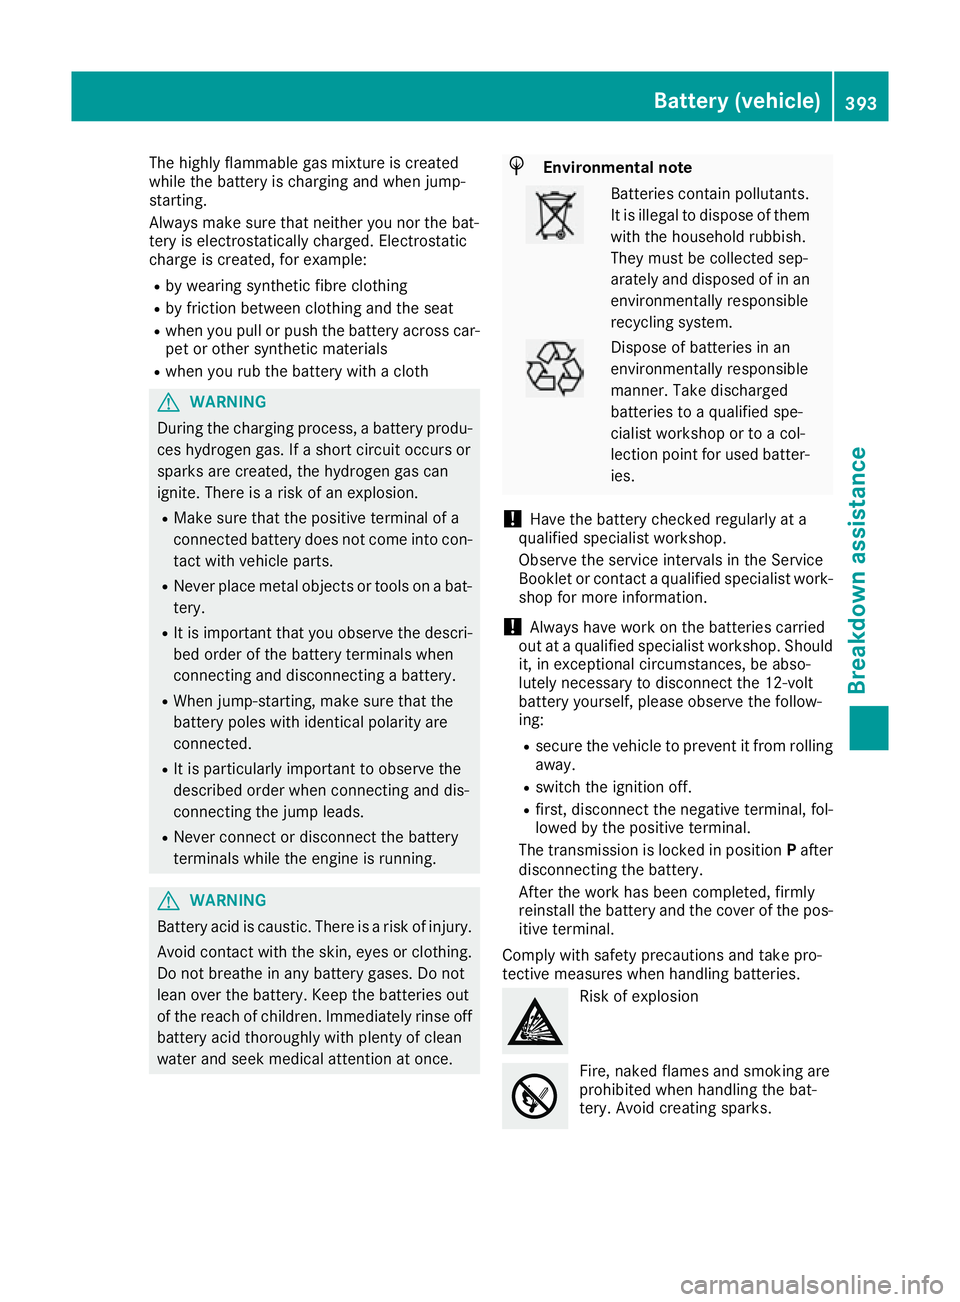
Comply with safety precautions and take pro-
tective measures when handling batteries. Risk of explosion
Fire, naked flames and smoking are
prohibited when handling the bat-
tery. Avoid creating sparks. Battery (vehicle)
393Breakdown assistance Z
Page 397 of 453
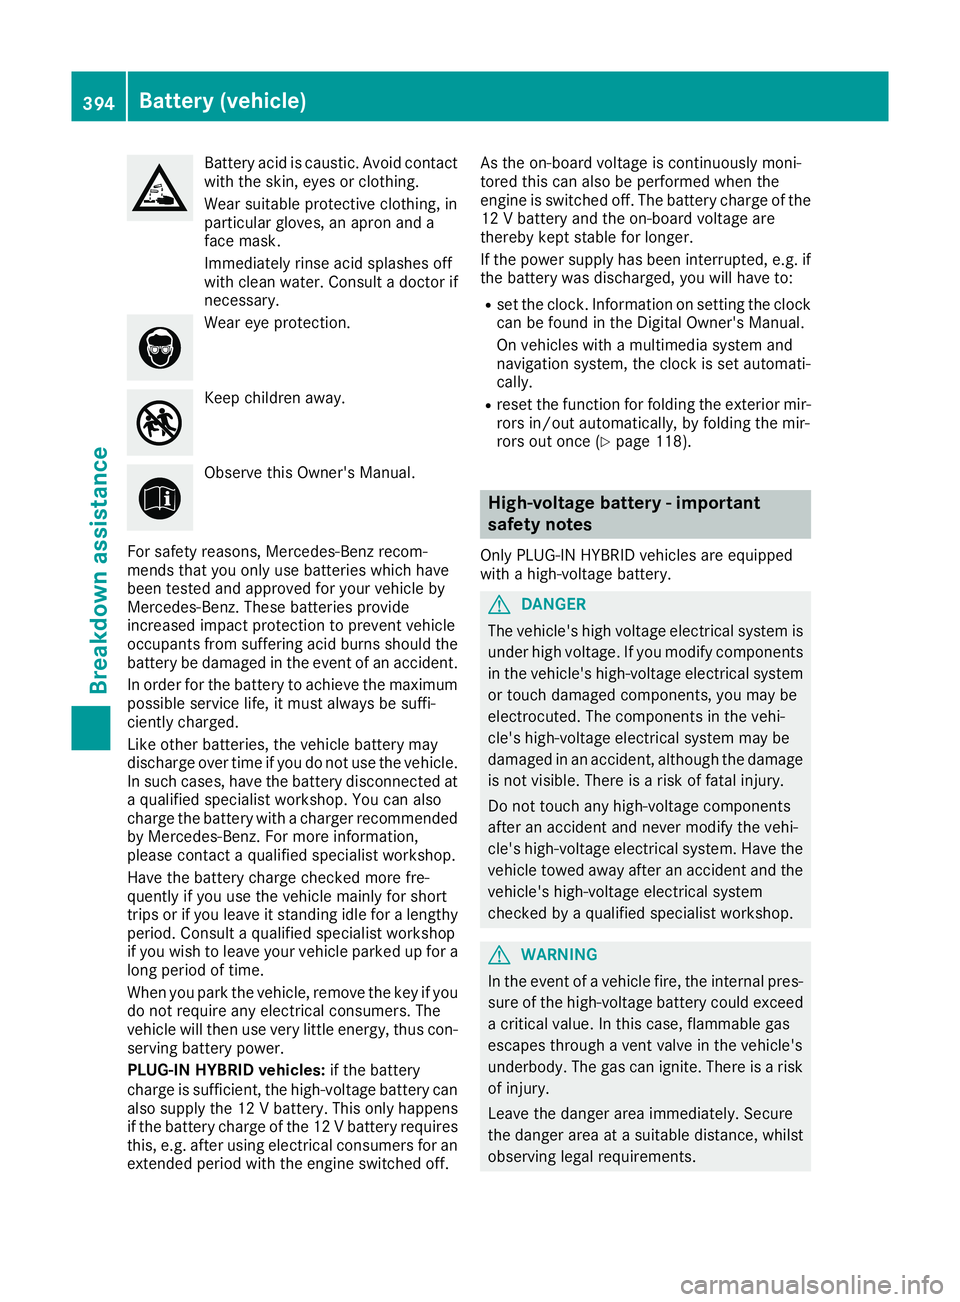
Battery acid is caustic. Avoid contact
with the skin, eyes or clothing.
Wear suitable protective clothing, in
particular gloves, an apron and a
face mask.
Immediately rinse acid splashes off
with clean water. Consult a doctor if
necessary. Wear eye protection.
Keep children away.
Observe this Owner's Manual.
For safety reasons, Mercedes-Benz recom-
mends that you only use batteries which have
been tested and approved for your vehicle by
Mercedes-Benz. These batteries provide
increased impact protection to prevent vehicle
occupants from suffering acid burns should the battery be damaged in the event of an accident.
In order for the battery to achieve the maximum possible service life, it must always be suffi-
ciently charged.
Like other batteries, the vehicle battery may
discharge over time if you do not use the vehicle.In such cases, have the battery disconnected ata qualified specialist workshop. You can also
charge the battery with a charger recommended
by Mercedes-Benz. For more information,
please contact a qualified specialist workshop.
Have the battery charge checked more fre-
quently if you use the vehicle mainly for short
trips or if you leave it standing idle for a lengthy period. Consult a qualified specialist workshop
if you wish to leave your vehicle parked up for a
long period of time.
When you park the vehicle, remove the key if you do not require any electrical consumers. The
vehicle will then use very little energy, thus con- serving battery power.
PLUG-IN HYBRID vehicles: if the battery
charge is sufficient, the high-voltage battery can also supply the 12 V battery. This only happens
if the battery charge of the 12 V battery requires this, e.g. after using electrical consumers for anextended period with the engine switched off. As the on-board voltage is continuously moni-
tored this can also be performed when the
engine is switched off. The battery charge of the
12 V battery and the on-board voltage are
thereby kept stable for longer.
If the power supply has been interrupted, e.g. if the battery was discharged, you will have to:
R set the clock. Information on setting the clock
can be found in the Digital Owner's Manual.
On vehicles with a multimedia system and
navigation system, the clock is set automati-
cally.
R reset the function for folding the exterior mir-
rors in/out automatically, by folding the mir-
rors out once (Y page 118). High-voltage battery - important
safety notes
Only PLUG-IN HYBRID vehicles are equipped
with a high-voltage battery. G
DANGER
The vehicle's high voltage electrical system is under high voltage. If you modify components
in the vehicle's high-voltage electrical system or touch damaged components, you may be
electrocuted. The components in the vehi-
cle's high-voltage electrical system may be
damaged in an accident, although the damage
is not visible. There is a risk of fatal injury.
Do not touch any high-voltage components
after an accident and never modify the vehi-
cle's high-voltage electrical system. Have the vehicle towed away after an accident and the vehicle's high-voltage electrical system
checked by a qualified specialist workshop. G
WARNING
In the event of a vehicle fire, the internal pres- sure of the high-voltage battery could exceeda critical value. In this case, flammable gas
escapes through a vent valve in the vehicle's
underbody. The gas can ignite. There is a risk
of injury.
Leave the danger area immediately. Secure
the danger area at a suitable distance, whilst
observing legal requirements. 394
Battery (vehicle)Breakdown assistance