2015 MERCEDES-BENZ G-CLASS SUV door lock
[x] Cancel search: door lockPage 93 of 274

If you hear a warning tone when you leave the
vehicle, the lights may still be switched on.X Turn the light switch to Ã.
The turn signals, high-beam headlamps and
the high-beam flasher are operated using the combination switch ( Ypage 92).
The exterior lighting (except the parking/
standing lamps) switches off automatically if
you:
R remove the SmartKey from the ignition lock
R open the driver's door with the SmartKey in
position 0
Low-beam headlamps
X
To switch on the low-beam headlamps:
turn the SmartKey in the ignition lock to
position 2or start the engine.
X Turn the light switch to L.
The L indicator lamp in the instrument
cluster lights up.
Fog lamps (except AMG vehicles)
GWARNING
When the light switch is set to Ã, the low-
beam headlamps may not be switched on
automatically if there is fog, snow or other
causes of poor visibility due to the weather
conditions such as spray. There is a risk of anaccident.
In such situations, turn the light switch to L .
The automatic headlamp feature is only an
aid. The driver is responsible for the vehicle's lighting at all times. X To switch on the fog lamps: turn the
SmartKey in the ignition lock to position 2
or start the engine.
X Turn the light switch to T,L or
à . X
Press the Nbutton.
The green Nindicator lamp in the instru-
ment cluster lights up.
X To switch off the fog lamps: press the
N button.
The green Nindicator lamp in the instru-
ment cluster goes out.
Only vehicles with front fog lamps have the
fog lamps function.
Rear fog lamp
X To switch on the rear fog lamp: turn the
SmartKey in the ignition lock to position 2
or start the engine.
X Turn the light switch to Lorà .
X Press the Rbutton.
The yellow Rindicator lamp in the
instrument cluster lights up.
X To switch off the rear fog lamp: press the
R button.
The yellow Rindicator lamp in the
instrument cluster goes out.
Parking lamps
X To switch on: turn the light switch to T.
Standing lamps
Switching on the standing lamps ensures the
corresponding side of the vehicle is illumina- ted.
X To switch on the standing lamps: the
SmartKey is not inserted in the ignition lock
or it is in position 0(Y page 103).
X Turn the light switch to W(left-hand side
of the vehicle) or X(right-hand side of
the vehicle).
Exterior lighting91
Lights and windshield wipers
Z
Page 107 of 274
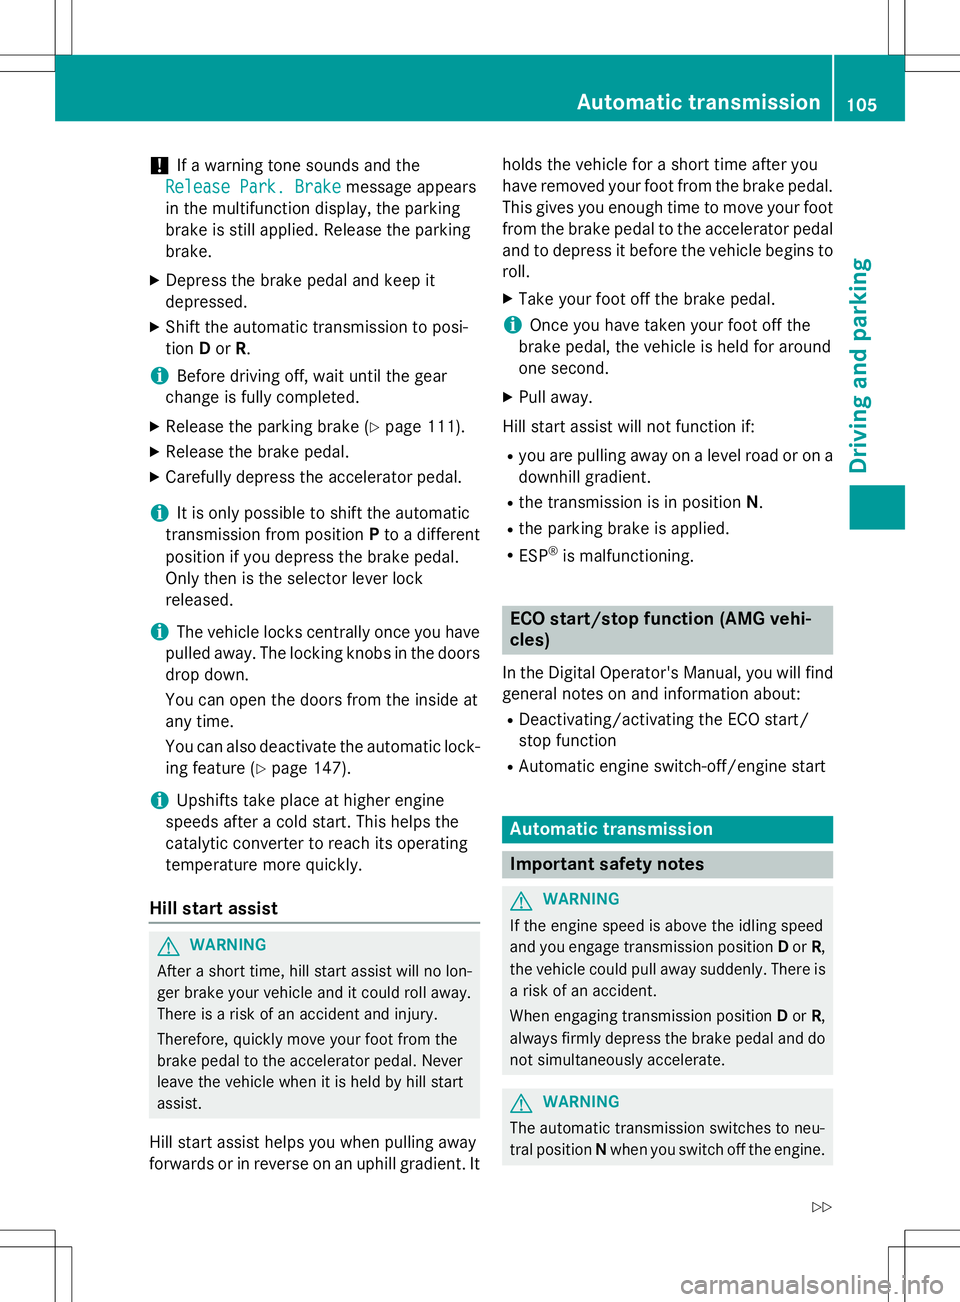
!If a warning tone sounds and the
Release Park. BrakeRelease Park. Brakemessage appears
in the multifunction display, the parking
brake is still applied. Release the parkingbrake.
X Depress the brake pedal and keep itdepressed.
X Shift the automatic transmission to posi-tion Dor R.
iBefore driving off, wait until the gear
change is fully completed.
X Release the parking brake ( Ypage 111).
X Release the brake pedal.
X Carefully depress the accelerator pedal.
iIt is only possible to shift the automatic
transmission from position Pto a different
position if you depress the brake pedal.
Only then is the selector lever lock
released.
iThe vehicle locks centrally once you have
pulled away. The locking knobs in the doors
drop down.
You can open the doors from the inside at
any time.
You can also deactivate the automatic lock- ing feature ( Ypage 147).
iUpshifts take place at higher engine
speeds after a cold start. This helps the
catalytic converter to reach its operating
temperature more quickly.
Hill start assist
GWARNING
After a short time, hill start assist will no lon-
ger brake your vehicle and it could roll away.
There is a risk of an accident and injury.
Therefore, quickly move your foot from the
brake pedal to the accelerator pedal. Never
leave the vehicle when it is held by hill startassist.
Hill start assist helps you when pulling away
forwards or in reverse on an uphill gradient. It holds the vehicle for a short time after you
have removed your foot from the brake pedal.
This gives you enough time to move your footfrom the brake pedal to the accelerator pedal
and to depress it before the vehicle begins to
roll.
X Take your foot off the brake pedal.
iOnce you have taken your foot off the
brake pedal, the vehicle is held for around
one second.
X Pull away.
Hill start assist will not function if: R you are pulling away on a level road or on a
downhill gradient.
R the transmission is in position N.
R the parking brake is applied.
R ESP ®
is malfunctioning.
ECO start/stop function (AMG vehi-
cles)
In the Digital Operator's Manual, you will find
general notes on and information about: R Deactivating/activating the ECO start/
stop function
R Automatic engine switch-off/engine start
Automatic transmission
Important safety notes
GWARNING
If the engine speed is above the idling speed
and you engage transmission position Dor R,
the vehicle could pull away suddenly. There is a risk of an accident.
When engaging transmission position Dor R,
always firmly depress the brake pedal and do not simultaneously accelerate.
GWARNING
The automatic transmission switches to neu-
tral position Nwhen you switch off the engine.
Automatic transmission105
Driving and parking
Z
Page 108 of 274

The vehicle may roll away. There is a risk of anaccident.
After switching off the engine, always switch
to parking position P. Prevent the parked vehi-
cle from rolling away by applying the parkingbrake.
iBear in mind that the power transmission
between the engine and the transmission is interrupted when the engine is switched
off. For this reason, shift the automatic
transmission to Pwhen the engine is
switched off and the vehicle is at a stand-
still. Apply the parking brake to prevent the vehicle from rolling away.
Selector lever
Overview of transmission positions
!If the engine speed is too high or if the
vehicle is rolling, do not shift the transmis-
sion directly from Dto R, from Rto Dor
directly to P.
Do not open the driver's door while the
vehicle is in motion. At low speeds in trans-
mission position Dor R, park position Pis
otherwise engaged automatically.
The transmission could be damaged.
Selector lever j
Park position
kReverse gear
iNeutral
hDrive In the Digital Operator's Manual you will find
information on the following topics: R
Engaging park position P
R Engaging reverse gear R
R Engaging neutral N
R Neutral Nin the ECO start/stop function
(AMG vehicles)
R Shifting to transmission position D
R Transmission position Din the ECO start/
stop function (AMG vehicles)
Transmission position and drive pro-
gram display
!If the transmission position display in the
multifunction display is not working, you
should pull away carefully to check whether the desired transmission position is
engaged. Select transmission position D.
Do not restrict the shift range.
:Transmission position
;Drive program
Current transmission position :and current
drive program ;appear in the multifunction
display.
The current position of the selector lever is
shown by the indicators next to the selectorlever.
The indicators light up when the SmartKey is inserted into the ignition lock. The indicators go out when the SmartKey is removed from
the ignition lock.
When the selector lever is in position D, you
can influence the gearshifts made by the
automatic transmission by:
R restricting the shift range
R changing gear yourself
106Automatic transmission
Driving and parking
Page 111 of 274
XRemove the SmartKey from the ignition
lock.
X Turn the fuel filler cap counterclockwise
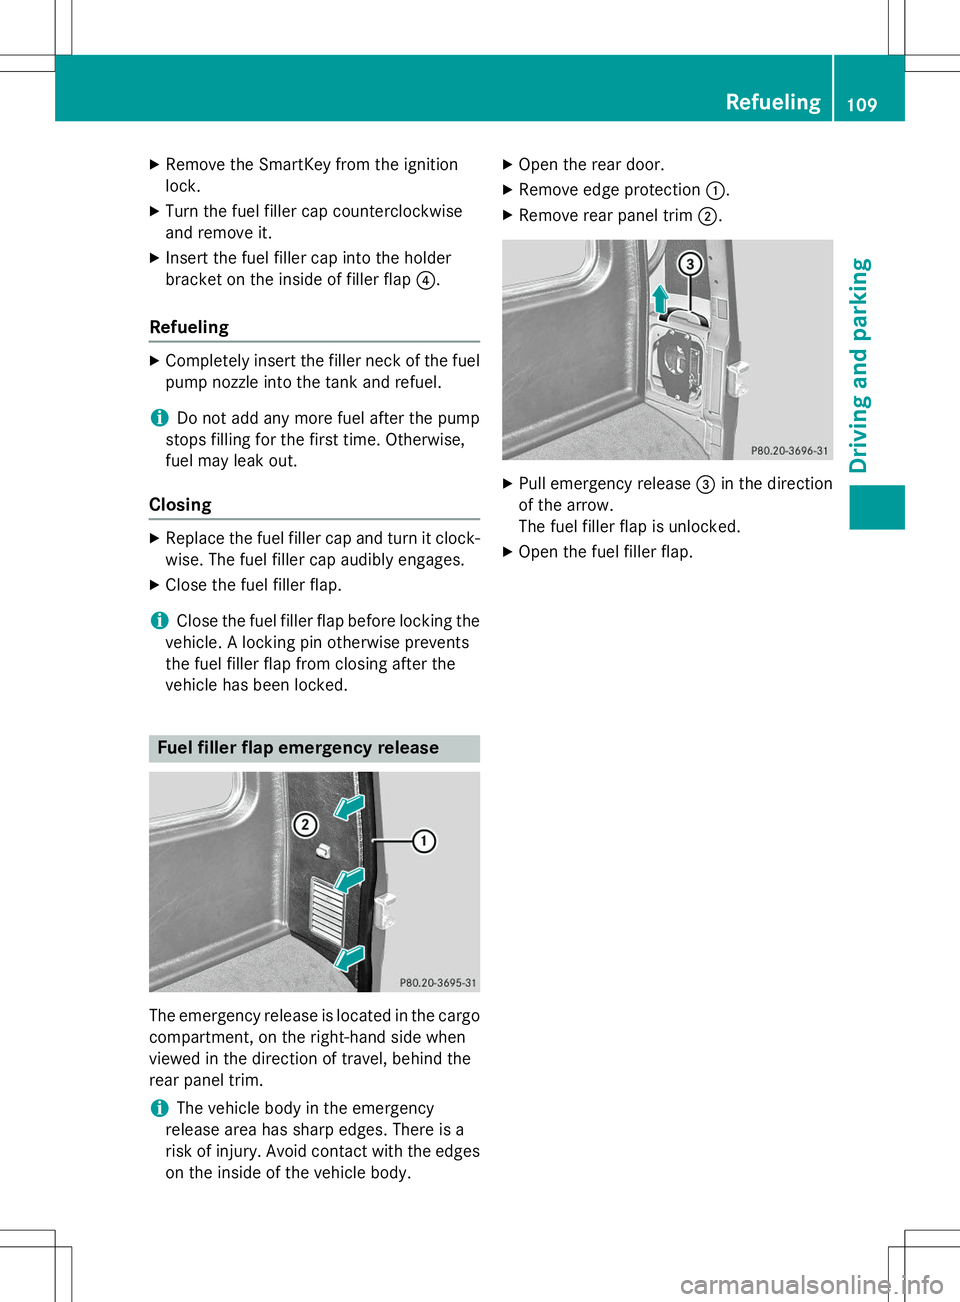
and remove it.
X Insert the fuel filler cap into the holder
bracket on the inside of filler flap ?.
Refueling
X
Completely insert the filler neck of the fuel
pump nozzle into the tank and refuel.
iDo not add any more fuel after the pump
stops filling for the first time. Otherwise,
fuel may leak out.
Closing
X Replace the fuel filler cap and turn it clock-
wise. The fuel filler cap audibly engages.
X Close the fuel filler flap.
iClose the fuel filler flap before locking the
vehicle. A locking pin otherwise prevents
the fuel filler flap from closing after the
vehicle has been locked.
Fuel filler flap emergency release
The emergency release is located in the cargo
compartment, on the right-hand side when
viewed in the direction of travel, behind the
rear panel trim.
iThe vehicle body in the emergency
release area has sharp edges. There is a
risk of injury. Avoid contact with the edges on the inside of the vehicle body. X
Open the rear door.
X Remove edge protection :.
X Remove rear panel trim ;.
X
Pull emergency release =in the direction
of the arrow.
The fuel filler flap is unlocked.
X Open the fuel filler flap.
Refueling109
Driving and pa rking
Z
Page 112 of 274
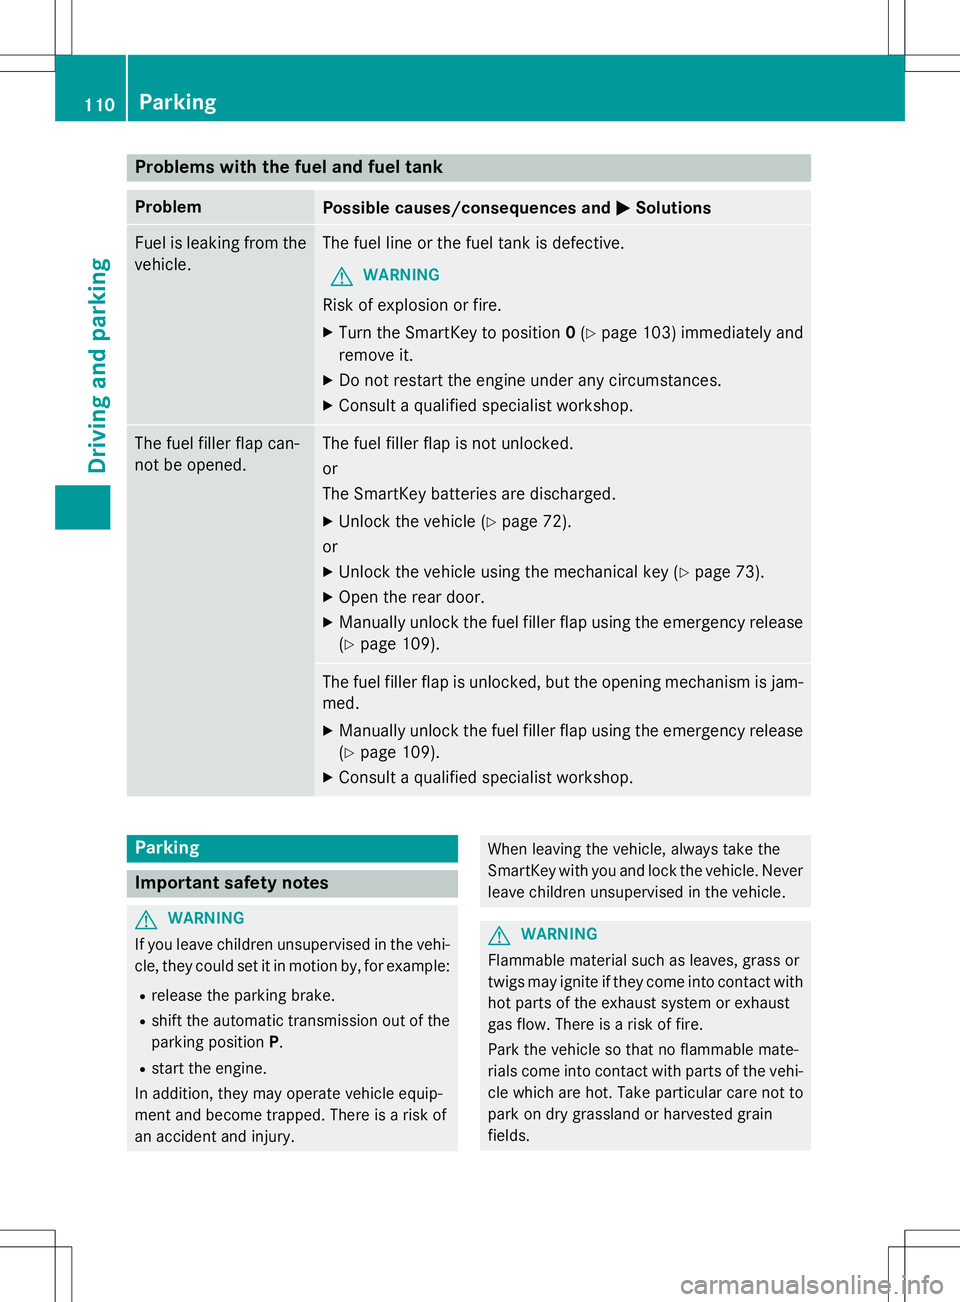
Problems with the fuel and fuel tank
ProblemPossible causes/consequences andMSolutions
Fuel is leaking from the
vehicle.The fuel line or the fuel tank is defective.
GWARNING
Risk of explosion or fire.
X Turn the SmartKey to position 0(Y page 103) immediately and
remove it.
X Do not restart the engine under any circumstances.
X Consult a qualified specialist workshop.
The fuel filler flap can-
not be opened.The fuel filler flap is not unlocked. or
The SmartKey batteries are discharged. X Unlock the vehicle ( Ypage 72).
or
X Unlock the vehicle using the mechanical key ( Ypage 73).
X Open the rear door.
X Manually unlock the fuel filler flap using the emergency release (Y page 109).
The fuel filler flap is unlocked, but the opening mechanism is jam- med.
X Manually unlock the fuel filler flap using the emergency release(Y page 109).
X Consult a qualified specialist workshop.
Parking
Important safety notes
GWARNING
If you leave children unsupervised in the vehi-
cle, they could set it in motion by, for example:
R release the parking brake.
R shift the automatic transmission out of the
parking position P.
R start the engine.
In addition, they may operate vehicle equip-
ment and become trapped. There is a risk of
an accident and injury.
When leaving the vehicle, always take the
SmartKey with you and lock the vehicle. Never leave children unsupervised in the vehicle.
GWARNING
Flammable material such as leaves, grass or
twigs may ignite if they come into contact withhot parts of the exhaust system or exhaust
gas flow. There is a risk of fire.
Park the vehicle so that no flammable mate-
rials come into contact with parts of the vehi- cle which are hot. Take particular care not to
park on dry grassland or harvested grainfields.
110Parking
Driving and parking
Page 121 of 274
iCanada only: This device complies with
RSS-210 of Industry Canada. Operation is
subject to the following two conditions:
1. This device may not cause harmful inter- ference, and
2. This device must accept any interference
received, including interference that may
cause undesired operation of the device.
Removal, tampering, or altering of the
device will void any warranties, and is not
permitted. Do not tamper with, alter, or use
in any non-approved way.
Any unauthorized modification to this
device could void the user's authority to
operate the equipment.
Information in the Digital Operator's
Manual
In the Digital Operator's Manual you will find
information on the following topics: R Setting a speed
R Setting the specified minimum distance
R DISTRONIC PLUS displays in the instru-
ment cluster
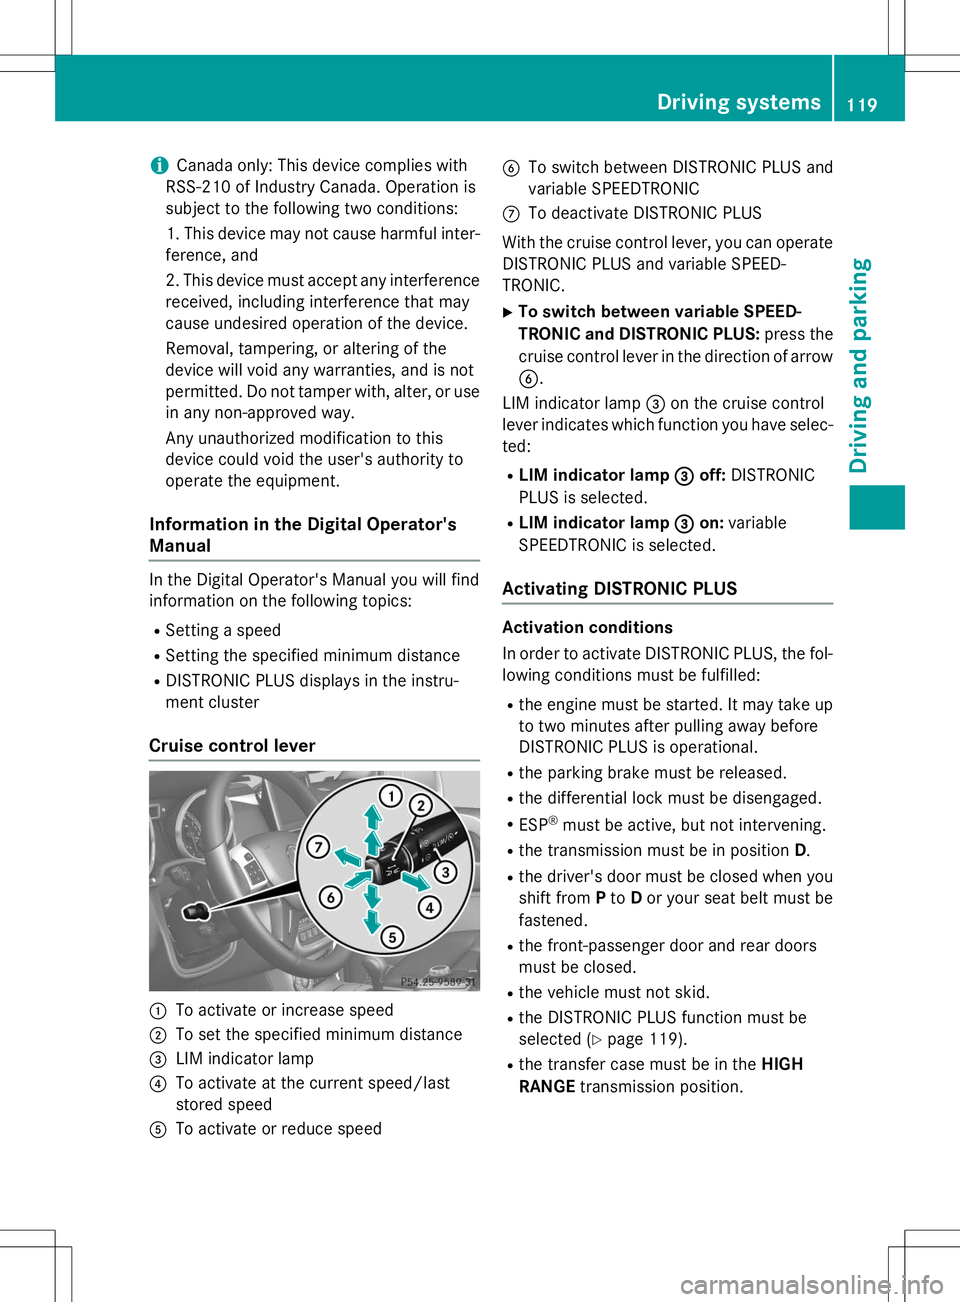
Cruise control lever
:To activate or increase speed
;To set the specified minimum distance
=LIM indicator lamp
?To activate at the current speed/last
stored speed
ATo activate or reduce speed
BTo switch between DISTRONIC PLUS and
variable SPEEDTRONIC
CTo deactivate DISTRONIC PLUS
With the cruise control lever, you can operate
DISTRONIC PLUS and variable SPEED-
TRONIC. X To switch between variable SPEED-
TRONIC and DISTRONIC PLUS: press the
cruise control lever in the direction of arrow B .
LIM indicator lamp =on the cruise control
lever indicates which function you have selec-
ted:
R LIM indicator lamp =
off:DISTRONIC
PLUS is selected.
R LIM indicator lamp =
on:variable
SPEEDTRONIC is selected.
Activating DISTRONIC PLUS
Activation conditions
In order to activate DISTRONIC PLUS, the fol- lowing conditions must be fulfilled:
R the engine must be started. It may take up
to two minutes after pulling away before
DISTRONIC PLUS is operational.
R the parking brake must be released.
R the differential lock must be disengaged.
R ESP ®
must be active, but not intervening.
R the transmission must be in position D.
R the driver's door must be closed when you
shift from Pto Dor your seat belt must be
fastened.
R the front-passenger door and rear doors
must be closed.
R the vehicle must not skid.
R the DISTRONIC PLUS function must be
selected ( Ypage 119).
R the transfer case must be in the HIGH
RANGE transmission position.
Driving systems119
Driving and pa rking
Z
Page 128 of 274
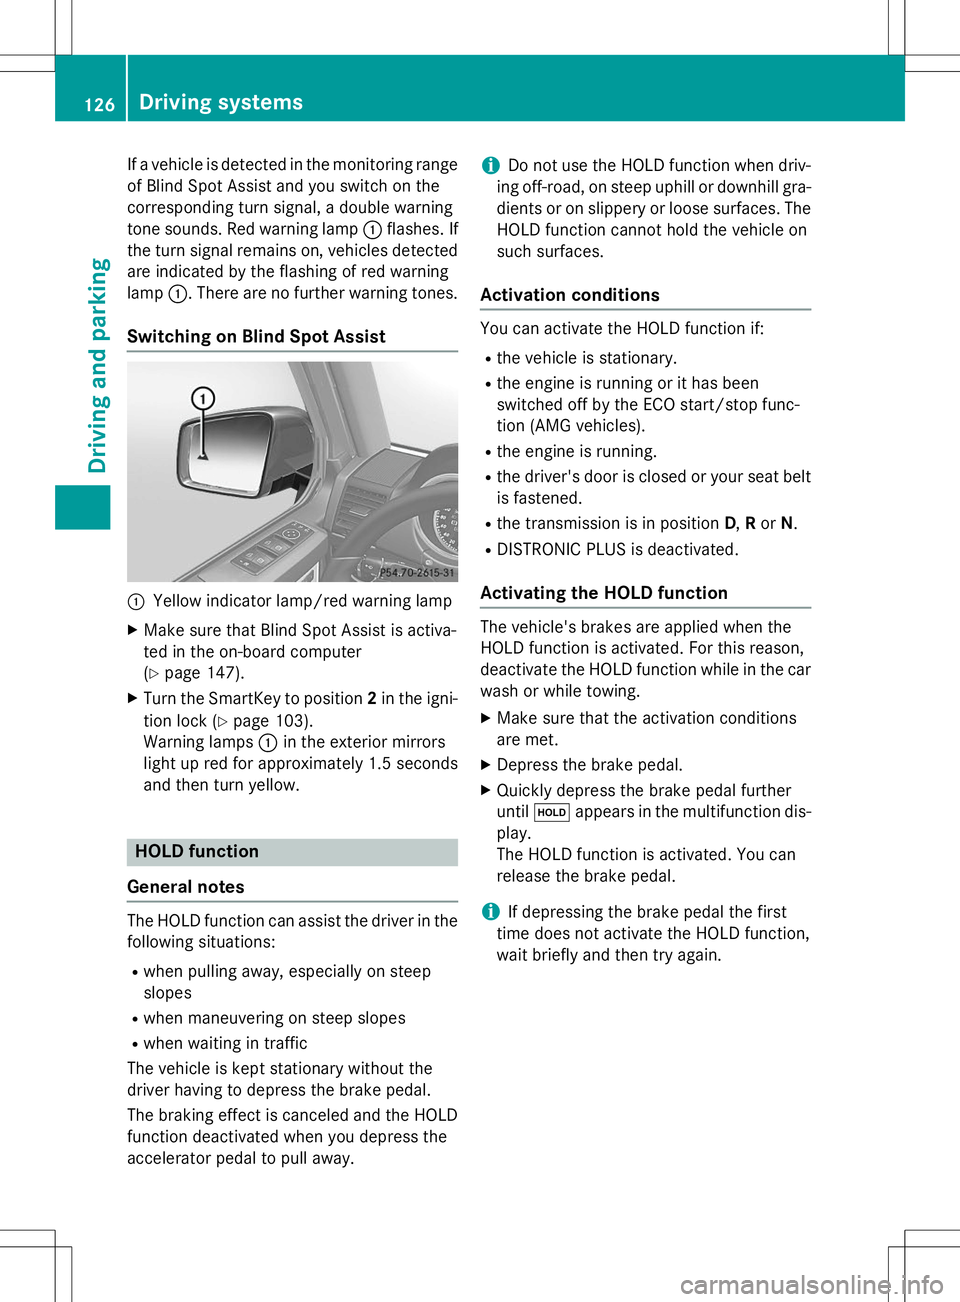
If a vehicle is detected in the monitoring range
of Blind Spot Assist and you switch on the
corresponding turn signal, a double warning
tone sounds. Red warning lamp :flashes. If
the turn signal remains on, vehicles detected
are indicated by the flashing of red warninglamp :. There are no further warning tones.
Switching on Blind Spot Assist
:Yellow indicator lamp/red warning lamp
X Make sure that Blind Spot Assist is activa-
ted in the on-board computer(Y page 147).
X Turn the SmartKey to position 2in the igni-
tion lock ( Ypage 103).
Warning lamps :in the exterior mirrors
light up red for approximately 1.5 seconds
and then turn yellow.
HOLD function
General notes
The HOLD function can assist the driver in the
following situations: R when pulling away, especially on steep
slopes
R when maneuvering on steep slopes
R when waiting in traffic
The vehicle is kept stationary without the
driver having to depress the brake pedal.
The braking effect is canceled and the HOLD
function deactivated when you depress the
accelerator pedal to pull away.
iDo not use the HOLD function when driv-
ing off-road, on steep uphill or downhill gra- dients or on slippery or loose surfaces. The
HOLD function cannot hold the vehicle on
such surfaces.
Activation conditions
You can activate the HOLD function if: R the vehicle is stationary.
R the engine is running or it has been
switched off by the ECO start/stop func-
tion (AMG vehicles).
R the engine is running.
R the driver's door is closed or your seat belt
is fastened.
R the transmission is in position D,R or N.
R DISTRONIC PLUS is deactivated.
Activating the HOLD function
The vehicle's brakes are applied when the
HOLD function is activated. For this reason,
deactivate the HOLD function while in the car
wash or while towing.
X Make sure that the activation conditions
are met.
X Depress the brake pedal.
X Quickly depress the brake pedal furtheruntil ë appears in the multifunction dis-
play.
The HOLD function is activated. You can
release the brake pedal.
iIf depressing the brake pedal the first
time does not activate the HOLD function,
wait briefly and then try again.
126Driving systems
Driving and parking
Page 136 of 274

positionNappears in the multifunction dis-
play.
R
TC Shift Canceled
The transfer case has not performed the
gear change process.
X Carry out the gear change process again.
Make sure to meet all conditions for chang-
ing gears.
R
TC Malfunction Visit Workshop
There is a malfunction in the transfer case.
X Do not shift the transfer case.
X Have the vehicle checked as soon as pos-
sible at a qualified specialist workshop.
Shifting to neutral
GWARNING
When the transfer case is in the neutral posi-
tion, power transmission to the driven wheels
is interrupted. As a result, the vehicle could
roll away. There is a risk of an accident.
Secure the vehicle with the parking brake, and on uphill or downhill gradients, also secure it
with a device such as a wheel chock.
X Turn the SmartKey to position 2in the igni-
tion lock ( Ypage 103).
X Apply the parking brake.
X Depress the brake pedal.
X Move the selector lever to position N
( Y page 106).
X Press and hold LOW RANGE button ;for
approximately ten seconds.
When the shift procedure is complete, the
TC neutral onmessage appears in the
multifunction display for five seconds.
If the gear change is not completed, the fol-
lowing messages could appear in the display( Y page 148).
iIf the transfer case is in neutral, the
SmartKey is in the ignition lock and you
open the driver's door, the
TCInNeutral
message appears in the multifunction dis-
play. If you then release the parking brake, a warning tone will sound.
Differential locks
General notes
GWARNING
When the differential locks are engaged, ABS, 4ETS, ESP ®
and BAS are deactivated. As a
result, the wheels could lock when braking
and the braking distance is increased. There is
a risk of an accident.
Disengage the differential locks immediately
on firm surfaces with good grip.
!In order to avoid damage to the transfer
case, you must operate the vehicle on a
dynamometer (1-axle dynamometer) onlyif:
R the axle not driven on is jacked up or
R the corresponding propeller shaft is dis-
connected and the transfer case differ-
ential lock is engaged.
Otherwise, the transfer case can be dam-aged.
Differential locks improve the traction of the vehicle.
Your vehicle is equipped with a differential
lock each for: R the transfer case: this controls the balance
between the front and rear axles.
R the rear axle: this controls the balance
between the wheels on the rear axle.
R the front axle: this controls the balance
between the wheels on the front axle.
Information on differential gear system
and differential lock
When the vehicle drives around a curve, the
wheels on the outside of the curve must cover
a greater distance. Therefore, the wheels turn more rapidly than on the inside. The differen-
tial, a gear system in the drive train, allows for
differing rotational speeds and facilitates cor- nering.
134Off-road driving systems
Driving and parking