2015 MERCEDES-BENZ E-CLASS SALOON transmission
[x] Cancel search: transmissionPage 413 of 497

X
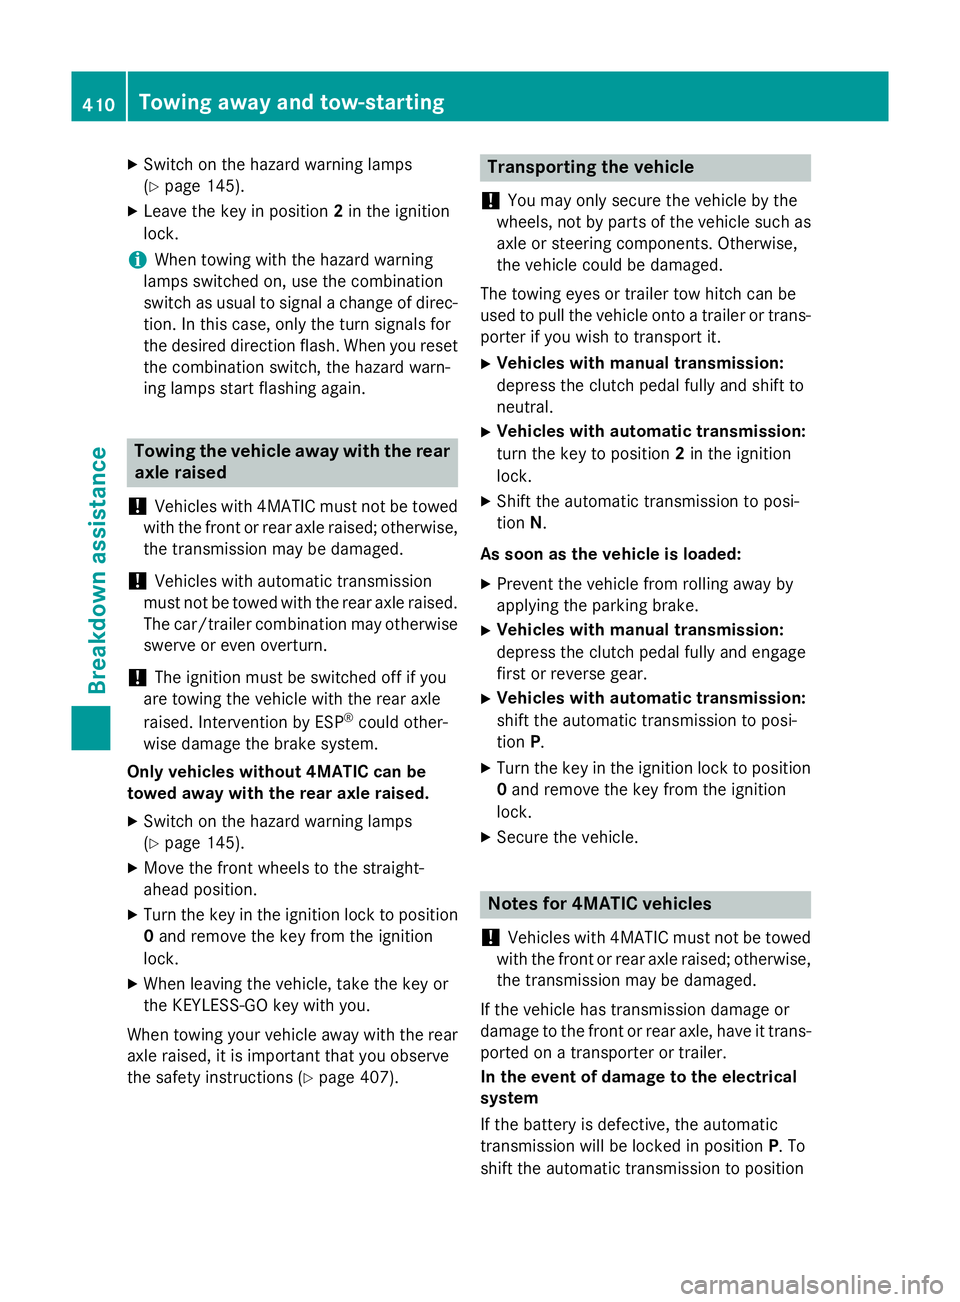
Switch on the hazard warning lamps
(Y page 145).
X Leave the key in position 2in the ignition
lock.
i Whe
ntowing with the hazard warning
lamps switche don, us ethe combination
switch as usua ltosignal achange of direc-
tion. In this case, onl ythe turn signal sfor
the desired direction flash. Whe nyou reset
the combination switch, the hazard warn-
ing lamps star tflashing again. Towin
gthe vehicle awa ywitht he rear
axl eraised
! Vehicles with 4MATI
Cmustn ot be towed
with the front or rea raxler aised ;otherwise,
the transmissio nmay be damaged.
! Vehicles with automatic transmission
mus tnot be towed with the rea raxler aised.
The car/traile rcombination may otherwise
swerve or eve noverturn.
! The ignition mus
tbes witche doff if you
are towing the vehicl ewitht he rea raxle
raised .Intervention by ESP ®
could other-
wise damag ethe brake system.
Onl yvehicle swithout 4MATIC can be
towed awa ywitht he rear axl eraised.
X Switch on the hazard warning lamps
(Y page 145).
X Mov ethe front wheel stothe straight-
ahea dposition.
X Turn the key in the ignition lock to position
0 and remove the key from the ignition
lock.
X Whe nleaving the vehicle, take the key or
the KEYLESS-GO key with you.
Whe ntowing your vehicl eawayw itht he rear
axl eraised ,itisi mportant tha tyou observe
the safety instructions (Y page 407). Transporting the vehicle
! Yo
um ay onl ysecure the vehicl ebythe
wheels, not by parts of the vehicl esuchas
axl eors teering components .Otherwise,
the vehicl ecould be damaged.
The towing eyes or traile rtow hitch can be
used to pull the vehicl eonto atraile rort rans-
porter if yo uwishtot ranspor tit.
X Vehicles with manual transmission:
depress the clutch peda lfully and shift to
neutral.
X Vehicles with automatic transmission:
turn the key to position 2in the ignition
lock.
X Shift the automatic transmissio ntoposi-
tion N.
As soon as the vehicle is loaded: X Prevent the vehicl efrom rolling away by
applying the parking brake.
X Vehicles with manual transmission:
depress the clutch peda lfully and engage
first or reverse gear.
X Vehicles with automatic transmission:
shift the automatic transmissio ntoposi-
tion P.
X Turn the key in the ignition lock to position
0 and remove the key from the ignition
lock.
X Secure the vehicle. Note
sfor 4MATIC vehicles
! Vehicles with 4MATI
Cmustn ot be towed
with the front or rea raxler aised ;otherwise,
the transmissio nmay be damaged.
If the vehicl ehastransmissio ndamageor
damag etothe front or rea raxle, have it trans-
ported on atransporter or trailer.
In the even tofdamage to the electrical
system
If the battery is defective, the automatic
transmissio nwillbel ocked in position P.To
shift the automatic transmissio ntoposition 410
Towin
gawayand tow-startingBreakdown assistance
Page 414 of 497

N,y
ou must provide power to the vehicle's
electrical system in the same way as when
jump-startin g(Ypage 405).
Have the vehicle transported on atransporter
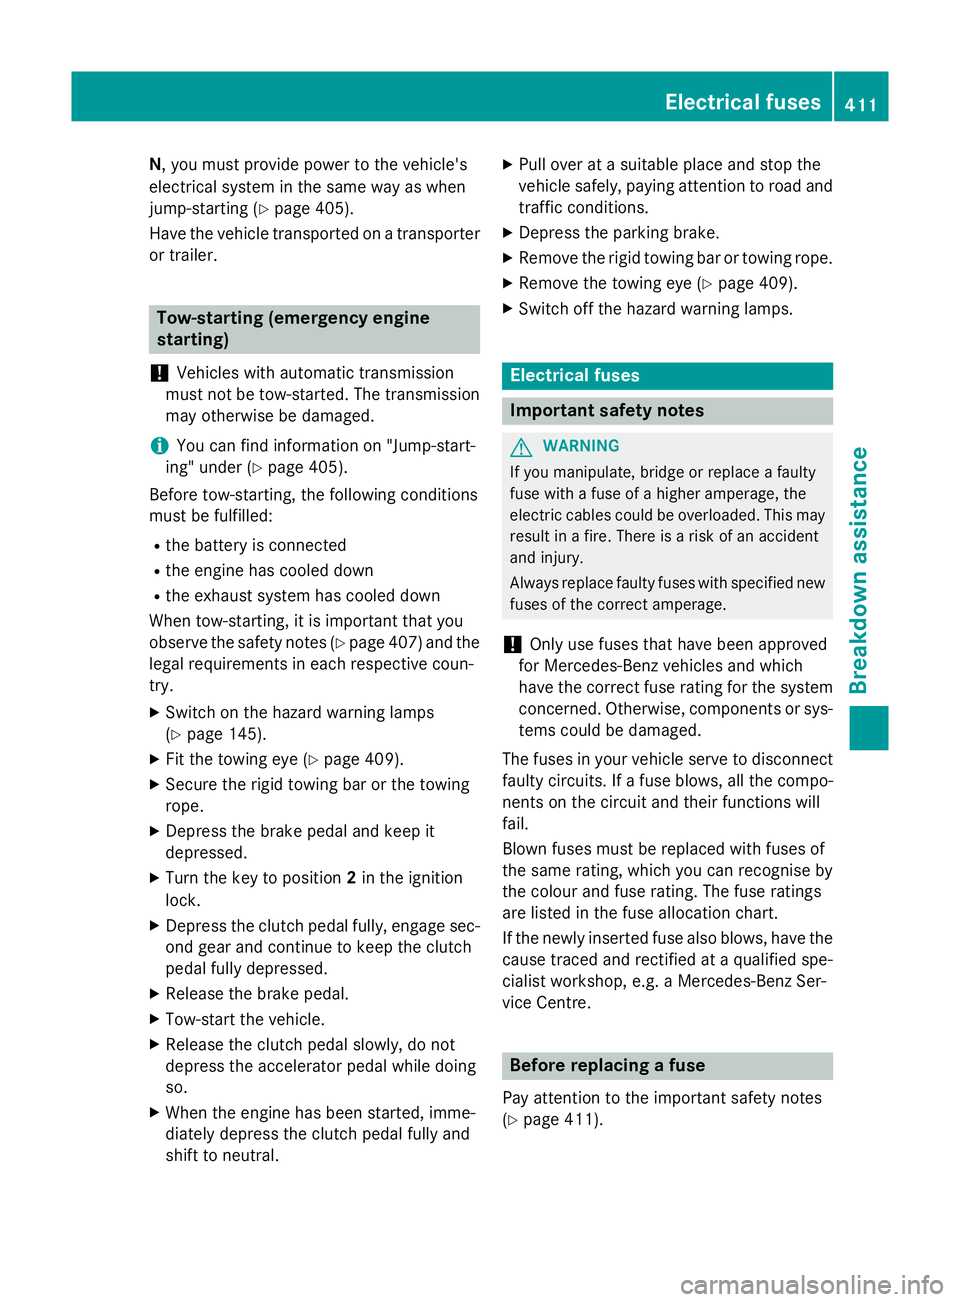
or trailer. Tow-starting (emergency engine
starting)
! Vehicles with automatic transmission
must not be tow-started. The transmission
may otherwise be damaged.
i You can find information on "Jump-start-
ing" under (Y page 405).
Before tow-starting, the following conditions
must be fulfilled:
R the battery is connected
R the engin ehas cooled down
R the exhaust system has cooled down
When tow-starting, it is important that you
observ ethe safet ynotes (Y page 407) and the
legal requirementsine ach respective coun-
try.
X Switch on the hazard warnin glamps
(Y page 145).
X Fit the towin geye (Y page 409).
X Secure the rigid towin gbar or the towing
rope.
X Depress the brake pedal and keep it
depressed.
X Turn the key to position 2in the ignition
lock.
X Depress the clutc hpedal fully, engage sec-
ond gear and continue to keep the clutch
pedal fully depressed.
X Release the brake pedal.
X Tow-start the vehicle.
X Release the clutc hpedal slowly, do not
depress the accelerator pedal while doing
so.
X When the engin ehas been started, imme-
diately depress the clutc hpedal fully and
shift to neutral. X
Pull over at asuitable place and sto pthe
vehicle safely, paying attention to road and
traffic conditions.
X Depress the parkin gbrake.
X Remove the rigid towin gbar or towin grope.
X Remove the towin geye (Y page 409).
X Switch off the hazard warnin glamps. Electrical fuses
Important safet
ynotes G
WARNING
If you manipulate, bridge or replace afaulty
fuse with afuse of ahigher amperage, the
electric cables could be overloaded. This may result in afire. There is arisk of an accident
and injury.
Always replace faulty fuses with specified new fuses of the correct amperage.
! Only use fuses that have been approved
for Mercedes-Benz vehicles and which
have the correct fuse ratin gfor the system
concerned. Otherwise, components or sys-
tem scould be damaged.
The fuses in your vehicle serv etodisconnect
faulty circuits. If afuse blows, all the compo-
nents on the circuit and their function swill
fail.
Blown fuses must be replaced with fuses of
the same rating, which you can recognise by
the colour and fuse rating. The fuse ratings
are listed in the fuse allocation chart.
If the newly inserted fuse also blows, have the
cause traced and rectified at aqualified spe-
cialist workshop, e.g. aMercedes-Benz Ser-
vice Centre. Befor
ereplacing afuse
Pay attention to the important safet ynotes
(Y page 411). Electrical fuses
411Breakdown assistance Z
Page 429 of 497

Changing
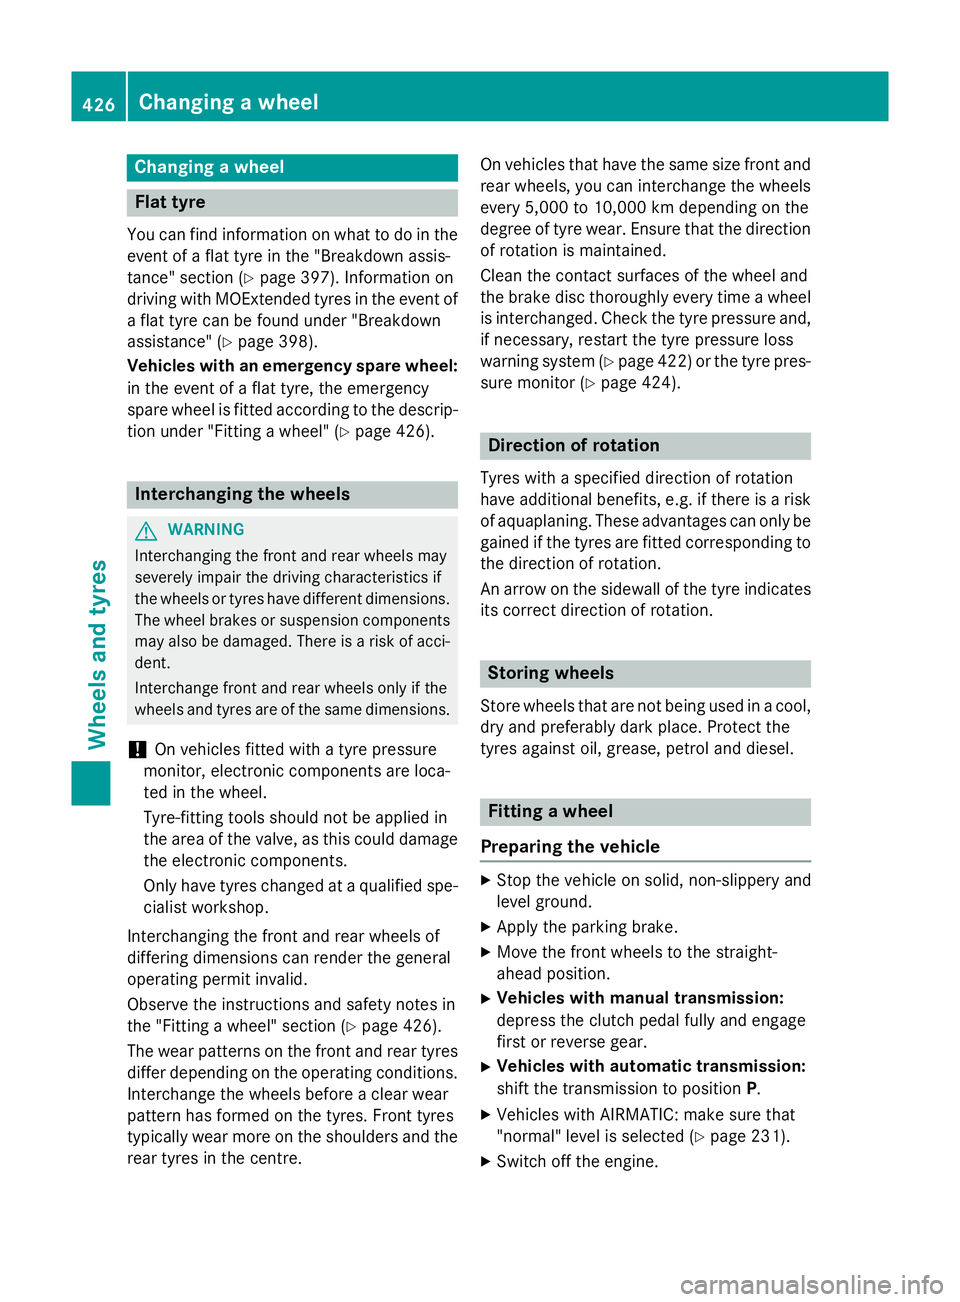
awheel Flat tyre
You can fin dinformatio nonwhat to do in the
event of aflat tyr einthe"Breakdown assis-
tance" sectio n(Ypage 397). Information on
driving wit hMOExtended tyres in th eevent of
af lat tyr ecan be foun dunde r"Breakdown
assistance" (Y page 398).
Vehicles with an emergency spare wheel: in th eevent of aflat tyre, th eemergency
spar ewheel is fitte daccording to th edescrip-
tio nu nde r"Fittin gaw heel" (Y page 426). Interchanging th
ewheels G
WARNING
Interchangin gthe fron tand rear wheel smay
severely impai rthe driving characteristic sif
th ew heel sort yres have different dimensions.
The wheel brakes or suspension components may also be damaged. Ther eisariskofa cci-
dent.
Interchange fron tand rear wheel sonlyift he
wheel sand tyres are of th esame dimensions.
! On vehicle
sfitte dw ithat yrep ressure
monitor, electronic component sare loca-
te dint hewheel.
Tyre-fittin gtools should no tbeapplied in
th ea rea of th evalve, as this could damage
th ee lectronic components.
Only have tyres changed at aqualified spe-
cialist workshop.
Interchangin gthe fron tand rear wheels of
differin gdimension scan render th egeneral
operatin gpermit invalid.
Observ ethe instruction sand safety note sin
th e" Fittin gaw heel" sectio n(Ypage 426).
The wear pattern sonthefron tand rear tyres
differ dependin gontheoperatin gconditions.
Interchange th ewheels before aclear wear
pattern has formed on th etyres. Fron ttyres
typically wear mor eontheshoulder sand the
rear tyres in th ecentre. On vehicle
stha th ave th esame siz efront and
rear wheels ,you can interchange th ewheels
every 5,000 to 10,00 0kmdependin gonthe
degree of tyr ewear. Ensure that th edirection
of rotatio nismaintained.
Clean th econtac tsurfaces of th ewheel and
th eb rak edisc thoroughly every tim eawheel
is interchanged. Chec kthe tyrep ressure and,
if necessary, restar tthe tyrep ressure loss
warning system (Y page 422) or thetyrep res-
sure monito r(Ypage 424). Direction of rotation
Tyres wit haspecifie ddirection of rotation
have additional benefits, e.g .ifthere is arisk
of aquaplaning .Thes eadvantages can only be
gained if th etyres are fitte dcorres ponding to
th ed irection of rotation.
An arrow on th esidewal lofthetyreindicates
its correct direction of rotation. Storing wheels
Store wheels that are no tbein gused in acool,
dry and preferabl ydark place. Protect the
tyres against oil, grease, petrol and diesel. Fitting
awheel
Preparin gthe vehicle X
Stop th evehicle on solid ,non-sl ippery and
leve lground.
X Apply th eparking brake.
X Mov ethe fron twheels to th estraight-
ahead position.
X Vehicles with manua ltra nsmission:
depress th eclutch pedal fully and engage
first or revers egear.
X Vehicles with automatic transmission:
shif tthe transmission to position P.
X Vehicle swithA IRMATIC: mak esure that
"normal" leve lisselecte d(Ypage 231).
X Switch off th eengine. 426
Changing
awheelWheels and tyres
Page 474 of 497

sion surrounding the possible health risk
posed by electromagnetic fields.
Observe the notes on operating mobile
phones (Y page 367).
The following aerialp ositions may be used for
the correct installation of RF transmitters: Saloon: approved aerial positions
:
Front roof area
; Rear roof area
= Rear wing
? Boot lid Estate: approved aerial positions
:
Front roof area
; Rear roof area
= Rear wing
i When fitting an aerialont
he front roof
area of vehicles with asliding sunroof,
observe the sweeping range of the roof.
On vehicles with panorama sliding sunroof,
fitting an aerialtot he front or rear roof area
is not permitted. On the rear wing, it is recommended that
you position the aerialont he side of the
vehicle closest to the centre of the road.
Use Technical Specification ISO/TS 21609
(RoadV ehicles–"EMC guidelines for fitting
aftermarket radio frequency transmitting
equipment") when retrofitting RF (radio fre-
quency) transmitters. Comply with the legal
requirements for add-on parts.
If your vehicle has fittings for two-way radio
equipment, use the power supplyora erial
connections intended for use with the basic
wiring. Be sure to observe the manufacturer's additional instructions when installing.
Deviations with respect to wavebands, maxi-
mum transmission outputs or aerialp ositions
must be approved by Mercedes-Benz.
The maximum transmission output (PEAK) at
the base of the aerialm ust not exceed the
following values: Waveband Maximum
transmission output Short wave
3-54M
Hz 100 W
4mw
aveband
74 -88M Hz 30 W
2mw
aveband
144 -174 MHz 50 W
Trunked radio/Tetra
380
-460 MHz 10 W
70 cm waveband
400
-460 MHz 35 W
Mobile communications
(2G/3G/4G) 10 WVehicle electronics
471Technical data Z
Page 475 of 497

The following can be used in the vehicle with-
out restrictions:
R RF transmitters with amaximum transmis-
sion output of up to 100 mW
R RF transmitters with transmission frequen-
cies in the range 380-410 MHz and amax-
imum transmission output of 2W(Tetra)
R Mobile telephones (2G/3G/4G)
There are no restriction swhen positionin gthe
aerial on the outside of the vehicle for the fol-
lowing wavebands:
R Trunked radio/Tetra
R 70 cm waveband
R Mobile communications (2G/3G/4G) Identification plates
Vehicle identification platew
ith vehi-
cle identification number (VIN) X
Open the frontr ight-hand door.
You will see vehicle identification plate :. Example: vehicles with
atrailer tow hitch
: Vehicle identification plate
; Vehicle manufacturer (Daimler AG)
= EU type approval number (only for certain
countries)
? VIN
A Maximum permissible gross vehicle
weight (kg)
B Maximum permissible mass of vehicle/
trailer combination (kg)
C Maximum permissible fronta xle load (kg)
D Maximum permissible rear axle load (kg)
E Paint code
i The data shown on the vehicle identifica-
tion plate is example data. This data is dif-
ferent for every vehicle and can deviate
from the data shown here. You can find the
data applicable to your vehicle on the vehi- cle's identification plate. Vehicle identification platew
ith vehi-
cle identification number (VIN) 472
Identification platesTechnical data
Page 487 of 497

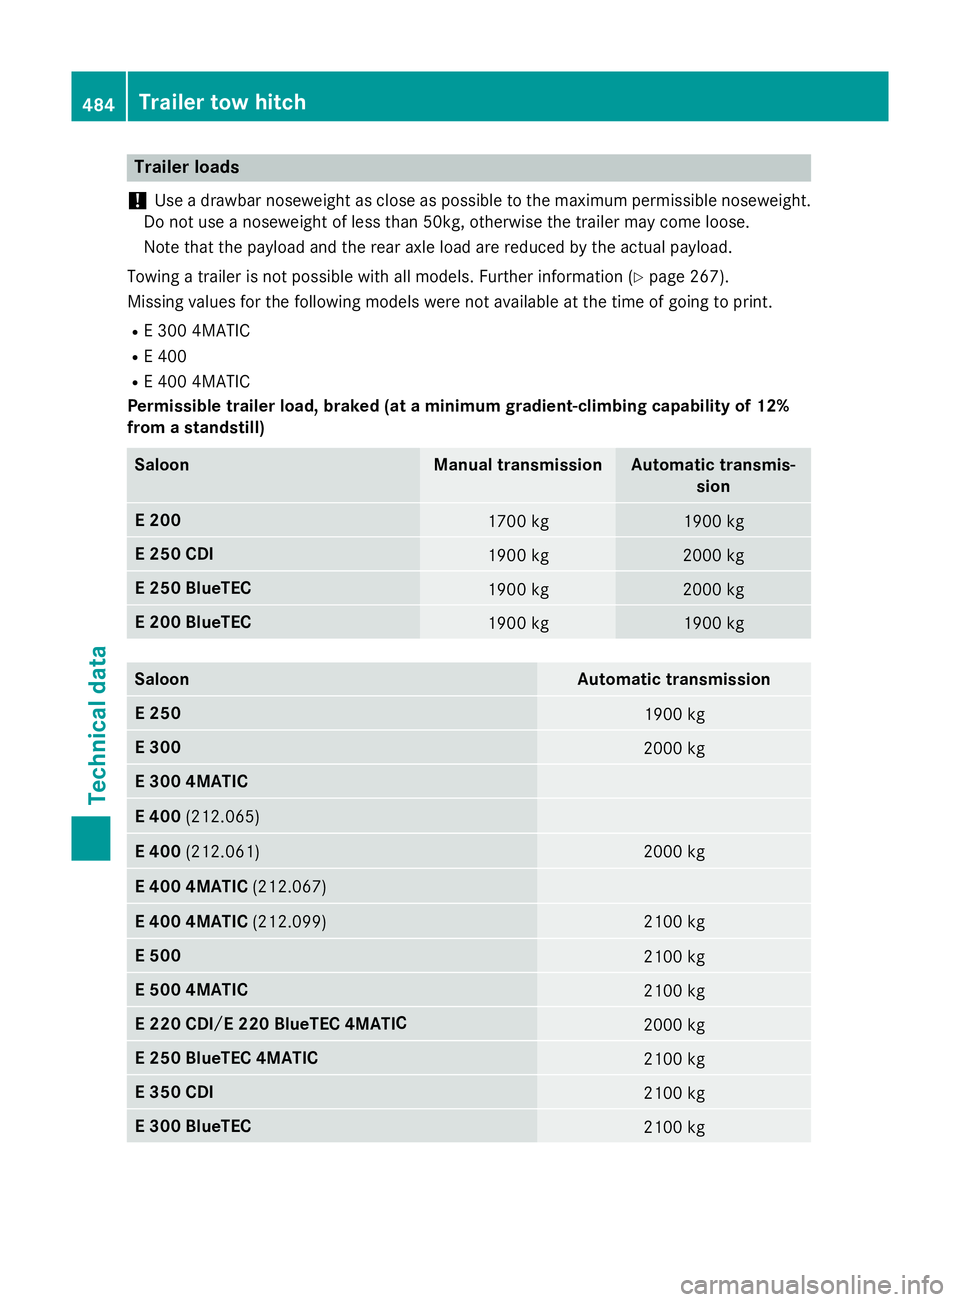
Trailer loads
! Use
adrawbar noseweight as close as possibl etothe maximum permissibl enoseweight.
Do not us eanoseweight of less tha n50kg, otherwis ethe trailer ma ycome loose.
Note tha tthe payloa dand the rea raxlel oa da rereduce dbythe actual payload.
Towing atrailer is not possibl ewitha llmodels. Further informatio n(Ypage 267).
Missing values for the following model sweren ot availabl eatthe time of going to print.
R E3 00 4MATIC
R E4 00
R E4 00 4MATIC
Permissibl etrailer load, braked (at aminimum gradient-climbing capability of 12%
fro mas tandstill) Saloon Manual transmission Automati
ctransmis-
sion E2
00 1700 kg 1900 kg
E2
50 CDI 1900 kg 2000 kg
E2
50 BlueTEC 1900 kg 2000 kg
E2
00 BlueTEC 1900 kg 1900 kg
Saloon Automati
ctransmission E2
50 1900 kg
E3
00 2000 kg
E3
00 4MATIC E4
00 (212.065) E4
00 (212.061) 2000 kg
E4
00 4MATIC (212.067) E4
00 4MATIC (212.099) 2100 kg
E5
00 2100 kg
E5
00 4MATIC 2100 kg
E2
20 CDI 2000 kg
E2
50 BlueTEC 4MATIC 2100 kg
E3
50 CDI 2100 kg
E3
00 BlueTEC 2100 kg484
Trailer tow hitchTechnica
ldata E2
20 BlueTEC 4MATI C
/
Page 488 of 497

Saloon Automatic transmission
E3
50 BlueTEC 2100 kg
E3
50 BlueTEC 4MATIC 2100 kg
Permissible trailer load, braked (at
aminimum gradient-climbing capability of 12%
from astandstill) Estate Manual transmission Automatic transmis-
sion E2
00 1700 kg 2100 kg
E2
50 CDI 1900 kg 2100 kg
E2
50 BlueTEC 1900 kg 2100 kg
E2
00 BlueTEC 1900 kg 2100 kg
E2
20 BlueTEC 1900 kg 2100 kg
Estate Automatic transmission
E2
50 2100 kg
E4
00 (212.265) 2100 kg
E4
00 (212.261) 1700 kg
E4
00 4MATIC (212.267) E4
00 4MATIC (212.299) 1700 kg
E5
00 2100 kg
E5
00 4MATIC 2100 kg
E2
50 BlueTEC 4MATIC 2100 kg
E3
00 BlueTEC 2100 kg
E3
50 BlueTEC 2100 kg
E3
50 BlueTEC 4MATIC 2100 kg
Permissible trailer load, unbraked
Saloon Manual transmission Automatic transmis-
sion E2
00 750 kg 750 kg
E2
50 CDI 750 kg 750 kgTrailer tow hitch
485Technical data ZE2
20 BlueTEC 4MATI C/
Page 489 of 497

Saloon Manual transmission Automatic transmis-
sion E2
50 BlueTEC 750 kg 750 kg
E2
00 BlueTEC 750 kg 750 kg
Saloon Automatic transmission
E2
50 750 kg
E3
00 750 kg
E3
00 4MATIC 750 kg
E4
00 (212.065) 750 kg
E4
00 (212.061) 750 kg
E4
00 4MATIC (212.067) 750 kg
E4
00 4MATIC (212.099) 750 kg
E5
00 750 kg
E5
00 4MATIC 750 kg
E2
20 CDI 750 kg
750 kg
E3
50 CDI 750 kg
E3
00 BlueTEC 750 kg
E3
50 BlueTEC 750 kg
E3
50 BlueTEC 4MATIC 750 kg
Permissible trailer load, unbraked
Estate Manual transmission Automatic transmis-
sion E2
00 750 kg 750 kg
E2
50 CDI 750 kg 750 kg
E2
50 BlueTEC 750 kg 750 kg
E2
00 BlueTEC 750 kg 750 kg
E2
20 BlueTEC 750 kg 750 kg486
Trailer tow hitchTechnical data E2
50 BlueTEC 4MATIC
E2 20 BlueTEC 4MATI C/