2015 MERCEDES-BENZ E-CLASS COUPE ECU
[x] Cancel search: ECUPage 208 of 345

function display even if there is no fault. The
reason for the error message may be that the
current has fallen below the minimum of
50 mA.
To ensure reliable indication of the failure, each LED chain in the trailer lighting must be guaran-
teed a minimum current of 50 mA. Trailer with 7-pin connector
General notes Trailer with 7-pin connector:
you can connect
to the 13-pin socket on the ball coupling using
an adapter or, if necessary, an adapter cable.
Both can be obtained at a qualified specialist
workshop.
Fitting the adapter !
Make sure that there is sufficient cable play
so that the cable cannot become detached
when cornering. X
Open the socket cover.
X Insert the plug connector with lug :into
groove =on the socket.
X Turn bayonet connection ;clockwise to the
stop.
X Let the cover engage.
X If you are using an adapter cable, secure the
cable to the trailer with cable ties. Towing a trailer
205Driving and parking Z
Page 248 of 345

Display messages
Possible causes/consequences and
M
MSolutions Ð
Power steering mal‐ Power steering mal‐
function See Own‐ function See Own‐
er's Manual er's Manual The power steering assistance is faulty.
A warning tone also sounds.
G WARNING
You will need to use more force to steer.
There is a risk of an accident.
X Check whether you are able to apply the extra force required.
X If you are able to steer safely: carefully drive on to a qualified
specialist workshop.
X If you are unable to steer safely: do not drive on. Contact the
nearest qualified specialist workshop. ¥
Top up washer fluid Top up washer fluid The washer fluid level in the washer fluid reservoir has dropped below
the minimum.
X Top up the washer fluid (Y page 287).Key
Display messages
Possible causes/consequences and
M
MSolutions Â
Key Key
does
does not
notbelong
belong
to vehicle
to vehicle You have put the wrong key in the ignition lock.
X Use the correct key. Â
Replace key Replace key The key needs to be replaced.
X Consult a qualified specialist workshop. Â
Change Change
key
keybatteries
batteries The battery of the KEYLESS-GO key is discharged.
X Change the replace (Y page 77).Â
Key not detected Key not detected
(red display message) The KEYLESS-GO key is not in the vehicle.
A warning tone also sounds.
If the engine is switched off, you can no longer lock the vehicle cen-
trally or start the engine.
X Pull over and stop the vehicle safely as soon as possible, paying
attention to road and traffic conditions.
X Secure the vehicle against rolling away (Y page 150).
X Locate the KEYLESS-GO key. Display
messages
245On-board computer and displays Z
Page 249 of 345
Display messages
Possible causes/consequences and
M
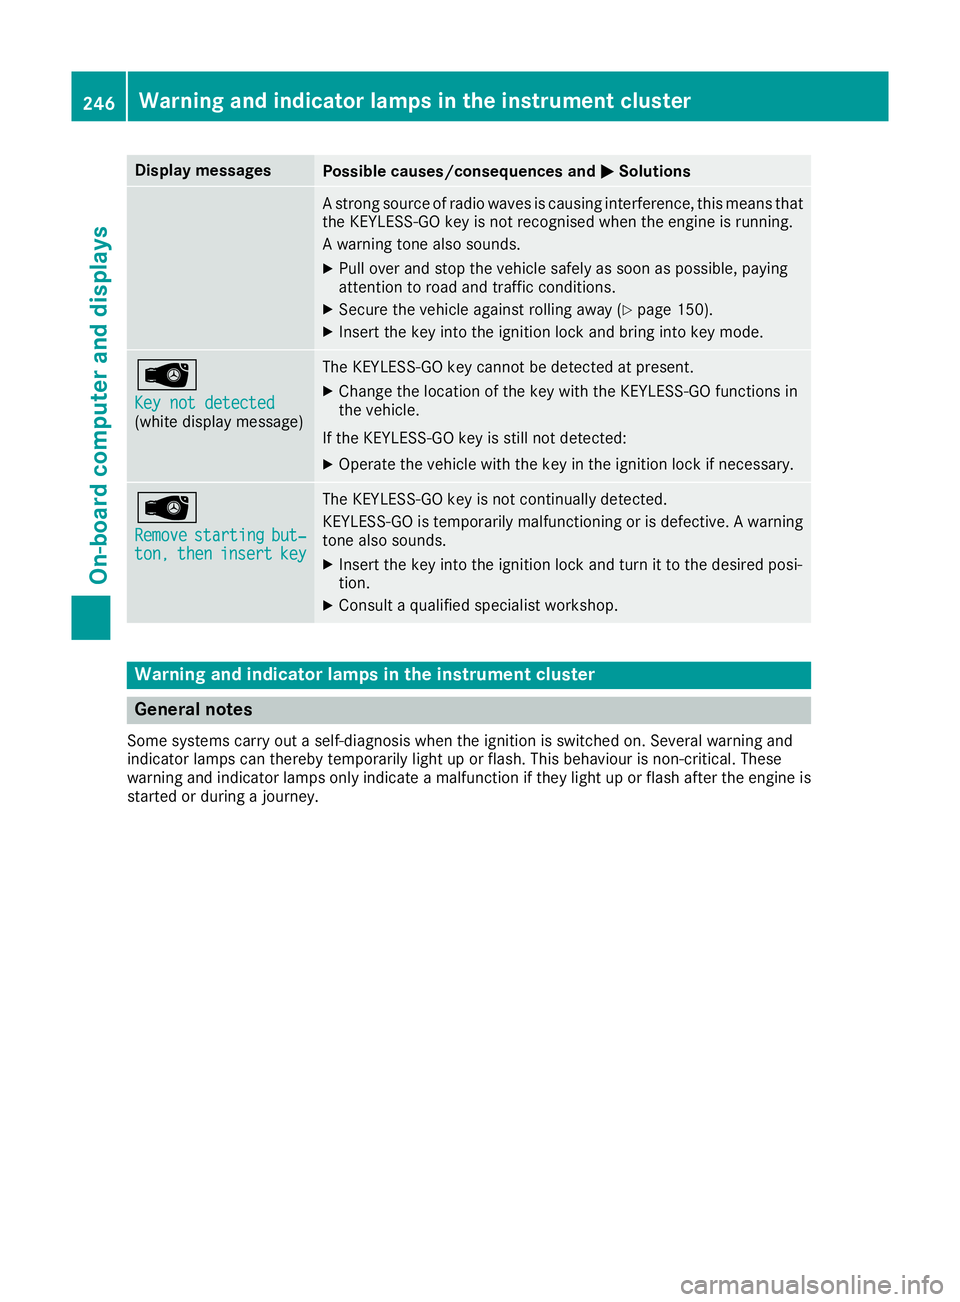
MSolutions A strong source of radio waves is causing interference, this means that
the KEYLESS-GO key is not recognised when the engine is running.
A warning tone also sounds.
X Pull over and stop the vehicle safely as soon as possible, paying
attention to road and traffic conditions.
X Secure the vehicle against rolling away (Y page 150).
X Insert the key into the ignition lock and bring into key mode. Â
Key not detected Key not detected
(white display message) The KEYLESS-GO key cannot be detected at present.
X Change the location of the key with the KEYLESS-GO functions in
the vehicle.
If the KEYLESS-GO key is still not detected: X Operate the vehicle with the key in the ignition lock if necessary. Â
Remove Remove
starting
starting but‐
but‐
ton,
ton, then
theninsert
insert key
key The KEYLESS-GO key is not continually detected.
KEYLESS-GO is temporarily malfunctioning or is defective. A warning tone also sounds.
X Insert the key into the ignition lock and turn it to the desired posi-
tion.
X Consult a qualified specialist workshop. Warning and indicator lamps in the instrument cluster
General notes
Some systems carry out a self-diagnosis when the ignition is switched on. Several warning and
indicator lamps can thereby temporarily light up or flash. This behaviour is non-critical. These
warning and indicator lamps only indicate a malfunction if they light up or flash after the engine is started or during a journey. 246
Wa
rning and indi cator lamps in the instrument clusterOn-board computer and displays
Page 250 of 345
Safety
Seat belts Warning/
indicator
lamp
N N
Signal type
Possible causes/consequences and M
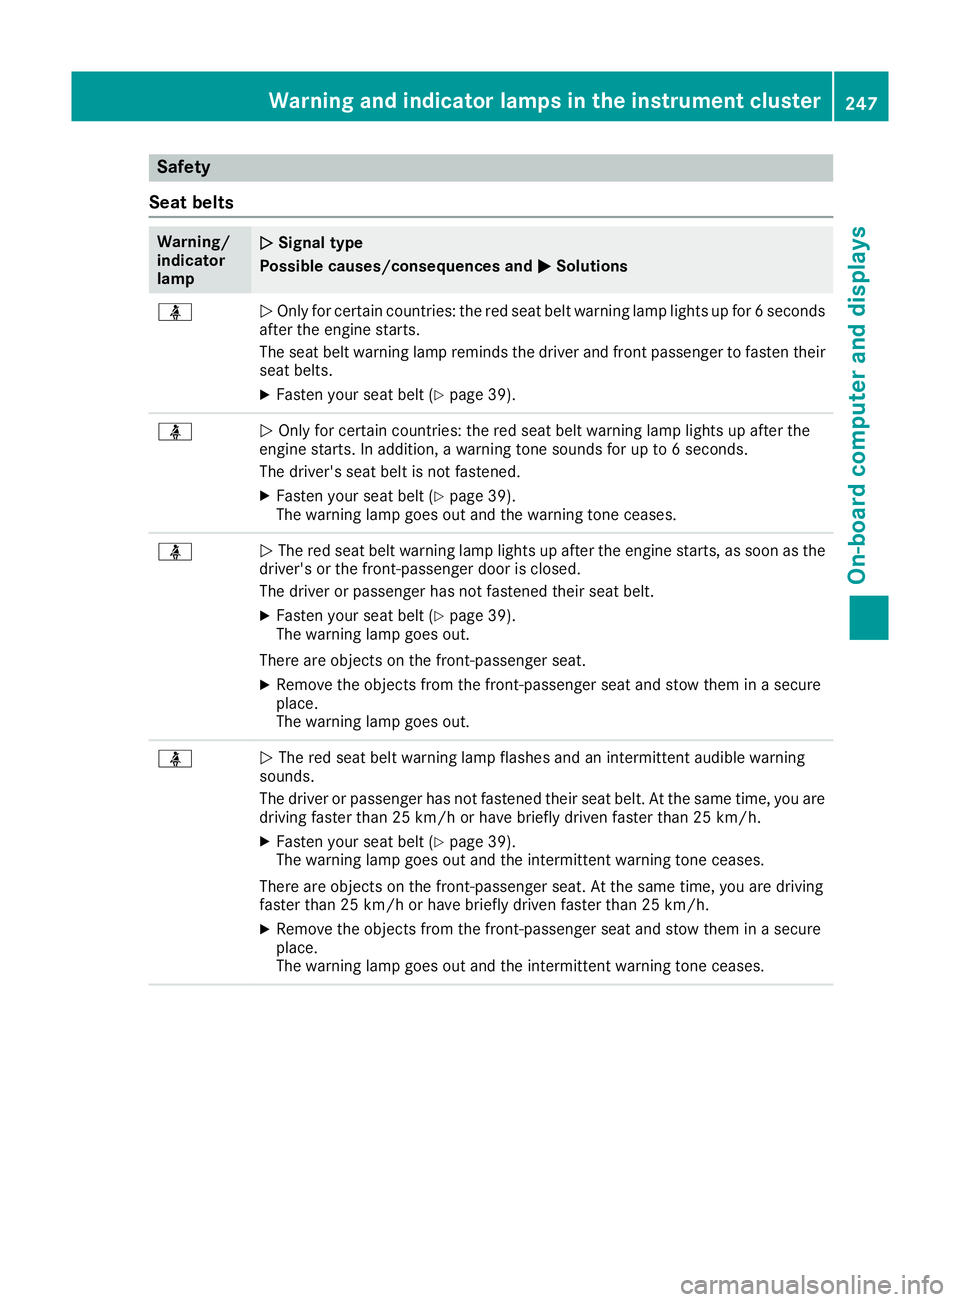
MSolutions ü
N
Only for certain countries: the red seat belt warning lamp lights up for 6 seconds
after the engine starts.
The seat belt warning lamp reminds the driver and front passenger to fasten their
seat belts.
X Fasten your seat belt (Y page 39).ü
N
Only for certain countries: the red seat belt warning lamp lights up after the
engine starts. In addition, a warning tone sounds for up to 6 seconds.
The driver's seat belt is not fastened.
X Fasten your seat belt (Y page 39).
The warning lamp goes out and the warning tone ceases. ü
N
The red seat belt warning lamp lights up after the engine starts, as soon as the
driver's or the front-passenger door is closed.
The driver or passenger has not fastened their seat belt.
X Fasten your seat belt (Y page 39).
The warning lamp goes out.
There are objects on the front-passenger seat.
X Remove the objects from the front-passenger seat and stow them in a secure
place.
The warning lamp goes out. ü
N
The red seat belt warning lamp flashes and an intermittent audible warning
sounds.
The driver or passenger has not fastened their seat belt. At the same time, you are
driving faster than 25 km/h or have briefly driven faster than 25 km/h.
X Fasten your seat belt (Y page 39).
The warning lamp goes out and the intermittent warning tone ceases.
There are objects on the front-passenger seat. At the same time, you are driving
faster than 25 km/h or have briefly driven faster than 25 km/h.
X Remove the objects from the front-passenger seat and stow them in a secure
place.
The warning lamp goes out and the intermittent warning tone ceases. Warning and indicator lamps in the instrument cluster
247On-board computer and displays Z
Page 262 of 345
X
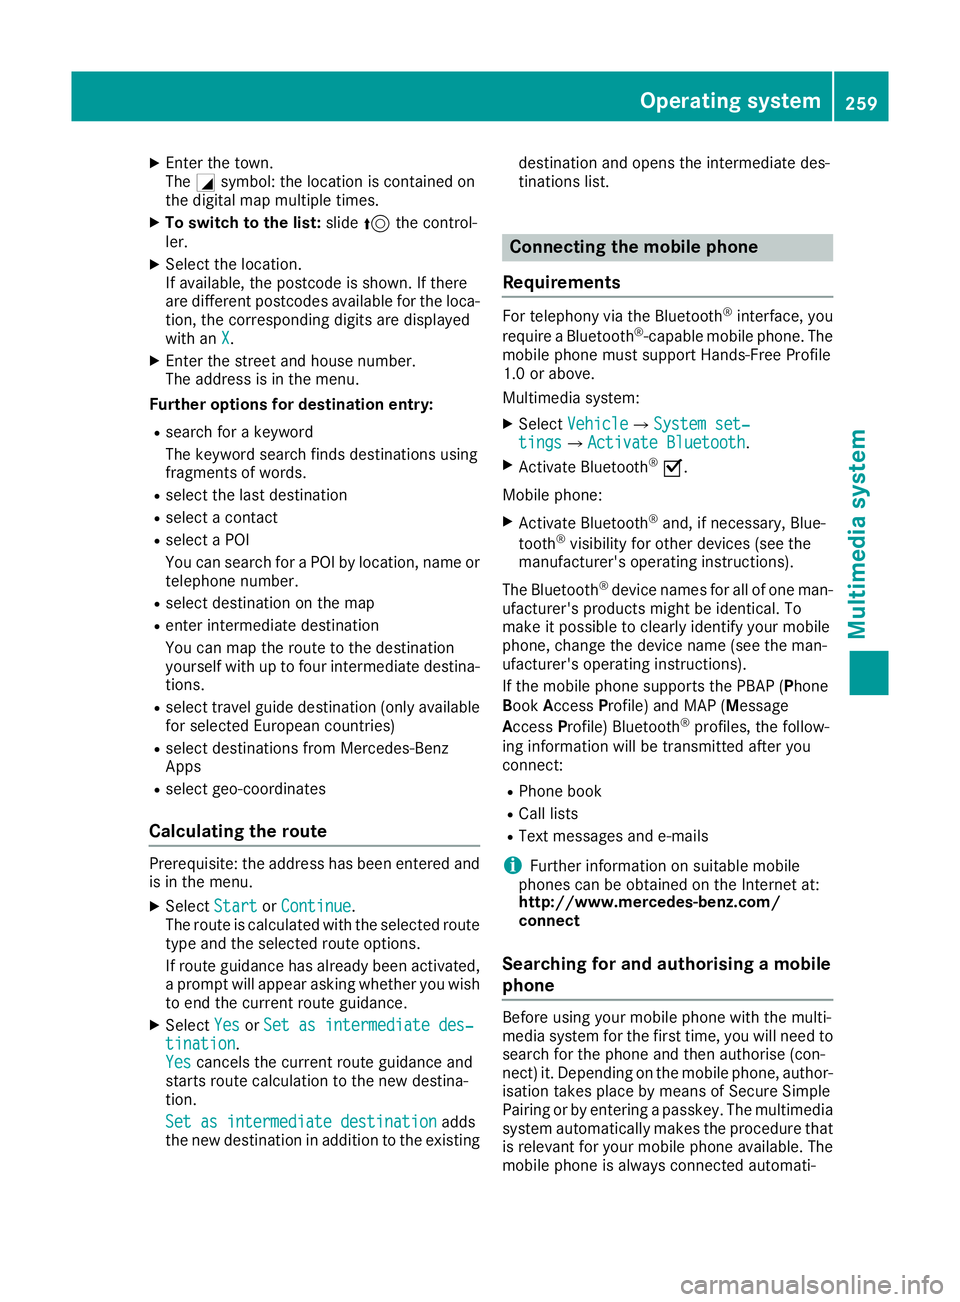
Enter the town.
The Gsymbol: the location is contained on
the digital map multiple times.
X To switch to the list: slide5the control-
ler.
X Select the location.
If available, the postcode is shown. If there
are different postcodes available for the loca- tion, the corresponding digits are displayed
with an X
X.
X Enter the street and house number.
The address is in the menu.
Further options for destination entry:
R search for a keyword
The keyword search finds destinations using
fragments of words.
R select the last destination
R select a contact
R select a POI
You can search for a POI by location, name or
telephone number.
R select destination on the map
R enter intermediate destination
You can map the route to the destination
yourself with up to four intermediate destina- tions.
R select travel guide destination (only available
for selected European countries)
R select destinations from Mercedes-Benz
Apps
R select geo-coordinates
Calculating the route Prerequisite: the address has been entered and
is in the menu.
X Select Start StartorContinue
Continue.
The route is calculated with the selected route
type and the selected route options.
If route guidance has already been activated,
a prompt will appear asking whether you wish to end the current route guidance.
X Select Yes
Yes orSet as intermediate des‐ Set as intermediate des‐
tination
tination.
Yes Yes cancels the current route guidance and
starts route calculation to the new destina-
tion.
Set as intermediate destination
Set as intermediate destination adds
the new destination in addition to the existing destination and opens the intermediate des-
tinations list. Connecting the mobile phone
Requirements For telephony via the Bluetooth
®
interface, you
require a Bluetooth ®
-capable mobile phone. The
mobile phone must support Hands-Free Profile
1.0 or above.
Multimedia system:
X Select Vehicle VehicleQSystem set‐ System set‐
tings
tingsQ Activate Bluetooth
Activate Bluetooth .
X Activate Bluetooth ®
O.
Mobile phone:
X Activate Bluetooth ®
and, if necessary, Blue-
tooth ®
visibility for other devices (see the
manufacturer's operating instructions).
The Bluetooth ®
device names for all of one man-
ufacturer's products might be identical. To
make it possible to clearly identify your mobile
phone, change the device name (see the man-
ufacturer's operating instructions).
If the mobile phone supports the PBAP (P hone
Book Access Profile) and MAP (Message
Access Profile) Bluetooth ®
profiles, the follow-
ing information will be transmitted after you
connect:
R Phone book
R Call lists
R Text messages and e-mails
i Further information on suitable mobile
phones can be obtained on the Internet at:
http://www.mercedes-benz.com/
connect
Searching for and authorising a mobile
phone Before using your mobile phone with the multi-
media system for the first time, you will need to
search for the phone and then authorise (con-
nect) it. Depending on the mobile phone, author- isation takes place by means of Secure Simple
Pairing or by entering a passkey. The multimedia
system automatically makes the procedure that is relevant for your mobile phone available. The
mobile phone is always connected automati- Operating system
259Multimedia system Z
Page 263 of 345
cally after authorisation. Further information on
using a mobile phone with the multimedia sys-
tem (see the Digital Owner's Manual).
If the multimedia system does not detect your
mobile phone, this may be due to particular
security settings on your mobile phone (see the
manufacturer's operating instructions).
Only one mobile phone can be connected to the multimedia system at any one time.
Searching for a mobile phone
Multimedia system:
X Select Tel/
Tel/ ®QConnect Connect
device deviceQSearch for phones Search for phonesQStart Start
search
search.
The available mobile phones are displayed.
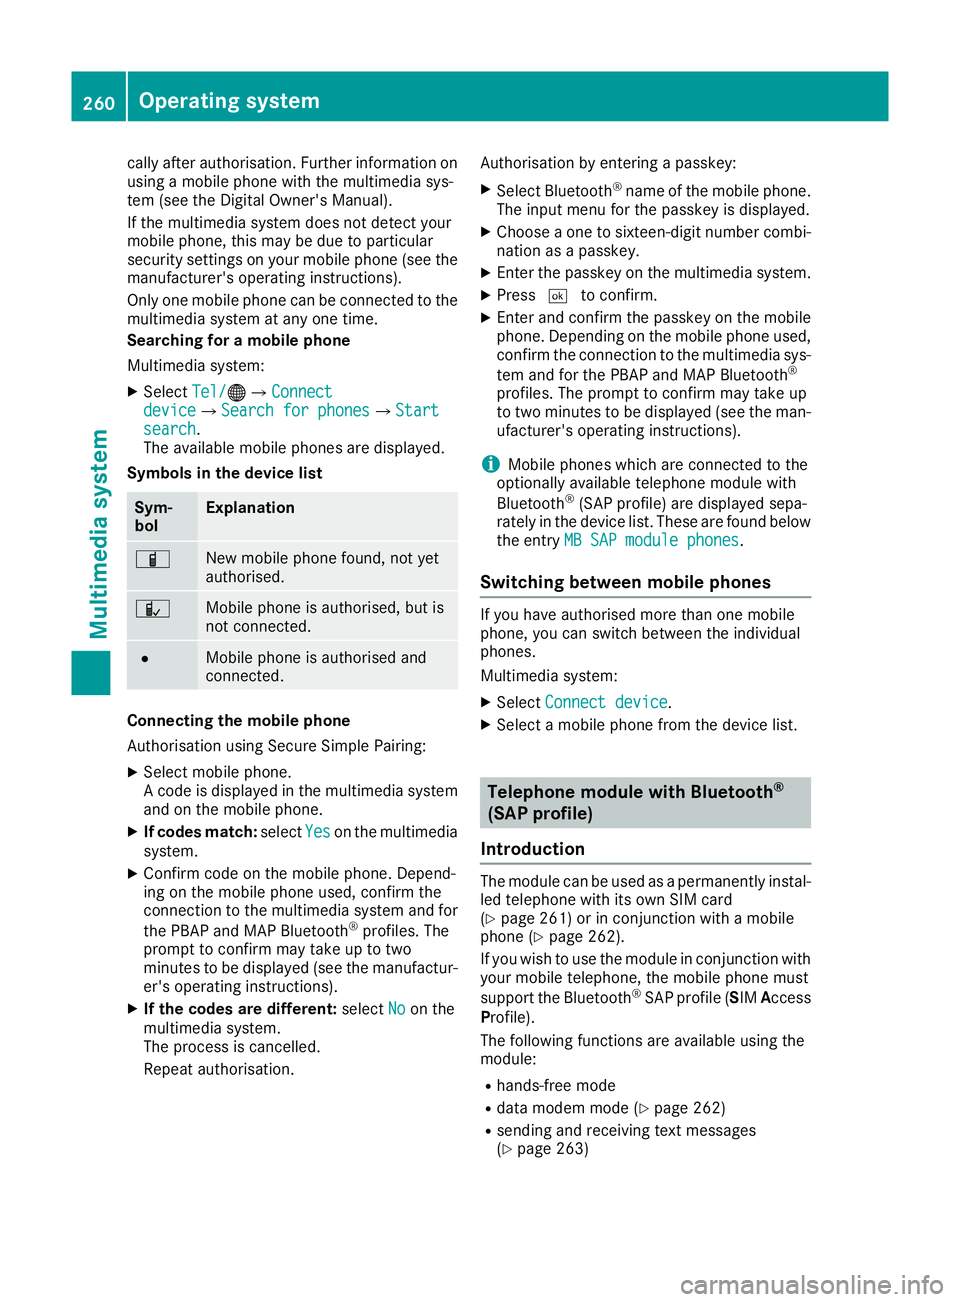
Symbols in the device list Sym-
bol Explanation
Ï
New mobile phone found, not yet
authorised.
Ñ
Mobile phone is authorised, but is
not connected.
#
Mobile phone is authorised and
connected.
Connecting the mobile phone
Authorisation using Secure Simple Pairing:
X Select mobile phone.
A code is displayed in the multimedia system
and on the mobile phone.
X If codes match: selectYes Yeson the multimedia
system.
X Confirm code on the mobile phone. Depend-
ing on the mobile phone used, confirm the
connection to the multimedia system and for
the PBAP and MAP Bluetooth ®
profiles. The
prompt to confirm may take up to two
minutes to be displayed (see the manufactur-
er's operating instructions).
X If the codes are different: selectNo
No on the
multimedia system.
The process is cancelled.
Repeat authorisation. Authorisation by entering a passkey:
X Select Bluetooth ®
name of the mobile phone.
The input menu for the passkey is displayed.
X Choose a one to sixteen-digit number combi-
nation as a passkey.
X Enter the passkey on the multimedia system.
X Press ¬to confirm.
X Enter and confirm the passkey on the mobile
phone. Depending on the mobile phone used,
confirm the connection to the multimedia sys-
tem and for the PBAP and MAP Bluetooth ®
profiles. The prompt to confirm may take up
to two minutes to be displayed (see the man- ufacturer's operating instructions).
i Mobile phones which are connected to the
optionally available telephone module with
Bluetooth ®
(SAP profile) are displayed sepa-
rately in the device list. These are found below
the entry MB SAP module phones MB SAP module phones.
Switching between mobile phones If you have authorised more than one mobile
phone, you can switch between the individual
phones.
Multimedia system:
X Select Connect device Connect device.
X Select a mobile phone from the device list. Telephone module with Bluetooth
®
(SAP profile)
Introduction The module can be used as a permanently instal-
led telephone with its own SIM card
(Y page 261) or in conjunction with a mobile
phone (Y page 262).
If you wish to use the module in conjunction with
your mobile telephone, the mobile phone must
support the Bluetooth ®
SAP profile (SIM Access
Profile).
The following functions are available using the
module:
R hands-free mode
R data modem mode (Y page 262)
R sending and receiving text messages
(Y page 263) 260
Operating systemMultimedia system
Page 268 of 345
Stowage areas
Loading guidelines
G
WARNING
If objects, luggage or loads are not secured or not secured sufficiently, they could slip, tip
over or be flung around and thereby hit vehicle
occupants. There is a risk of injury, especially when braking or abruptly changing directions.
Always store objects so that they cannot be
flung around. Secure objects, luggage or
loads against slipping or tipping before the
journey. G
WARNING
Combustion engines emit poisonous exhaust
gases such as carbon monoxide. Exhaust
gases can enter the vehicle interior if the boot
lid is open when the engine is running, espe-
cially if the vehicle is in motion. There is a risk of poisoning.
Always switch off the engine before opening
the boot lid. Never drive with the boot lid
open. G
WARNING
The exhaust tail pipe and tail pipe trim can
become very hot. If you come into contact
with these parts of the vehicle, you could burn
yourself. There is a risk of injury.
Always be particularly careful around the
exhaust tail pipe and the tail pipe trim. Allow
these components to cool down before touch-
ing them.
The handling characteristics of a laden vehicle
are dependent on the distribution of the load
within the vehicle. For this reason, you should
observe the following notes when transporting a
load:
R never exceed the maximum permissible gross
vehicle weight or the permissible axle loads
for the vehicle (including occupants).
R the boot is the preferred place to store
objects.
R position heavy loads as far forwards as pos-
sible and as low down in the boot as possible. R
the load must not protrude above the upper
edge of the seat backrests.
R always place the load against the rear or front
seat backrests. Make sure that the seat
backrests are securely locked into place.
R always place the load behind unoccupied
seats if possible.
R use the lashing eyelets and the luggage nets
to transport loads and luggage.
R only use lashing eyelets and fastening com-
ponents that are suitable for the weight and
size of the load.
R secure the load with sufficiently strong and
wear-resistant lashing material. Pad sharp
edges for protection.
i Load restraints are available at any qualified
specialist workshop, e.g. a Mercedes-Benz
Service Centre. Stowage compartments
Important safety notes G
WARNING
If objects in the passenger compartment are
stowed incorrectly, they can slide or be
thrown around and hit vehicle occupants. In
addition, cupholders, open stowage spaces
and mobile phone brackets cannot always
retain all objects they contain. There is a risk of injury, particularly in the event of sudden
braking or a sudden change in direction.
R Always stow objects so that they cannot be
thrown around in such situations.
R Always make sure that objects do not pro-
trude from stowage spaces, parcel nets or
stowage nets.
R Close the lockable stowage spaces before
starting a journey.
R Always stow and secure heavy, hard, poin-
ted, sharp-edged, fragile or bulky objects in
the boot.
Observe the loading guidelines (Y page 265). Stowage areas
265Stowing and features Z
Page 270 of 345

X
To open: slide cover :back.
Stowage compartment/telephone
compartment under the armrest Vehicles with manual transmission
X To open: press left-hand button ;or right-
hand button :.
The stowage compartment opens. Vehicles with DIRECT SELECT lever
X To open: press left-hand button ;or right-
hand button :.
The stowage compartment opens.
i Coupé: instead of a soft top switch, an addi-
tional stowage compartment can be found in
front of the armrest.
Depending on the vehicle's equipment, the fol-
lowing may be in the stowage space:
R a multimedia connector unit with an SD card
slot and 2 USB ports (Media Interface), e.g. for
use with an iPod ®
, iPhone ®
or MP3 player; see
the separate operating instructions
R a mobile phone bracket (Y page 275)Stowage compartment under the front
seats G
WARNING
If you exceed the maximum permitted load of the stowage compartment, the cover is
unable to restrain the objects. Objects may be
thrown out of the stowage compartment and
hit vehicle occupants as a result. There is a
risk of injury, particularly in the event of sud-
den braking or a sudden change in direction.
Always observe the maximum load of the
stowage compartment. Stow and secure
heavy objects in the boot.
The maximum permissible load of the stowage
compartment is 1.5 kg. X
To open: pull handle :up and fold cover ;
forwards.
i On vehicles with a fire extinguisher instead
of a stowage compartment, the fire extin-
guisher is installed under the driver's seat. Stowage nets
Stowage nets are located in the front-passenger footwell and on the left-hand side of the boot.
Observe the loading guidelines (Y page 265)
and the safety notes regarding stowage spaces
(Y page 265). Stowage areas
267Stowing an d features Z