2015 MERCEDES-BENZ E-CLASS CABRIOLET parking brake
[x] Cancel search: parking brakePage 214 of 349
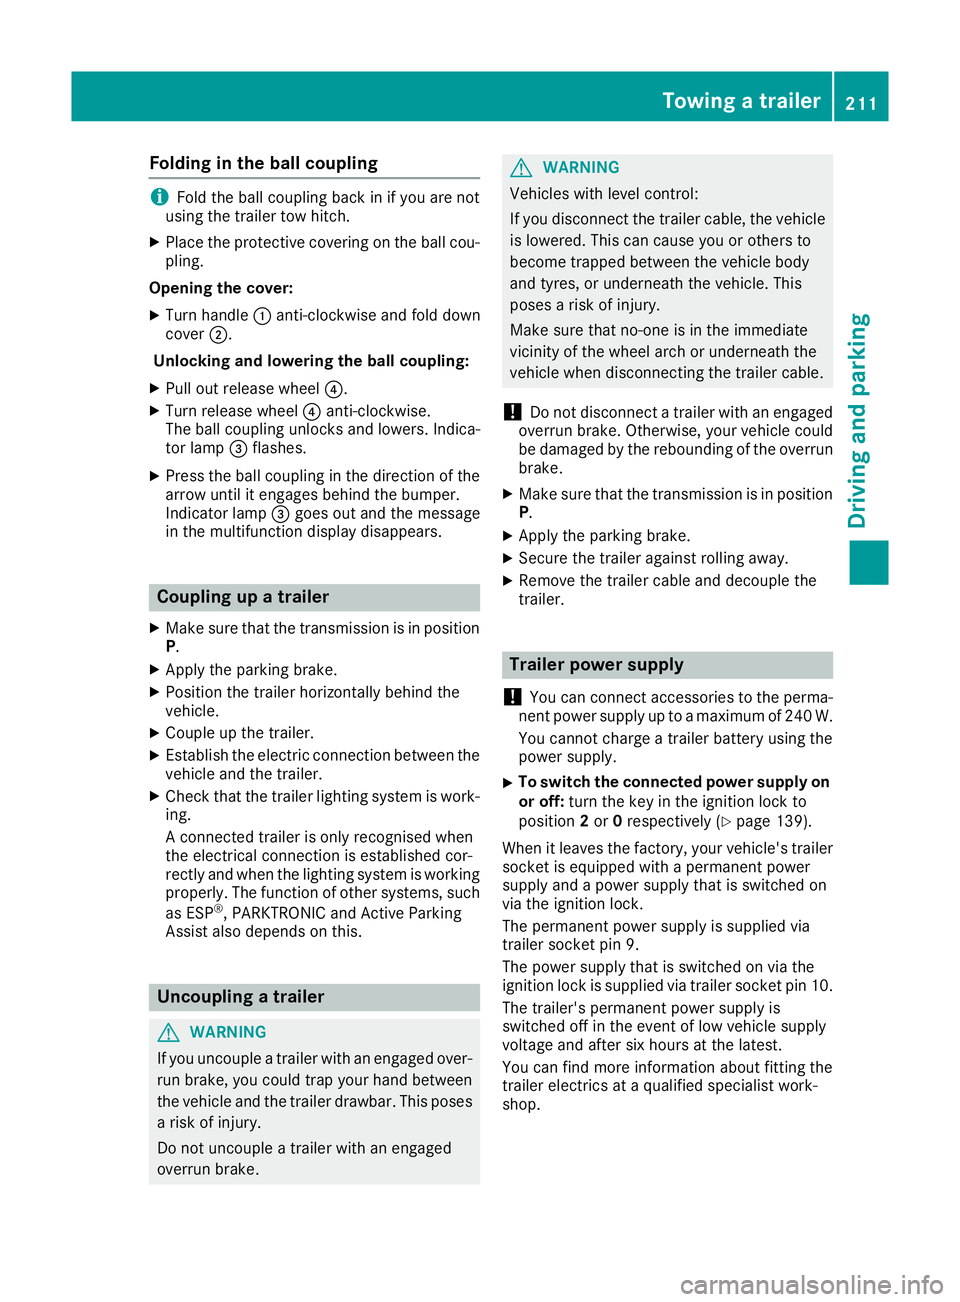
Folding in the ball coupling
i
Fold the ball coupling back in if you are not
using the trailer tow hitch.
X Place the protective covering on the ball cou-
pling.
Opening the cover: X Turn handle :anti-clockwise and fold down
cover ;.
Unlocking and lowering the ball coupling:
X Pull out release wheel ?.
X Turn release wheel ?anti-clockwise.
The ball coupling unlocks and lowers. Indica-
tor lamp =flashes.
X Press the ball coupling in the direction of the
arrow until it engages behind the bumper.
Indicator lamp =goes out and the message
in the multifunction display disappears. Coupling up a trailer
X Make sure that the transmission is in position
P .
X Apply the parking brake.
X Position the trailer horizontally behind the
vehicle.
X Couple up the trailer.
X Establish the electric connection between the
vehicle and the trailer.
X Check that the trailer lighting system is work-
ing.
A connected trailer is only recognised when
the electrical connection is established cor-
rectly and when the lighting system is working
properly. The function of other systems, such
as ESP ®
, PARKTRONIC and Active Parking
Assist also depends on this. Uncoupling a trailer
G
WARNING
If you uncouple a trailer with an engaged over- run brake, you could trap your hand between
the vehicle and the trailer drawbar. This poses a risk of injury.
Do not uncouple a trailer with an engaged
overrun brake. G
WARNING
Vehicles with level control:
If you disconnect the trailer cable, the vehicle is lowered. This can cause you or others to
become trapped between the vehicle body
and tyres, or underneath the vehicle. This
poses a risk of injury.
Make sure that no-one is in the immediate
vicinity of the wheel arch or underneath the
vehicle when disconnecting the trailer cable.
! Do not disconnect a trailer with an engaged
overrun brake. Otherwise, your vehicle could
be damaged by the rebounding of the overrun
brake.
X Make sure that the transmission is in position
P.
X Apply the parking brake.
X Secure the trailer against rolling away.
X Remove the trailer cable and decouple the
trailer. Trailer power supply
! You can connect accessories to the perma-
nent power supply up to a maximum of 240 W.
You cannot charge a trailer battery using the
power supply.
X To switch the connected power supply on
or off: turn the key in the ignition lock to
position 2or 0respectively (Y page 139).
When it leaves the factory, your vehicle's trailer
socket is equipped with a permanent power
supply and a power supply that is switched on
via the ignition lock.
The permanent power supply is supplied via
trailer socket pin 9.
The power supply that is switched on via the
ignition lock is supplied via trailer socket pin 10.
The trailer's permanent power supply is
switched off in the event of low vehicle supply
voltage and after six hours at the latest.
You can find more information about fitting the
trailer electrics at a qualified specialist work-
shop. Towing a trailer
211Driving and parking Z
Page 235 of 349

Display messages
Possible causes/consequences and
M
MSolutions J
Release parking Release parking
brake brake You are driving with the parking brake applied. A warning tone also
sounds.
X Release the parking brake. J
Check brake fluid Check brake fluid
level level There is insufficient brake fluid in the brake fluid reservoir.
In addition, the red Jwarning lamp lights up in the instrument
cluster and a warning tone sounds.
G WARNING
Braking efficiency may be impaired.
There is a risk of an accident.
X Pull over and stop the vehicle safely as soon as possible, paying
attention to road and traffic conditions. Do not continue driving
under any circumstances.
X Safeguard the vehicle against rolling away (Y page 157).
X Consult a qualified specialist workshop.
X Do not top up the brake fluid. This does not correct the fault. #
Check Check
brake
brakepad
padwear
wear The brake pads/linings have reached their wear limit.
X Consult a qualified specialist workshop. G
Inoperative
Inoperative One or more main features of the Mercedes-Benz Contact system are
malfunctioning.
X Consult a qualified specialist workshop. Collision Preven‐
Collision Preven‐
tion Assist Plus tion Assist Plus
currently unavaila‐ currently unavaila‐
ble ble
See
SeeOwner's
Owner's Man‐
Man‐
ual
ual COLLISION PREVENTION ASSIST PLUS is temporarily inoperative.
Possible causes:
R the radar sensor system is temporarily inoperative, e.g. due to elec-
tromagnetic radiation emitted by nearby TV or radio stations or
other sources of electromagnetic radiation
R the system is outside the operating temperature range
R the on-board voltage is too low
Once the causes listed above no longer apply, the display message
goes out.
COLLISION PREVENTION ASSIST PLUS is operational again.
If the display message does not disappear:
X Pull over and stop the vehicle safely as soon as possible, paying
attention to road and traffic conditions.
X Safeguard the vehicle against rolling away (Y page 157).
X Restart the engine. Collision Preven‐ Collision Preven‐
tion Assist Plus tion Assist Plus
inoperative inoperative COLLISION PREVENTION ASSIST PLUS is temporarily inoperative due
to a malfunction. Adaptive Brake Assist may also have failed.
X Consult a qualified specialist workshop. 232
Display
messagesOn-board computer and displays
Page 252 of 349
Display messages
Possible causes/consequences and
M
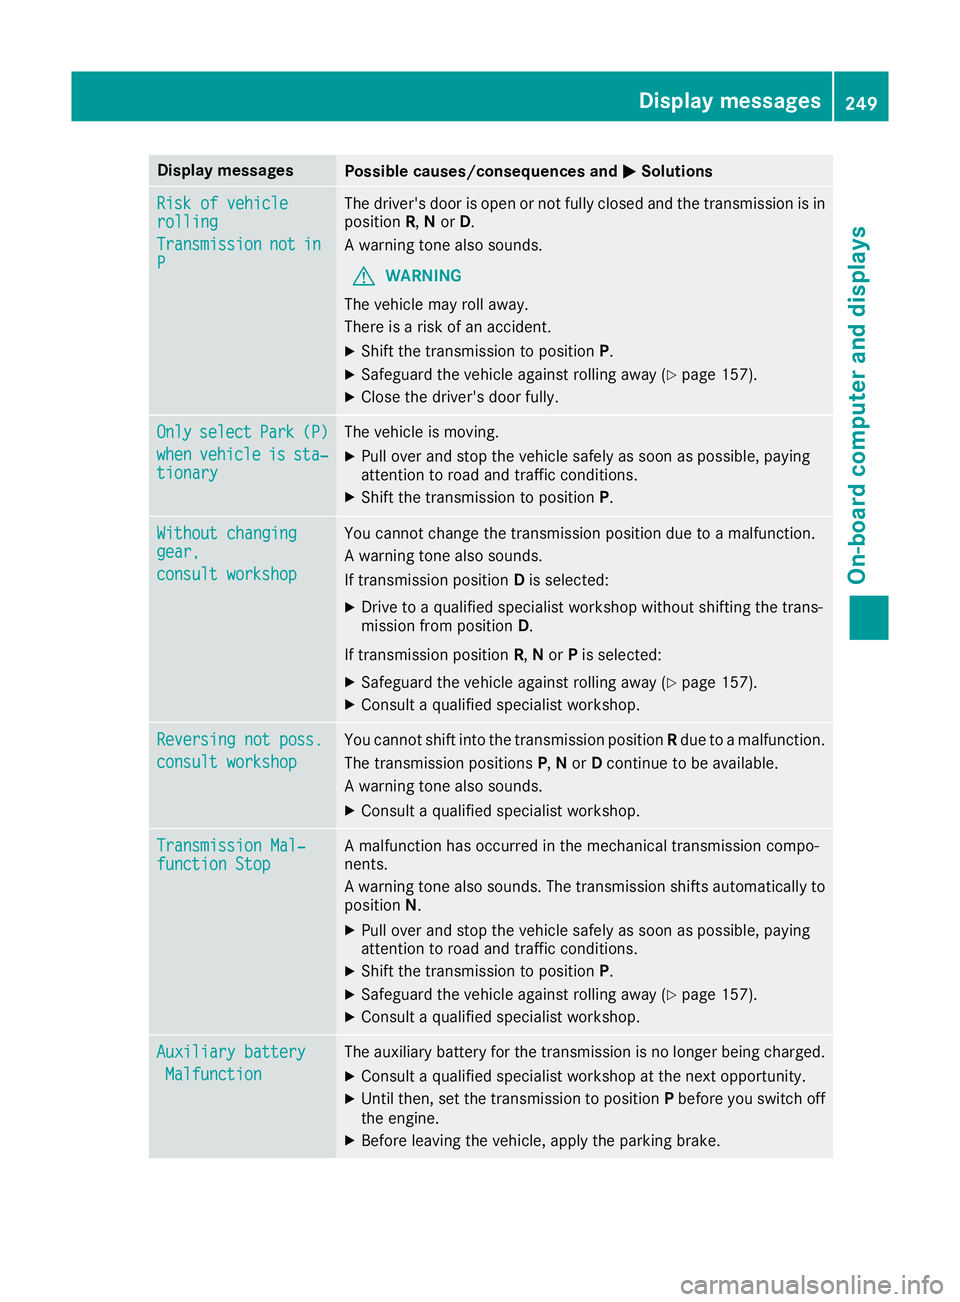
MSolutions Risk of vehicle
Risk of vehicle
rolling rolling
Transmission Transmission
not
notin
in
P
P The driver's door is open or not fully closed and the transmission is in
position R,Nor D.
A warning tone also sounds.
G WARNING
The vehicle may roll away.
There is a risk of an accident.
X Shift the transmission to position P.
X Safeguard the vehicle against rolling away (Y page 157).
X Close the driver's door fully. Only
Only
select
select Park
Park(P)
(P)
when
when vehicle
vehicle is
issta‐
sta‐
tionary
tionary The vehicle is moving.
X
Pull over and stop the vehicle safely as soon as possible, paying
attention to road and traffic conditions.
X Shift the transmission to position P.Without changing Without changing
gear, gear,
consult workshop consult workshop You cannot change the transmission position due to a malfunction.
A warning tone also sounds.
If transmission position
Dis selected:
X Drive to a qualified specialist workshop without shifting the trans-
mission from position D.
If transmission position R,Nor Pis selected:
X Safeguard the vehicle against rolling away (Y page 157).
X Consult a qualified specialist workshop. Reversing not poss. Reversing not poss.
consult workshop consult workshop You cannot shift into the transmission position
Rdue to a malfunction.
The transmission positions P,N or Dcontinue to be available.
A warning tone also sounds.
X Consult a qualified specialist workshop. Transmission Mal‐
Transmission Mal‐
function Stop function Stop A malfunction has occurred in the mechanical transmission compo-
nents.
A warning tone also sounds. The transmission shifts automatically to position N.
X Pull over and stop the vehicle safely as soon as possible, paying
attention to road and traffic conditions.
X Shift the transmission to position P.
X Safeguard the vehicle against rolling away (Y page 157).
X Consult a qualified specialist workshop. Auxiliary battery Auxiliary battery
Malfunction
Malfunction The auxiliary battery for the transmission is no longer being charged.
X Consult a qualified specialist workshop at the next opportunity.
X Until then, set the transmission to position Pbefore you switch off
the engine.
X Before leaving the vehicle, apply the parking brake. Display
messages
249On-board computer and displays Z
Page 254 of 349

Display messages
Possible causes/consequences and
M
MSolutions j
Check Check
trailer
trailer hitch
hitch
lock
lock The trailer tow hitch is not correctly engaged.
A warning tone also sounds.
G WARNING
If the ball coupling is not engaged, the trailer may come loose. There
is a risk of an accident.
X Stop the vehicle immediately, paying attention to road and traffic
conditions, and switch off the engine.
X Apply the parking brake.
X Engage the trailer coupling's ball coupling in the end position
(Y page 210). &
inoperative inoperative
Battery
Battery
Low
Low The on-board voltage is too low. The auxiliary heating has switched
itself off or cannot be switched on (Y page 132).
X Drive for a considerable distance.
The battery charges. The auxiliary heating is operational again as
soon as the on-board electrical system voltage is sufficient. &
inoperative Refuel inoperative Refuel
vehicle vehicle There is too little fuel in the fuel tank. The auxiliary heating cannot be
switched on (Y page 132).
X Refuel at the nearest filling station. &
inoperative inoperative
See
SeeOwn‐
Own‐
er's Man.
er's Man. The auxiliary heating is temporarily malfunctioning or faulty.
X When the vehicle is on a level surface and the engine has cooled
down, make up to four attempts to switch on the auxiliary heating,
waiting several minutes between each attempt (Y page 132).
X If the auxiliary heating does not switch on, consult a qualified spe-
cialist workshop. Telephone Telephone
No
Noservice
service Your vehicle is outside the network provider's transmitter/receiver
range.
X Wait until the mobile phone operational readiness symbol appears
in the multifunction display. Ð
Power steering mal‐ Power steering mal‐
function See Own‐ function See Own‐
er's Manual er's Manual The power steering assistance is faulty.
A warning tone also sounds.
G WARNING
You will need to use more force to steer.
There is a risk of an accident.
X Check whether you are able to apply the extra force required.
X If you are able to steer safely: carefully drive on to a qualified
specialist workshop.
X If you are unable to steer safely: do not drive on. Contact the
nearest qualified specialist workshop. Display
messages
251On-board computer and displays Z
Page 258 of 349
Safety systems
Warning/
indicator
lamp
N N
Signal type
Possible causes/consequences and M
MSolutions J
N
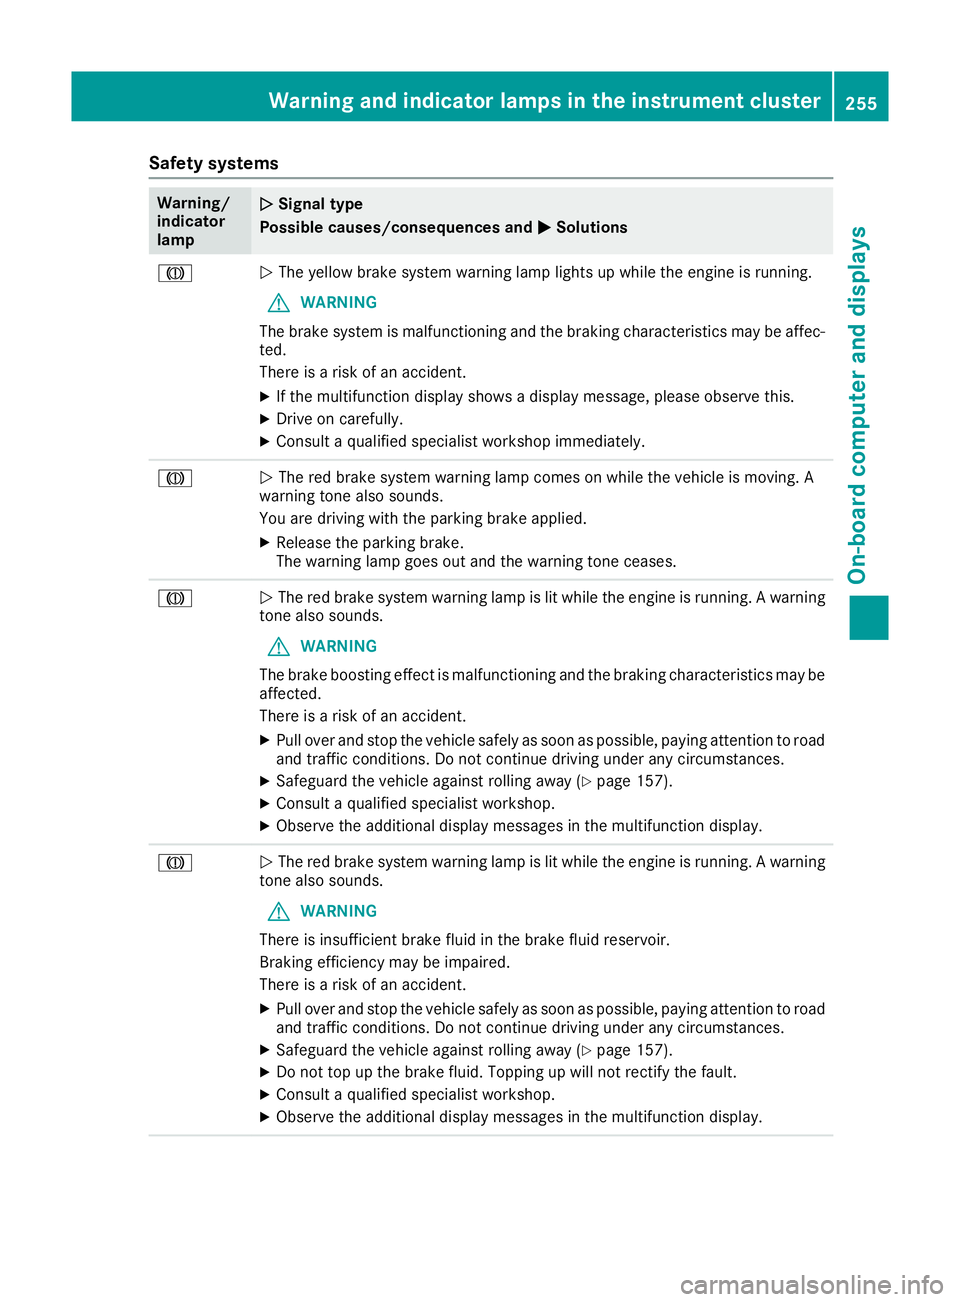
The yellow brake system warning lamp lights up while the engine is running.
G WARNING
The brake system is malfunctioning and the braking characteristics may be affec- ted.
There is a risk of an accident.
X If the multifunction display shows a display message, please observe this.
X Drive on carefully.
X Consult a qualified specialist workshop immediately. J
N
The red brake system warning lamp comes on while the vehicle is moving. A
warning tone also sounds.
You are driving with the parking brake applied.
X Release the parking brake.
The warning lamp goes out and the warning tone ceases. J
N
The red brake system warning lamp is lit while the engine is running. A warning
tone also sounds.
G WARNING
The brake boosting effect is malfunctioning and the braking characteristics may be
affected.
There is a risk of an accident.
X Pull over and stop the vehicle safely as soon as possible, paying attention to road
and traffic conditions. Do not continue driving under any circumstances.
X Safeguard the vehicle against rolling away (Y page 157).
X Consult a qualified specialist workshop.
X Observe the additional display messages in the multifunction display. J
N
The red brake system warning lamp is lit while the engine is running. A warning
tone also sounds.
G WARNING
There is insufficient brake fluid in the brake fluid reservoir.
Braking efficiency may be impaired.
There is a risk of an accident.
X Pull over and stop the vehicle safely as soon as possible, paying attention to road
and traffic conditions. Do not continue driving under any circumstances.
X Safeguard the vehicle against rolling away (Y page 157).
X Do not top up the brake fluid. Topping up will not rectify the fault.
X Consult a qualified specialist workshop.
X Observe the additional display messages in the multifunction display. Warning and indicator lamps in the instrument cluster
255On-board computer and displays Z
Page 299 of 349
!
When DISTRONIC PLUS or the HOLD func-
tion is activated, the vehicle brakes automat- ically in certain situations.
To avoid damage to the vehicle, deactivate
DISTRONIC PLUS and the HOLD function in
the following or similar situations:
R when towing away
R in a car wash
! Preferably use car washes with adjustable
high-pressure jets for pre-washing. This cor-
responds with the specifications for cabriolet
programmes. In car washes that use high
water pressures, there is a risk that a small
amount of water may leak into the vehicle.
! Make sure that the vehicle is not subse-
quently treated with hot wax.
! Make sure that:
R the side windows and sliding sunroof or
soft top are closed completely.
R the blower for the ventilation/heating is
switched off (OFF button is depressed).
R the windscreen wiper switch is at position
0.
The vehicle could otherwise be damaged.
! In car washes with a towing mechanism,
make sure that the automatic transmission is
in transmission position N; otherwise, the
vehicle could be damaged.
R Vehicles with DIRECT SELECT lever and
key:
do not remove the key from the ignition
lock. Do not open the driver's door or front- passenger door when the engine is
switched off. Otherwise, the automatic
transmission selects park position Pauto-
matically and locks the wheels. You can
prevent this by shifting the automatic trans-
mission to Nbeforehand.
R Vehicles with DIRECT SELECT lever and
KEYLESS-GO:
do not open the driver's door or front-
passenger door when the engine is
switched off. Otherwise, the automatic
transmission selects park position Pauto-
matically and locks the wheels.
Observe the following to make sure that the
automatic transmission on vehicles with DIRECT
SELECT stays in position N:X
Make sure the vehicle is stationary and the
ignition is switched off.
X Turn the key to position 2in the ignition lock
(Y page 139).
Use the key instead of the Start/Stop button on vehicles with KEYLESS-GO.
X Depress the brake pedal and keep it
depressed.
X Shift the automatic transmission to position
N.
X Release the brake pedal.
X Release the parking brake.
X Switch off the ignition and leave the key in the
ignition lock.
You can wash the vehicle in an automatic car
wash from the very start.
Wash off excess dirt before cleaning the vehicle
in an automatic car wash.
After using an automatic car wash, wipe off wax
from the windscreen and the wiper blades. This
will prevent smears and reduce wiping noises
caused by residue on the windscreen.
Washing by hand In some countries, washing by hand is only
allowed at specially equipped washing bays.
Observe the legal requirements for each indi-
vidual country.
X Do not use hot water and do not wash the
vehicle in direct sunlight.
X Use a soft sponge to clean.
X Use a mild cleaning agent, such as a car
shampoo approved by Mercedes-Benz.
X Thoroughly hose down the vehicle with a gen-
tle jet of water.
X Do not point the water jet directly towards the
air inlet.
X Use plenty of water and rinse out the sponge
frequently.
X Rinse the vehicle with clean water and dry
thoroughly with a chamois.
X Do not let the cleaning agent dry on the paint-
work.
When using the vehicle in winter, remove all
traces of road salt deposits carefully and as
soon as possible. 296
CareMaintenance and care
Page 301 of 349
Cleaning vehicle parts
Cleaning the soft top !
Never use any of the following to clean the
soft top:
R petrol
R thinner
R tar or stain remover
R other organic solvents
! Remove bird droppings immediately as they
are corrosive and, therefore, can make the
soft-top fabric leak. Do not use high-pressure cleaning equipment to clean the vehicle. Do
not use sharp-edged equipment to remove ice
and snow.
X Light soiling: you can clean the soft top while
it is dry or rinse it with clear water.
X Normal to heavy soiling: clean the roof with
a brush and clear water. Clean stains and
other dirt with a brush and a Mercedes-Benz
recommended and approved cleaning agent.
Always brush from front to back in the direc-
tion of the fabric.
Frequent cleaning reduces the soft top's resist- ance to dirt.
To restore this resistance to dirt, clean the soft
top using soft-top cleaning agents that have
been recommended and approved by
Mercedes-Benz.
Incorrect cleaning and care, as well as ageing,
can cause the soft-top seams to leak. Have the
soft-top seams sealed at a qualified specialist
workshop, e.g. at a Mercedes-Benz Service
Centre.
i Cover the soft top appropriately if you plan
to leave the vehicle outside for a long period
of time.
Cleaning AIRCAP Cleaning the wind deflector
! Do not use high-pressure cleaning equip-
ment to clean the net.
Clean the wind deflector on the windscreen with
the soft top closed.
X Apply the parking brake firmly.
X Vehicles with key: turn the key to position
2 (Y page 139) in the ignition lock. X
Vehicles with KEYLESS-GO: press the
Start/Stop button twice (Y page 139).
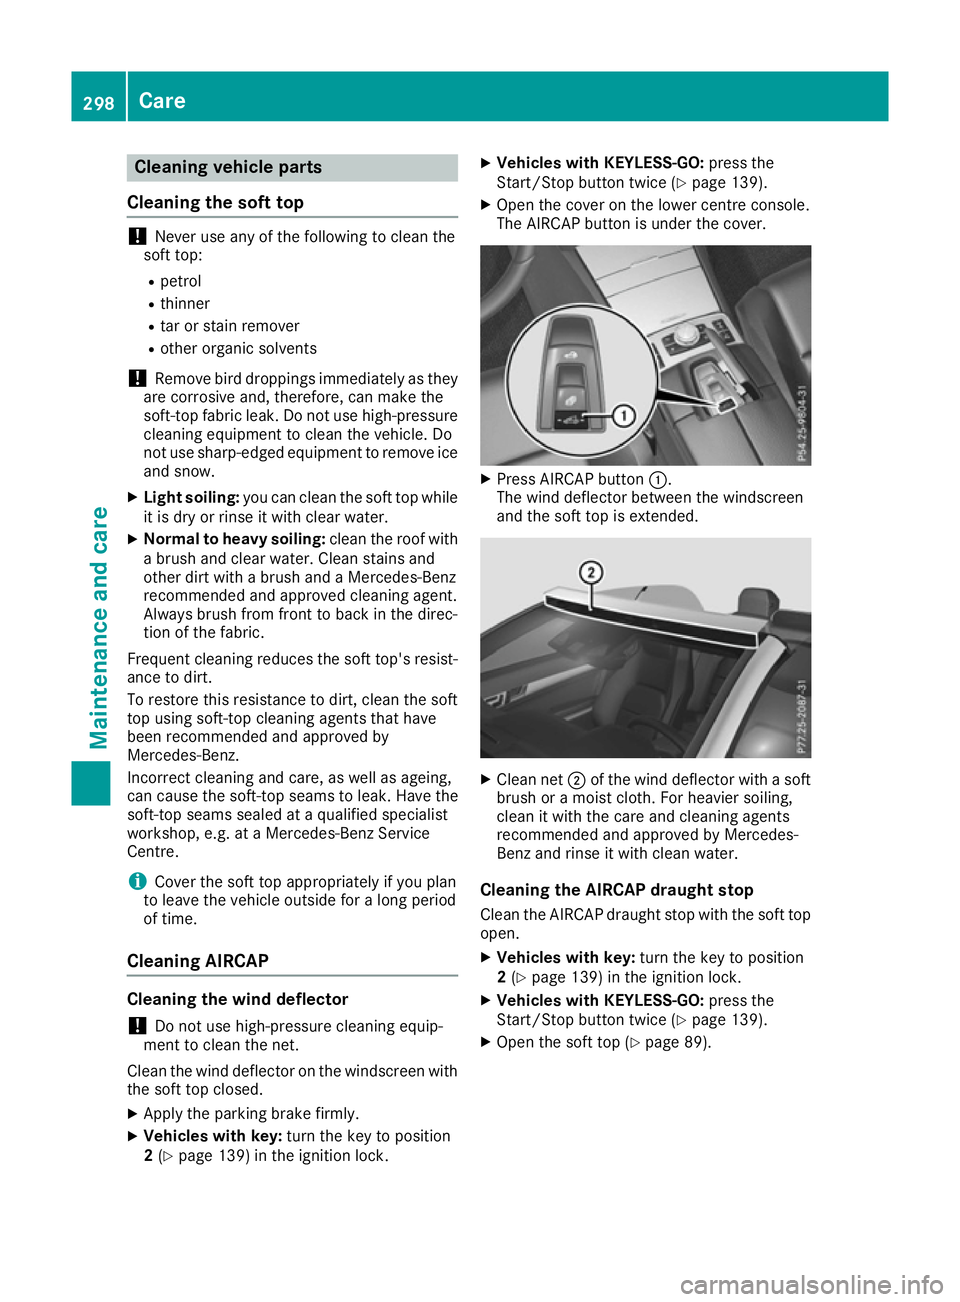
X Open the cover on the lower centre console.
The AIRCAP button is under the cover. X
Press AIRCAP button :.
The wind deflector between the windscreen
and the soft top is extended. X
Clean net ;of the wind deflector with a soft
brush or a moist cloth. For heavier soiling,
clean it with the care and cleaning agents
recommended and approved by Mercedes-
Benz and rinse it with clean water.
Cleaning the AIRCAP draught stop
Clean the AIRCAP draught stop with the soft top
open.
X Vehicles with key: turn the key to position
2 (Y page 139) in the ignition lock.
X Vehicles with KEYLESS-GO: press the
Start/Stop button twice (Y page 139).
X Open the soft top (Y page 89).298
CareMaintenance and care
Page 317 of 349
Do not use a rapid charging device to start the vehicle. If your vehicle's battery is discharged, the
engine can be jump-started from another vehicle or from a second battery using jump leads.
Observe the following points:
R The battery is not accessible in all vehicles. If the other vehicle's battery is not accessible, jump-
start the vehicle using a second battery or a jump-starting device.
R Vehicles with a petrol engine: only jump-start the vehicle when the engine and exhaust system
are cold.
R Jump-starting may only be performed using batteries with a nominal voltage of 12 V.
R Only use jump leads that have a sufficient cross-section and insulated terminal clamps.
R If the battery is fully discharged, leave the battery that is being used to jump-start connected for
a few minutes before attempting to start. This charges the empty battery a little.
R Make sure that the two vehicles do not touch.
Make sure that:
R The jump leads are not damaged.
R Non-insulated parts of the terminal clamps do not come into contact with other metal parts while
the jump leads are connected to the battery.
R The jump leads cannot come into contact with parts which can move when the engine is running,
such as the V-belt pulley or the fan.
X Firmly depress the parking brake.
X Manual transmission: depress the clutch pedal fully and shift to neutral.
X Automatic transmission: shift the transmission to position P.
X Make sure the ignition is switched off. All indicator lamps in the instrument cluster must be off.
When using the key, turn the key to position 0in the ignition lock and remove it (Y page 139).
X Switch off all electrical consumers, e.g. rear window heating, lighting etc.
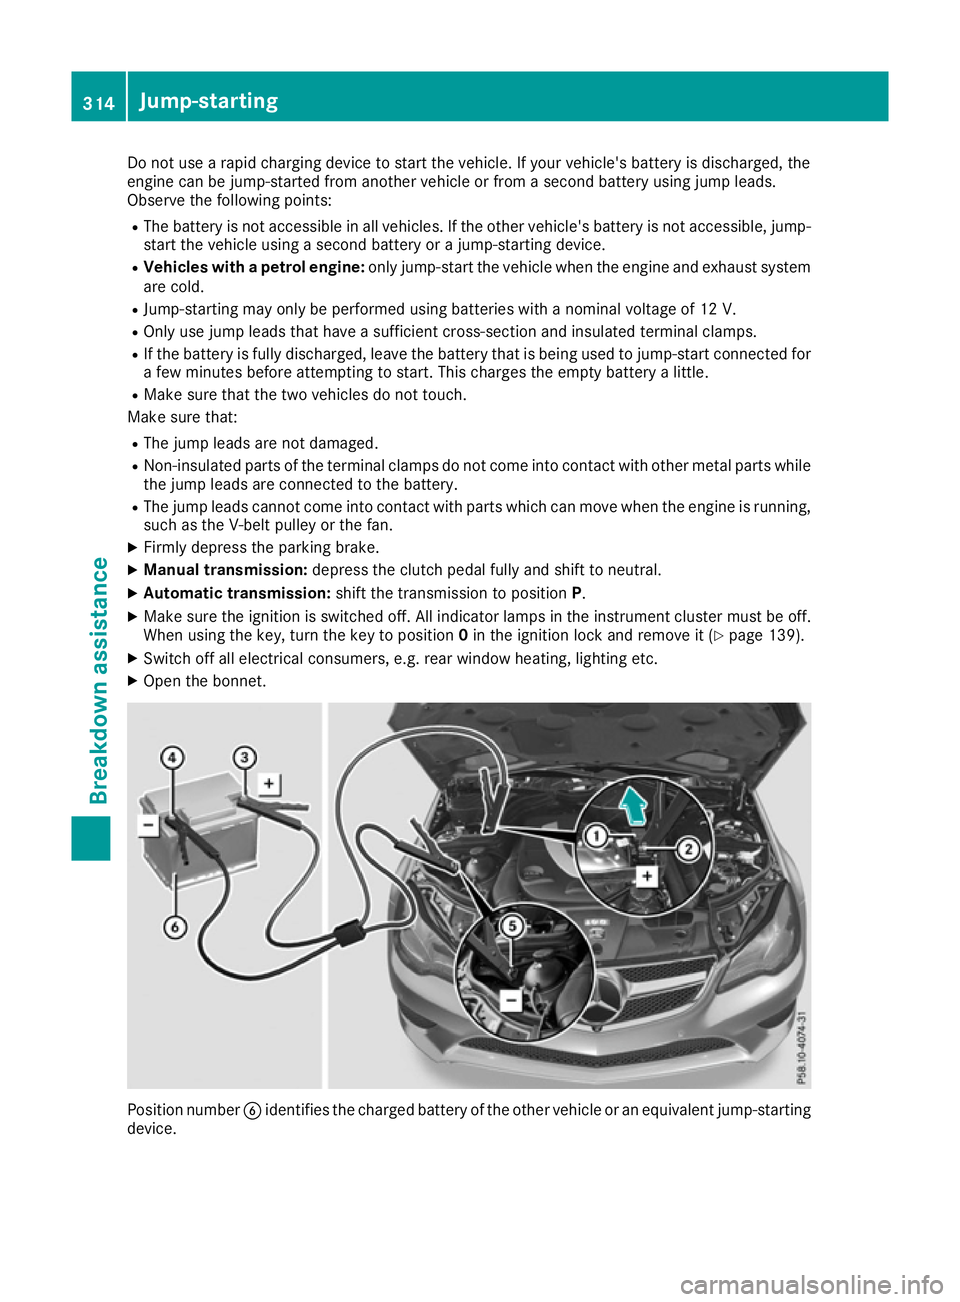
X Open the bonnet. Position number
Bidentifies the charged battery of the other vehicle or an equivalent jump-starting
device. 314
Jump-startingBreakdown assistance