Page 670 of 886
6704-3. Do-it-yourself maintenance
Engine compartment
Engine oil filler cap
( P. 675)
Engine oil level dipstick
( P. 6 74 )
Battery ( P. 6 8 1 )
Brake fluid reservoir
( P. 6 7 9 )
Fuse box ( P. 703) Engine coolant reservoir
( P. 677)
Condenser ( P. 6 7 8 )
Radiator ( P. 6 7 8 )
Electric cooling fans
Washer fluid tank ( P. 683)
Page 703 of 886
7034-3. Do-it-yourself maintenance
4
Maintenance and care Checking and replacing fuses If any of the electrical components do not operate, a fuse may have blown.
If this happens, check and re place the fuses as necessary.
Turn the “ENGINE START STOP” switch off.
After a system failure, see “Fuse layout and amperage ratings”
for details about which fuse to check. ( P. 7 0 6 )
Remove the engine compartment cover. ( P. 671)
Open the fuse box cover.
Engine compartment
Push the tab in and lift the lid off.
Driver's side instrument panel
Remove the lid.STEP 1
STEP 2
STEP 3
STEP 4
Page 704 of 886
7044-3. Do-it-yourself maintenance
Remove the fuse with the pull-
out tool.
Check if the fuse has blown.
Type A
Normal fuse
Blown fuse Replace the blown fuse with a
new fuse of an appropriate
amperage rating. The amperage
rating can be found on the fuse
box lid.
Type B
Normal fuse
Blown fuse Replace the blown fuse with a
new fuse of an appropriate
amperage rating. The amperage
rating can be found on the fuse
box lid.STEP 5
STEP 6
Page 705 of 886
7054-3. Do-it-yourself maintenance
4
Maintenance and care Type C
Normal fuse
Blown fuse Replace the blown fuse with a
new fuse of an appropriate
amperage rating. The amperage
rating can be found on the fuse
box lid.
Type D
Normal fuse
Blown fuse Replace the blown fuse with a
new fuse of an appropriate
amperage rating. The amperage
rating can be found on the fuse
box lid.
Type E
Normal fuse
Blown fuse Replace the blown fuse with a
new fuse of an appropriate
amperage rating. The amperage
rating can be found on the fuse
box lid.
Page 715 of 886
7154-3. Do-it-yourself maintenance
4
Maintenance and care ■
After a fuse is replaced ●
If the lights do not turn on even afte r the fuse has been replaced, a bulb may
need replacement. ( P. 7 1 9 )●
If the replaced fuse blows again, have the vehicle inspected by your Lexus
dealer.■
If there is an overload in the circuit
The fuses are designed to blow, protecting the wiring harness from damage.
CAUTION■
To prevent system breakdowns and vehicle fire
Observe the following precautions.
Failing to do so may cause damage, and possibly a fire or injury. ●
Never use a fuse of a higher amperage rating than indicated, or use any other
object in place of a fuse.●
Always use a genuine Lexus fuse or equivalent.
Never replace a fuse with a wire, even as a temporary fix.
This can cause extensive damage or even fire.●
Do not modify fuse or fuse boxes.
NOTICE■
Before replacing fuses
Have the cause of electrical overload determined and repaired by your Lexus
dealer.
Page 877 of 886

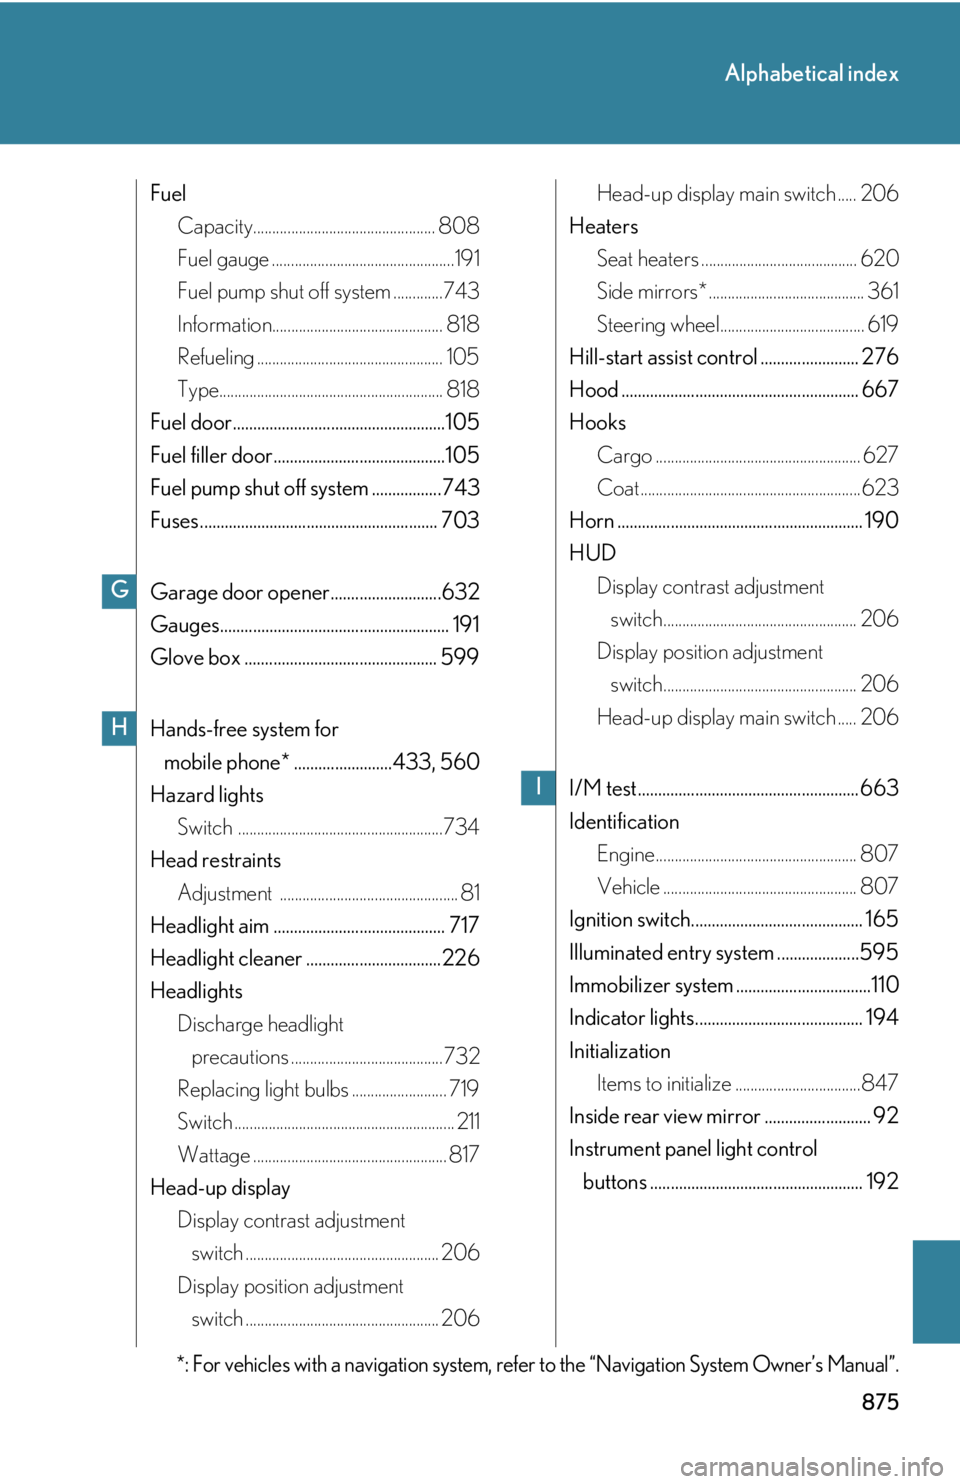
875Alphabetical index
Fuel
Capacity................................................ 808
Fuel gauge ................................................191
Fuel pump shut off system .............743
Information............................................. 818
Refueling ................................................. 105
Type........................................................... 818
Fuel door....................................................105
Fuel filler door..........................................105
Fuel pump shut off system .................743
Fuses.......................................................... 703
Garage door opener...........................632
Gauges........................................................ 191
Glove box ............................................... 599
Hands-free system for
mobile phone* ........................433, 560
Hazard lights
Switch ......................................................734
Head restraints
Adjustment ............................................... 81
Headlight aim .......................................... 717
Headlight cleaner .................................226
Headlights
Discharge headlight
precautions ........................................732
Replacing light bulbs ......................... 719
Switch .......................................................... 211
Wattage ................................................... 817
Head-up display
Display contrast adjustment
switch ................................................... 206
Display position adjustment
switch ................................................... 206 Head-up display main switch ..... 206
Heaters
Seat heaters ......................................... 620
Side mirrors* ......................................... 361
Steering wheel...................................... 619
Hill-start assist control ........................ 276
Hood .......................................................... 667
Hooks
Cargo ...................................................... 627
Coat..........................................................623
Horn ............................................................ 190
HUD
Display contrast adjustment
switch................................................... 206
Display position adjustment
switch................................................... 206
Head-up display main switch ..... 206
I/M test...................................................... 663
Identification
Engine..................................................... 807
Vehicle ................................................... 807
Ignition switch.......................................... 165
Illuminated entry system ....................595
Immobilizer system .................................110
Indicator lights......................................... 194
Initialization
Items to initialize .................................847
Inside rear view mirror .......................... 92
Instrument panel light control
buttons .................................................... 192G
H
*: For vehicles with a navigation system, refer to the “Navigation System Owner’s Manual”. I