Page 166 of 492
Features of your vehicle
86
4
High Beam Indicator
Light
This indicator light illuminates:
When the headlights are on and in the high beam position
When the turn signal lever is pulled into the Flash-to-Pass position.
Light ON Indicator Light
This indicator light illuminates:
When the tail lights or headlightsare on.
Front Fog Indicator
Light (if equipped)
This indicator light illuminates:
When the front fog lights are on.
Cruise Indicator Light (if equipped)
This indicator light illuminates:
When the cruise control system is enabled.
For more details, refer to “Cruise
Control System” in chapter 5.
CRUISE
Page 169 of 492

489
Features of your vehicle
Headlamp escort (if equipped)
If you turn the ignition switch to the
ACC or OFF position with the head-
lights ON, the headlights remain on
for about 5 minutes. However, if the
driver’s door is opened and closed,
the headlights are turned off after 15
seconds.
The headlights can be turned off by
pressing the lock button on the trans-
mitter (or smart key) twice or turning
the light switch to the OFF or Auto
position. However, if you turn the light
switch to the Auto position when it is
dark outside, the headlights will not
be turned off immediately.
Battery saver function
The purpose of this feature is toprevent the battery from being dis-
charged. The system automatically
turns off the parking lights when
the driver removes the ignition key
and opens the driver-side door (in
that order).
With this feature, the parking lights will turn off automatically if the driv-
er parks on the side of the road at
night.
If necessary, to keep the lights on
when the ignition key is removed,
perform the following:
1) Open the driver-side door.
2) Turn the parking lights OFF and ON again using the light switch
on the steering column.
Daytime running light
Daytime Running Lights (DRL) may
help make it easier for others to see
the front of your vehicle during the
day. DRL can be helpful in many dif-
ferent driving conditions, and it is
especially helpful after dawn and
before sunset.
The DRL system turns OFF when:
1. The front fog light or headlight (low
beam) switch is ON.
2. The engine is OFF.
3. The parking brake is applied.
LIGHTING
Page 173 of 492
493
Features of your vehicle
One-touch lane change function
To activate an one-touch lane
change function, move the turn sig-
nal lever slightly and then release it.
The lane change signals will blink 3,
5 or 7 times.
You can choose one-touch lane
change blinking function in "One
touch turn lamp" of "User setting".
Refer to "User setting" in chapter 4.
✽ ✽NOTICE
If an indicator flash is abnormally
quick or slow, the bulb may be
burned out or have a poor electrical
connection in the circuit.
Front fog light (if equipped)
Fog lights are used to provide
improved visibility when visibility is
poor due to fog, rain or snow, etc. The
fog lights will turn on when the fog light
switch (1) is turned to the on position
after the headlight is turned on.
To turn off the fog lights, turn the fog
light switch (1) to the OFF position.
When in operation, the fog lights
consume large amounts of vehicle
electrical power. Only use the fog
lights when visibility is poor.
OAM049046N
Page 190 of 492

Features of your vehicle
110
4
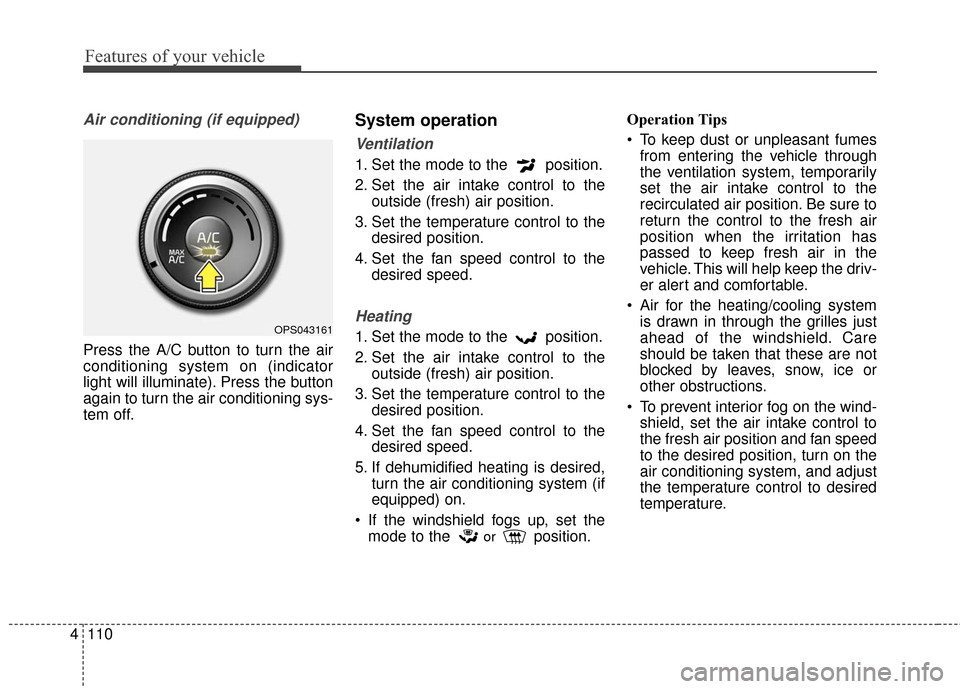
Air conditioning (if equipped)
Press the A/C button to turn the air
conditioning system on (indicator
light will illuminate). Press the button
again to turn the air conditioning sys-
tem off.
System operation
Ventilation
1. Set the mode to the position.
2. Set the air intake control to the
outside (fresh) air position.
3. Set the temperature control to the desired position.
4. Set the fan speed control to the desired speed.
Heating
1. Set the mode to the position.
2. Set the air intake control to theoutside (fresh) air position.
3. Set the temperature control to the desired position.
4. Set the fan speed control to the desired speed.
5. If dehumidified heating is desired, turn the air conditioning system (if
equipped) on.
If the windshield fogs up, set the mode to the
orposition. Operation Tips
To keep dust or unpleasant fumes
from entering the vehicle through
the ventilation system, temporarily
set the air intake control to the
recirculated air position. Be sure to
return the control to the fresh air
position when the irritation has
passed to keep fresh air in the
vehicle. This will help keep the driv-
er alert and comfortable.
Air for the heating/cooling system is drawn in through the grilles just
ahead of the windshield. Care
should be taken that these are not
blocked by leaves, snow, ice or
other obstructions.
To prevent interior fog on the wind- shield, set the air intake control to
the fresh air position and fan speed
to the desired position, turn on the
air conditioning system, and adjust
the temperature control to desired
temperature.
OPS043161
Page 200 of 492

Features of your vehicle
4
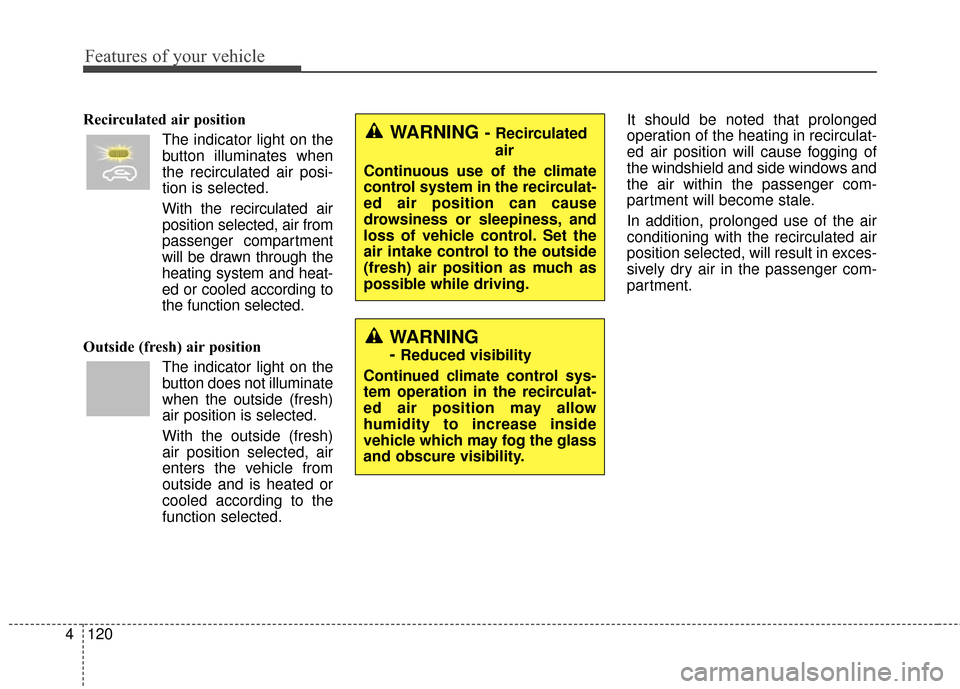
Recirculated air positionThe indicator light on the
button illuminates when
the recirculated air posi-
tion is selected.
With the recirculated air position selected, air from
passenger compartment
will be drawn through the
heating system and heat-
ed or cooled according to
the function selected.
Outside (fresh) air position The indicator light on the
button does not illuminate
when the outside (fresh)
air position is selected.
With the outside (fresh)
air position selected, air
enters the vehicle from
outside and is heated or
cooled according to the
function selected. It should be noted that prolonged
operation of the heating in recirculat-
ed air position will cause fogging of
the windshield and side windows and
the air within the passenger com-
partment will become stale.
In addition, prolonged use of the air
conditioning with the recirculated air
position selected, will result in exces-
sively dry air in the passenger com-
partment.WARNING - Recirculated
air
Continuous use of the climate
control system in the recirculat-
ed air position can cause
drowsiness or sleepiness, and
loss of vehicle control. Set the
air intake control to the outside
(fresh) air position as much as
possible while driving.
WARNING
- Reduced visibility
Continued climate control sys-
tem operation in the recirculat-
ed air position may allow
humidity to increase inside
vehicle which may fog the glass
and obscure visibility.
120
Page 451 of 492

775
Maintenance
LIGHT BULBS
Use only the bulbs of the specifiedwattage.
If you don’t have necessary tools, the correct bulbs and the expertise,
consult an authorized Kia dealer. In
many cases, it is difficult to replace
vehicle light bulbs because other
parts of the vehicle must be
removed before you can get to the
bulb. This is especially true if you
have to remove the headlight
assembly to get to the bulb(s).
Removing/installing the headlight
assembly can result in damage to
the vehicle.
Do not install additional bulb or LED. If you install that, the lamp
may not be operated properly and
fuse box or electric wiring system
may have problem.Headlight, position light, turn
signal light, side marker light
and front fog light bulb
replacementWARNING - Lights
Prior to working on the light,
firmly apply the parking brake,
ensure that the ignition switch
is turned to the LOCK position
and turn off the lights to avoid
sudden movement of the vehi-
cle and burning your fingers or
receiving an electric shock.
CAUTION
- Light replacement
Be sure to replace the burned- out bulb with one of the samewattage rating. Otherwise, itmay cause damage to the fuseor electric wiring system.
OPS073020
■ Type A
OPS073021
■Type B
Page 452 of 492
Maintenance
76
7
(1) Headlight (High)
(2) Headlight (Low)
(3) Front side marker light
(4) Front turn signal
(5) Front position light
(6) Front fog light (if equipped)
If the headlight aiming adjustment is
necessary after the headlight
assembly is reinstalled, consult an
authorized Kia dealer. Always handle them carefully, and
avoid scratches and abrasions. If
the bulbs are lit, avoid contact with
liquids. Never touch the glass with
bare hands. Residual oil may
cause the bulb to overheat and
burst when lit. A bulb should be
operated only when installed in a
headlight.
If a bulb becomes damaged or cracked, replace it immediately
and carefully dispose of it.
Wear eye protection when chang- ing a bulb. Allow the bulb to cool
down before handling it.
OHD076046
WARNING - Halogen
bulbs
Handle halogen bulbs with care.
Halogen bulbs contain pres- surized gas that will produce
flying pieces of glass if bro-
ken.
Page 457 of 492
781
Maintenance
Front fog lamp bulbs (if equipped)
1. Remove the front bumper under cover.
2. Reach your hand into the back of the front bumper. 3. Disconnect the power connector
from the socket.
4. Remove the bulb-socket from the housing by turning the socket
counter clockwise until the tabs on
the socket align with the slots on
the housing.
5. Install the new bulb-socket into the housing by aligning the tabs on
the socket with the slots in the
housing. Push the socket into the
housing and turn the socket clock-
wise.
6. Connect the power connector to the socket.
7. Reinstall the front bumper under cover.
✽ ✽NOTICE
If the headlight aiming adjustment
is necessary after the headlight
assembly is reinstalled, consult an
authorized Kia dealer.
Side repeater light bulb
replacement (if equipped)
If the light bulb is not operating, have
the vehicle checked by an authorized
Kia dealer.
OPS073028
OPS073027
OPS073035