2015 KIA Soul tires
[x] Cancel search: tiresPage 345 of 492
Driving your vehicle
62
5
Certification label
The certification label is located on
the driver's door sill at the center pil-
lar.
This label shows the maximum
allowable weight of the fully loaded
vehicle. This is called the GVWR
(Gross Vehicle Weight Rating). The
GVWR includes the weight of the
vehicle, all occupants, fuel and
cargo.
This label also tells you the maxi-
mum weight that can be supported
by the front and rear axles, called
Gross Axle Weight Rating (GAWR).
To find out the actual loads on your
front and rear axles, you need to go
to a weigh station and weigh your
vehicle. Your dealer can help you with
this. Be sure to spread out your load
equally on both sides of the center-
line. The label will help you decide how
much cargo and installed equipment
your vehicle can carry.
If you carry items inside your vehicle
- like suitcases, tools, packages, or
anything else - they are moving as
fast as the vehicle. If you have to stop
or turn quickly, or if there is a crash,
the items will keep going and can
cause an injury if they strike the driv-
er or a passenger.
✽ ✽
NOTICE
Overloading your vehicle may cause
damage. Repairs would not be cov-
ered by your warranty. Do not over-
load your vehicle.
WARNING -Over loading
Do not overload your vehicle.
Overloading your vehicle can
cause heat buildup in your vehi-
cle's tires and possible tire fail-
ure, increased stopping dis-
tances and poor vehicle han-
dling all of which may result in a
crash.WARNING -Over loading
Never exceed the GVWR for
your vehicle, the GAWR for
either the front or rear axle and
vehicle capacity weight.
Exceeding these ratings can
affect your vehicle’s handling
and braking ability.
Page 356 of 492
69
What to do in an emergency
IF YOU HAVE A FLAT TIRE
Jack and tools (if equipped)
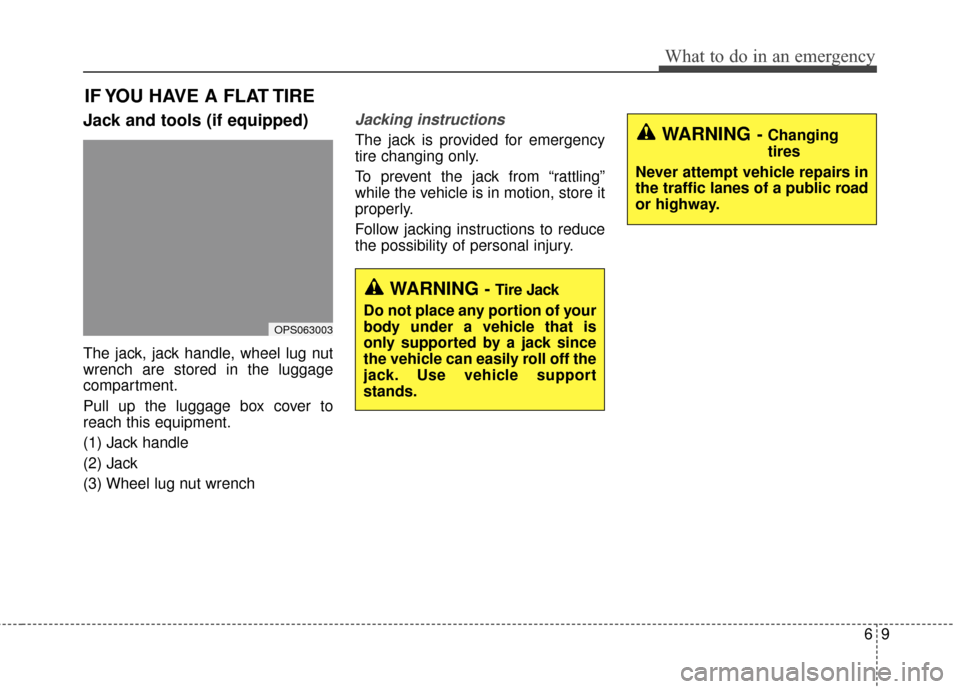
The jack, jack handle, wheel lug nut
wrench are stored in the luggage
compartment.
Pull up the luggage box cover to
reach this equipment.
(1) Jack handle
(2) Jack
(3) Wheel lug nut wrench
Jacking instructions
The jack is provided for emergency
tire changing only.
To prevent the jack from “rattling”
while the vehicle is in motion, store it
properly.
Follow jacking instructions to reduce
the possibility of personal injury.
OPS063003
WARNING- Changing
tires
Never attempt vehicle repairs in
the traffic lanes of a public road
or highway.
WARNING - Tire Jack
Do not place any portion of your
body under a vehicle that is
only supported by a jack since
the vehicle can easily roll off the
jack. Use vehicle support
stands.
Page 357 of 492
What to do in an emergency
10
6
Always move the vehicle complete-
ly off the road and onto the shoul-
der before trying to change a tire.
The jack should be used on a firm
level ground. If you cannot find a
firm, level place off the road, call a
towing service company for assis-
tance.
Be sure to use the correct front and rear jacking positions on the vehi-
cle; never use the bumpers or any
other part of the vehicle for jack
support.
Do not allow anyone to remain in the vehicle while it is on the jack.
Make sure any children present are in a secure place away from
the road and from the vehicle to be
raised with the jack.Removing and storing the
spare tire (if equipped)
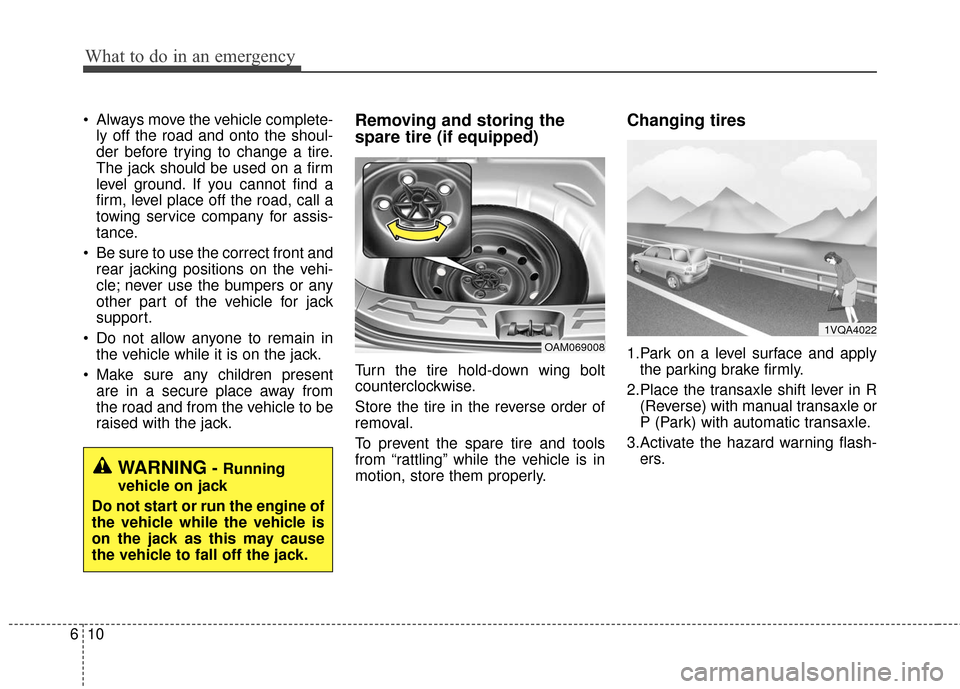
Turn the tire hold-down wing bolt
counterclockwise.
Store the tire in the reverse order of
removal.
To prevent the spare tire and tools
from “rattling” while the vehicle is in
motion, store them properly.
Changing tires
1.Park on a level surface and applythe parking brake firmly.
2.Place the transaxle shift lever in R (Reverse) with manual transaxle or
P (Park) with automatic transaxle.
3.Activate the hazard warning flash- ers.OAM069008
1VQA4022
WARNING- Running
vehicle on jack
Do not start or run the engine of
the vehicle while the vehicle is
on the jack as this may cause
the vehicle to fall off the jack.
Page 361 of 492
What to do in an emergency
14
6
If you have a tire gauge, remove the
valve cap and check the air pressure.
If the pressure is lower than recom-
mended, drive slowly to the nearest
service station and inflate to the cor-
rect pressure. If it is too high, adjust
it until it is correct. Always reinstall
the valve cap after checking or
adjusting the tire pressure. If the cap
is not replaced, dust and dirt may get
into the tire valve and air may leak
from the tire. If you lose a valve cap,
buy another and install it as soon as
possible.
After you have changed the wheels,
always secure the flat tire in its place
and return the jack and tools to their
proper storage locations.
Note that most lug nuts do not have
metric threads. Be sure to use
extreme care in checking for thread
style before installing aftermarket lug
nuts or wheels. If in doubt, consult an
authorized Kia dealer.To prevent the jack, jack handle,
wheel lug nut wrench and spare tire
from rattling while the vehicle is in
motion, store them properly.
Check the inflation pressures as
soon as possible after installing the
spare tire. Adjust it to the specified
pressure, if necessary. Refer to
“Tires and wheels” in chapter 8.CAUTION- Reusing lug
nuts
Make certain during wheel
removal that the same nuts thatwere removed are reinstalled -or, if replaced, that nuts withmetric threads and the samechamfer configuration are used.Your vehicle has metric threadson the wheel studs and nuts.Installation of a non-metricthread nut on a metric stud willnot secure the wheel to the hubproperly and will damage thestud so that it must be replaced.
WARNING-Wheel studs
If the studs are damaged, they
may lose their ability to retain
the wheel. This could lead to the
loss of the wheel and a colli-
sion.
Page 363 of 492
What to do in an emergency
16
6
Avoid driving over obstacles. The
compact spare tire diameter is
smaller than the diameter of a con-
ventional tire and reduces the
ground clearance approximately
25 mm (1 inch), which could result
in damage to the vehicle.
Do not take this vehicle through an automatic vehicle wash while the
compact spare tire is installed.
Do not use the compact spare tire on any other vehicle because this
tire has been designed especially
for your vehicle.
The compact spare tire’s tread life is shorter than a regular tire.
Inspect your compact spare tire
regularly and replace worn com-
pact spare tires with the same size
and design, mounted on the same
wheel. The compact spare tire should not
be used on any other wheels, nor
should standard tires, snow tires,
wheel covers or trim rings be used
with the compact spare wheel. If
such use is attempted, damage to
these items or other vehicle com-
ponents may occur.
Do not use more than one compact spare tire at a time.
Do not tow a trailer while the com- pact spare tire is installed.
Page 365 of 492
What to do in an emergency
18
6
IF YOU HAVE A FLAT TIRE (TIRE MOBILITY KIT, IF EQUIPPED)
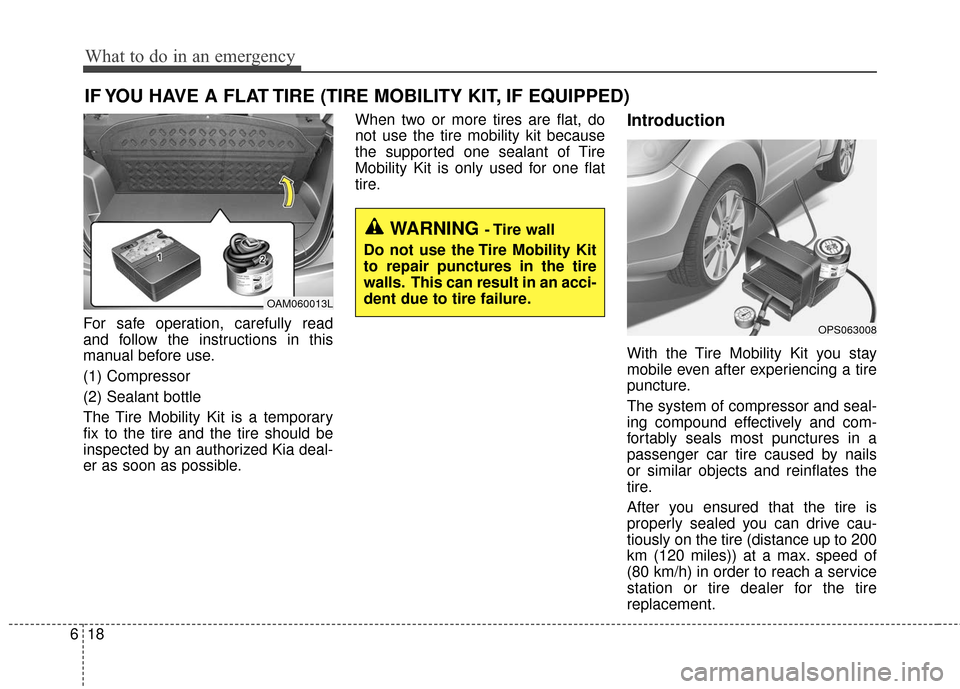
For safe operation, carefully read
and follow the instructions in this
manual before use.
(1) Compressor
(2) Sealant bottle
The Tire Mobility Kit is a temporary
fix to the tire and the tire should be
inspected by an authorized Kia deal-
er as soon as possible. When two or more tires are flat, do
not use the tire mobility kit because
the supported one sealant of Tire
Mobility Kit is only used for one flat
tire.
Introduction
With the Tire Mobility Kit you stay
mobile even after experiencing a tire
puncture.
The system of compressor and seal-
ing compound effectively and com-
fortably seals most punctures in a
passenger car tire caused by nails
or similar objects and reinflates the
tire.
After you ensured that the tire is
properly sealed you can drive cau-
tiously on the tire (distance up to 200
km (120 miles)) at a max. speed of
(80 km/h) in order to reach a service
station or tire dealer for the tire
replacement.
OPS063008
OAM060013L
WARNING - Tire wall
Do not use the Tire Mobility Kit
to repair punctures in the tire
walls. This can result in an acci-
dent due to tire failure.
Page 366 of 492

619
What to do in an emergency
It is possible that some tires, espe-
cially with larger punctures or dam-
age to the sidewall, cannot be sealed
completely.
Air pressure loss in the tire may
adversely affect tire performance.
For this reason, you should avoid
abrupt steering or other driving
maneuvers, especially if the vehicle
is heavily loaded or if a trailer is in
use.
The Tire Mobility Kit is not designed
or intended as a permanent tire
repair method and is to be used for
one tire only.
This instruction shows you step by
step how to temporarily seal the
puncture simply and reliably.
Read the section "Notes on the safe
use of the Tire Mobility Kit".Notes on the suggested use of
the Tire Mobility Kit
Park your car at the side of theroad so that you can work with the
Tire Mobility Kit away from moving
traffic.
To be sure your vehicle will not move, even when you're on fairly
level ground, always set your park-
ing brake.
Only use the Tire Mobility Kit for sealing/inflation passenger car
tires. Only punctured areas located
within the tread region of the tire
can be sealed using the tire mobil-
ity kit.
Do not use on motorcycles, bicy- cles or any other type of tires.
When the tire and wheel are dam- aged, do not use Tire Mobility Kit
for your safety.
Use of the Tire Mobility Kit may not be effective for tire damage larger
than approximately 6 mm (0.24 in).
Please contact the nearest Kia
dealership if the tire cannot be
made roadworthy with the Tire
Mobility Kit. Do not use the Tire Mobility Kit if a
tire is severely damaged by driving
run flat or with insufficient air pres-
sure.
Do not remove any foreign objects such as nails or screws that have
penetrated the tire.
Provided the car is outdoors, leave the engine running. Otherwise
operating the compressor may
eventually drain the car battery.
Never leave the Tire Mobility Kit unattended while it is being used.
Do not leave the compressor run- ning for more than 10 min. at a time
or it may overheat.
Do not use the Tire Mobility Kit if the ambient temperature is below -
-30°C (22°F).
Page 377 of 492
Maintenance
Engine compartment . . . . . . . . . . . . . . . . . . . . . . . . 7-3
Maintenance services . . . . . . . . . . . . . . . . . . . . . . . . 7-5
• Owner’s responsibility . . . . . . . . . . . . . . . . . . . . . . . . . 7-5
. . . . . . . . . . . . . . . . . 7-6
Owner maintenance . . . . . . . . . . . . . . . . . . . . . . . . . 7-7
Scheduled maintenance service. . . . . . . . . . . . . . . . 7-9
Explanation of scheduled maintenance items . . . 7-23
Engine oil. . . . . . . . . . . . . . . . . . . . . . . . . . . . . . . . . 7-27
. . . . . . . . . . . . . . . . . . . 7-27
. . . . . . . . . . . . . . . 7-28
Engine coolant . . . . . . . . . . . . . . . . . . . . . . . . . . . . 7-29
. . . . . . . . . . . . . . . . . . . . . 7-29
. . . . . . . . . . . . . . . . . . . . . . . . . 7-31
Brake/clutch fluid . . . . . . . . . . . . . . . . . . . . . . . . . . 7-32
. . . . . . . . . . . . 7-32
Washer fluid . . . . . . . . . . . . . . . . . . . . . . . . . . . . . . 7-34
. . . . . . . . . . . . . . . . . 7-34
Parking brake . . . . . . . . . . . . . . . . . . . . . . . . . . . . . 7-35
Air cleaner. . . . . . . . . . . . . . . . . . . . . . . . . . . . . . . . 7-36
. . . . . . . . . . . . . . . . . . . . . . . . . . . . 7-36
Climate control air filter . . . . . . . . . . . . . . . . . . . . 7-38
. . . . . . . . . . . . . . . . . . . . . . . . . . . . 7-38
Wiper blades . . . . . . . . . . . . . . . . . . . . . . . . . . . . . . 7-40
. . . . . . . . . . . . . . . . . . . . . . . . . . . . . . 7-40
. . . . . . . . . . . . . . . . . . . . . . . . . . . . 7-40
Battery . . . . . . . . . . . . . . . . . . . . . . . . . . . . . . . . . . . 7-\
44
. . . . . . . . . . . . . . . . . . . . . . . 7-44
. . . . . . . . . . . . . . . . . . . . . . . . . . . 7-45
. . . . . . . . . . . . . . . . . . . . . . . . . . . . . . . . . . 7-46\
Tires and wheels . . . . . . . . . . . . . . . . . . . . . . . . . . . 7-47
. . . . . . . . . . . . . . . . . . . . . . . . . . . . . . . . . . . . \
7-47
. . . . . . . 7-47
. . . . . . . . . . . . . . . . . . . . . . . . . . . . . . . . . 7-49
. . . . . . . . . . . . . . . 7-50
. . . . . . . . . . . . . . . . . . . . . . . . . . . . . 7-51
. . . . . . . . . . . . . . . . . . . . . . . . . . . 7-52
. . . . . . . . . . . . . . . . . . . . . . . . . . . . . . . . . 7-52
. . . . . . . . . . . . . . . . . . . . . . . . . . . . . 7-52
. . . . . . . . . . . . . . . . . . . . . . . . . 7-53
. . . . . . . . . . . . . . . . . . . . . . . . . . 7-60
Fuses . . . . . . . . . . . . . . . . . . . . . . . . . . . . . . . . . . . . \
7-62
7