2015 KIA PICANTO ECO mode
[x] Cancel search: ECO modePage 664 of 846

4165
Features of your vehicle
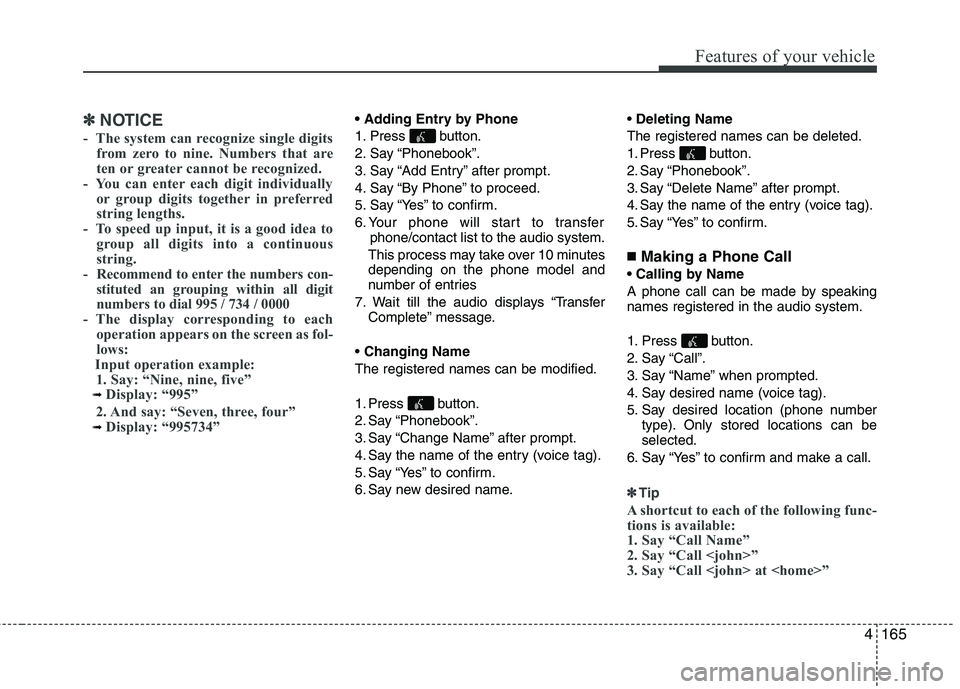
✽✽NOTICE
- The system can recognize single digits from zero to nine. Numbers that are
ten or greater cannot be recognized.
- You can enter each digit individually or group digits together in preferred
string lengths.
- To speed up input, it is a good idea to
group all digits into a continuous
string.
- Recommend to enter the numbers con- stituted an grouping within all digit
numbers to dial 995 / 734 / 0000
- The display corresponding to each
operation appears on the screen as fol-
lows:
Input operation example: 1. Say: “Nine, nine, five”
➟ Display: “995”
2. And say: “Seven, three, four”
➟ Display: “995734”
1. Press button.
2. Say “Phonebook”.
3. Say “Add Entry” after prompt.
4. Say “By Phone” to proceed.
5. Say “Yes” to confirm.
6. Your phone will start to transfer phone/contact list to the audio system.
This process may take over 10 minutes depending on the phone model and
number of entries
7. Wait till the audio displays “Transfer Complete” message.
Changing Name
The registered names can be modified.
1. Press button.
2. Say “Phonebook”.
3. Say “Change Name” after prompt.
4. Say the name of the entry (voice tag).
5. Say “Yes” to confirm.
6. Say new desired name.
Deleting Name
The registered names can be deleted.
1. Press button.
2. Say “Phonebook”.
3. Say “Delete Name” after prompt.
4. Say the name of the entry (voice tag).
5. Say “Yes” to confirm.
■ Making a Phone Call
A phone call can be made by speaking names registered in the audio system.
1. Press button.
2. Say “Call”.
3. Say “Name” when prompted.
4. Say desired name (voice tag).
5. Say desired location (phone number type). Only stored locations can be selected.
6. Say “Yes” to confirm and make a call.
✽✽ Tip
A shortcut to each of the following func-
tions is available:
1. Say “Call Name”
2. Say “Call
3. Say “Call
Page 665 of 846

Features of your vehicle
166
4
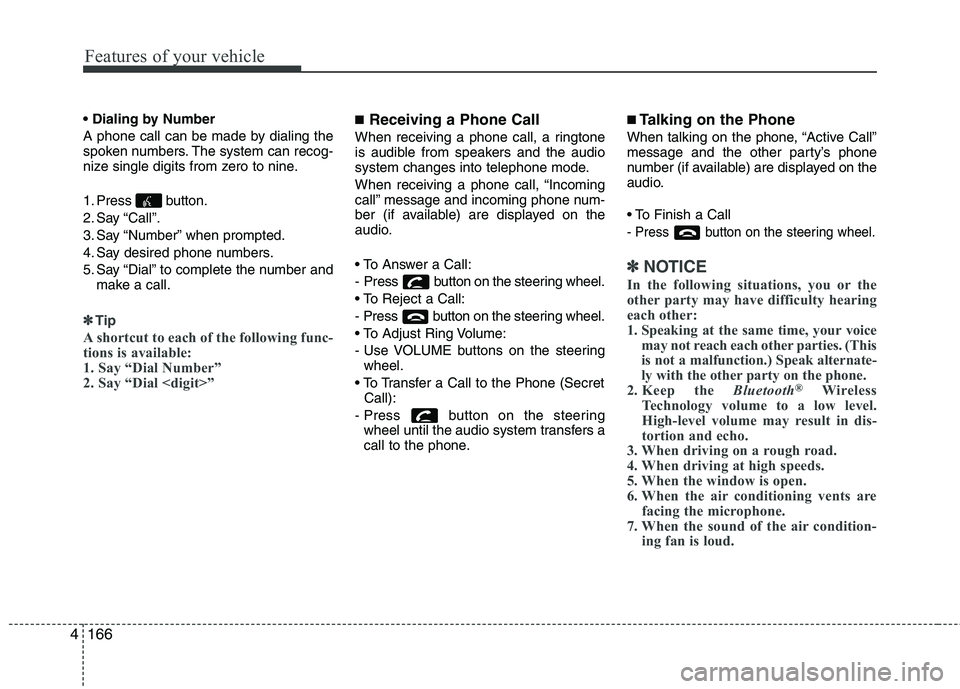
A phone call can be made by dialing the
spoken numbers. The system can recog-
nize single digits from zero to nine.
1. Press button.
2. Say “Call”.
3. Say “Number” when prompted.
4. Say desired phone numbers.
5. Say “Dial” to complete the number and
make a call.
✽✽Tip
A shortcut to each of the following func-
tions is available:
1. Say “Dial Number”
2. Say “Dial
■ Receiving a Phone Call
When receiving a phone call, a ringtone
is audible from speakers and the audio
system changes into telephone mode.
When receiving a phone call, “Incoming
call” message and incoming phone num-
ber (if available) are displayed on the
audio.
- Press button on the steering wheel.
- Press button on the steering wheel.
- Use VOLUME buttons on the steering wheel.
Call):
- Press button on the steering wheel until the audio system transfers a
call to the phone. ■
Talking on the Phone
When talking on the phone, “Active Call”
message and the other party’s phone
number (if available) are displayed on the
audio.
- Press button on the steering wheel.
✽✽ NOTICE
In the following situations, you or the
other party may have difficulty hearing
each other:
1. Speaking at the same time, your voice may not reach each other parties. (This
is not a malfunction.) Speak alternate-
ly with the other party on the phone.
2. Keep the Bluetooth®
Wireless
Technology volume to a low level.
High-level volume may result in dis-
tortion and echo.
3. When driving on a rough road.
4. When driving at high speeds.
5. When the window is open.
6. When the air conditioning vents are facing the microphone.
7. When the sound of the air condition- ing fan is loud.
Page 676 of 846

59
Driving your vehicle
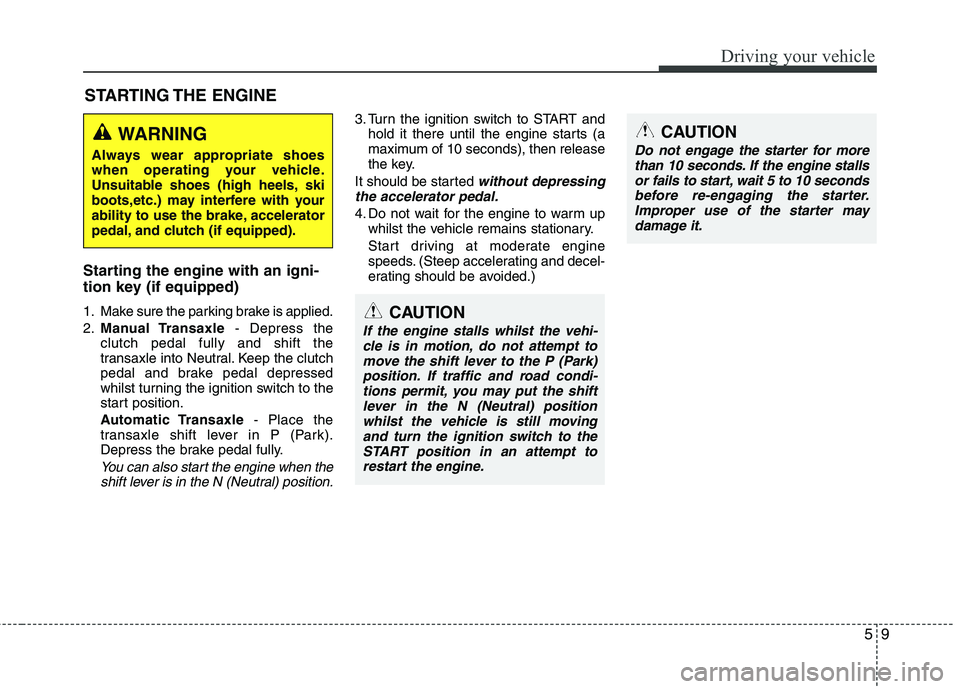
Starting the engine with an igni-
tion key (if equipped)
1. Make sure the parking brake is applied. 2.Manual Transaxle - Depress the
clutch pedal fully and shift the
transaxle into Neutral. Keep the clutch
pedal and brake pedal depressed
whilst turning the ignition switch to the
start position.
Automatic Transaxle - Place the
transaxle shift lever in P (Park).
Depress the brake pedal fully.
You can also start the engine when the
shift lever is in the N (Neutral) position.
3. Turn the ignition switch to START and hold it there until the engine starts (a
maximum of 10 seconds), then release
the key.
It should be started
without depressing
the accelerator pedal.
4. Do not wait for the engine to warm up whilst the vehicle remains stationary.
Start driving at moderate engine
speeds. (Steep accelerating and decel-
erating should be avoided.)
STARTING THE ENGINE
WARNING
Always wear appropriate shoes
when operating your vehicle.
Unsuitable shoes (high heels, ski
boots,etc.) may interfere with your
ability to use the brake, accelerator
pedal, and clutch (if equipped).
CAUTION
If the engine stalls whilst the vehi- cle is in motion, do not attempt tomove the shift lever to the P (Park) position. If traffic and road condi-tions permit, you may put the shift
lever in the N (Neutral) positionwhilst the vehicle is still movingand turn the ignition switch to the START position in an attempt to
restart the engine.
CAUTION
Do not engage the starter for morethan 10 seconds. If the engine stalls
or fails to start, wait 5 to 10 seconds before re-engaging the starter.Improper use of the starter may damage it.
Page 679 of 846

Driving your vehicle
12
5
Your vehicle may be equipped with the ISG system, which reduces fuel con-
sumption by automatically shutting down
the engine, when the vehicle is at a
standstill. (For example : red light, stop
sign and traffic jam)
The engine starts automatically as soon
as the starting conditions are met.
The ISG system is ON whenever the
engine is running.
✽✽
NOTICE
When the engine automatically starts by
the ISG system, some warning lights
(ABS, ESC, ESC OFF, EPS or Parking
brake warning light) may turn on for a
few seconds.
This happens because of low battery
voltage. It does not mean the system has
malfunctioned.
Auto stop
To stop the engine in idle stop mode
1. Decrease the vehicle speed to less than 5 km/h (3 mph).
2. Shift into N (Neutral) position.
3. Release the clutch pedal.
The engine will stop and the green AUTO
STOP( ) indicator on the instrument
cluster will illuminate. Also, a message "Auto Stop" will appear
on the LCD display.
✽✽
NOTICE
You must reach a speed of at least 10
km/h (6 mph) since last idle stop.
ISG (IDLE STOP AND GO) SYSTEM (IF EQUIPPED)
OTA052017L
OTA05217L-1
■ Type A
■Type B
OTA052025L
Page 682 of 846

515
Driving your vehicle
ISG system deactivation
If you wish to deactivate the ISG sys-tem, press the ISG OFF button. The
light on the ISG OFF button will illumi-
nate and a message “Auto Stop Off ” will
appear on the LCD display.
If you press the ISG OFF button again, the system will be activated and the
light on the ISG OFF button will turn off. ISG system malfunction
The system may not operate when:
The ISG related sensors or system error
occurs.
The following will happen:
The yellow AUTO STOP ( ) indica-
tor on the instrument cluster will stay
on after blinking for 5 seconds.
✽✽ NOTICE
If the ISG OFF button light is not turned off by pressing the ISG OFF
button again or if the ISG system con-
tinuously does not work correctly,
please contact an authorised Kia deal-
er as soon as possible.
When the ISG OFF button light comes
on, it may stop illuminating after driv-
ing your vehicle at approximately 80
km/h for a maximum of two hours
and setting the fan speed control
below the 2nd position. If the ISG
OFF button light continues to illumi-
nate in spite of the procedure, please
contact an authorised Kia dealer as
soon as possible.
OTA052028L
OTA050018R
OTA052027L
WARNING
When the engine is in Idle Stop
mode, it's possible to restart theengine without the driver taking
any action.
Before leaving the car or doing any-
thing in the engine room area, stop
the engine by turning the ignition
switch to the LOCK(OFF) position
or removing the ignition key.
Page 704 of 846

537
Driving your vehicle
Your vehicle's fuel economy depends
mainly on your style of driving, where you
drive and when you drive.
Each of these factors affects how many
kilometers (miles) you can get from a
litre (gallon) of fuel. To operate your vehi-
cle as economically as possible, use the
following driving suggestions to help
save money in both fuel and repairs:
Drive smoothly. Accelerate at a moder-ate rate. Don't make "jack-rabbit" startsor full-throttle shifts and maintain a
steady cruising speed. Don't race
between stoplights. Try to adjust your
speed to the traffic so you don't have to
change speeds unnecessarily. Avoid
heavy traffic whenever possible.
Always maintain a safe distance from
other vehicles so you can avoid unnec-
essary braking. This also reduces
brake wear.
Drive at a moderate speed. The faster you drive, the more fuel your vehicle
uses. Driving at a moderate speed,
especially on the highway, is one of the
most effective ways to reduce fuel con-sumption. Don't "ride" the brake pedal. This can
increase fuel consumption and also
increase wear on these components.
In addition, driving with your foot rest-
ing on the brake pedal may cause the
brakes to overheat, which reduces
their effectiveness and may lead to
more serious consequences.
Take care of your tyres. Keep them inflated to the recommended pressure.
Incorrect inflation, either too much or
too little, results in unnecessary tyre
wear. Check the tyre pressures at leastonce a month.
Be sure that the wheels are aligned correctly. Improper alignment can
result from hitting kerbs or driving too
fast over irregular surfaces. Poor align-
ment causes faster tyre wear and may
also result in other problems as well as
greater fuel consumption. Keep your car in good condition. For
better fuel economy and reduced
maintenance costs, maintain your carin accordance with the maintenance
schedule in section 7. If you drive your
car in severe conditions, more frequentmaintenance is required (see section 7
for details).
Keep your car clean. For maximum service, your vehicle should be kept
clean and free of corrosive materials. It
is especially important that mud, dirt,
ice, etc. not be allowed to accumulate
on the underside of the car. This extra
weight can result in increased fuel con-
sumption and also contribute to corro-sion.
Travel lightly. Don't carry unnecessary weight in your car. Weight reduces fuel
economy.
Don't let the engine idle longer than necessary. If you are waiting (and not
in traffic), turn off your engine and
restart only when you're ready to go.
ECONOMICAL OPERATION
Page 720 of 846

553
Driving your vehicle
If you do decide to pull a trailer
Here are some important points if you
decide to pull a trailer:
Consider using a sway control. You canask a hitch dealer about sway control.
Do not do any towing with your car dur- ing its first 2,000 km (1,200 miles) in
order to allow the engine to properly
break in. Failure to heed this caution
may result in serious engine or
transaxle damage.
When towing a trailer, be sure to con- sult an authorised Kia dealer for further
information on additional requirements
such as a towing kit, etc.
Always drive your vehicle at a moder- ate speed (less than 100 km/h / 60mph).
On a long uphill grade, do not exceed 70 km/h (45 mph) or the posted towing
speed limit, whichever is lower.
The chart contains important consider- ations that have to do with weight: Item
Petrol 1.0 Petrol 1.25
M/T A/T M/T A/T
Maximum trailer weight kg (Ibs.)Without brake
System 400
(882) -400
(882) 0 (0)
With brake System 700
(1,543) -
700
(1,543) 400
(882)
Maximum permissible static vertical load
on the coupling device kg (Ibs.) 75 (165)
Recommended distance from rear wheel
centre to coupling point mm (inch) 635 (25)For Europe
Item Petrol 1.0 Petrol 1.25
M/T A/T M/T A/T
Maximum trailer weight kg (Ibs.)Without brake
System 400
(882) 0 (0) 400
(882) 0 (0)
With brake System 700
(1,543) 400
(882) 700
(1,543) 400
(882)
Maximum permissible static vertical load
on the coupling device kg (Ibs.) 75 (165)
Recommended distance from rear wheel
centre to coupling point mm (inch) 635 (25)
For South Africa
Page 748 of 846

What to do in an emergency
26
6
You may not be able identify a low
tyre by simply looking at it. Alwaysuse a good quality tyre pressuregauge to measure the tyre's inflation
pressure. Please note that a tyre that
is hot (from being driven) will have ahigher pressure measurement than atyre that is cold.
A cold tyre means the vehicle has
been sitting for 3 hours and driven forless than 1 mile (1.6 km) in that 3
hour period.
Allow the tyre to cool before measur-
ing the inflation pressure. Always be
sure the tyre is cold before inflating
to the recommended pressure.
CAUTION
We recommend that you use the
tyre sealant approved by Kia ifyour vehicle is equipped with a Tyre Pressure MonitoringSystem. The liquid sealant candamage the tyre pressure sen- sors.
WARNING - Protecting
TPMS
Tampering with, modifying, or
disabling the Tyre PressureMonitoring System (TPMS) com-
ponents may interfere with thesystem's ability to warn the driv-
er of low tyre pressure condi-
tions and/or TPMS malfunctions.
Tampering with, modifying, or
disabling the Tyre PressureMonitoring System (TPMS) com-
ponents may void the warranty
for that portion of the vehicle.
WARNING - TPMS
The TPMS cannot alert you to severe and sudden tyre dam-
age caused by external factors
such as nails or road debris.
If you feel any vehicle instabil- ity, immediately take your foot
off the accelerator, apply the
brakes gradually and with
light force, and slowly move to
a safe position off the road.WARNING - For EUROPE
Do not modify the vehicle, it may interfere with the TPMS function.
The wheels on the market do not have a TPMS sensor.
For your safety, we recom-
mend that you use parts for
replacement from an autho-
rised Kia dealer.
If you use the wheels on the market, use a TPMS sensor
approved by a Kia dealer.
If your vehicle is not equipped
with a TPMS sensor or TPMS
does not work properly, you
may fail the periodic vehicle
inspection conducted in your
country.
❈
❈ All vehicles sold in the
EUROPE market during
below period must be
equipped with TPMS.
- New model vehicle : Nov. 1, 2012 ~
- Current model vehicle : Nov. 1, 2014~ (Based on vehicleregistrations)