2015 JEEP GRAND CHEROKEE air condition
[x] Cancel search: air conditionPage 295 of 636
U.S. Federal regulations require that upon transfer of
vehicle ownership, the seller certify to the purchaser the
correct mileage that the vehicle has been driven. If your
odometer needs to be repaired or serviced, the repair
technician should leave the odometer reading the same
as it was before the repair or service. If she/he cannot do
so, then the odometer must be set at zero, and a sticker
must be placed in the door jamb stating what the mileage
was before the repair or service. It is a good idea for you
to make a record of the odometer reading before the
repair/service, so that you can be sure that it is properly
reset, or that the door jamb sticker is accurate if the
odometer must be reset at zero.
When the appropriate conditions exist, this Driver Infor-
mation Display (DID) messages. Refer to “Driver Infor-
mation Display” in this section.16. Selectable DID Menu
This area of the cluster will display the DID selectable
menu. For further information, refer to “Driver Informa-
tion Display (DID)” in this section.
17. Air Bag Warning Light
This light will turn on for four to eight seconds
as a bulb check when the ignition switch is first
turned to the ON/RUN position. If the light is
either not on during starting, stays on, or turns
on while driving, have the system inspected at an autho-
rized dealer as soon as possible. Refer to “Occupant
Restraints” in “Things To Know Before Starting Your
Vehicle” for further information.
18. Vehicle Security Light
This light will flash rapidly for approximately
15 seconds when the vehicle security alarm is
arming. The light will flash at a slower speed
4
UNDERSTANDING YOUR INSTRUMENT PANEL 293
Page 300 of 636

6. Selectable Information (Compass, Temp, Range to
Empty, Trip A, Trip B, Average Fuel Economy, Current
Fuel Economy)
7. Air Suspension Status — If Equipped
8. 4WD Status — Status
The main display area will normally display the main
menu or the screens of a selected feature of the main
menu. The main display area also displays “pop up”
messages that consist of approximately 60 possible warn-
ing or information messages. These pop up messages fall
into several categories:
•Five Second Stored Messages
When the appropriate conditions occur, this type of
message takes control of the main display area for five
seconds and then returns to the previous screen. Most of
the messages of this type are then stored (as long as the
condition that activated it remains active) and can bereviewed from the “Messages” main menu item. Ex-
amples of this message type are “Right Front Turn Signal
Lamp Out” and “Low Tire Pressure.”
•Unstored Messages
This message type is displayed indefinitely or until the
condition that activated the message is cleared. Examples
of this message type are “Turn Signal On” (if a turn signal
is left on) and “Lights On” (if driver leaves the vehicle).
•Unstored Messages Until RUN
These messages deal primarily with the Remote Start
feature. This message type is displayed until the ignition
is in the RUN state. Examples of this message type are
“Remote Start Aborted - Door Ajar” and “Press Brake
Pedal and Push Button to Start.”
•Five Second Unstored Messages
When the appropriate conditions occur, this type of
message takes control of the main display area for five
298 UNDERSTANDING YOUR INSTRUMENT PANEL
Page 366 of 636
2. If the disc is stained, clean the surface with a soft cloth,
wiping from center to edge.
3. Do not apply paper or tape to the disc; avoid scratch-
ing the disc.
4. Do not use solvents such as benzene, thinner, cleaners,
or anti-static sprays.
5. Store the disc in its case after playing.
6. Do not expose the disc to direct sunlight.
7. Do not store the disc where temperatures may become
too high.
NOTE:If you experience difficulty in playing a particular
disc, it may be damaged (e.g., scratched, reflective coat-
ing removed, a hair, moisture or dew on the disc)
oversized, or have protection encoding. Try a known
good disc before considering disc player service.RADIO OPERATION AND MOBILE PHONES
Under certain conditions, the mobile phone being on in
your vehicle can cause erratic or noisy performance from
your radio. This condition may be lessened or eliminated
by relocating the mobile phone antenna. This condition is
not harmful to the radio. If your radio performance does
not satisfactorily “clear” by the repositioning of the
antenna, it is recommended that the radio volume be
turned down or off during mobile phone operation when
not using Uconnect® (if equipped).
Regulatory And Safety Information
USA/CANADA
Exposure to Radio Frequency Radiation
The radiated output power of the internal wireless radio
is far below the FCC radio frequency exposure limits.
364 UNDERSTANDING YOUR INSTRUMENT PANEL
Page 367 of 636
Nevertheless, the wireless radio will be used in such a
manner that the radio is 20 cm or further from the human
body.
The internal wireless radio operates within guidelines
found in radio frequency safety standards and recom-
mendations, which reflect the consensus of the scientific
community.
The radio manufacturer believes the internal wireless
radio is safe for use by consumers. The level of energy
emitted is far less than the electromagnetic energy emit-
ted by wireless devices such as mobile phones. However,
the use of wireless radios may be restricted in some
situations or environments, such as aboard airplanes. If
you are unsure of restrictions, you are encouraged to ask
for authorization before turning on the wireless radio.This device complies with Part 15 of the FCC Rules and
with Industry Canada license-exempt RSS standard(s).
Operation is subject to the following two conditions:
1. This device may not cause harmful interference.
2. This device must accept any interference received,
including interference that may cause undesired op-
eration.
Le présent appareil est conforme aux CNR d’Industrie
Canada applicables aux appareils radio exempts de li-
cence. L’exploitation est autorisée aux deux conditions
suivantes: (1) l’appareil ne doit pas produire de brouil-
lage, et (2) l’utilisateur de l’appareil doit accepter tout
brouillage radioélectrique subi, même si le brouillage est
susceptible d’en compromettre le fonctionnement.
4
UNDERSTANDING YOUR INSTRUMENT PANEL 365
Page 368 of 636
NOTE:
•This equipment has been tested and found to comply
with the limits for a Class B digital device, pursuant to
Part 15 of the FCC Rules. These limits are designed to
provide reasonable protection against harmful inter-
ference in a residential installation. This equipment
generates, uses and can radiate radio frequency energy
and, if not installed and used in accordance with the
instructions, may cause harmful interference to radio
communications. However, there is no guarantee that
interference will not occur in a particular installation.
•If this equipment does cause harmful interference to
radio or television reception, which can be determined
by turning the equipment off and on, the user is
encouraged to try to correct the interference by one or
more of the following measures:
•Increase the separation between the equipment and
receiver.•Consult the dealer or an experienced radio technician
for help.
CLIMATE CONTROLS
The air conditioning and heating system is designed to
make you comfortable in all types of weather. This
system can be operated through either the controls on the
instrument panel or through the Uconnect® system dis-
play.
When the Uconnect® system is in different modes (Ra-
dio, Player, Settings, More, etc.) the driver and passenger
temperature settings will be indicated at the top of the
display.
366 UNDERSTANDING YOUR INSTRUMENT PANEL
Page 373 of 636
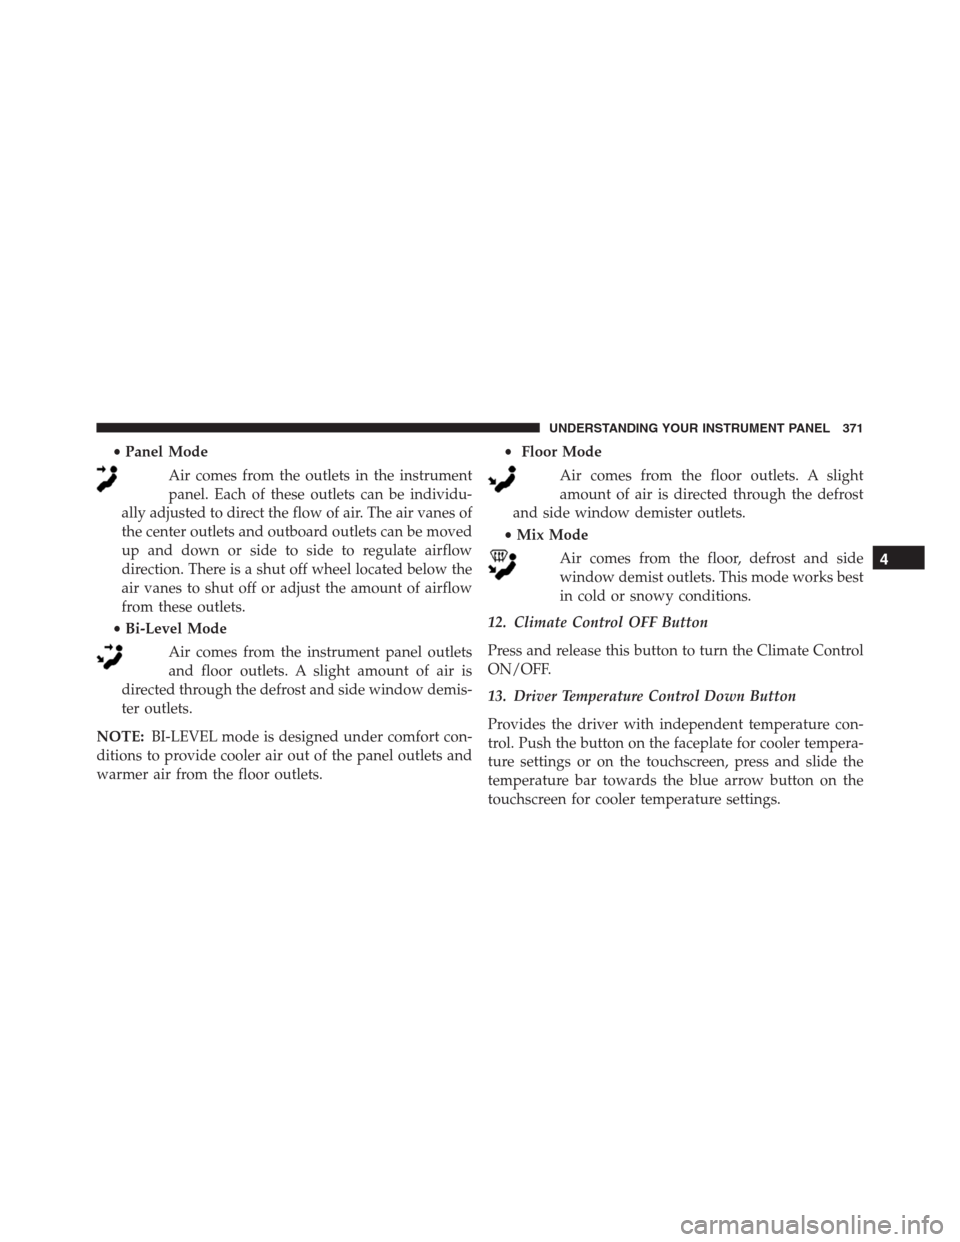
•Panel Mode
Air comes from the outlets in the instrument
panel. Each of these outlets can be individu-
ally adjusted to direct the flow of air. The air vanes of
the center outlets and outboard outlets can be moved
up and down or side to side to regulate airflow
direction. There is a shut off wheel located below the
air vanes to shut off or adjust the amount of airflow
from these outlets.
•Bi-Level Mode
Air comes from the instrument panel outlets
and floor outlets. A slight amount of air is
directed through the defrost and side window demis-
ter outlets.
NOTE:BI-LEVEL mode is designed under comfort con-
ditions to provide cooler air out of the panel outlets and
warmer air from the floor outlets.•Floor Mode
Air comes from the floor outlets. A slight
amount of air is directed through the defrost
and side window demister outlets.
•Mix Mode
Air comes from the floor, defrost and side
window demist outlets. This mode works best
in cold or snowy conditions.
12. Climate Control OFF Button
Press and release this button to turn the Climate Control
ON/OFF.
13. Driver Temperature Control Down Button
Provides the driver with independent temperature con-
trol. Push the button on the faceplate for cooler tempera-
ture settings or on the touchscreen, press and slide the
temperature bar towards the blue arrow button on the
touchscreen for cooler temperature settings.
4
UNDERSTANDING YOUR INSTRUMENT PANEL 371
Page 374 of 636

NOTE:In Sync mode, this button will also automatically
adjust the passenger temperature setting at the same
time.
14. Driver Temperature Control Up Button
Provides the driver with independent temperature con-
trol. Push the button on the faceplate for warmer tem-
perature settings or on the touchscreen, press and slide
the temperature bar towards the red arrow button on the
touchscreen for warmer temperature settings.
NOTE:In Sync mode, this button will also automatically
adjust the passenger temperature setting at the same
time.
Climate Control Functions
A/C (Air Conditioning)
The Air Conditioning (A/C) button allows the operator
to manually activate or deactivate the air conditioning
system. When the air conditioning system is turned on,cool dehumidified air will flow through the outlets into
the cabin. For improved fuel economy, press the A/C
button to turn off the air conditioning and manually
adjust the blower and airflow mode settings. Also, make
sure to select only Panel, Bi-Level or Floor modes.
NOTE:
•For Manual Climate Controls, if the system is in Mix,
Floor or Defrost Mode, the A/C can be turned off, but
the A/C system shall remain active to prevent fogging
of the windows.
•If fog or mist appears on the windshield or side glass,
select Defrost mode and adjust blower speed if
needed.
•If your air conditioning performance seems lower than
expected, check the front of the A/C condenser (lo-
cated in front of the radiator), for an accumulation of
dirt or insects. Clean with a gentle water spray from
372 UNDERSTANDING YOUR INSTRUMENT PANEL
Page 375 of 636
behind the radiator and through the condenser. Fabric
front fascia protectors may reduce airflow to the
condenser, reducing air conditioning performance.
MAX A/C
MAX A/C sets the control for maximum cooling perfor-
mance.
Press and release to toggle between MAX A/C and the
prior settings. The button on the touchscreen illuminates
when MAX A/C is ON.
In MAX A/C, the blower level and mode position can be
adjusted to desired user settings. Pressing other settings
will cause the MAX A/C operation to switch to the prior
settings and the MAX A/C indicator will turn off.Recirculation
When outside air contains smoke, odors, or
high humidity, or if rapid cooling is desired,
you may wish to recirculate interior air by
pressing the Recirculation control button. The
recirculation indicator will illuminate when this button is
selected. Press the button a second time to turn off the
Recirculation mode and allow outside air into the vehicle.
4
UNDERSTANDING YOUR INSTRUMENT PANEL 373