Page 404 of 717
Media
Uconnect® offers connections via USB, SD, Bluetooth®
and auxiliary ports (If Equipped). Voice operation is only
available for connected USB and iPod® devices. (Remote
CD player optional and not available on all vehicles.)
Push the VR button. After the beep, say one of the
following commands and follow the prompts to
switch your media source or choose an artist.
•Change sourceto Bluetooth®
•Change sourceto iPod®
•Change sourceto USB
•Play artistBeethoven;Play albumGreatest Hits;Play
songMoonlight Sonata;Play genreClassical
TIP:Press the Browse button on the touchscreen to see all
of the music on your iPod® or USB device. Your Voice
Command must matchexactlyhow the artist, album,
song and genre information is displayed.
Uconnect® 8.4A/8.4AN Radio
402 UNDERSTANDING YOUR INSTRUMENT PANEL
Page 410 of 717

press the Apps button on the 8.4-inch touchscreen to get
started. Detailed registration instructions can be found
on the next page.
*Uconnect® Access is available only on equipped ve-
hicles purchased within the continental United States and
Alaska. Services can only be used where coverage is
available; see coverage map for details.
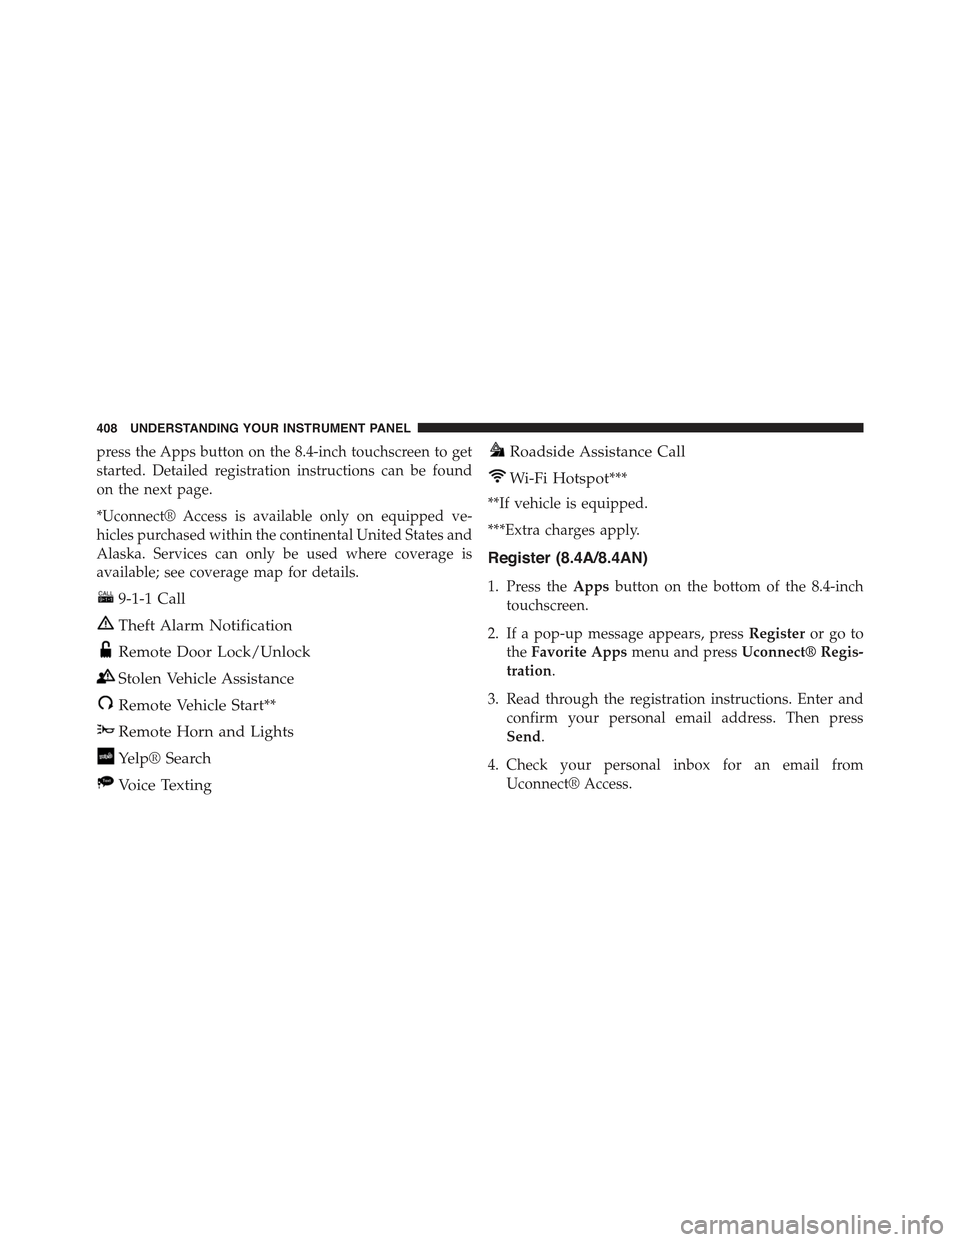
9-1-1 Call
Theft Alarm Notification
Remote Door Lock/Unlock
Stolen Vehicle Assistance
Remote Vehicle Start**
Remote Horn and Lights
Yelp® Search
Voice Texting
Roadside Assistance Call
Wi-Fi Hotspot***
**If vehicle is equipped.
***Extra charges apply.
Register (8.4A/8.4AN)
1. Press theAppsbutton on the bottom of the 8.4-inch
touchscreen.
2. If a pop-up message appears, pressRegisteror go to
theFavorite Appsmenu and pressUconnect® Regis-
tration.
3. Read through the registration instructions. Enter and
confirm your personal email address. Then press
Send.
4. Check your personal inbox for an email from
Uconnect® Access.
408 UNDERSTANDING YOUR INSTRUMENT PANEL
Page 419 of 717

!BRAKE SYSTEM.......................472
!ELECTRONIC BRAKE CONTROL SYSTEM . . . .473
▫Anti-Lock Brake System (ABS)............473
▫Traction Control System (TCS)............475
▫Brake Assist System (BAS)...............475
▫Electronic Roll Mitigation (ERM)..........476
▫Electronic Stability Control (ESC)..........477
▫Trailer Sway Control (TSC)..............480
▫Hill Start Assist (HSA).................481
▫Ready Alert Braking — If Equipped........483
▫Rain Brake Support — If Equipped.........483
▫Hill Descent Control (HDC) — If Equipped
(Four-Wheel Drive Models With MP3023
Two-Speed Transfer Case Only)...........484
▫Selec Speed Control (SSC) — If Equipped
(Four-Wheel Drive Models With MP3023
Two-Speed Transfer Case Only)...........488
▫ESC Activation/Malfunction Indicator Light And
ESC OFF Indicator Light................491
!TIRE SAFETY INFORMATION.............493
▫Tire Markings........................493
▫Tire Identification Number (TIN)...........497
▫Tire Terminology And Definitions..........498
▫Tire Loading And Tire Pressure...........500
!TIRES — GENERAL INFORMATION........505
▫Tire Pressure........................505
▫Tire Inflation Pressures.................506
▫Tire Pressures For High Speed Operation . . . .508
5
STARTING AND OPERATING 417
Page 431 of 717
Fuel Economy (ECO) Mode
The Fuel Economy (ECO) mode can improve the vehi-
cle’s overall fuel economy during normal driving condi-
tions. Each time the vehicle is started ECO mode is
engaged and an amber light in the center stack of the
instrument panel will be illuminated. To disable ECO
mode, push the “ECO” switch in the center stack of the
instrument panel and the amber light will go out indi-
cating ECO mode is disabled.
When the Fuel Economy (ECO) Mode is engaged, the
vehicle control systems will change the following:
•The transmission will upshift sooner and downshift
later.
Fuel Economy Mode Switch
5
STARTING AND OPERATING 429
Page 439 of 717

Transmission Limp Home Mode
Transmission function is monitored electronically for
abnormal conditions. If a condition is detected that could
result in transmission damage, Transmission Limp Home
Mode is activated. In this mode, the transmission may
operate only in certain gears, or may not shift at all.
Vehicle performance may be severely degraded and the
engine may stall. In some situations, the transmission
may not re-engage if the engine is turned off and
restarted. The Malfunction Indicator Light (MIL) may be
illuminated. A message in the instrument cluster will
inform the driver of the more serious conditions, and
indicate what actions may be necessary.
In the event of a momentary problem, the transmission
can be reset to regain all forward gears by performing the
following steps:
NOTE:In cases where the instrument cluster message
indicates the transmission may not re-engage after en-
gine shutdown, perform this procedure only in a desired
location (preferably, at your authorized dealer).
1. Stop the vehicle.
2. Shift the transmission into PARK, if possible. If not,
shift the transmission to NEUTRAL.
3. Push and hold the ignition switch until the engine
turns OFF.
4. Wait approximately 30 seconds.
5. Restart the engine.
6. Shift into the desired gear range. If the problem is no
longer detected, the transmission will return to normal
operation.
5
STARTING AND OPERATING 437
Page 445 of 717
4WD LOW
This range is for low speed four-wheel drive. It provides
an additional gear reduction which allows for increased
torque to be delivered to both the front and rear wheels
while providing maximum pulling power for loose,
slippery road surfaces only. Do not exceed 25 mph
(40 km/h).
NOTE:Refer to “Selec-Terrain® – If Equipped” for fur-
ther information on the various positions and their
intended usages.
Shifting Procedures
4WD HI To 4WD LOW
With the vehicle at speeds of 0 to 3 mph (0 to 5 km/h), the
ignition switch in the ON position or the engine running,
shift the transmission into “N”, and push the “4WD
LOW” button once on the transfer case switch. The “4WD
LOW” indicator light in the instrument cluster will begin
to flash and remain on solid when the shift is complete.
Transfer Case Switch
5
STARTING AND OPERATING 443
Page 446 of 717

NOTE:If shift conditions/interlocks are not met, or a
transfer case motor temperature protection condition
exists, a “For 4x4 Low Slow Below 3 mph (5 km/h) Put
Trans in “N” Press 4 Low” message will flash from the
Driver Information Display (DID). Refer to “Driver In-
formation Display (DID)” in “Understanding Your In-
strument Panel” for further information.
4WD LOW To 4WD HI
With the vehicle at speeds of 0 to 3 mph (0 to 5 km/h), the
ignition switch in the ON position or the engine running,
shift the transmission into NEUTRAL, and push the
“4WD LOW” button once on the transfer case switch. The
“4WD LOW” indicator light in the instrument cluster
will flash and go out when the shift is complete.
NOTE:
•If shift conditions/interlocks are not met, or a transfer
case motor temperature protection condition exists, a
“For 4x4 High Slow Below 3 mph (5 km/h) Put Trans
in N push 4 Low” message will flash from the Driver
Information Display (DID). Refer to “Driver Informa-
tion Display (DID)” in “Understanding Your Instru-
ment Panel” for further information.
•Shifting into or out of 4WD LOW is possible with the
vehicle completely stopped; however, difficulty may
occur due to the mating clutch teeth not being prop-
erly aligned. Several attempts may be required for
clutch teeth alignment and shift completion to occur.
The preferred method is with the vehicle rolling 0 to
3 mph (0 to 5 km/h). If the vehicle is moving faster
than 3 mph (5 km/h), the transfer case will not allow
the shift.
444 STARTING AND OPERATING
Page 447 of 717

Shifting Into NEUTRAL (N)
WARNING!
You or others could be injured or killed if you leave
the vehicle unattended with the power transfer unit
in the NEUTRAL (N) position without first fully
engaging the parking brake. The NEUTRAL (N)
position disengages both the front and rear drive
shafts from the powertrain and will allow the vehicle
to roll, even if the transmission is in PARK. The
parking brake should always be applied when the
driver is not in the vehicle.
1. Bring the vehicle to a complete stop, with the engine
running.
2. Press and hold the brake pedal.
3. Shift the transmission into NEUTRAL.
4. If vehicle is equipped with Quadra-Lift™ air suspen-
sion, ensure the vehicle is set to Normal Ride Height.
5. Using a ballpoint pen or similar object, push and hold
the recessed transfer case NEUTRAL (N) button (lo-
cated by the selector switch) for four seconds. The
light behind the NEUTRAL (N) symbol will blink,
indicating shift in progress. The light will stop blink-
ing (stay on solid) when the shift to NEUTRAL (N) is
complete. A “NEUTRAL” message will appear in the
Driver Information Display (DID). Refer to “Driver
Information Display (DID)” in “Understanding Your
Instrument Panel” for further information.
5
STARTING AND OPERATING 445