Page 115 of 717
Door Latches
Check for positive closing, latching, and locking.
Fluid Leaks
Check area under vehicle after overnight parking for fuel,
engine coolant, oil, or other fluid leaks. Also, if gasoline
fumes are detected or if fuel, power steering fluid (if
equipped), or brake fluid leaks are suspected, the cause
should be located and corrected immediately.
2
THINGS TO KNOW BEFORE STARTING YOUR VEHICLE 113
Page 119 of 717

▫Automatic Headlight Leveling — HID Headlights
Only...............................170
▫Adaptive Bi-Xenon High Intensity Discharge
Headlights — If Equipped...............170
▫Headlight Delay......................171
▫Parking Lights And Panel Lights...........171
▫Fog Lights — If Equipped...............171
▫Interior Lights........................172
▫Lights-On Reminder...................173
▫Battery Saver.........................174
▫Front Map/Reading Lights — If Equipped . . .174
▫Courtesy Lights.......................175
▫Ambient Light — If Equipped............176
▫Multifunction Lever....................176
▫Turn Signals.........................177
▫Lane Change Assist...................177
▫Flash-To-Pass........................177
▫High/Low Beam Switch.................177
!WINDSHIELD WIPERS AND WASHERS......178
▫Windshield Wiper Operation.............179
▫Intermittent Wiper System...............180
▫Windshield Washer Operation.............181
▫Mist...............................182
▫Rain Sensing Wipers — If Equipped........182
!TILT/TELESCOPING STEERING COLUMN . . .184
!POWER TILT/TELESCOPING STEERING
COLUMN — IF EQUIPPED...............185
3
UNDERSTANDING THE FEATURES OF YOUR VEHICLE 117
Page 162 of 717

WARNING!
Do not ride with the seatback reclined so that the
shoulder belt is no longer resting against your chest.
In a collision you could slide under the seat belt,
which could result in serious injury or death.
DRIVER MEMORY SEAT — IF EQUIPPED
This feature allows the driver to store up to two different
memory profiles for easy recall through a memory
switch. Each memory profile contains desired position
settings for the driver seat, side mirrors, and power tilt
and telescopic steering column (if equipped) and a set of
desired radio station presets. Your Remote Keyless Entry
(RKE) transmitter can also be programmed to recall the
same positions when the UNLOCK button is pressed.
NOTE:Your vehicle is equipped with two RKE trans-
mitters, one RKE transmitter can be linked to memory
position 1 and the other transmitter can be linked to
memory position 2.
The memory seat switch is located on the driver ’s door
trim panel. The switch consists of three buttons:
•The (S) button, which is used to activate the memory
save function.
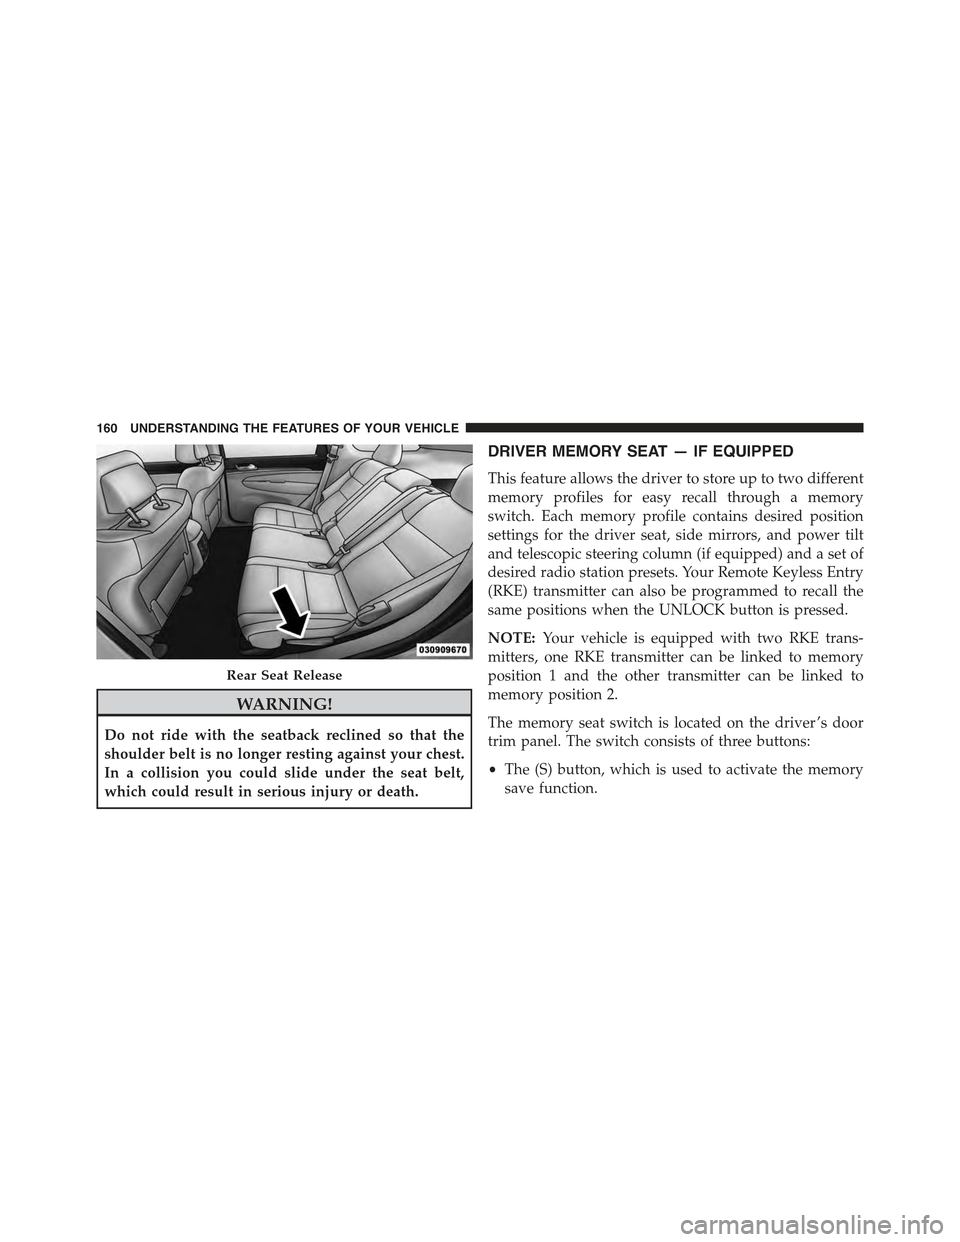
Rear Seat Release
160 UNDERSTANDING THE FEATURES OF YOUR VEHICLE
Page 163 of 717
•The (1) and (2) buttons which are used to recall either
of two pre-programmed memory profiles.
Programming The Memory Feature
NOTE:To create a new memory profile, perform the
following:
1. Cycle the vehicles ignition to the ON/RUN position
(Do not start the engine).
2. Adjust all memory profile settings to desired prefer-
ences (i.e., seat, side mirror, power tilt and telescopic
steering column [if equipped], and radio station pre-
sets).
3. Press and release the S (Set) button on the memory
switch.
4. Within five seconds, press and release either of the
memory buttons (1) or (2). The Driver Information
Display (DID) will display which memory position
has been set.
NOTE:
•Memory profiles can be set without the vehicle in
PARK, but the vehicle must be in PARK to recall a
memory profile.
Memory Seat Switch
3
UNDERSTANDING THE FEATURES OF YOUR VEHICLE 161
Page 187 of 717
WARNING!
Do not adjust the steering column while driving.
Adjusting the steering column while driving or driv-
ing with the steering column unlocked, could cause
the driver to lose control of the vehicle. Failure to
follow this warning may result in serious injury or
death.
POWER TILT/TELESCOPING STEERING COLUMN
— IF EQUIPPED
This feature allows you to tilt the steering column
upward or downward. It also allows you to lengthen or
shorten the steering column. The power tilt/telescoping
steering column lever is located below the multifunction
lever on the steering column.
To tilt the steering column, move the lever up or down as
desired. To lengthen or shorten the steering column, pull
the lever toward you or push the lever away from you as
desired.
Power Tilt/Telescoping Steering Column
3
UNDERSTANDING THE FEATURES OF YOUR VEHICLE 185
Page 308 of 717
3. Without pushing the brake pedal, push and release the
ENGINE START/STOP button once to return the
ignition to the OFF/LOCK position.
NOTE:If the indicator message illuminates when you
start the vehicle, the oil change indicator system did not
reset. If necessary, repeat this procedure.
DID Messages
•Front Seatbelts Unbuckled
•Driver Seatbelt Unbuckled
•Passenger Seatbelt Unbuckled
•Service Airbag System
•Traction Control Off
•Washer Fluid Low
•Oil Pressure Low
•Oil Change Due
•Fuel Low
•Service Antilock Brake System
•Service Electronic Throttle Control
•Service Power Steering
•Cruise Off
•Cruise Ready
•ACC Override
•Cruise Set To XXX MPH
•Tire Pressure Screen With Low Tire(s) “Inflate Tire to
XX”
•Service Tire Pressure System
•Speed Warning Set
306 UNDERSTANDING YOUR INSTRUMENT PANEL
Page 315 of 717

required. You may experience reduced performance, an
elevated/rough idle or engine stall and your vehicle may
require towing.
•Engine Temperature Warning Light
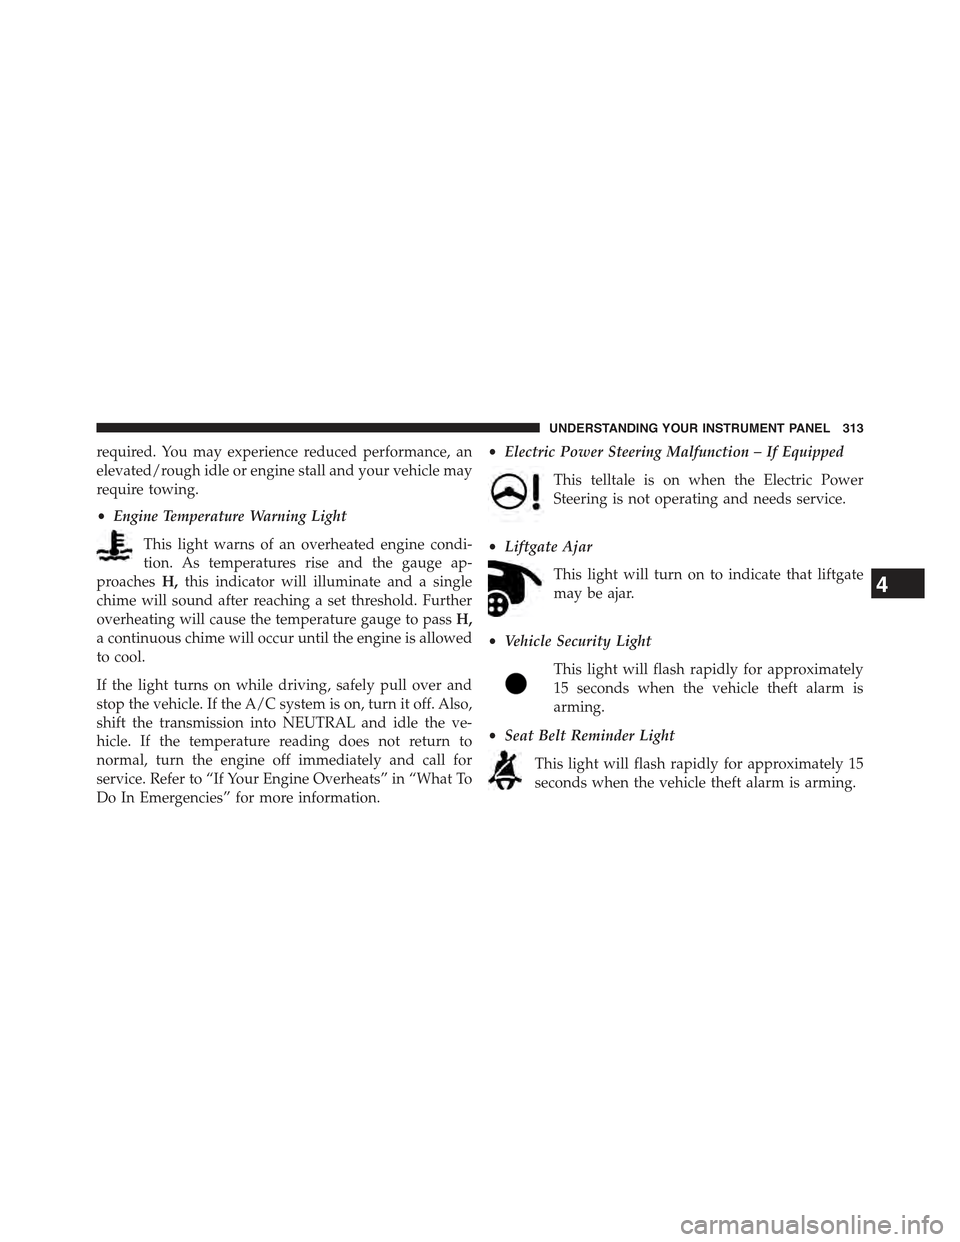
This light warns of an overheated engine condi-
tion. As temperatures rise and the gauge ap-
proachesH,this indicator will illuminate and a single
chime will sound after reaching a set threshold. Further
overheating will cause the temperature gauge to passH,
a continuous chime will occur until the engine is allowed
to cool.
If the light turns on while driving, safely pull over and
stop the vehicle. If the A/C system is on, turn it off. Also,
shift the transmission into NEUTRAL and idle the ve-
hicle. If the temperature reading does not return to
normal, turn the engine off immediately and call for
service. Refer to “If Your Engine Overheats” in “What To
Do In Emergencies” for more information.
•Electric Power Steering Malfunction – If Equipped
This telltale is on when the Electric Power
Steering is not operating and needs service.
•Liftgate Ajar
This light will turn on to indicate that liftgate
may be ajar.
•Vehicle Security Light
This light will flash rapidly for approximately
15 seconds when the vehicle theft alarm is
arming.
•Seat Belt Reminder Light
This light will flash rapidly for approximately 15
seconds when the vehicle theft alarm is arming.
4
UNDERSTANDING YOUR INSTRUMENT PANEL 313
Page 355 of 717

NOTE:The seat will return to the memorized seat
location (if Recall Memory with Remote Key Unlock is set
to ON) when the Remote Keyless Entry (RKE) transmitter
is used to unlock the door. Refer to “Driver Memory
Seat” in “Understanding The Features Of Your Vehicle”
for further information.
•Power Lift Gate Chime — If Equipped
This feature plays an alert when the power lift gate is
raising or lowering. To make your selection, press the
“Power Lift Gate Chime” button on the touchscreen, until
a check-mark appears next to setting, showing that
setting has been selected. Press the back arrow button on
the touchscreen to return to the previous menu, or push
the back button on the faceplate.
Auto-On Comfort — If Equipped
After pressing the “Auto-On Comfort” button on the
touchscreen the following settings will be available:
•Auto-On Driver Heated/Ventilated Seat & Steering
Wheel With Vehicle Start — If Equipped
When this feature is selected the driver’s heated seat will
automatically turn on when temperatures are below 40° F
(4.4° C). When temperatures are above 80° F (26.7° C) the
driver vented seat will turn on. To make your selection,
press the “Auto-On Driver Heated/Ventilated Seat &
Steering Wheel With Vehicle Start” button on the touch-
screen, then select either “Off,” “Remote Start” or “All
Starts” until a check-mark appears next to setting, show-
ing that setting has been selected. Press the back arrow/
Done button on the touchscreen to return to the previous
menu.
4
UNDERSTANDING YOUR INSTRUMENT PANEL 353