Page 259 of 384
613
What to do in an emergency
Removing and storing the spare
tire
Turn the tire hold-down wing bolt
counterclockwise.
Store the tire in the reverse order of
removal.
To prevent the spare tire and tools
from “rattling” while the vehicle is in
motion, store them properly.Changing tires
1. Park on a level surface and apply
the parking brake firmly.
2. Shift the shift lever into R
(Reverse) with manual transaxle or
P (Park) with Automatic transaxle /
EcoShift dual clutch transmission.
3. Activate the hazard warning flasher.
(Continued)
Do not start or run the engine
while the vehicle is on the
jack.
Do not allow anyone to remain
in the vehicle while it is on the
jack.
Make sure any children pres-
ent are in a secure place away
from the road and from the
vehicle to be raised with the
jack.
OFS060007OED066033
Page 260 of 384
What to do in an emergency
14 6
4. Remove the wheel lug nut wrench,
jack, jack handle, and spare tire
from the vehicle.
5. Block both the front and rear of the
wheel that is diagonally opposite
the jack position.6. Insert the screwdriver into the
groove of the wheel cap and pry
gently to remove the wheel cap (If
equipped).
7. Loosen the wheel lug nuts coun-
terclockwise one turn each, but do
not remove any nut until the tire
has been raised off the ground.
WARNING- Changing a tire
To prevent vehicle movement
while changing a tire, always
set the parking brake fully,
and always block the wheel
diagonally opposite the wheel
being changed.
We recommend that the
wheels of the vehicle be
blocked, and that no person
remain in a vehicle that is
being jacked.
OFS060009OFS062010
Page 274 of 384
What to do in an emergency
28 6
When towing your vehicle in an emer-
gency without wheel dollies :
1. Set the ignition switch in the ACC posi-
tion.
2. Place the shift lever in N (Neutral).
3. Release the parking brake.
Removable towing hook
(if equipped)
1. Open the tailgate, and remove the tow-
ing hook from the tool case.
2. Remove the hole cover pressing the
lower part of the cover on the bumper.
3. Install the towing hook by turning it
clockwise into the hole until it is fully
secured.
4. Remove the towing hook and install
the cover after use.
Emergency towing (if equipped)
If towing is necessary, we recommend
you to have it done by an authorized
Hyundai dealer or a commercial tow
truck service.
CAUTION
Failure to place the transaxle shift
lever in N (Neutral) may cause inter-
nal damage to the transaxle.
OFS060017
OFS060018
OFS060019
■Type A
■Type B
Page 276 of 384

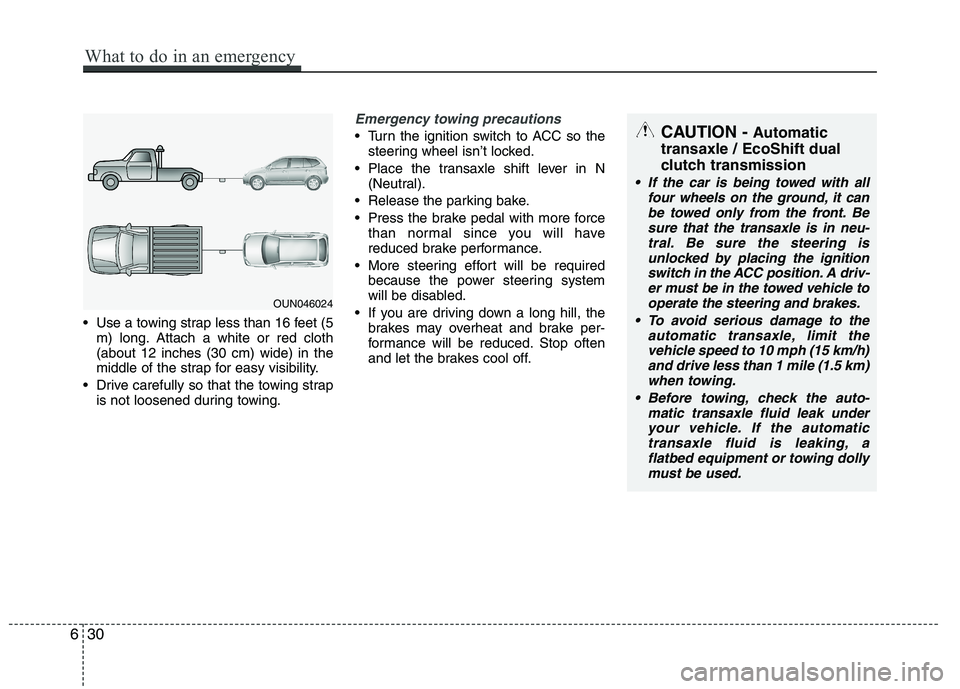
Use a towing strap less than 16 feet (5
m) long. Attach a white or red cloth
(about 12 inches (30 cm) wide) in the
middle of the strap for easy visibility.
Drive carefully so that the towing strap
is not loosened during towing.
Emergency towing precautions
Turn the ignition switch to ACC so the
steering wheel isn’t locked.
Place the transaxle shift lever in N
(Neutral).
Release the parking bake.
Press the brake pedal with more force
than normal since you will have
reduced brake performance.
More steering effort will be required
because the power steering system
will be disabled.
If you are driving down a long hill, the
brakes may overheat and brake per-
formance will be reduced. Stop often
and let the brakes cool off.CAUTION - Automatic
transaxle / EcoShift dual
clutch transmission
If the car is being towed with all
four wheels on the ground, it can
be towed only from the front. Be
sure that the transaxle is in neu-
tral. Be sure the steering is
unlocked by placing the ignition
switch in the ACC position. A driv-
er must be in the towed vehicle to
operate the steering and brakes.
To avoid serious damage to the
automatic transaxle, limit the
vehicle speed to 10 mph (15 km/h)
and drive less than 1 mile (1.5 km)
when towing.
Before towing, check the auto-
matic transaxle fluid leak under
your vehicle. If the automatic
transaxle fluid is leaking, a
flatbed equipment or towing dolly
must be used.
OUN046024
630
What to do in an emergency
Page 277 of 384
7
Engine compartment / 7-2
Maintenance services / 7-3
Owner maintenance / 7-4
Scheduled maintenance service / 7-6
Explanation of scheduled maintenance items / 7-28
Engine oil / 7-31
Engine coolant / 7-33
Brake/clutch fluid / 7-36
Washer fluid / 7-37
Parking brake / 7-37
Air cleaner / 7-38
Climate control air filter / 7-40
Wiper blades / 7-42
Battery / 7-46
Tires and wheels / 7-49
Fuses / 7-63
Light bulbs / 7-73
Appearance care / 7-80
Emission control system / 7-86
California perchlorate notice / 7-89
Maintenance
Page 281 of 384

75
Maintenance
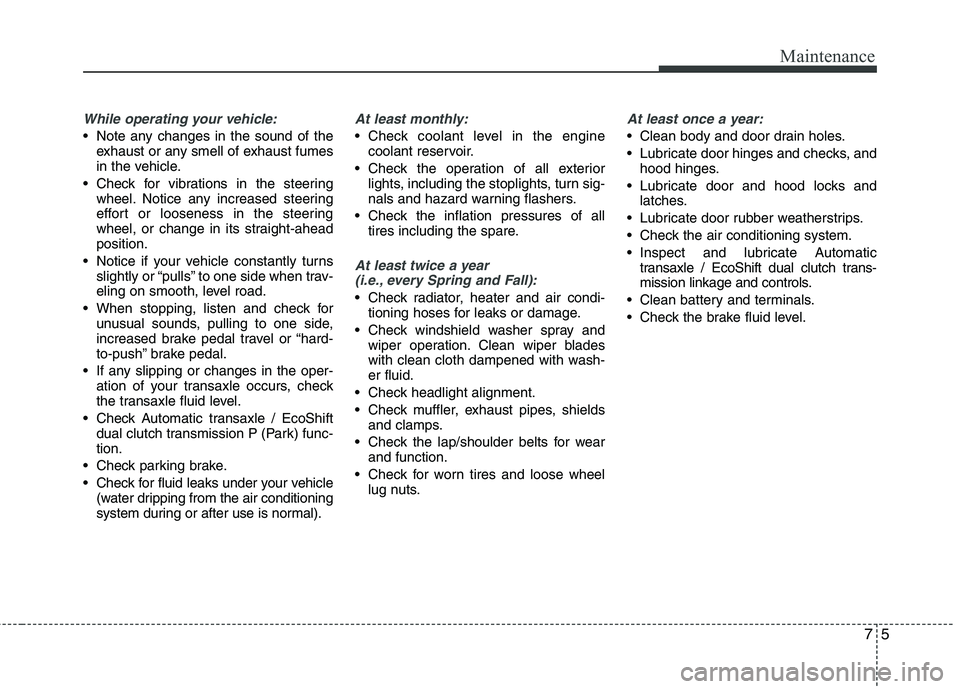
While operating your vehicle:
Note any changes in the sound of the
exhaust or any smell of exhaust fumes
in the vehicle.
Check for vibrations in the steering
wheel. Notice any increased steering
effort or looseness in the steering
wheel, or change in its straight-ahead
position.
Notice if your vehicle constantly turns
slightly or “pulls” to one side when trav-
eling on smooth, level road.
When stopping, listen and check for
unusual sounds, pulling to one side,
increased brake pedal travel or “hard-
to-push” brake pedal.
If any slipping or changes in the oper-
ation of your transaxle occurs, check
the transaxle fluid level.
Check Automatic transaxle / EcoShift
dual clutch transmission P (Park) func-
tion.
Check parking brake.
Check for fluid leaks under your vehicle
(water dripping from the air conditioning
system during or after use is normal).
At least monthly:
Check coolant level in the engine
coolant reservoir.
Check the operation of all exterior
lights, including the stoplights, turn sig-
nals and hazard warning flashers.
Check the inflation pressures of all
tires including the spare.
At least twice a year
(i.e., every Spring and Fall):
Check radiator, heater and air condi-
tioning hoses for leaks or damage.
Check windshield washer spray and
wiper operation. Clean wiper blades
with clean cloth dampened with wash-
er fluid.
Check headlight alignment.
Check muffler, exhaust pipes, shields
and clamps.
Check the lap/shoulder belts for wear
and function.
Check for worn tires and loose wheel
lug nuts.
At least once a year:
Clean body and door drain holes.
Lubricate door hinges and checks, and
hood hinges.
Lubricate door and hood locks and
latches.
Lubricate door rubber weatherstrips.
Check the air conditioning system.
Inspect and lubricate Automatic
transaxle / EcoShift dual clutch trans-
mission linkage and controls.
Clean battery and terminals.
Check the brake fluid level.
Page 286 of 384

Maintenance
10 7
30,000 miles (48,000 km) or 24 months
❑Rotate tire
❑Inspect battery condition
❑Inspect vacuum hose
❑Inspect intercooler, in/out hose, air intake hose - Turbo GDI
(Every 6,200miles (10,000km))
❑Inspect air conditioning refrigerant
❑Inspect brake hoses and lines
❑Inspect drive shafts and boots
❑Inspect exhaust pipe and muffler
❑Inspect front brake disc/pads, calipers
❑Inspect rear brake disc/pads (if equipped)
❑Inspect rear brake drums/linings (if equipped)
❑Inspect steering gear box, linkage & boots/lower arm ball joint,
upper arm ball joint
❑Inspect suspension mounting bolts
❑Inspect brake/clutch (if equipped) fluid
❑Inspect fuel filter *1
❑Inspect fuel lines, fuel hoses and connections
(Continued)
(Continued)
❑Inspect fuel tank air filter (if equipped) *1
❑Inspect parking brake
❑Inspect vapor hose and fuel filler cap
❑Replace climate control air filter (for evaporator and blower unit)
❑Replace air cleaner filter
❑Replace engine oil and filter - GDI *5
(30,000 miles (48,000 km) or 48 months)
❑Add fuel additive *3(30,000 miles (48,000 km) or 48 months)
*1: Fuel filter & Fuel tank air filter are considered to be maintenance free but peri-
odic inspection is recommended for this maintenance schedule depends on
fuel quality. If there are some important safety matters like fuel flow restric-
tion, surging, loss of power, hard starting problem etc, replace the fuel filter
immediately regardless of maintenance schedule and consult an authorized
HYUNDAI dealer for details.
*
3: If TOP TIER Detergent Gasoline is not available, one bottle of additive is rec-
ommended. Additives are available from your authorized HYUNDAI dealer
along with information on how to use them. Do not mix other additives.
*
5: Turbo GDI - At first, replace at 3,000 miles (5,000km) or 6 months, after that,
every 5,000 miles (8,000 km) or 6 months.
❈Inspect : Inspect and if necessary, adjust, correct, clean or replace.
NORMAL MAINTENANCE SCHEDULE (CONT.)
Page 290 of 384

Maintenance
14 7
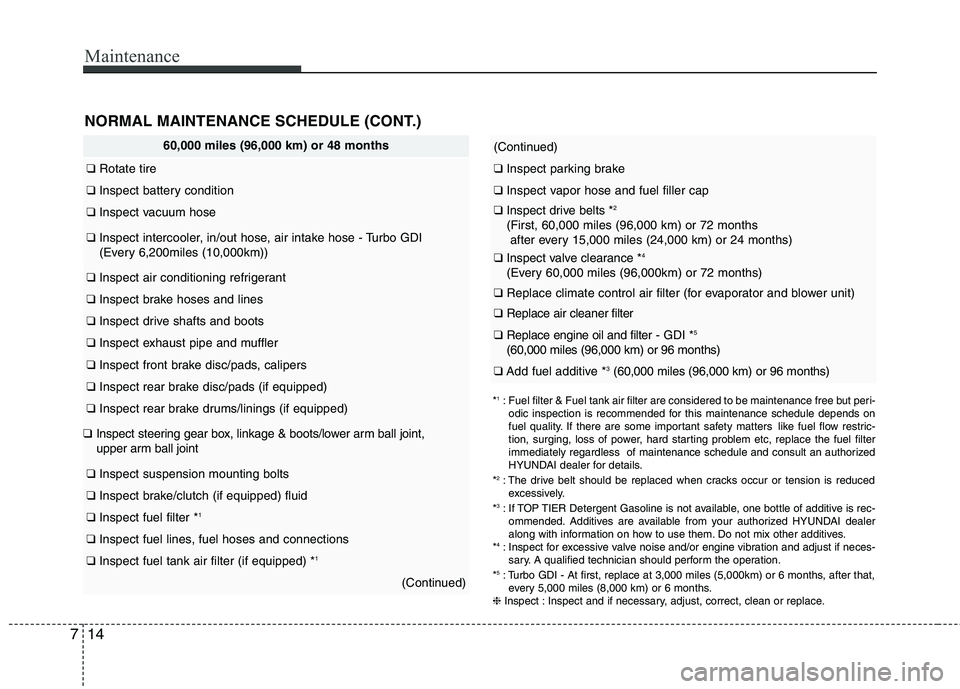
(Continued)
❑Inspect parking brake
❑Inspect vapor hose and fuel filler cap
❑Inspect drive belts *2
(First, 60,000 miles (96,000 km) or 72 months
after every 15,000 miles (24,000 km) or 24 months)
❑Inspect valve clearance *4
(Every 60,000 miles (96,000km) or 72 months)
❑Replace climate control air filter (for evaporator and blower unit)
❑Replace air cleaner filter
❑Replace engine oil and filter - GDI *5
(60,000 miles (96,000 km) or 96 months)
❑Add fuel additive *3(60,000 miles (96,000 km) or 96 months)
*1: Fuel filter & Fuel tank air filter are considered to be maintenance free but peri-
odic inspection is recommended for this maintenance schedule depends on
fuel quality. If there are some important safety matters like fuel flow restric-
tion, surging, loss of power, hard starting problem etc, replace the fuel filter
immediately regardless of maintenance schedule and consult an authorized
HYUNDAI dealer for details.
*
2: The drive belt should be replaced when cracks occur or tension is reduced
excessively.
*
3: If TOP TIER Detergent Gasoline is not available, one bottle of additive is rec-
ommended. Additives are available from your authorized HYUNDAI dealer
along with information on how to use them. Do not mix other additives.
*
4: Inspect for excessive valve noise and/or engine vibration and adjust if neces-
sary. A qualified technician should perform the operation.
*
5: Turbo GDI - At first, replace at 3,000 miles (5,000km) or 6 months, after that,
every 5,000 miles (8,000 km) or 6 months.
❈Inspect : Inspect and if necessary, adjust, correct, clean or replace.
60,000 miles (96,000 km) or 48 months
❑Rotate tire
❑Inspect battery condition
❑Inspect vacuum hose
❑Inspect intercooler, in/out hose, air intake hose - Turbo GDI
(Every 6,200miles (10,000km))
❑Inspect air conditioning refrigerant
❑Inspect brake hoses and lines
❑Inspect drive shafts and boots
❑Inspect exhaust pipe and muffler
❑Inspect front brake disc/pads, calipers
❑Inspect rear brake disc/pads (if equipped)
❑Inspect rear brake drums/linings (if equipped)
❑Inspect steering gear box, linkage & boots/lower arm ball joint,
upper arm ball joint
❑Inspect suspension mounting bolts
❑Inspect brake/clutch (if equipped) fluid
❑Inspect fuel filter *1
❑Inspect fuel lines, fuel hoses and connections
❑Inspect fuel tank air filter (if equipped) *1
(Continued)
NORMAL MAINTENANCE SCHEDULE (CONT.)