Page 20 of 384
Safety features of your vehicle
2 3
Driver’s seat
(1) Seat adjustment, forward/backward
(2) Seatback recliner
(3) Seat adjustment, height
(4) Driver seat folding lever
(5) Headrest adjustment
Front passenger seat
(6) Seat adjustment, forward/backward
(7) Seatback recliner
(8) Headrest adjustment
Rear seat
(9) Headrest adjustment
(10) Split folding rear seat
SEATS
OFS033001N
* The actual feature in the vehicle may differ from the illustration.
Page 24 of 384

Safety features of your vehicle
6 3
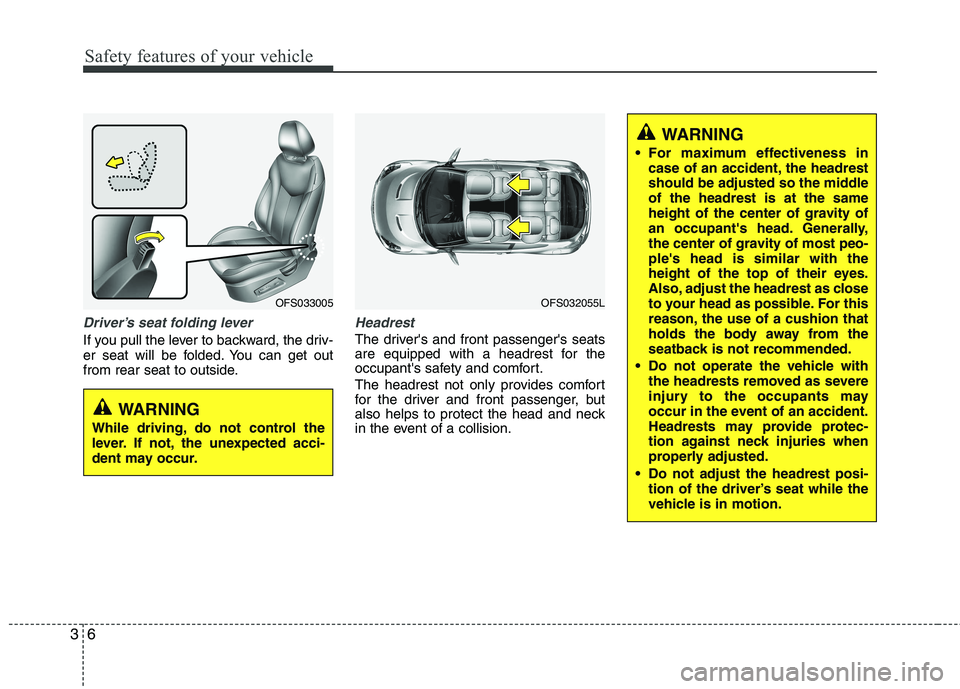
Driver’s seat folding lever
If you pull the lever to backward, the driv-
er seat will be folded. You can get out
from rear seat to outside.
Headrest
The driver's and front passenger's seats
are equipped with a headrest for the
occupant's safety and comfort.
The headrest not only provides comfort
for the driver and front passenger, but
also helps to protect the head and neck
in the event of a collision.
OFS033005
WARNING
While driving, do not control the
lever. If not, the unexpected acci-
dent may occur.
OFS032055L
WARNING
For maximum effectiveness in
case of an accident, the headrest
should be adjusted so the middle
of the headrest is at the same
height of the center of gravity of
an occupant's head. Generally,
the center of gravity of most peo-
ple's head is similar with the
height of the top of their eyes.
Also, adjust the headrest as close
to your head as possible. For this
reason, the use of a cushion that
holds the body away from the
seatback is not recommended.
Do not operate the vehicle with
the headrests removed as severe
injury to the occupants may
occur in the event of an accident.
Headrests may provide protec-
tion against neck injuries when
properly adjusted.
Do not adjust the headrest posi-
tion of the driver’s seat while the
vehicle is in motion.
Page 25 of 384
37
Safety features of your vehicle
Adjusting the height up and down
To raise the headrest, pull it up to the
desired position (1). To lower the head-
rest, push and hold the release button (2)
on the headrest support and lower the
headrest to the desired position (3).Removal
To remove the headrest:
1. Recline the seatback (2) with the
recline lever or switch (1).
2. Raise headrest as far as it can go.
3. Press the headrest release button (3)
while pulling the headrest up (4).
OFS031010OFS033070-1
WARNING
NEVER allow anyone to ride in a seat
with the headrest removed.
CAUTION
If you recline the seatback towards
the front with the head restraint and
seat cushion raised, the head
restraint may come in contact with
the sunvisor or other parts of the
vehicle.
OYFH034205
Page 26 of 384

Safety features of your vehicle
8 3
Reinstall
To reinstall the headrest :
1. Put the headrest poles (2) into the
holes while pressing the release but-
ton (1).
2. Recline the seatback (4) with the
recline lever or switch (3).
3. Adjust the headrest to the appropriate
height.Seat warmer (if equipped)
The seat warmer is provided to warm the
front seats during cold weather. With the
ignition switch in the ON position, push
either of the switches to warm the driver's
seat or the front passenger's seat.
The seat warmer defaults to the OFF
position whenever the ignition switch is
turned ON.
During mild weather or under conditions
where the operation of the seat warmer
is not needed, keep the switches in the
"OFF" position.
✽ ✽
NOTICE
• With the seat warmer switch in the
ON position, the heating system in the
seat turns off or on automatically
depending on the seat temperature.
• If the seat warmer doesn't work when
the ambient temperature is below 21
°C (70 °F), have the system checked
by an authorized dealer.
OFS031013
CAUTION
When cleaning the seats, do not
use an organic solvent such as
thinner, benzene, alcohol and
gasoline. Doing so may damage
the surface of the heater or seats.
To prevent overheating the seat
warmer, do not place anything on
the seats that insulates against
heat, such as blankets, cushions
or seat covers while the seat
warmer is in operation.
Do not place heavy or sharp
objects on seats equipped with
seat warmers. Damage to the seat
warming components could occur.OFS033071-1
WARNING
Always make sure the headrest
locks into position after reinstalling
and adjusting it properly.
Page 28 of 384
Safety features of your vehicle
10 3
To fold the rear seat
1. Insert the rear seat belt buckle in the
pocket between the rear seatback and
cushion, and insert the rear seat belt in
the guide to prevent the seat belt from
being damaged.
2. Set the front seatback to the upright
position and if necessary, slide the
front seat forward.
3. Lower the rear headrests to lowest
position.
4. Pull the lock release lever (1) and fold
the rear seatback forward and down
firmly.5. To use the rear seat, lift and pull the
seatback backward. Pull the seatback
firmly until it clicks into place. Make
sure the seatback is locked in place.
When you return the seatback to its
upright position, always be sure it has
locked into position by pushing on the
top of the seatback.
6. Return the rear seat belt to the proper
position.
7. When the seatback is completely
installed, check the seatback folding
lever again.
OFS031018
OFS031019
Page 30 of 384

Safety features of your vehicle
12 3
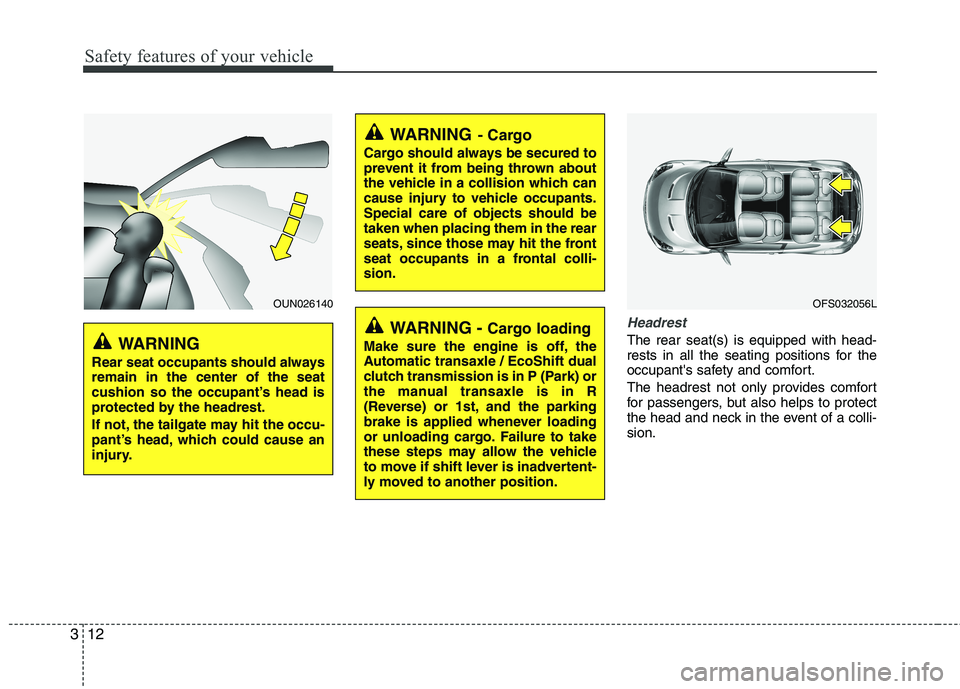
Headrest
The rear seat(s) is equipped with head-
rests in all the seating positions for the
occupant's safety and comfort.
The headrest not only provides comfort
for passengers, but also helps to protect
the head and neck in the event of a colli-
sion.
OFS032056L
WARNING - Cargo loading
Make sure the engine is off, the
Automatic transaxle / EcoShift dual
clutch transmission is in P (Park) or
the manual transaxle is in R
(Reverse) or 1st, and the parking
brake is applied whenever loading
or unloading cargo. Failure to take
these steps may allow the vehicle
to move if shift lever is inadvertent-
ly moved to another position.
WARNING- Cargo
Cargo should always be secured to
prevent it from being thrown about
the vehicle in a collision which can
cause injury to vehicle occupants.
Special care of objects should be
taken when placing them in the rear
seats, since those may hit the front
seat occupants in a frontal colli-
sion.
OUN026140
WARNING
Rear seat occupants should always
remain in the center of the seat
cushion so the occupant’s head is
protected by the headrest.
If not, the tailgate may hit the occu-
pant’s head, which could cause an
injury.
Page 31 of 384

313
Safety features of your vehicle
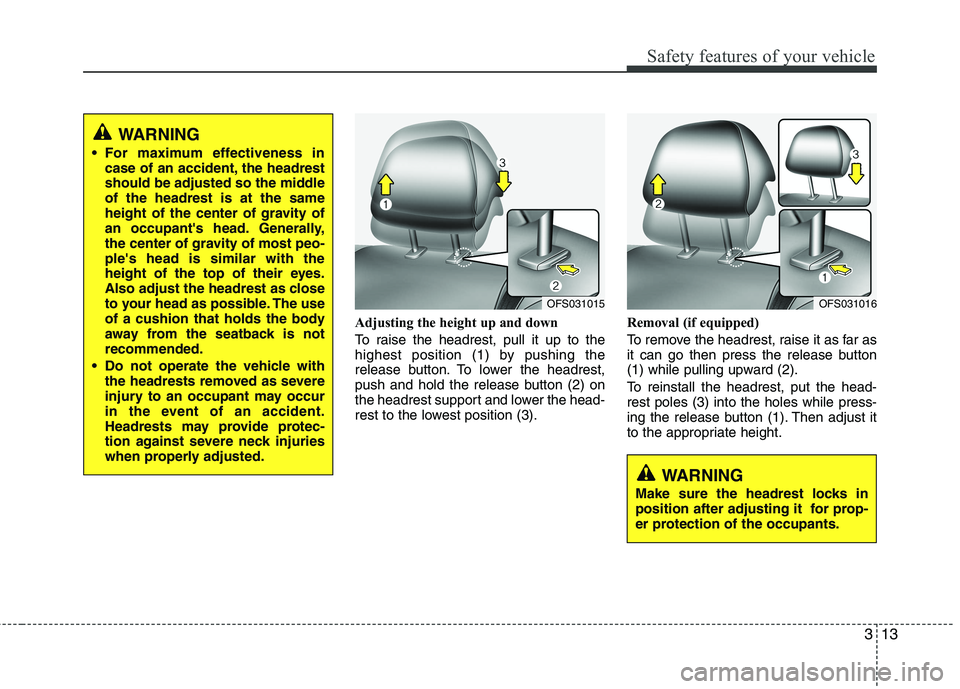
Adjusting the height up and down
To raise the headrest, pull it up to the
highest position (1) by pushing the
release button. To lower the headrest,
push and hold the release button (2) on
the headrest support and lower the head-
rest to the lowest position (3).Removal (if equipped)
To remove the headrest, raise it as far as
it can go then press the release button
(1) while pulling upward (2).
To reinstall the headrest, put the head-
rest poles (3) into the holes while press-
ing the release button (1). Then adjust it
to the appropriate height.
WARNING
Make sure the headrest locks in
position after adjusting it for prop-
er protection of the occupants.
OFS031016OFS031015
WARNING
For maximum effectiveness in
case of an accident, the headrest
should be adjusted so the middle
of the headrest is at the same
height of the center of gravity of
an occupant's head. Generally,
the center of gravity of most peo-
ple's head is similar with the
height of the top of their eyes.
Also adjust the headrest as close
to your head as possible. The use
of a cushion that holds the body
away from the seatback is not
recommended.
Do not operate the vehicle with
the headrests removed as severe
injury to an occupant may occur
in the event of an accident.
Headrests may provide protec-
tion against severe neck injuries
when properly adjusted.
Page 44 of 384

Safety features of your vehicle
26 3
For safety reasons, we recommend that
the child restraint system be used in the
rear seats.
Since all passenger seat belts move
freely under normal conditions and only
lock under extreme or emergency condi-
tions (emergency locking mode), you
must manually change these seat belts
to the automatic locking mode to secure
a child restraint.
Placing a passenger seat belt into
the automatic locking mode
The automatic locking mode will help
prevent the normal movement of the
child in the vehicle from causing the seat
belt to loosen and compromise the child
restraint system. To secure a child
restraint system, use the following proce-
dure.
WARNING- Child seat
installation
A child can be seriously injured
or killed in a collision if the child
restraint is not properly anchored
to the vehicle and the child is not
properly restrained in the child
restraint. Before installing the
child restraint system, read the
instructions supplied by the child
restraint system manufacturer.
If the seat belt does not operate
as described in this section, have
the system checked immediately
by your authorized HYUNDAI
dealer.
Failure to observe this manual's
instructions regarding child
restraint systems and the
instructions provided with the
child restraint system could
increase the chance and/or
severity of injury in an accident.
If the vehicle headrest prevents
proper installation of a child seat
(as described in the child seat
system manual), the headrest of
the respective seating position
shall be readjusted or entirely
removed.
WARNING
Never place a rear-facing child
restraint in the front passenger
seat, because of the danger that an
inflating passenger-side air bag
could impact the rear-facing child
restraint and kill the child.
E2MS103005