Page 148 of 653
3-62
Convenient features of your vehicle
Adjusting the rearview mirrors:
Press either the L (driver’s side) or R
(passenger’s side) button (1) to
select the rearview mirror you would
like to adjust. Use the mirror adjustment control (2)
to position the selected mirror up,
down, left or right. After adjustment, press the L or R
button (1) again to prevent inadver-tent adjustment.
Folding the outside rearviewmirrors
To fold outside rearview mirror, grasp
the housing of mirror and then fold it
toward the rear of the vehicle.
OLMB043236/Q
The mirrors stop moving
when they reach the maxi-
mum adjusting angles, but the
motor continues to operate
while the switch is pressed.
Do not press the switch
longer than necessary; the
motor may be damaged.
Do not attempt to adjust the
outside rearview mirror by
hand or the motor may be
damaged.
CAUTION
OLMB043237
Page 167 of 653
3-81
Convenient features of your vehicle
3
High beam operation
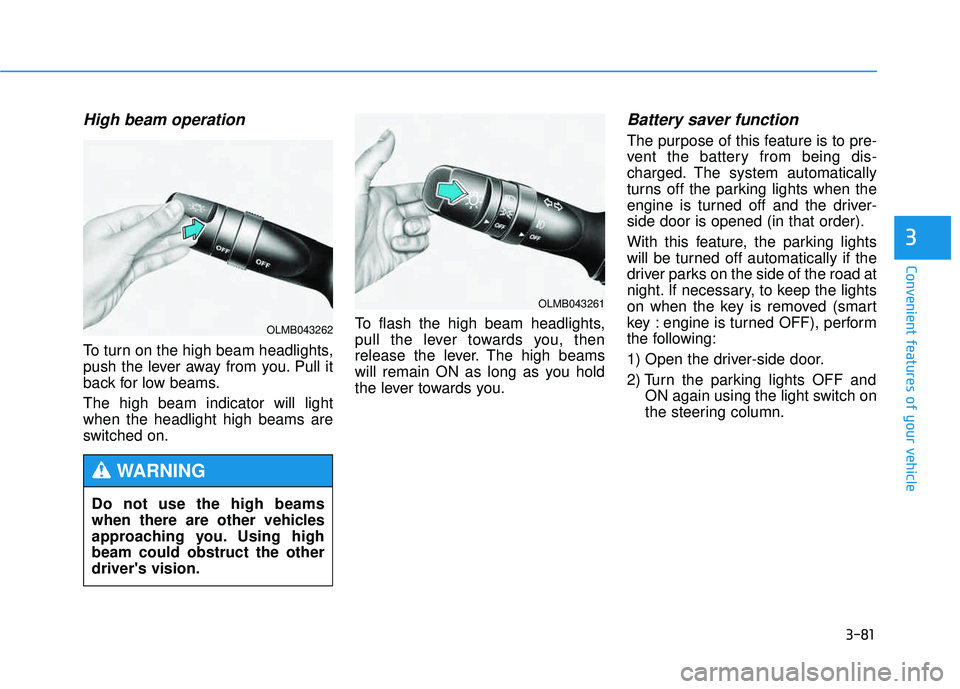
To turn on the high beam headlights,
push the lever away from you. Pull it
back for low beams. The high beam indicator will light when the headlight high beams are
switched on.To flash the high beam headlights,
pull the lever towards you, then
release the lever. The high beams
will remain ON as long as you hold
the lever towards you.
Battery saver function
The purpose of this feature is to pre-
vent the battery from being dis-
charged. The system automatically
turns off the parking lights when the
engine is turned off and the driver-side door is opened (in that order).
With this feature, the parking lights
will be turned off automatically if the
driver parks on the side of the road at
night. If necessary, to keep the lights
on when the key is removed (smart
key : engine is turned OFF), perform
the following:
1) Open the driver-side door.
2) Turn the parking lights OFF and
ON again using the light switch on
the steering column.
Do not use the high beams
when there are other vehicles
approaching you. Using highbeam could obstruct the otherdriver's vision.
WARNING
OLMB043261
OLMB043262
Page 175 of 653
3-89
Convenient features of your vehicle
3
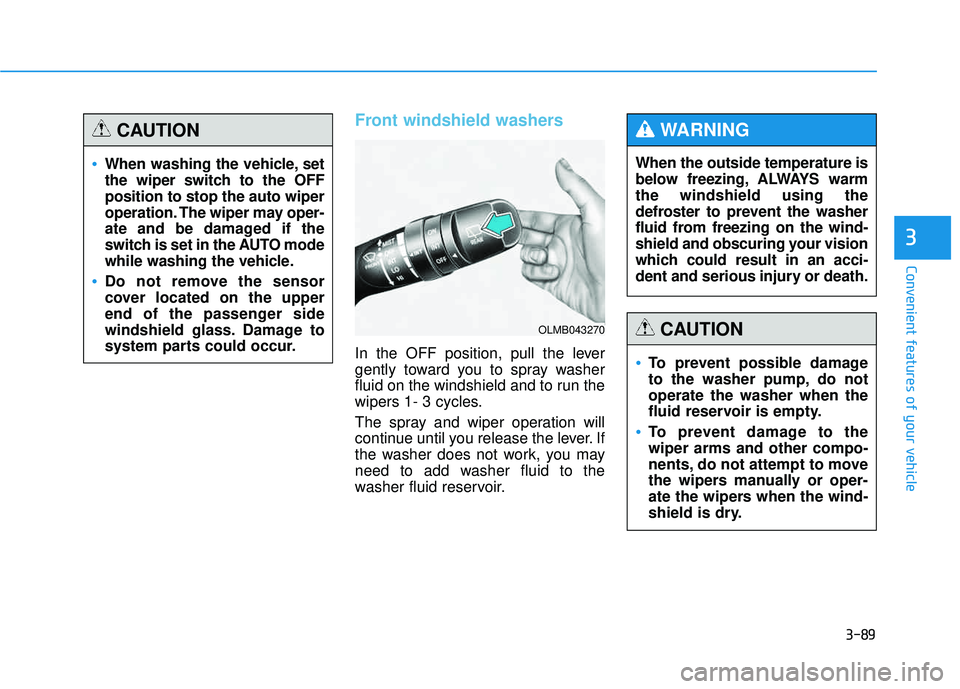
Front windshield washers
In the OFF position, pull the lever
gently toward you to spray washer
fluid on the windshield and to run the
wipers 1- 3 cycles.
The spray and wiper operation will
continue until you release the lever. If
the washer does not work, you may
need to add washer fluid to the
washer fluid reservoir.When the outside temperature is
below freezing, ALWAYS warmthe windshield using the
defroster to prevent the washer
fluid from freezing on the wind-
shield and obscuring your vision
which could result in an acci-
dent and serious injury or death.
WARNING
To prevent possible damage
to the washer pump, do notoperate the washer when the
fluid reservoir is empty.
To prevent damage to the wiper arms and other compo-
nents, do not attempt to move
the wipers manually or oper-
ate the wipers when the wind-
shield is dry.
CAUTION
When washing the vehicle, set
the wiper switch to the OFFposition to stop the auto wiper
operation. The wiper may oper-
ate and be damaged if the
switch is set in the AUTO mode
while washing the vehicle.
Do not remove the sensor
cover located on the upper
end of the passenger side
windshield glass. Damage to
system parts could occur.
CAUTION
OLMB043270
Page 181 of 653
3-95
Convenient features of your vehicle
3
Mode selection
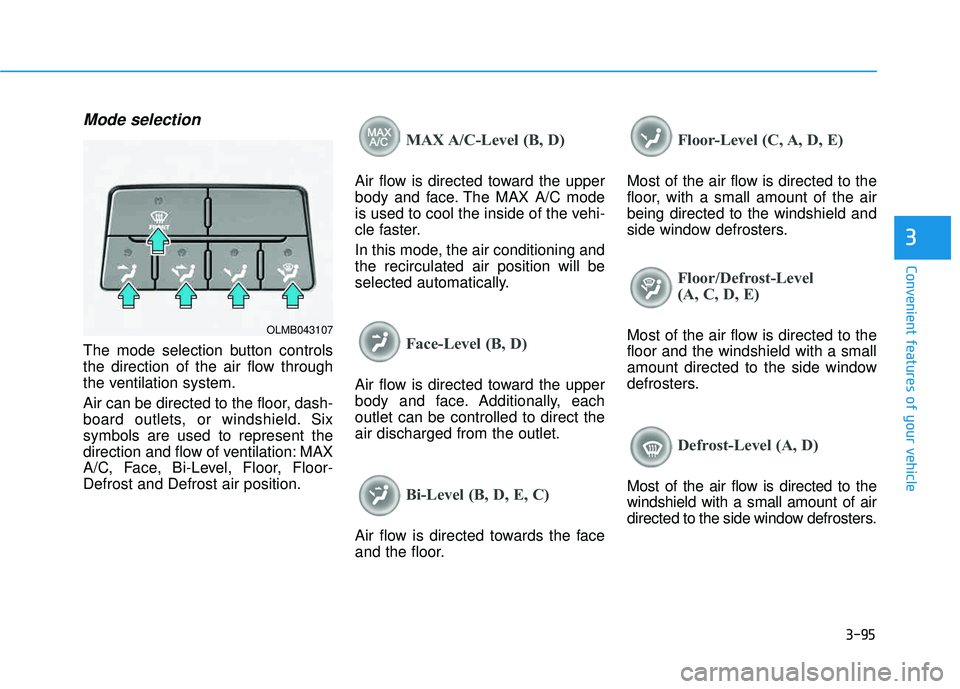
The mode selection button controls
the direction of the air flow through
the ventilation system.
Air can be directed to the floor, dash-
board outlets, or windshield. Sixsymbols are used to represent the
direction and flow of ventilation: MAX
A/C, Face, Bi-Level, Floor, Floor-Defrost and Defrost air position.
MAX A/C-Level (B, D)
Air flow is directed toward the upper
body and face. The MAX A/C mode
is used to cool the inside of the vehi-
cle faster.
In this mode, the air conditioning and the recirculated air position will be
selected automatically.
Face-Level (B, D)
Air flow is directed toward the upper
body and face. Additionally, eachoutlet can be controlled to direct theair discharged from the outlet.
Bi-Level (B, D, E, C)
Air flow is directed towards the face
and the floor.
Floor-Level (C, A, D, E)
Most of the air flow is directed to the
floor, with a small amount of the airbeing directed to the windshield and
side window defrosters.
Floor/Defrost-Level
(A, C, D, E)
Most of the air flow is directed to the floor and the windshield with a small
amount directed to the side window
defrosters.
Defrost-Level (A, D)
Most of the air flow is directed to the windshield with a small amount of air
directed to the side window defrosters.
OLMB043107
Page 192 of 653
3-106
Convenient features of your vehicle
Face-Level (B, D)
Air flow is directed toward the upper
body and face. Additionally, eachoutlet can be controlled to direct theair discharged from the outlet.
Bi-Level (B, D, E, C)
Air flow is directed towards the face
and the floor.
Floor-Level (C, A, D, E)
Most of the air flow is directed to the
floor, with a small amount of the airbeing directed to the windshield and
side window defrosters.
Floor/Defrost-Level
(A, C, D, E)
Most of the air flow is directed to the floor and the windshield with a small
amount directed to the side window
defrosters.Defrost-Level (A, D)
Most of the air flow is directed to the windshield with a small amount of air
directed to the side window defrosters.
OLMB043125
Page 209 of 653
3-123
Convenient features of your vehicle
3
Cargo security screen (if equipped)
Use the cargo security screen to hide items stored in the cargo area.
To use the cargo security screen:
1. Pull the cargo security screentowards the rear of the vehicle by
the handle.
2. Insert the guide pin into the guide.
When the cargo security screen is not in use:
1. Pull the cargo security screen backward and up to release it from
the guides.
2. The cargo security screen will automatically retract.
✽✽ NOTICE
The cargo security screen may not
automatically retract if the screen is
not fully extended. If this is the case,
pull out the screen, then slowly allow
it to retract.
OLMB043292
OLMB043293
Page 215 of 653
4-4
Multimedia System
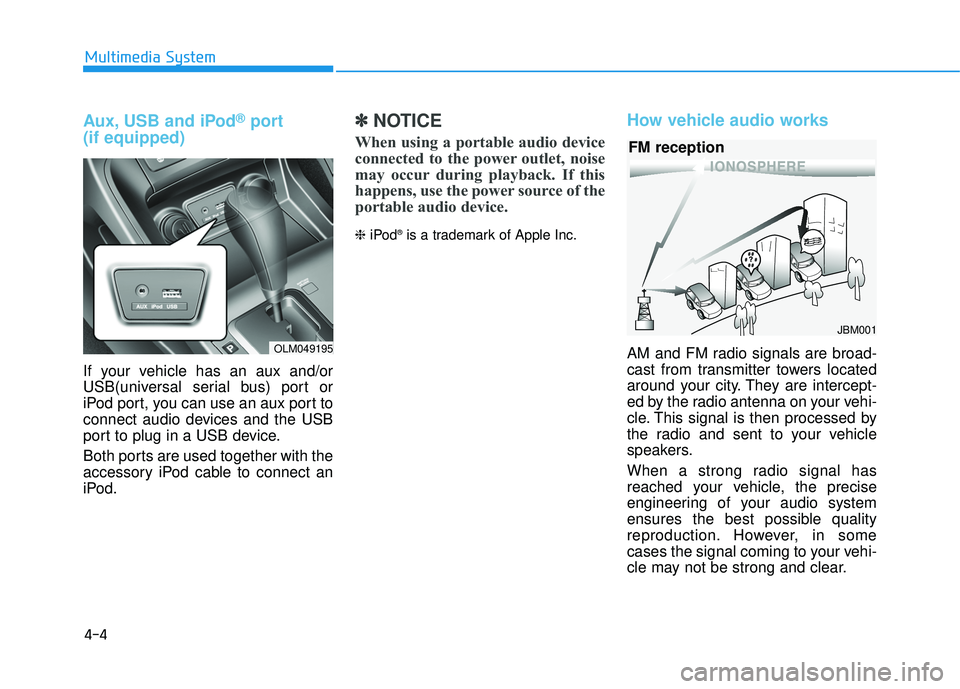
Aux, USB and iPod®port
(if equipped)
If your vehicle has an aux and/or
USB(universal serial bus) port or
iPod port, you can use an aux port to
connect audio devices and the USB
port to plug in a USB device.
Both ports are used together with the
accessory iPod cable to connect an
iPod.
✽✽ NOTICE
When using a portable audio device
connected to the power outlet, noise
may occur during playback. If this
happens, use the power source of the
portable audio device.
❈ iPod ®
is a trademark of Apple Inc.
How vehicle audio works
AM and FM radio signals are broad-
cast from transmitter towers located
around your city. They are intercept-
ed by the radio antenna on your vehi-
cle. This signal is then processed by
the radio and sent to your vehicle
speakers.
When a strong radio signal has
reached your vehicle, the precise
engineering of your audio system
ensures the best possible quality
reproduction. However, in some
cases the signal coming to your vehi-
cle may not be strong and clear.
JBM001
FM reception
OLM049195
Page 447 of 653
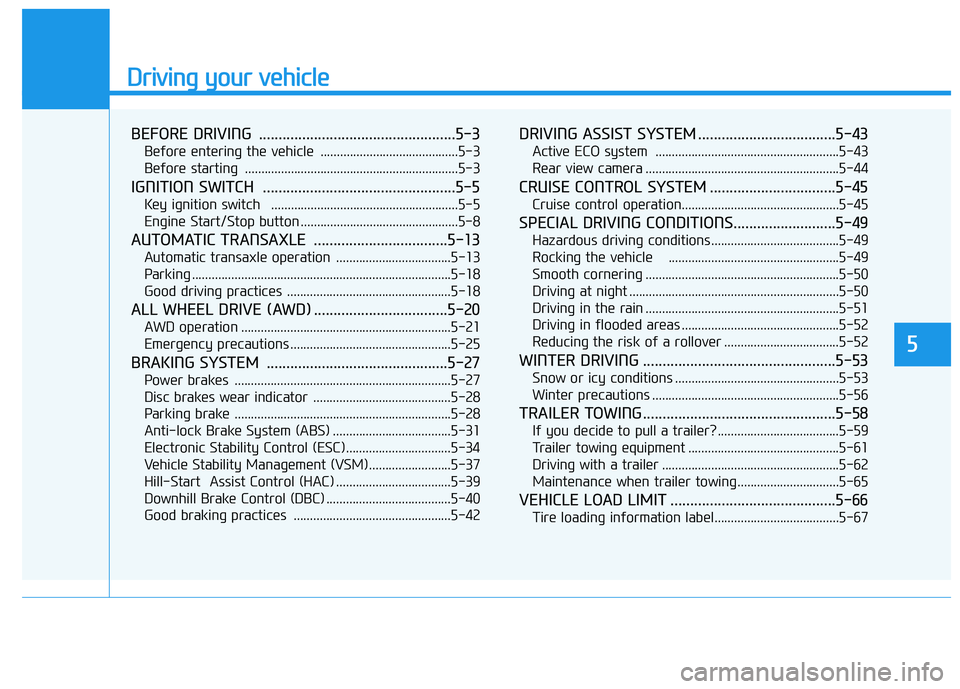
Driving your vehicle
BEFORE DRIVING ..................................................5-3
Before entering the vehicle ..........................................5-3
Before starting .................................................................5-3
IGNITION SWITCH .................................................5-5
Key ignition switch .........................................................5-5
Engine Start/Stop button ................................................5-8
AUTOMATIC TRANSAXLE ..................................5-13
Automatic transaxle operation ...................................5-13
Parking ...............................................................................5-18
Good driving practices ..................................................5-18
ALL WHEEL DRIVE (AWD) ..................................5-20
AWD operation ................................................................5-21
Emergency precautions .................................................5-25
BRAKING SYSTEM ..............................................5-27
Power brakes ..................................................................5-27
Disc brakes wear indicator ..........................................5-28
Parking brake ..................................................................5-28
Anti-lock Brake System (ABS) ....................................5-31
Electronic Stability Control (ESC) ................................5-34
Vehicle Stability Management (VSM).........................5-37
Hill-Start Assist Control (HAC) ...................................5-39
Downhill Brake Control (DBC) ......................................5-40
Good braking practices ................................................5-42
DRIVING ASSIST SYSTEM ...................................5-43
Active ECO system ........................................................5-43
Rear view camera ...........................................................5-44
CRUISE CONTROL SYSTEM ................................5-45
Cruise control operation................................................5-45
SPECIAL DRIVING CONDITIONS..........................5-49
Hazardous driving conditions.......................................5-49
Rocking the vehicle ....................................................5-49
Smooth cornering ...........................................................5-50
Driving at night ................................................................5-50
Driving in the rain ...........................................................5-51
Driving in flooded areas ................................................5-52
Reducing the risk of a rollover ...................................5-52
WINTER DRIVING .................................................5-53
Snow or icy conditions ..................................................5-53
Winter precautions .........................................................5-56
TRAILER TOWING.................................................5-58
If you decide to pull a trailer? .....................................5-59
Trailer towing equipment ..............................................5-61
Driving with a trailer ......................................................5-62
Maintenance when trailer towing ...............................5-65
VEHICLE LOAD LIMIT ..........................................5-66
Tire loading information label......................................5-67
5