Page 525 of 653
6-9
What to do in an emergency
6.If you cannot find the cause of theoverheating, wait until the engine
temperature has returned to nor-
mal. Then, if coolant has been lost,carefully add coolant to the reser-
voir to bring the fluid level in the
reservoir up to the halfway mark.
7.Proceed with caution, keeping alert for further signs of overheat-
ing. If overheating happens again,
call an authorized HYUNDAI deal-
er for assistance.
6
Serious loss of coolant indi- cates a leak in the cooling sys-
tem and should be checked as
soon as possible by an author-
ized HYUNDAI dealer.
CAUTION
Page 542 of 653

7
Maintenance
7
Maintenance
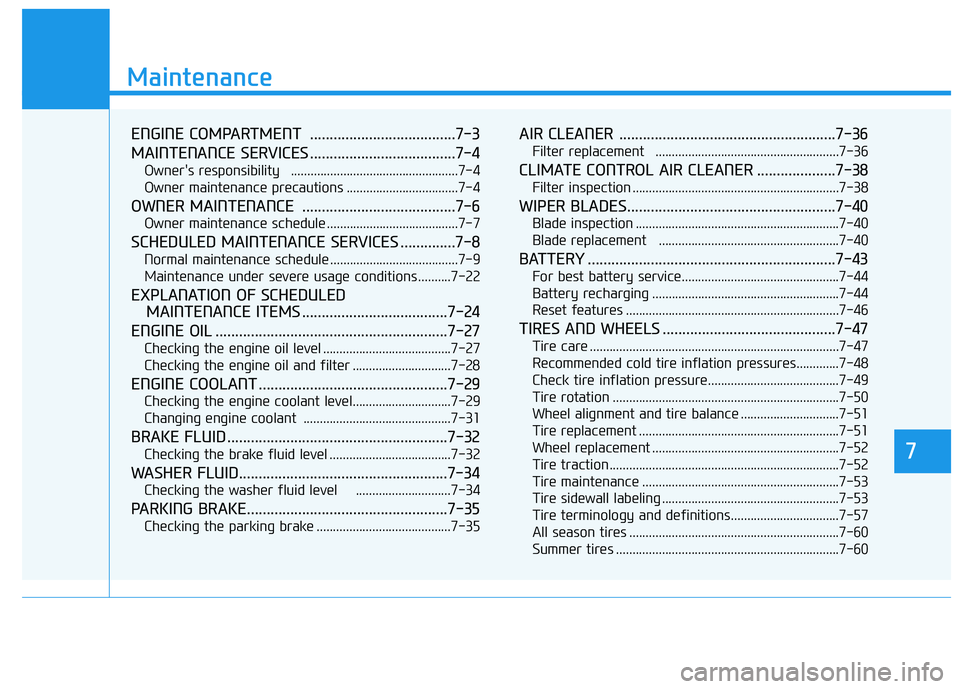
ENGINE COMPARTMENT .....................................7-3
MAINTENANCE SERVICES .....................................7-4
Owner's responsibility ...................................................7-4
Owner maintenance precautions ..................................7-4
OWNER MAINTENANCE .......................................7-6
Owner maintenance schedule ........................................7-7
SCHEDULED MAINTENANCE SERVICES ..............7-8
Normal maintenance schedule .......................................7-9
Maintenance under severe usage conditions ..........7-22
EXPLANATION OF SCHEDULED MAINTENANCE ITEMS .....................................7-24
ENGINE OIL ...........................................................7-27
Checking the engine oil level .......................................7-27
Checking the engine oil and filter ..............................7-28
ENGINE COOLANT ................................................7-29
Checking the engine coolant level..............................7-29
Changing engine coolant .............................................7-31
BRAKE FLUID ........................................................7-32
Checking the brake fluid level .....................................7-32
WASHER FLUID.....................................................7-34
Checking the washer fluid level .............................7-34
PARKING BRAKE...................................................7-35
Checking the parking brake .........................................7-35
AIR CLEANER .......................................................7-36
Filter replacement ........................................................7-36
CLIMATE CONTROL AIR CLEANER ....................7-38
Filter inspection ...............................................................7-38
WIPER BLADES.....................................................7-40
Blade inspection ..............................................................7-40
Blade replacement .......................................................7-40
BATTERY ...............................................................7-43
For best battery service................................................7-44
Battery recharging .........................................................7-44
Reset features .................................................................7-46
TIRES AND WHEELS ............................................7-47
Tire care ............................................................................7-47
Recommended cold tire inflation pressures.............7-48
Check tire inflation pressure........................................7-49
Tire rotation .....................................................................7-50
Wheel alignment and tire balance ..............................7-51
Tire replacement .............................................................7-51
Wheel replacement .........................................................7-52
Tire traction ......................................................................7-52
Tire maintenance ............................................................7-53
Tire sidewall labeling ......................................................7-53
Tire terminology and definitions.................................7-57
All season tires ................................................................7-60
Summer tires ....................................................................7-60
7
Page 544 of 653
7-3
7
Maintenance
EENN GGIINN EE CC OO MM PPAA RRTTMM EENN TT
1. Engine coolant reservoir
2. Radiator cap
3. Brake fluid reservoir
4. Air cleaner
5. Engine oil dipstick
6. Engine oil filler cap
7. Windshield washer fluid reservoir
8. Fuse box
OLMB073001/OLM079001N
■■NU 2.0
❈ The actual engine compartment the vehicle may differ from the illustration.
■■Theta II 2.4
Page 548 of 653

7-7
7
Maintenance
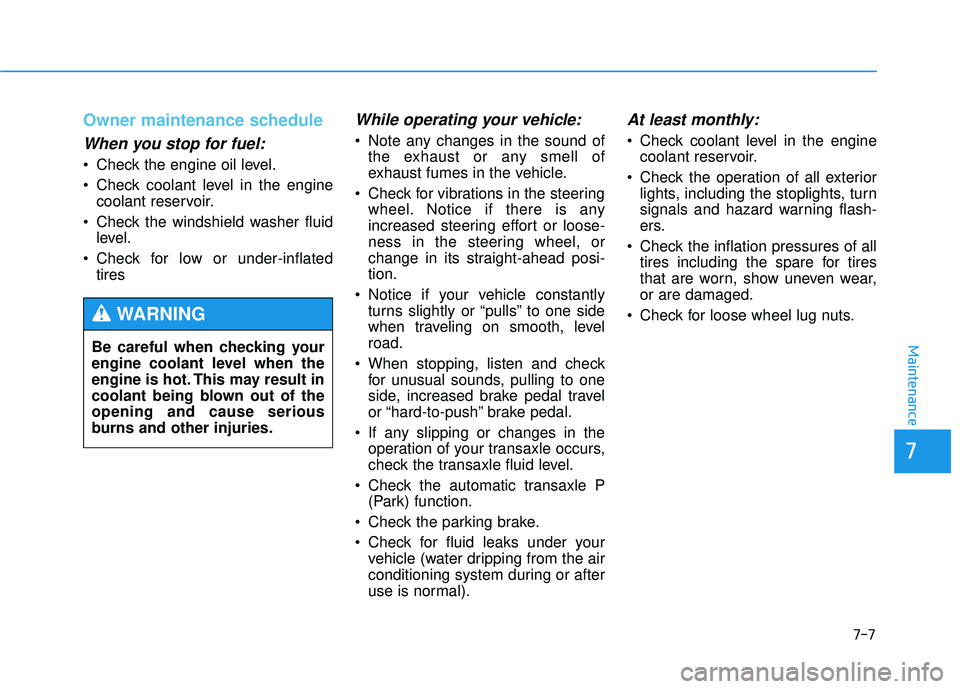
Owner maintenance schedule
When you stop for fuel:
Check the engine oil level.
Check coolant level in the enginecoolant reservoir.
Check the windshield washer fluid level.
Check for low or under-inflated tires
While operating your vehicle:
Note any changes in the sound ofthe exhaust or any smell of
exhaust fumes in the vehicle.
Check for vibrations in the steering wheel. Notice if there is any
increased steering effort or loose-
ness in the steering wheel, or
change in its straight-ahead posi-tion.
Notice if your vehicle constantly turns slightly or “pulls” to one side
when traveling on smooth, levelroad.
When stopping, listen and check for unusual sounds, pulling to one
side, increased brake pedal travel
or “hard-to-push” brake pedal.
If any slipping or changes in the operation of your transaxle occurs,
check the transaxle fluid level.
Check the automatic transaxle P (Park) function.
Check the parking brake.
Check for fluid leaks under your vehicle (water dripping from the air
conditioning system during or after
use is normal).
At least monthly:
Check coolant level in the enginecoolant reservoir.
Check the operation of all exterior lights, including the stoplights, turn
signals and hazard warning flash-
ers.
Check the inflation pressures of all tires including the spare for tires
that are worn, show uneven wear,or are damaged.
Check for loose wheel lug nuts.
Be careful when checking your
engine coolant level when the
engine is hot. This may result in
coolant being blown out of theopening and cause serious
burns and other injuries.
WARNING
Page 560 of 653
7-19
7
Maintenance
(Continued)
❑Replace air cleaner filter
❑ Replace engine oil and filter (120,000 miles (192,000 km) or 192 months)
❑ Replace coolant (First, 120,000 miles (192,000 km) or 120
months after every 30,000 miles (48,000 km) or 24 months)
❑ Add fuel additive * 1
(120,000 miles (192,000 km) or 192 months)
Normal maintenance schedule
127,500 miles (204,000 km) or 102 months
❑ Rotating tires
❑ Inspect air cleaner filter
❑ Inspect vacuum hose
❑ Replace engine oil and filter (127,500 miles (204,000 km) or 204 months)
❑ Add fuel additive * 1
(127,500 miles (204,000 km) or 204 months)
Page 562 of 653

7-21
7
Maintenance
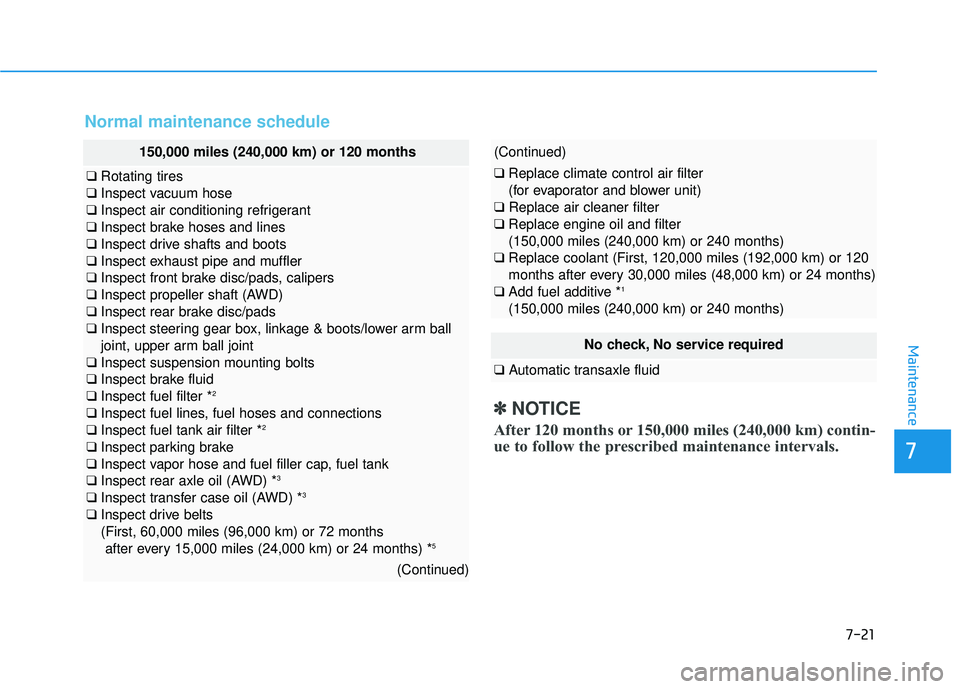
Normal maintenance schedule
No check, No service required
❑Automatic transaxle fluid
150,000 miles (240,000 km) or 120 months
❑Rotating tires
❑ Inspect vacuum hose
❑ Inspect air conditioning refrigerant
❑ Inspect brake hoses and lines
❑ Inspect drive shafts and boots
❑ Inspect exhaust pipe and muffler
❑ Inspect front brake disc/pads, calipers
❑ Inspect propeller shaft (AWD)
❑ Inspect rear brake disc/pads
❑ Inspect steering gear box, linkage & boots/lower arm ball
joint, upper arm ball joint
❑ Inspect suspension mounting bolts
❑ Inspect brake fluid
❑ Inspect fuel filter * 2
❑ Inspect fuel lines, fuel hoses and connections
❑ Inspect fuel tank air filter * 2
❑ Inspect parking brake
❑ Inspect vapor hose and fuel filler cap, fuel tank
❑ Inspect rear axle oil (AWD) * 3
❑ Inspect transfer case oil (AWD) * 3
❑ Inspect drive belts(First, 60,000 miles (96,000 km) or 72 months
after every 15,000 miles (24,000 km) or 24 months) * 5
(Continued)
(Continued)
❑
Replace climate control air filter
(for evaporator and blower unit)
❑ Replace air cleaner filter
❑ Replace engine oil and filter (150,000 miles (240,000 km) or 240 months)
❑ Replace coolant (First, 120,000 miles (192,000 km) or 120
months after every 30,000 miles (48,000 km) or 24 months)
❑ Add fuel additive * 1
(150,000 miles (240,000 km) or 240 months)
✽✽ NOTICE
After 120 months or 150,000 miles (240,000 km) contin-
ue to follow the prescribed maintenance intervals.
Page 566 of 653

7-25
7
Maintenance
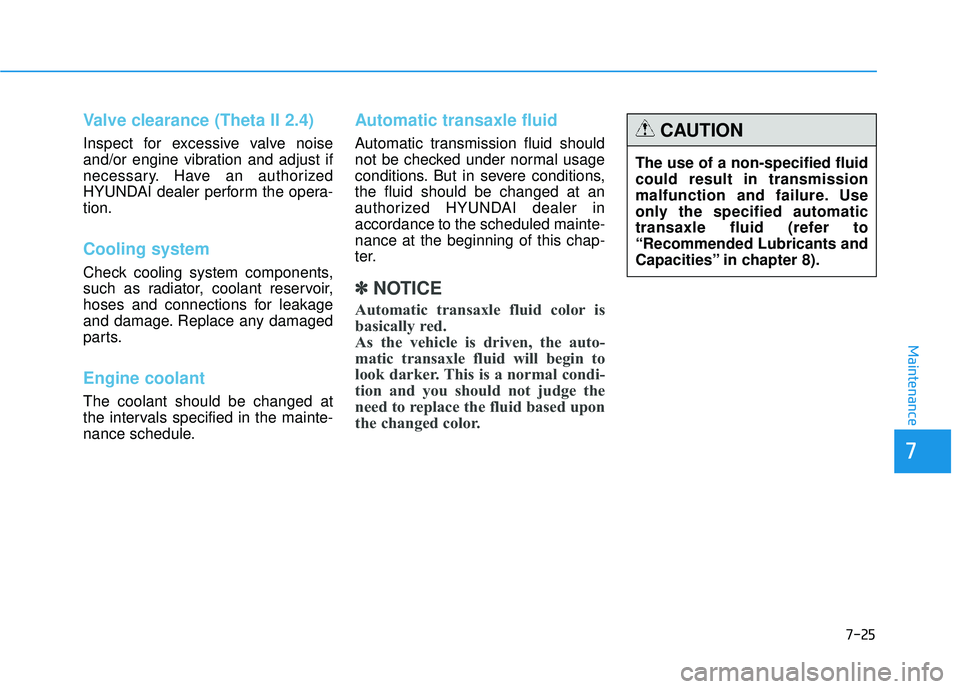
Valve clearance (Theta II 2.4)
Inspect for excessive valve noise
and/or engine vibration and adjust if
necessary. Have an authorized
HYUNDAI dealer perform the opera-tion.
Cooling system
Check cooling system components,
such as radiator, coolant reservoir,
hoses and connections for leakage
and damage. Replace any damaged
parts.
Engine coolant
The coolant should be changed at
the intervals specified in the mainte-
nance schedule.
Automatic transaxle fluid
Automatic transmission fluid should
not be checked under normal usage
conditions. But in severe conditions,the fluid should be changed at an
authorized HYUNDAI dealer inaccordance to the scheduled mainte-nance at the beginning of this chap-
ter.
✽✽NOTICE
Automatic transaxle fluid color is
basically red.
As the vehicle is driven, the auto-
matic transaxle fluid will begin to
look darker. This is a normal condi-
tion and you should not judge the
need to replace the fluid based upon
the changed color.
The use of a non-specified fluid could result in transmission
malfunction and failure. Use
only the specified automatic
transaxle fluid (refer to“Recommended Lubricants and
Capacities” in chapter 8).
CAUTION
Page 570 of 653
7-29
7
Maintenance
EENN GGIINN EE CC OO OOLLAA NN TT
The high-pressure cooling system
has a reservoir filled with year-round
antifreeze coolant. The reservoir is
filled at the factory.
Check the antifreeze protection and
coolant level at least once a year, atthe beginning of the winter season
and before traveling to a colder cli-
mate.Checking the engine coolant
level
Never remove the
radiator cap or the drain plug while theengine and radiator
are hot. Hot coolant
and steam may blow out under
pressure, causing serious
injury.
(Continued)
WARNING
(Continued)
Turn the engine off and wait
until the engine cools down.
Use extreme care when remov-
ing the radiator cap. Wrap a
thick towel around it, and turn it
counterclockwise slowly to the
first stop. Step back while the
pressure is released from the
cooling system. When you aresure all the pressure has been
released, press down on the
cap, using a thick towel, and
continue turning counterclock-
wise to remove it.
OLMB073006