Page 70 of 653

2-53
Safety system of your vehicle
2
SRS warning light
The SRS (Supplement Restraint
System) air bag warning light on the
instrument panel displays the air bag
symbol depicted in the illustration. The
system checks the air bag electrical
system for malfunctions. The light indi-
cates that there is a potential problem
with your air bag system, which could
include your side and curtain air bags
used for rollover protection.During a moderate to severe frontal
collision, sensors will detect the vehi-
cle’s rapid deceleration. If the rate of
deceleration is high enough, the con-
trol unit will inflate the front air bags. The front air bags help protect the
driver and front passenger byresponding to frontal impacts in
which seat belts alone cannot provide
adequate restraint. When needed,
the side air bags help provide protec-
tion in the event of a side impact or
rollover by supporting the side upperbody area.
Air bags are activated (able to
inflate if necessary) only when the
ignition switch is in the ON position.
Air bags inflate in the event of a severe frontal or side collision tohelp protect the occupants from
serious physical injury.
There is no single speed at which the air bags will inflate. Generally,air bags are designed to inflate
based upon the severity of a colli-
sion and its direction. These two
factors determine whether the sen-
sors produce an electronic deploy-ment/inflation signal.
If your SRS malfunctions, the
air bag may not inflate properlyduring an accident increasing
the risk of serious injury ordeath.
If any of the following condi-
tions occur, your SRS is mal-functioning:
The light does not turn on for
approximately six seconds
when the ignition switch isplaced in the ON position.
The light stays on after illumi-
nating for approximately sixseconds.
The light comes on while the
vehicle is in motion.
The light blinks when the engine is running.
Have an authorized HYUNDAIdealer inspect the SRS as soon
as possible if any of these con-
ditions occur.
WARNING
Page 107 of 653
3-21
Convenient features of your vehicle
3
Instrument Cluster Control
Adjusting Instrument ClusterIllumination
When the vehicle's parking lights or headlights are on, press the illumina-
tion control button to adjust the
brightness of the instrument panelillumination. The brightness of the instrument
panel illumination is displayed.
If the brightness reaches to the maximum or minimum level, an
alarm will sound.
Gauges
Speedometer
The speedometer indicates the
speed of the vehicle and is calibratedin miles per hour (mph) and/or kilo-meters per hour (km/h).OLMB043142
OLM043400
OLM049054N
Page 110 of 653
3-24
Convenient features of your vehicle
Odometer
The odometer Indicates the total dis-
tance that the vehicle has been driv-
en and should be used to determine
when periodic maintenance should
be performed.
- Odometer range : 0 ~ 999999 milesor kilometers.
Transaxle Shift Indicator
Automatic Transaxle
Shift Indicator
This indicator displays which auto-
matic transaxle gear is selected.
Reverse : R
Neutral : N
Sports Mode : 1, 2, 3, 4, 5, 6
OLMB043149N
Page 111 of 653
3-25
Convenient features of your vehicle
3
The trip computer is a microcomput-
er-controlled driver information sys-
tem that displays information related
to driving.
✽✽NOTICE
All driving information stored in the
trip computer (except Odometer
and Distance to empty) resets if the
battery is disconnected.
Trip Modes
Push the button to select the follow- ing modes:
Tripmeter
This mode indicates the distance of
individual trips selected since the
last tripmeter reset.
The meter's working range is from 0.0 to 999.9 miles (0.0 to 9999.9 km).
Pressing the TRIP button for more
than 1 second, when the tripmeter is
displayed, clears the tripmeter to
zero (0.0).
TT RR IIPP CC OO MM PPUU TTEERR
OEL043703
OLM049061N
TRIP
Driving time
Distance to
empty
Average
vehicle speed
Average fuel
consumption
Page 112 of 653

3-26
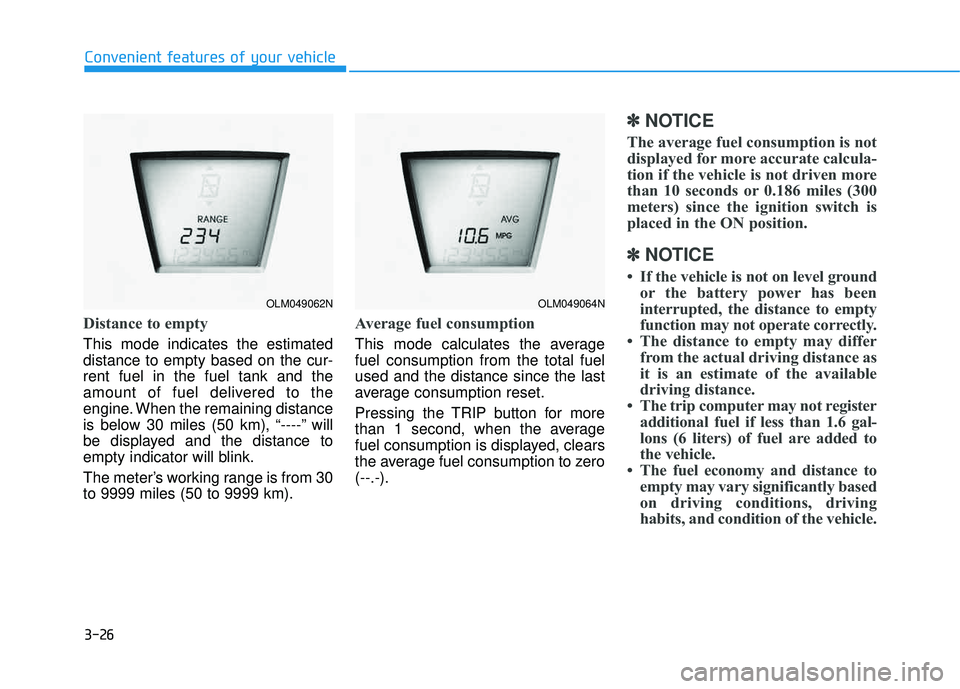
Distance to empty
This mode indicates the estimated distance to empty based on the cur-rent fuel in the fuel tank and the
amount of fuel delivered to the
engine. When the remaining distance
is below 30 miles (50 km), “----” will
be displayed and the distance to
empty indicator will blink.
The meter’s working range is from 30 to 9999 miles (50 to 9999 km).
Average fuel consumption
This mode calculates the average fuel consumption from the total fuelused and the distance since the last
average consumption reset.
Pressing the TRIP button for more
than 1 second, when the average
fuel consumption is displayed, clears
the average fuel consumption to zero(--.-).
✽✽NOTICE
The average fuel consumption is not
displayed for more accurate calcula-
tion if the vehicle is not driven more
than 10 seconds or 0.186 miles (300
meters) since the ignition switch is
placed in the ON position.
✽
✽ NOTICE
If the vehicle is not on level ground or the battery power has been
interrupted, the distance to empty
function may not operate correctly.
The distance to empty may differ from the actual driving distance as
it is an estimate of the available
driving distance.
The trip computer may not register additional fuel if less than 1.6 gal-
lons (6 liters) of fuel are added to
the vehicle.
The fuel economy and distance to empty may vary significantly based
on driving conditions, driving
habits, and condition of the vehicle.
Convenient features of your vehicle
OLM049062NOLM049064N
Page 113 of 653

3-27
Convenient features of your vehicle
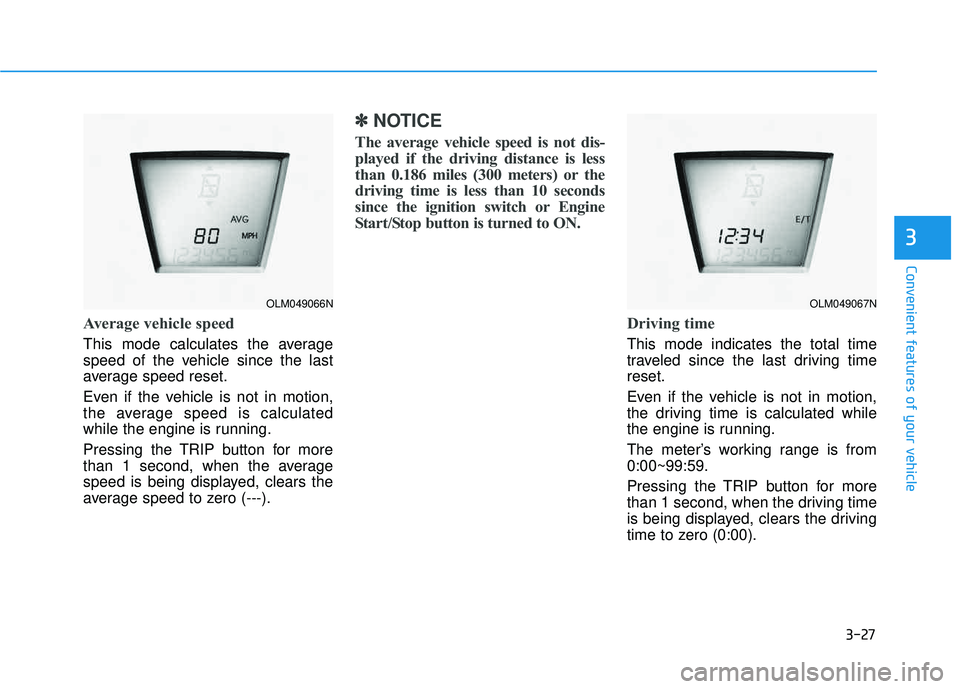
Average vehicle speed
This mode calculates the average
speed of the vehicle since the last
average speed reset.
Even if the vehicle is not in motion,
the average speed is calculated
while the engine is running.
Pressing the TRIP button for more
than 1 second, when the average
speed is being displayed, clears the
average speed to zero (---).
✽✽NOTICE
The average vehicle speed is not dis-
played if the driving distance is less
than 0.186 miles (300 meters) or the
driving time is less than 10 seconds
since the ignition switch or Engine
Start/Stop button is turned to ON.
Driving time
This mode indicates the total time
traveled since the last driving timereset.
Even if the vehicle is not in motion,
the driving time is calculated while
the engine is running.
The meter’s working range is from 0:00~99:59.
Pressing the TRIP button for more
than 1 second, when the driving time
is being displayed, clears the driving
time to zero (0:00).
3
OLM049066NOLM049067N
Page 131 of 653

3-45
Convenient features of your vehicle
3
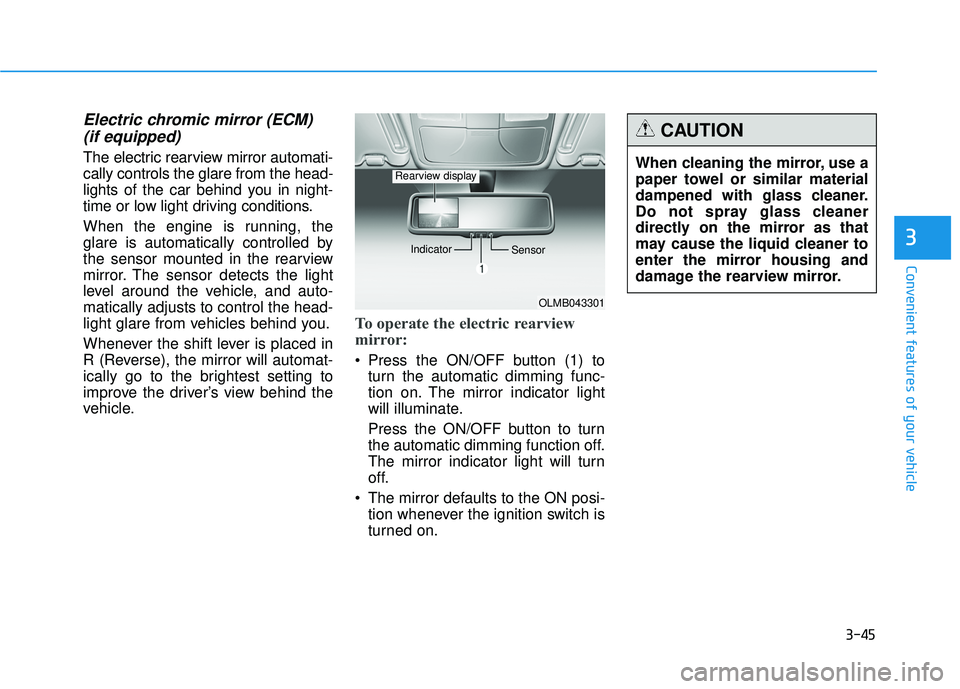
Electric chromic mirror (ECM) (if equipped)
The electric rearview mirror automati- cally controls the glare from the head-
lights of the car behind you in night-
time or low light driving conditions.
When the engine is running, the
glare is automatically controlled by
the sensor mounted in the rearview
mirror. The sensor detects the light
level around the vehicle, and auto-matically adjusts to control the head-
light glare from vehicles behind you.
Whenever the shift lever is placed in
R (Reverse), the mirror will automat-
ically go to the brightest setting to
improve the driver’s view behind the
vehicle.
To operate the electric rearview
mirror:
Press the ON/OFF button (1) to turn the automatic dimming func-
tion on. The mirror indicator light
will illuminate.
Press the ON/OFF button to turn
the automatic dimming function off.
The mirror indicator light will turn
off.
The mirror defaults to the ON posi- tion whenever the ignition switch is
turned on.
OLMB043301
Indicator
Sensor
Rearview displayWhen cleaning the mirror, use a
paper towel or similar material
dampened with glass cleaner.
Do not spray glass cleaner
directly on the mirror as that
may cause the liquid cleaner to
enter the mirror housing and
damage the rearview mirror.
CAUTION
Page 132 of 653
3-46
Convenient features of your vehicle
Blue Link®
center (if equipped)
For details, refer to the Blue Link ®
Owner’s Guide, Navigation Manual
or Audio Manual. The Audio Manualis in the chapter 4.
Electric chromic mirror (ECM) with compass and HomeLink ®
system (if equipped)
Your vehicle may be equipped with a
Gentex Automatic-Dimming Mirror
with a Z-Nav™ Electronic Compass
Display and an Integrated HomeLink ®
Wireless Control System.
During nighttime driving, this feature will automatically detect and reduce
rearview mirror glare while the com-
pass indicates the direction the vehi-
cle is pointed. The HomeLink ®
Universal Transceiver allows you to
activate your garage door(s), electric
gate, home lighting, etc. (1) Channel 1 button
(2) Channel 2 button (3) Status indicator LED
(4) Channel 3 button (5) Rear light sensor
(6) Dimming ON/OFF button
(7) Compass control button
(8) Compass display
OLMB043462
OLMB043463
■
Type A
■ Type B
OLMB043464