Page 470 of 504
7-59
7
Maintenance
Fuse NameSymbolFuse ratingCircuit Protected
5MODULE10A Front Console Switch, Blind Spot Detection Radar, Fuel Filler Door & Boot Lid Switch, Front
Parking Assist Sensor, Rear Parking Assist Sensor
IG1 25A PCB Block (Fuse - F1/F2/F7/F8)
Rear Fog Lamp 10A ICM Relay Box (Rear Fog Lamp Relay)
WASHER 15A Multifunction Switch (Wiper Low & Washer Switch)
POWER OUTLET 20A Cigarette Lighter
A/BAG 15A SRS Control Module
START 7.5A
[W/O Smart Key & IMMO.] ICM Relay Box (Burglar Alarm Relay)
[With Smart Key / IMMO.-A/T]
Transaxle Range Switch, PCM (G4KJ/G4KH)
[With Smart Key / IMMO.-M/T]
Ignition Lock & Clutch
Driver’s side fuse panel
Page 474 of 504

7-63
7
Maintenance
LIGHT BULBS
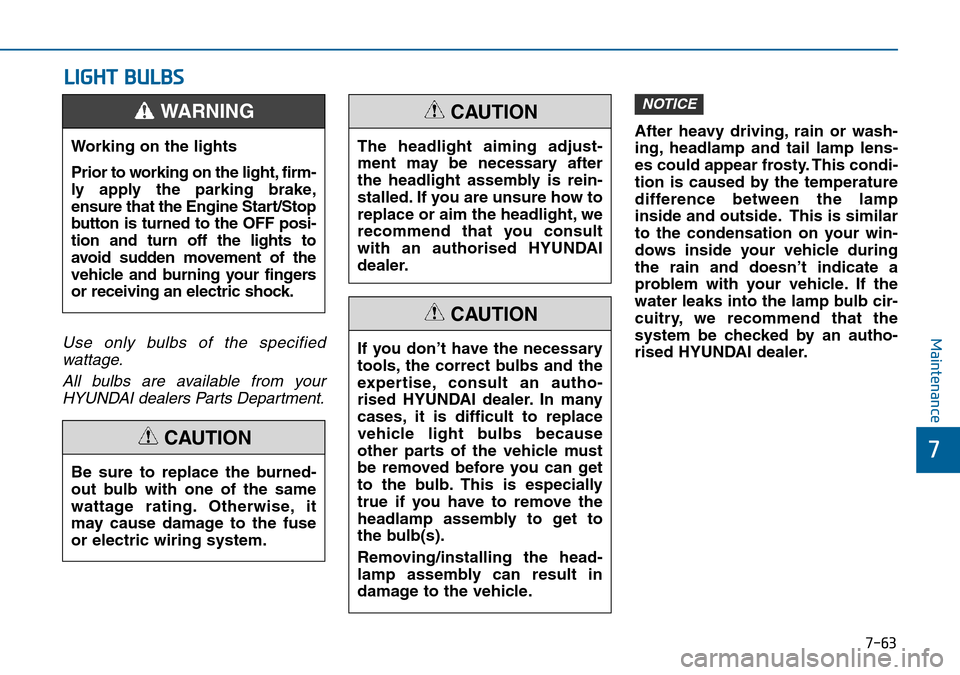
Use only bulbs of the specified
wattage.
All bulbs are available from your
HYUNDAI dealers Parts Department.
After heavy driving, rain or wash-
ing, headlamp and tail lamp lens-
es could appear frosty. This condi-
tion is caused by the temperature
difference between the lamp
inside and outside. This is similar
to the condensation on your win-
dows inside your vehicle during
the rain and doesn’t indicate a
problem with your vehicle. If the
water leaks into the lamp bulb cir-
cuitry, we recommend that the
system be checked by an autho-
rised HYUNDAI dealer.
NOTICE
Be sure to replace the burned-
out bulb with one of the same
wattage rating. Otherwise, it
may cause damage to the fuse
or electric wiring system.
CAUTION
If you don’t have the necessary
tools, the correct bulbs and the
expertise, consult an autho-
rised HYUNDAI dealer. In many
cases, it is difficult to replace
vehicle light bulbs because
other parts of the vehicle must
be removed before you can get
to the bulb. This is especially
true if you have to remove the
headlamp assembly to get to
the bulb(s).
Removing/installing the head-
lamp assembly can result in
damage to the vehicle.
CAUTION
Working on the lights
Prior to working on the light, firm-
ly apply the parking brake,
ensure that the Engine Start/Stop
button is turned to the OFF posi-
tion and turn off the lights to
avoid sudden movement of the
vehicle and burning your fingers
or receiving an electric shock.
WARNING
The headlight aiming adjust-
ment may be necessary after
the headlight assembly is rein-
stalled. If you are unsure how to
replace or aim the headlight, we
recommend that you consult
with an authorised HYUNDAI
dealer.
CAUTION
Page 478 of 504
7-67
7
Maintenance
Rear combination light bulb
replacement
Type A
(1) Stop/Tail lamp
(2) Tail lamp
(3) Turn signal lamp
(4) Reverse lamp
Stop/Tail lamp and Turn signal lamp
1. Open the boot lid.
2. Remove the service cover by turn-
ing the lock anticlockwise and then
pulling it out.3. Remove the socket from the
assembly by turning the socket
anticlockwise until the tabs on the
socket align with the slots on the
assembly.
4. Remove the bulb from the socket
by pressing it in and rotating it
anticlockwise until the tabs on the
bulb align with the slots in the
socket. Pull the bulb out of the
socket.
5. Insert a new bulb by inserting it
into the socket and rotating it until
it locks into place.
OLF074063OLF074062
Stop/Tail lamp
Turn Signal lamp
OLF074060
Page 482 of 504
7-71
7
Maintenance
High mounted stop lamp
replacement
If the high mounted stop lamp does
not operate, we recommend that you
contact an authorised HYUNDAI
dealer.
Licence plate light bulb
replacement
If the licence plate lamp does not
operate, we recommend that you
contact an authorised HYUNDAI
dealer.
Interior light bulb replacement
Map lamp and Room lamp
If the lamp does not operate, have
the vehicle checked by an authorised
HYUNDAI dealer.
OLF074066OLF074055OLF074067
OLF074068
■Room lamp - with sunroof
Page 483 of 504
7-72
Maintenance
1. Using a flat-head screwdriver,
gently pry the lens from the interi-
or light housing.
2. Remove the bulb by pulling it
straight out.
3. Install a new bulb in the socket.
4. Align the lens tabs with the interior
light housing notches and snap
the lens into place.
If the lamps do not operate, have the
vehicle checked by an authorised
HYUNDAI dealer.
Use care not to dirty or damage
lenses, lens tabs, and plastic
housings.
NOTICE
OLF074082N
■Vanity mirror lamp
■Luggage room lamp
OLF074069/HOLF074056■Room lamp - without sunroof
Room lamp, Vanity mirror lamp and Luggage room lamp
Page 484 of 504

7-73
7
Maintenance
APPEARANCE CARE
Exterior care
Exterior general caution
It is very important to follow the label
directions when using any chemical
cleaner or polish. Read all warning
and caution statements that appear
on the label.
Finish maintenance
Washing
To help protect your vehicle’s finish
from rust and deterioration, wash it
thoroughly and frequently at least
once a month with lukewarm or cold
water.
If you use your vehicle for off-road
driving, you should wash it after each
off-road trip. Pay special attention to
the removal of any accumulation of
salt, dirt, mud, and other foreign
materials. Make sure the drain holes
in the lower edges of the doors and
rocker panels are kept clear and
clean.
Insects, tar, tree sap, bird droppings,
industrial pollution and similar
deposits can damage your vehicle’s
finish if not removed immediately.
Even prompt washing with plain
water may not completely remove all
these deposits.
A mild soap, safe for use on painted
surfaces, may be used.
After washing, rinse the vehicle thor-
oughly with lukewarm or cold water.
Do not allow soap to dry on the fin-
ish.•Do not use strong soap,
chemical detergents or hot
water, and do not wash the
vehicle in direct sunlight or
when the body of the vehicle
is warm.
•Be careful when washing the
side windows of your vehicle,
especially with high-pressure
water. Water may leak through
the windows and wet the inte-
rior.
•To prevent damage to the
plastic parts and lamps, do
not clean with chemical sol-
vents or strong detergents.
CAUTION
Page 485 of 504

7-74
Maintenance
Waxing
Wax the vehicle when water will no
longer bead on the paint.
Always wash and dry the vehicle
before waxing. Use a good quality
liquid or paste wax, and follow the
manufacturer’s instructions. Wax all
metal trim to protect it and to main-
tain its lustre. Removing oil, tar, and
similar materials with a spot remover
will usually strip the wax from the fin-
ish. Be sure to re-wax these areas
even if the rest of the vehicle does
not yet need waxing. Wet brakes
After washing the vehicle, test
the brakes whilst driving slowly
to see if they have been affected
by water. If braking performance
is impaired, dry the brakes by
applying them lightly whilst
maintaining a slow forward
speed.WARNING
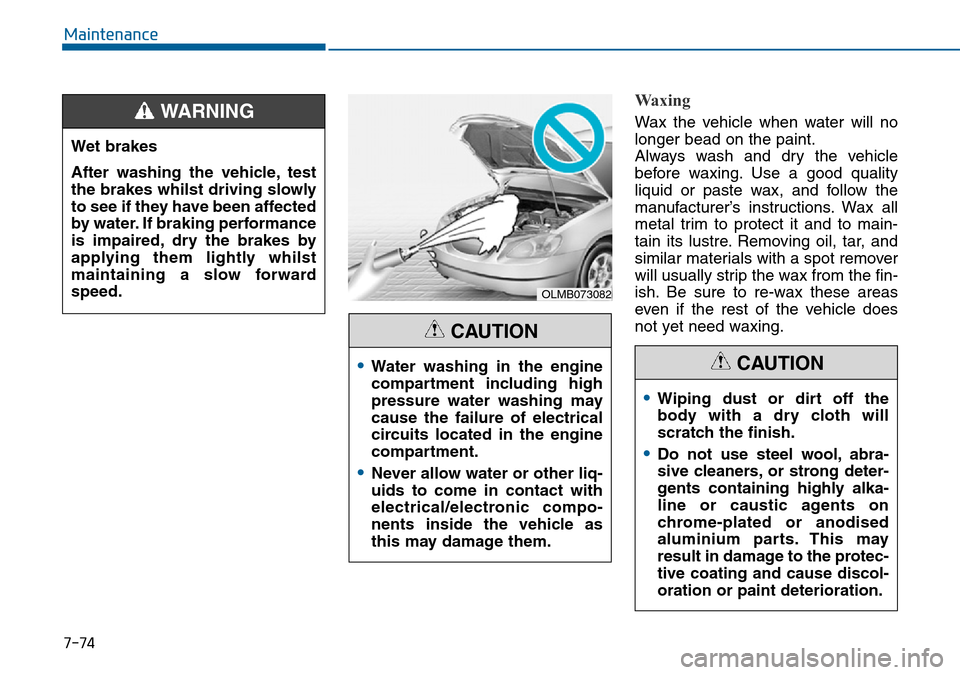
•Water washing in the engine
compartment including high
pressure water washing may
cause the failure of electrical
circuits located in the engine
compartment.
•Never allow water or other liq-
uids to come in contact with
electrical/electronic compo-
nents inside the vehicle as
this may damage them.
CAUTION
•Wiping dust or dirt off the
body with a dry cloth will
scratch the finish.
•Do not use steel wool, abra-
sive cleaners, or strong deter-
gents containing highly alka-
line or caustic agents on
chrome-plated or anodised
aluminium parts. This may
result in damage to the protec-
tive coating and cause discol-
oration or paint deterioration.
CAUTION
OLMB073082
Page 487 of 504

7-76
Maintenance
Aluminium wheel maintenance
The aluminium wheels are coated
with a clear protective finish.
Corrosion protection
Protecting your vehicle from corro-
sion
By using the most advanced design
and construction practices to combat
corrosion, we produce vehicles of
the highest quality. However, this is
only part of the job. To achieve the
long-term corrosion resistance your
vehicle can deliver, the owner's
cooperation and assistance is also
required.
Common causes of corrosion
The most common causes of corro-
sion on your vehicle are:
• Road salt, dirt and moisture that is
allowed to accumulate underneath
the vehicle.
• Removal of paint or protective
coatings by stones, gravel, abra-
sion or minor scrapes and dents
which leave unprotected metal
exposed to corrosion. After washing the vehicle, test
the brakes whilst driving slowly
to see if they have been affected
by water. If braking performance
is impaired, dry the brakes by
applying them lightly whilst
maintaining a slow forward
speed.
WARNING
•Do not use any abrasive
cleaner, polishing compound,
solvent, or wire brushes on
aluminium wheels.
•Clean the wheel when it has
cooled.
•Use only a mild soap or neu-
tral detergent, and rinse thor-
oughly with water. Also, be
sure to clean the wheels after
driving on salted roads.
•Do not wash the wheels with
high-speed car wash brushes.
•Do not use any cleanser con-
taining acid or alkaline deter-
gents.
CAUTION