Page 17 of 150
16
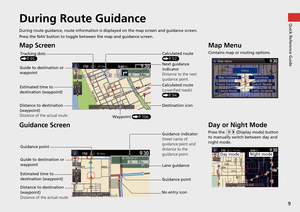
MENU buttonMenu Tree
The menu tree helps guide you
through the system’s menu options.
To get to your desired function, follow
the menu tree in order of the steps
shown.
NOTE:
All menu options can also be
activated with voice commands.
Press the hard button on the
system control panel.
Press the MENU button.Select the menu option with the
Interface Dial.
Rotate
i to select Address Book .
Press u. After following the menu
tree, step-by-step
instructions explain how to
achieve the desired result.
Sample pages and images in this se ction may differ from the actual ones.
Page 18 of 150

17
System Setup
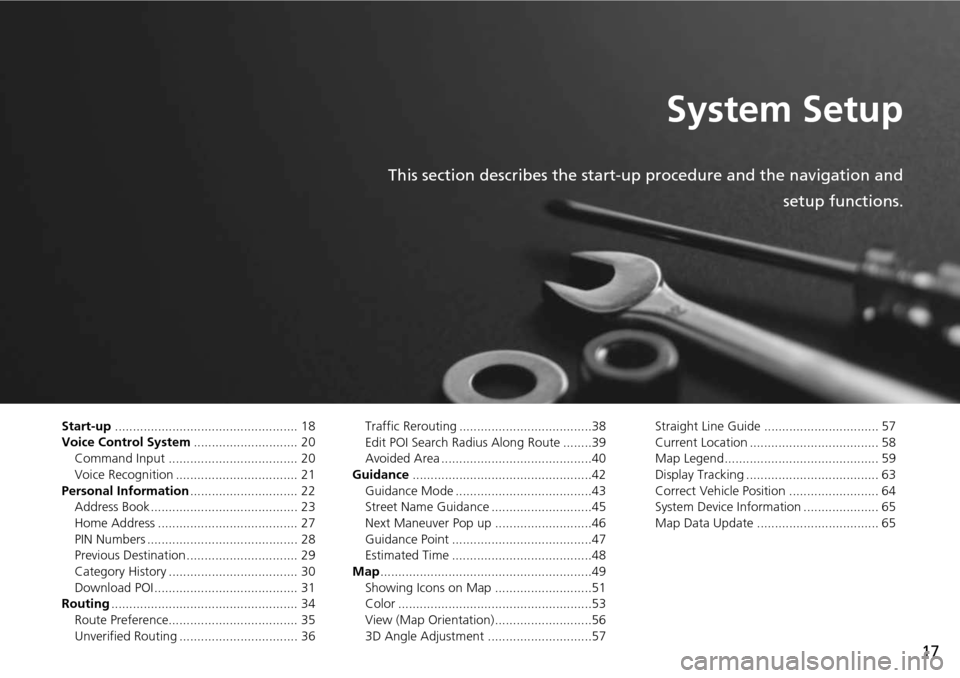
This section describes the start-up procedure and the navigation andsetup functions.
Start-up................................................... 18
Voice Control System ............................. 20
Command Input .................................... 20
Voice Recognition .................................. 21
Personal Information .............................. 22
Address Book ......................................... 23
Home Address ....................................... 27
PIN Numbers .......................................... 28
Previous Destination ............................... 29
Category History .................................... 30
Download POI ........................................ 31
Routing .................................................... 34
Route Preference.................................... 35
Unverified Routing ................................. 36 Traffic Rerouting .....................................38
Edit POI Search Radius Along Route ........39
Avoided Area ..........................................40
Guidance ..................................................42
Guidance Mode ......................................43
Street Name Guidance ............................45
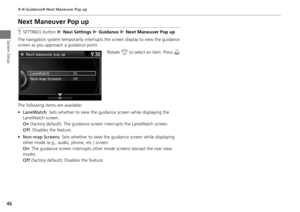
Next Maneuver Pop up ...........................46
Guidance Point .......................................47
Estimated Time .......................................48
Map ...........................................................49
Showing Icons on Map ...........................51
Color ......................................................53
View (Map Orientation) ...........................56
3D Angle Adjustment .............................57 Straight Line Guide ................................ 57
Current Location .................................... 58
Map Legend........................................... 59
Display Tracking ..................................... 63
Correct Vehicle Position ......................... 64
System Device Information ..................... 65
Map Data Update .................................. 65
Page 19 of 150
18
System Setup
Start-up
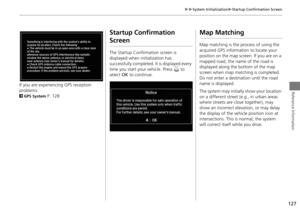
The navigation system starts automatically when you set the power mode to
ACCESSORY or ON. At start-up, the follow ing Confirmation screen is displayed.
1.Press u to select OK.
If you do not select OK, the map
screen is displayed after a
certain period of time.
Your current position is
displayed on the map screen.
2. Press the NAV button when a
different mode is selected.
Your current position is
displayed on the map screen.
1Start-up
If the navigation system loses power at any time,
you may need to press and hold the PWR 9
(Power) button for more than two seconds, or
you may be prompted for the five-digit security
code.
2 System Initialization P. 126
“OK” on the Confirmati on screen cannot be
selected by using a voice command.
Page 20 of 150
19
Start-up
System SetupCertain manual functions are disabled
or inoperable while the vehicle is in
motion. You cannot select a grayed-
out option using the Interface Dial
until the vehicle is stopped.
Voice commands are still operable
while the vehicle is in motion.
■ Limitations for Manual Operation
Disabled option
Page 21 of 150

20
System Setup
Voice Control System
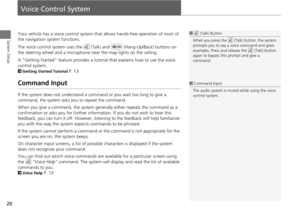
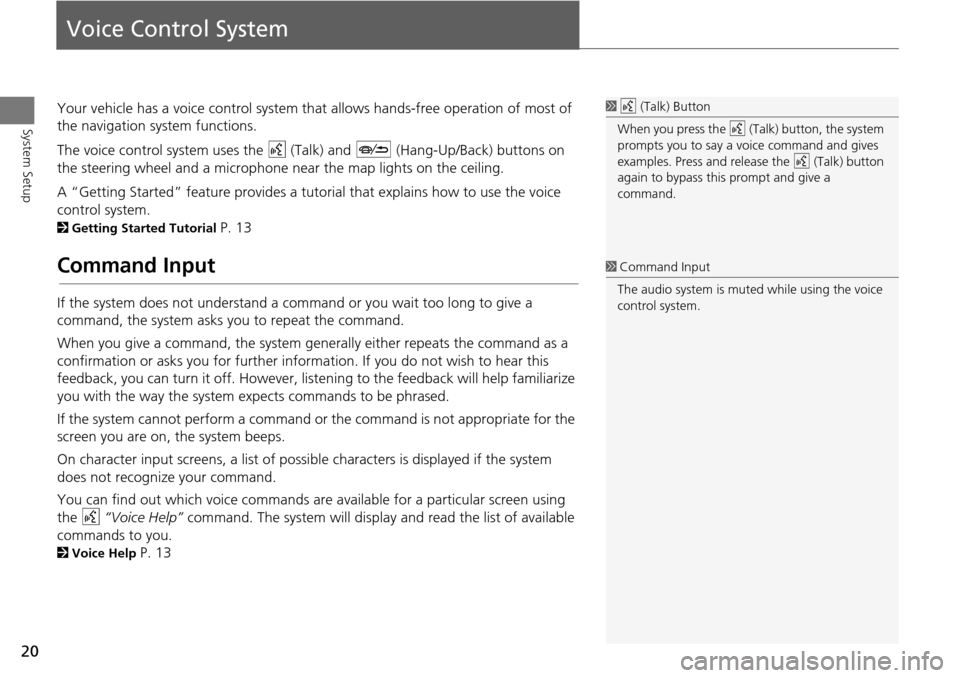
Your vehicle has a voice control system that allows hands-free operation of most of
the navigation system functions.
The voice control system uses the d (Talk) and J (Hang-Up/Back) buttons on
the steering wheel and a microphone near the map lights on the ceiling.
A “Getting Started” feature provides a tuto rial that explains how to use the voice
control system.
2 Getting Started Tutorial P. 13
Command Input
If the system does not understand a command or you wait too long to give a
command, the system asks y ou to repeat the command.
When you give a command, the system ge nerally either repeats the command as a
confirmation or asks you for further informa tion. If you do not wish to hear this
feedback, you can turn it off. However, list ening to the feedback will help familiarize
you with the way the system ex pects commands to be phrased.
If the system cannot perform a command or the command is not appropriate for the
screen you are on, the system beeps.
On character input screens, a list of possi ble characters is displayed if the system
does not recognize your command.
You can find out which voice commands are available for a particular screen using
the d “Voice Help” command. The system will display and read the list of available
commands to you.
2 Voice Help P. 13
1d (Talk) Button
When you press the d (Talk) button, the system
prompts you to say a voice command and gives
examples. Press and release the d (Talk) button
again to bypass this prompt and give a
command.
1 Command Input
The audio system is muted while using the voice
control system.
Page 22 of 150
21
Voice Control SystemVoice Recognition
System Setup
Voice Recognition
To achieve optimum voice recognition when using the navigation voice control
system:
•Make sure the correct screen is displa yed for the voice command that you are
using.
2 Voice Commands P. 140
• Close the windows and moonroof.
• Adjust the dashboard and side vents so air does not blow onto the microphone on
the ceiling.
• Speak clearly in a clear, natural speaking voice without pausing between words.
• Reduce any background noise if possible. The system may misinterpret your
command if more than one person is speaking at the same time.
• Refer to the Voice Help feature.
2 Voice Help P. 13
1Voice Recognition
The voice control system can only be used from
the driver’s seat beca use the microphone unit
removes noises from the front passenger’s side.
Page 23 of 150
22
System Setup
Personal Information
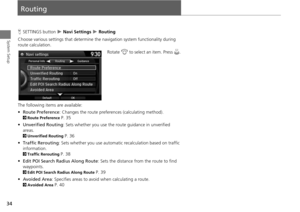
HSETTINGS button Navi Settings Personal Info
Use the personal information menu to sele ct and set your address books, home
addresses, and PINs. You can also delete unwanted destinations from the list of
previously routed destinations.
Rotate i to select an item. Press u .
The following item s are available:
• Address Book : Stores new addresses or edits your address book.
2Address Book P. 23
• Edit Go Home : Sets or edits your home address.
2Home Address P. 27
• PIN Number : Sets or changes your PIN.
2PIN Numbers P. 28
• Previous Destination : Deletes the destination history.
2Previous Destination P. 29
• Category History: Deletes the place categories you recently used.
2 Category History P. 30
• Download POI : Edits and deletes the Imported POI categories.
2Editing POI Categories P. 32
1Personal Information
Personal information cannot be backed up or
moved to another navigation system.
Page 24 of 150

23
Personal InformationAddress Book
System Setup
Address Book
HSETTINGS button Navi Settings Personal Info Address Book
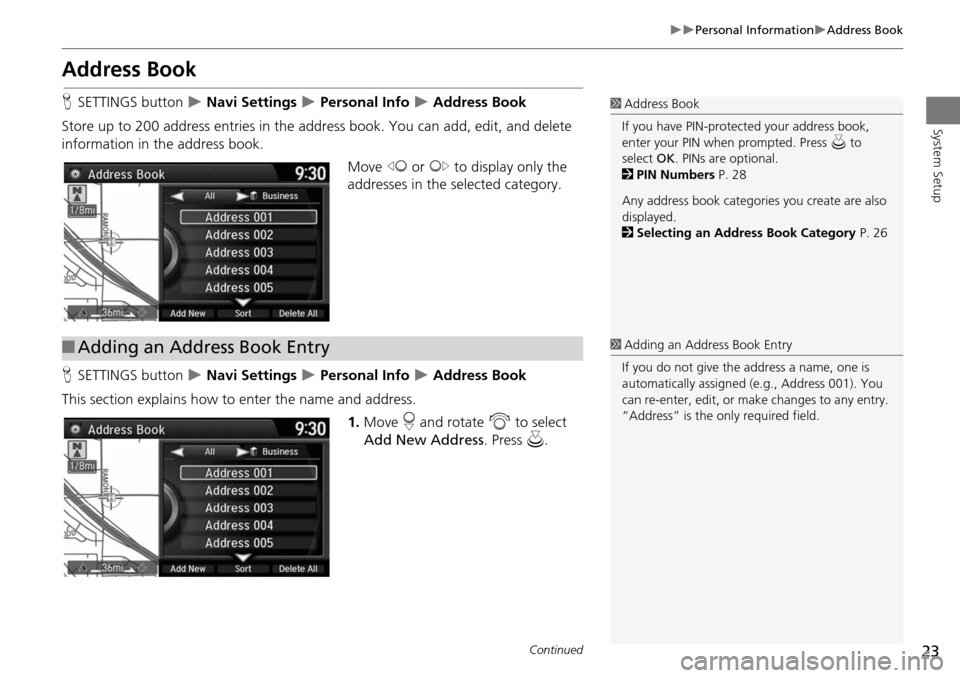
Store up to 200 address entries in the a ddress book. You can add, edit, and delete
information in the address book.
Move w or y to display only the
addresses in the selected category.
H SETTINGS button
Navi Settings Personal Info Address Book
This section explains how to enter the name and address. 1.Move r and rotate i to select
Add New Address . Press u.
1Address Book
If you have PIN-protec ted your address book,
enter your PIN when prompted. Press u to
select OK. PINs are optional.
2 PIN Numbers P. 28
Any address book categories you create are also
displayed.
2 Selecting an Address Book Category P. 26
■Adding an Address Book Entry1 Adding an Address Book Entry
If you do not give the address a name, one is
automatically assigned (e.g., Address 001). You
can re-enter, edit, or make changes to any entry.
“Address” is the only required field.
Continued