Page 25 of 253

24
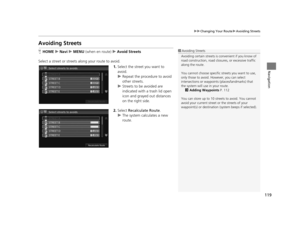
uuVoice Control System uSiri Eyes Free
System Setup
Siri Eyes Free
When your iPhone is paired and linked to the system via Bluetooth ®, you can say Siri-
related commands. Make sure Siri on your iPhone is turned on.
2Pairing a Phone P. 170
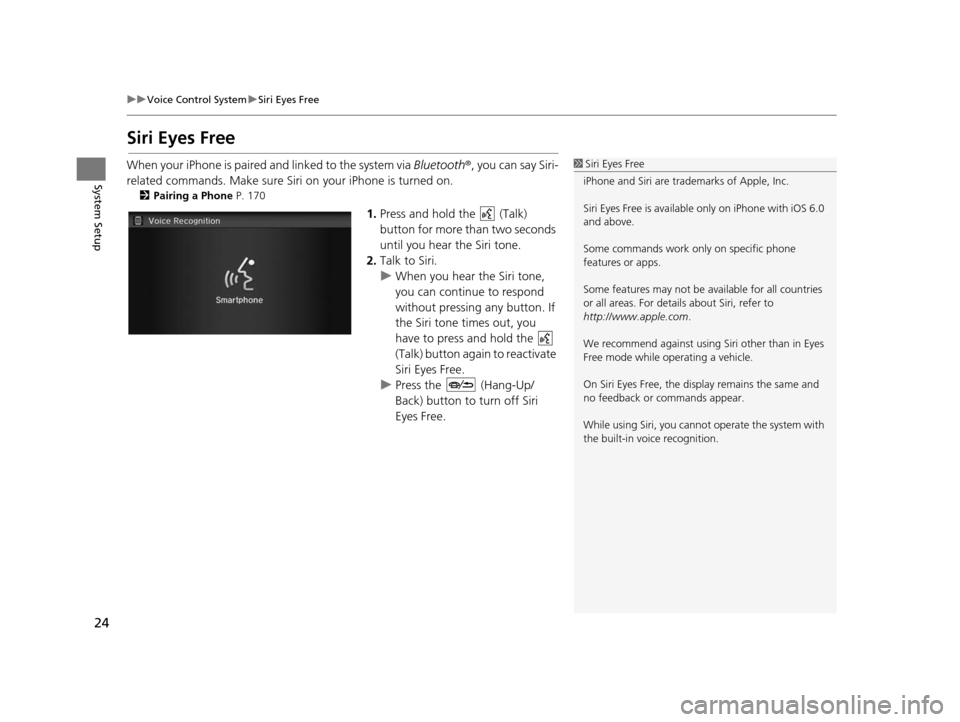
1.Press and hold the (Talk)
button for more than two seconds
until you hear the Siri tone.
2. Talk to Siri.
u When you hear the Siri tone,
you can continue to respond
without pressing any button. If
the Siri tone times out, you
have to press and hold the
(Talk) button again to reactivate
Siri Eyes Free.
u Press the (Hang-Up/
Back) button to turn off Siri
Eyes Free.
1Siri Eyes Free
iPhone and Siri are trademarks of Apple, Inc.
Siri Eyes Free is availabl e only on iPhone with iOS 6.0
and above.
Some commands work only on specific phone
features or apps.
Some features may not be available for all countries
or all areas. For detail s about Siri, refer to
http://www.apple.com .
We recommend against using Si ri other than in Eyes
Free mode while operating a vehicle.
On Siri Eyes Free, the display remains the same and
no feedback or commands appear.
While using Siri, you cannot operate the system with
the built-in voice recognition.
15 CIVIC NAVI-31TR38300.book 24 ページ 2014年8月7日 木曜日 午前11時49分
Page 26 of 253

25Continued
System Setup
Display Mode Settings
Turning Off the Display
Press the (Display mode) butto n for more than two seconds.
u Select HOME or BACK , or press the (Display mode) button to turn on the
display.
Switching Display Mode Manually
Set the screen brightness separately for Day and Night modes. Press the
(Display mode) button to cycle through th e display modes (Day to Night to Off).
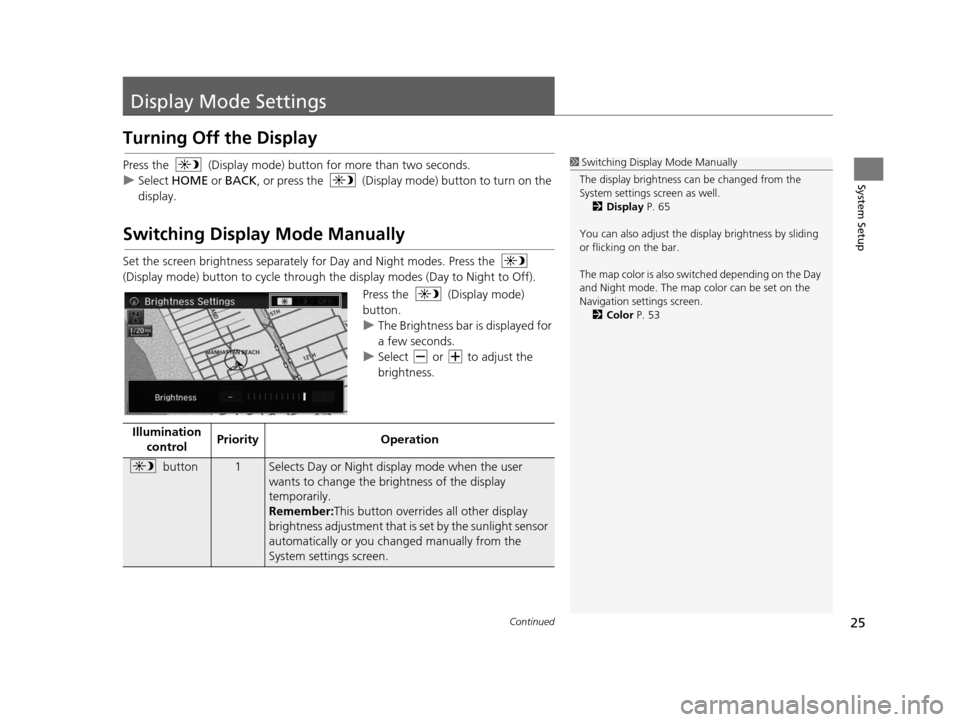
Press the (Display mode)
button.
uThe Brightness bar is displayed for
a few seconds.
u Select or to adjust the
brightness.
1Switching Display Mode Manually
The display brightness ca n be changed from the
System settings screen as well. 2 Display P. 65
You can also adjust the display brightness by sliding
or flicking on the bar.
The map color is also switched depending on the Day
and Night mode. The map color can be set on the
Navigation settings screen. 2 Color P. 53
Illumination
control Priority
Operation
button1Selects Day or Night display mode when the user
wants to change the brightness of the display
temporarily.
Remember: This button overrides all other display
brightness adjustment that is set by the sunlight sensor
automatically or you ch anged manually from the
System settings screen.
15 CIVIC NAVI-31TR38300.book 25 ページ 2014年8月7日 木曜日 午前11時49分
Page 27 of 253

26
uuDisplay Mode Settings uSwitching Display Mode Manually
System SetupIllumination
control Priority Operation
Sunlight
sensor* (see
your Owner’s
Manual for
location)
2If the sunlight sensor detects daylight and the
headlights are turned on, the system automatically
overrides the Night display and displays the Day display
mode.
Remember: If desired, use the button to
override this automatic choice.
Dash
illumination
adjustment
buttons (see
your Owner’s
Manual for
location) 3 When the headlights are tu
rned on, and you wish to
have the Day display mode, adjust the illumination to
the full brightness (beeps).
Remember: Adjust the dash brightness back to mid-
range to allow auto switching by sensing the
headlights are on or off.
Headlights
(Auto*/On/Off)
4When turned on, the displa y changes to Night display
mode. The previous three controls listed above can
“cancel” this function.
Remember: Use the button, or adjust the dash
illumination to full brightness , to set the display to your
desired choice.
Screen color
choice N/A The user can select the color of the screen that will be
displayed for the Day and Night display modes
described above.
Remember: For best contrast, ensure that the map
color is white for Day and black for Night.
* Not available on all models
15 CIVIC NAVI-31TR38300.book 26 ページ 2014年8月7日 木曜日 午前11時49分
Page 28 of 253
27
System Setup
Personal Information
HHOME uSetting su Navigation uPer sonal Info
Use the personal informatio n menu to select and set your address books, home
addresses, and PINs. You can also delete previously routed destinations and
previously selected categories.
Select an item.
The following items are available:
• Address Book : Stores new addresses or edits your address book.
2Addre ss Book P. 28
•Edit Go Home 1 : Sets or edits your home address.
2Home Addresses P. 33
•Edit Go Home 2 : Sets or edits another home address.
2Home Addresses P. 33
•PIN Number : Sets or changes your PIN.
2PIN Number s P. 34
•Previous Destination : Deletes the destination history.
2Previou s Destination P. 36
•User Name : Sets or changes your user name.
2User Name P. 35
•Category History : Deletes the category history.
2Category Hi story P. 37
15 CIVIC NAVI-31TR38300.book 27 ページ 2014年8月7日 木曜日 午前11時49分
Page 29 of 253
28
uuPersonal Information uAddress Book
System Setup
Addre ss Book
HHOME uSetting su Navigation uPer sonal Info uAddre ss Book
Store up to 200 address entries in two address books ( Driver 1 and Driver 2 ). You
can add, edit, and delete info rmation in the address books.
Select the driver to edit the address
book.
uThe address book is displayed.
u Select the category tab to display
only the addresses in the selected
category.1Address Book
The number of addresses is shared by the two
address books. For example, if Driver 1 has 150
addresses, Driver 2 can only have 50.
If you have PIN-protecte d your address book, enter
your PIN when prompted. Select OK. PINs are
optional. 2 PIN Number s P. 34
Any address book categories you create are also
displayed on the Address book screen.
2 Selecting an Addre ss Book Category P. 31
15 CIVIC NAVI-31TR38300.book 28 ページ 2014年8月7日 木曜日 午前11時49分
Page 30 of 253
Continued29
uuPersonal Information uAddress Book
System SetupH HOME uSetting su Navigation uPer sonal Info uAddre ss Book
This section explains how to enter the name and address. 1.Select the driver to add the new
address.
2. Select Add New Address .
3. Select an item.
The following items are available:
• Name: Edits the name of the entry.
• Address : Edits the address of the entry.
• Phone No. : Edits the phone number of the entry.
• Category : Specifies the category of the entry.
■Adding an Address Book Entry1
Adding an Address Book Entry
If you do not give the address a name, one is
automatically assigned (e.g., Address 001). You can
re-enter, edit, or make changes to any entry.
“Address ” is the only required field.
15 CIVIC NAVI-31TR38300.book 29 ページ 2014年8月7日 木曜日 午前11時49分
Page 31 of 253

uuPersonal Information uAddress Book
30
System Setup
4. Select Name.
5. Enter a name or title. Select OK.
6. Select Address .
7. Select an item for specifying the
address.
8. Select OK when you are done
creating the entry.
The following items are available:
• Address : Enter an address on the characte r input screen when prompted.
2Address P. 82
•Place Name : Enter the name of a place/landmark.
2Place Name P. 88
•Place Phone Number : Enter the phone number of a place/landmark.
2Place Phone Number P. 90
•Place Category : Select a category to search for a place/landmark (e.g., Banking,
Lodging).
2 Place Category P. 91
•Previous Destination : Select a previous destination.
2Previou s Destination P. 93
•Current Position : Select your current location.
• More Search Methods : Displays additional search method entries.
2Entering a Destination P. 80
1Adding an Address Book Entry
When you use Place Name, Place Phone Number
or Place Category , the phone number is
automatically entered.
15 CIVIC NAVI-31TR38300.book 30 ページ 2014年8月7日 木曜日 午前11時49分
Page 32 of 253

Continued31
uuPersonal Information uAddress Book
System SetupH HOME uSetting su Navigation uPer sonal Info uAddre ss Book
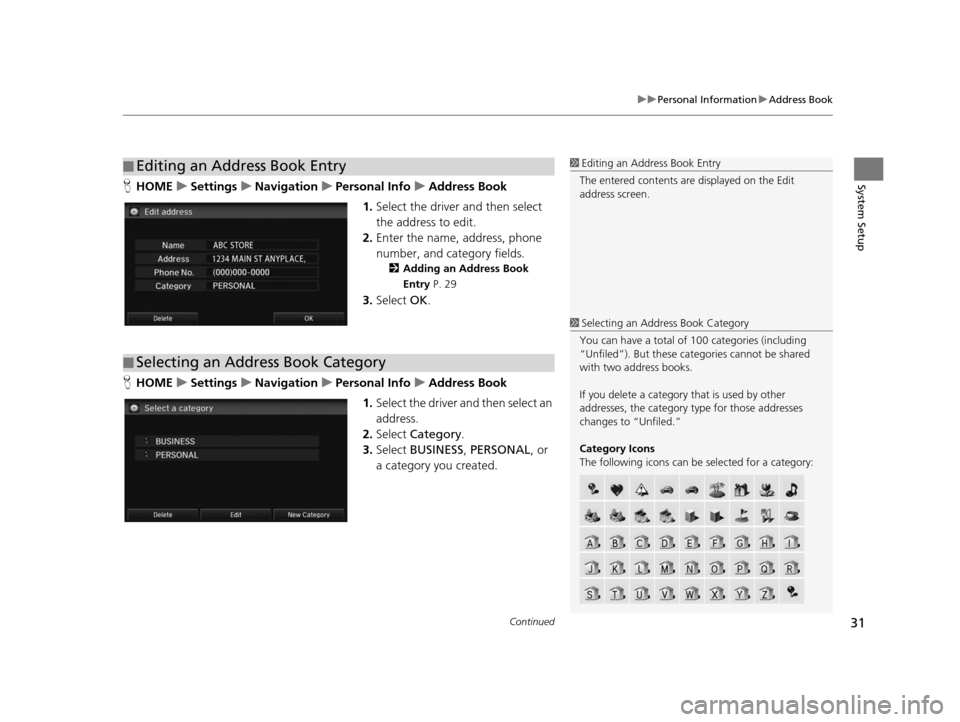
1. Select the driver and then select
the address to edit.
2. Enter the name, address, phone
number, and category fields.
2 Adding an Addre ss Book
Entry P. 29
3.Select OK.
H HOME uSetting su Navigation uPer sonal Info uAddre ss Book
1. Select the driver and then select an
address.
2. Select Category .
3. Select BUSINESS , PERSONAL , or
a category you created.
■ Editing an Address Book Entry1
Editing an Address Book Entry
The entered contents are displayed on the Edit
address screen.
■ Selecting an Address Book Category
1
Selecting an Addr ess Book Category
You can have a total of 100 categories (including
“Unfiled”). But these cate gories cannot be shared
with two address books.
If you delete a category that is used by other
addresses, the category type for those addresses
changes to “Unfiled.”
Category Icon s
The following icons can be selected for a category:
15 CIVIC NAVI-31TR38300.book 31 ページ 2014年8月7日 木曜日 午前11時49分