Page 115 of 569

114Controls
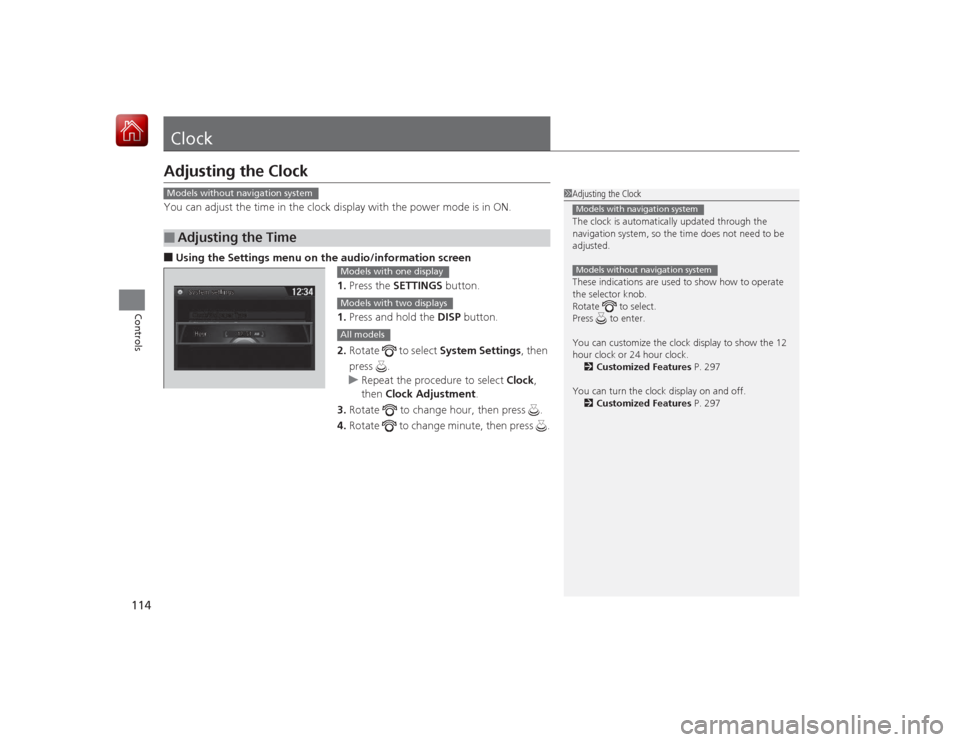
ClockAdjusting the ClockYou can adjust the time in the clock display with the power mode is in ON.■Using the Settings menu on the audio /information screen
1. Press the SETTINGS button.
1. Press and hold the DISP button.
2. Rotate to select System Settings, then
press .
u Repeat the procedure to select Clock,
then Clock Adjustment .
3. Rotate to change hour, then press .
4. Rotate to change minute, then press .■
Adjusting the Time
1Adjusting the Clock
The clock is automatically updated through the
navigation system, so the time does not need to be
adjusted.
These indications are used to show how to operate
the selector knob.
Rotate to select.
Press to enter.
You can customize the clock display to show the 12
hour clock or 24 hour clock.
2 Customized Features P. 297
You can turn the clock display on and off. 2 Customized Features P. 297Models with navigation systemModels without navigation system
Models without navigation system
Models with one displayModels with two displaysAll models
Page 116 of 569
115
uuClock uAdjusting the Clock
Controls
■Using the SETTINGS button
1.Press and hold the CLOCK (SETTINGS)
button until the clock display blinks.
2. Press Preset
(4
(Hour) or
(5
(Minute) to
adjust the time.
3. Press the CLOCK button again to set the
time.
■Using the audio with touch screen 1.Select .
2. Adjust the hours and minutes by selecting
/.
3. Select 12H or 24H.
4. Press Set to set the time.
1Using the SETTINGS button
To set the time to the nearest hour: Press and hold
the CLOCK button until the clock display blinks, then
press the
( 6 (Reset) button.
Depending on the displayed time, the clock sets
forward or backward.
Example:
1:06 will reset to 1:00
1:53 will reset to 2:00
Models with one displayCLOCK (SETTINGS)
Button( 6 (Reset) Button(4 (Hour) Button
(5 (Minute) Button
Models with two displays
3
4
Page 124 of 569

Continued
123
uuLocking and Unlocking the Doors uLocking/Unlocking the Doors from the Inside
Controls
Pull the front door inner handle.
u The door unlocks and opens in one
motion.
Unlocking and opening the driver’s door from the inner handle unlocks all the other
doors.
To avoid all the doors to be unlocked, use the lock tab on the driver’s door to unlock,
then lock again before opening the door. u This setting works for one time only. If you do not want all the doors to be
unlocked all the time, customize the Auto Door Unlock setting to Off using
the multi-information display or audio/information screen.
■
Unlocking Using the Front Door Inner Handle
1 Unlocking Using the Front Door Inner Handle
The inner front door handles are designed to allow
front seat occupants to open the door in one motion.
However this feature requires that front seat
occupants never pull a front door inner handle while
the vehicle is in motion.
Children should always ride in a rear seat where
childproof door locks are provided.
2 Childproof Door Locks P. 124
Inner Handle
Page 126 of 569
125
uuLocking and Unlocking the Doors uAuto Door Locking/Unlocking
Controls
Auto Door Locking/UnlockingYour vehicle locks and unlocks all doors automatically when a certain condition is
met.■Drive lock mode
All doors lock when the vehicle’s speed reaches about 10 mph (15 km/h).■Driver’s door open mode
All doors unlock when the driver’s door is opened.■
Auto Door Locking
■
Auto Door Unlocking
1 Auto Door Locking/Unlocking
You can turn off or change to another auto door
locking/unlocking setting using the audio/
information screen or multi-inf ormation display.
2 Customized Features P. 104, 297
Page 148 of 569
147
uuOperating the Switches Around the Steering Wheel uDriving Position Memory System
*
Continued
Controls
Driving Position Memory System
*
You can store two driver’s seat positions with the driving position memory system.
When you unlock and open the driver’s door with a remote, the seat adjusts
automatically to one of the two preset positions.
The multi-information display shows you which remote you used to unlock the
vehicle when you enter.
• DRIVER 1 transmitter is linked to memory button 1.
• DRIVER 2 transmitter is linked to memory button 2.
1Driving Position Memory System
*
Using the audio/information screen or multi-
information display, you can disable the automatic
seat adjustment function.
2 Customized Features P. 104, 297
DRIVER 1
DRIVER 2
* Not available on all models
Page 174 of 569

173
Features
This chapter describes how to operate technology features.
Audio SystemUSB Port .......................................... 175
Auxiliary Input Jack .......................... 176
Audio System Theft Protection
*....... 177
Audio Remote Controls .................... 178
Audio System Basic Operation ........ 179
Audio/Information Screen ................ 180
Display Setup ................................... 185
Playing AM/FM Radio ....................... 186
Playing a CD .................................... 188
Playing an iPod ................................ 191
Playing Internet Radio ...................... 194
Playing a USB Flash Drive ................. 196
Playing Bluetooth ® Audio ................. 199
Models with one display
Audio System Basic Operation ........ 201
Audio with Touch Screen ................. 202
Audio/Information Screen ................ 205
Display Setup ................................... 211
Playing AM/FM Radio ....................... 212
Playing SiriusXM ® Radio
*................. 216
Playing a CD .................................... 219
Playing an iPod ................................ 222
Playing Internet Radio ...................... 226
Playing a USB Flash Drive ................. 229
Playing Bluetooth® Audio................. 232
Audio System Basic Operation ........ 234
Audio with Touch Screen ................. 235
Audio/Information Screen ................ 237
Models with two displaysModels with navigation system
Display Setup ................................... 242
Voice Control Operation .................. 243
Playing AM/FM Radio....................... 251
Playing SiriusXM ® Radio ................... 255
Playing a CD .................................... 258Playing Hard Disk Drive (HDD) Audio .... 261Playing an iPod ................................ 271
Playing Internet Radio ...................... 279
Playing a USB Flash Drive ................. 282
Playing Bluetooth ® Audio ................ 285
Audio Error Messages ...................... 287General Information on the Audio System
.....293
Customized Features........................ 297
HomeLink ® Universal Transceiver
*... 335
Bluetooth® HandsFreeLink ®..... 337 , 374
* Not available on all models
Page 175 of 569

174Features
Audio SystemAbout Your Audio SystemSee the Navigation System Manual for information on the navigation system.
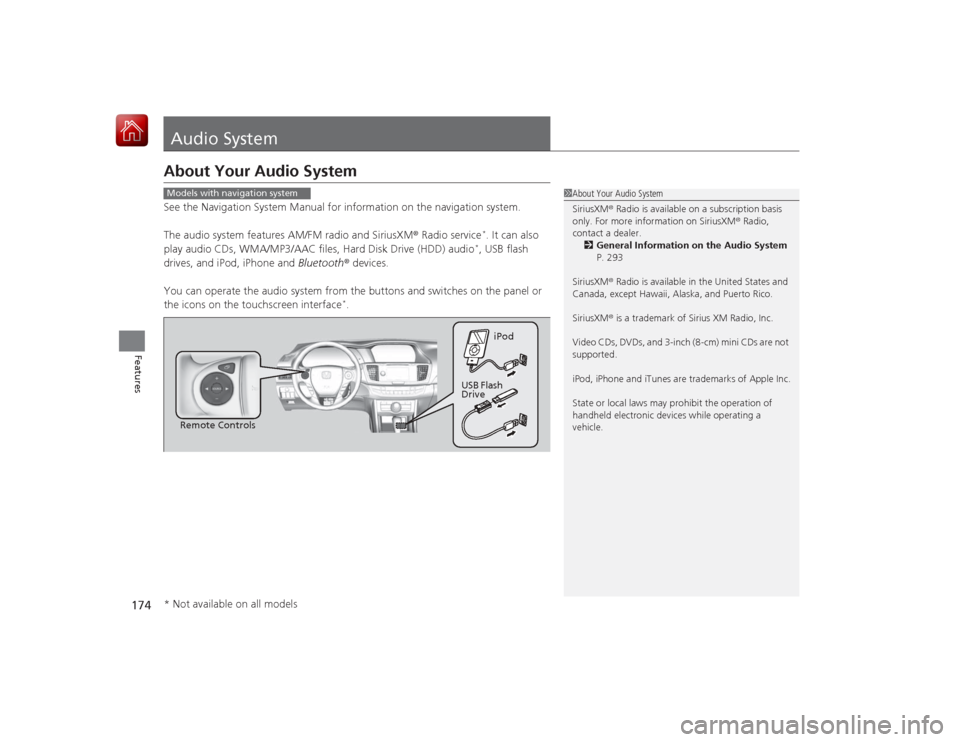
The audio system features AM/FM radio and SiriusXM® Radio service
*. It can also
play audio CDs, WMA/MP3/AAC files, Hard Disk Drive (HDD) audio*, USB flash
drives, and iPod, iPhone and Bluetooth® devices.
You can operate the audio system from the buttons and switches on the panel or
the icons on the touchscreen interface
*.
1 About Your Audio System
SiriusXM ® Radio is available on a subscription basis
only. For more information on SiriusXM ® Radio,
contact a dealer.
2 General Information on the Audio System
P. 293
SiriusXM ® Radio is available in the United States and
Canada, except Hawaii, Alaska, and Puerto Rico.
SiriusXM ® is a trademark of Sirius XM Radio, Inc.
Video CDs, DVDs, and 3-inch (8-cm) mini CDs are not
supported.
iPod, iPhone and iTunes are trademarks of Apple Inc.
State or local laws may prohibit the operation of
handheld electronic devices while operating a
vehicle.
Models with navigation system
Remote Controls iPod
USB Flash
Drive
* Not available on all models
Page 176 of 569
175
uuAudio System uUSB Port
Features
USB Port
Install the iPod dock connector or the USB
flash drive to the USB port.
1USB Port•Do not leave the iPod or USB flash drive in the
vehicle. Direct sunlight and high temperatures may
damage it.•We recommend using an extension cable with the
USB port.•Do not connect the iPod or USB flash drive using a
hub.•Do not use a device such as a card reader or hard
disk drive, as the device or your files may be
damaged.•We recommend backing up your data before using
the device in your vehicle.•Displayed messages may vary depending on the
device model and software version.
If the audio system does not recognize the iPod, try
reconnecting it a few times or reboot the device. To
reboot, follow the manufacturer's instructions
provided with the iPod or visit www.apple.com/ipod.