Page 248 of 558

TOWING A TRAILER
WARNING:Do not exceed the GVWR or the GAWR specified on
the certification label.
WARNING: Towing trailers beyond the maximum recommended
gross trailer weight exceeds the limit of your vehicle and could
result in engine damage, transmission damage, structural damage, loss
of vehicle control, vehicle rollover and personal injury.
Note: For information on electrical items such as fuses or relays, see the
Fuses chapter.
The load capacity of your vehicle is designated by weight not volume.
You may not necessarily be able to use all available space when loading
your vehicle or trailer.
Towing a trailer places extra load on the engine, transmission, axle,
brakes, tires, and suspension. Inspect these components before, during
and after towing.
Load Placement
To help minimize how trailer movement affects your vehicle when
driving:
• Load the heaviest items closest to the trailer floor.
• Load the heaviest items centered between the left and right side
trailer tires.
• Load the heaviest items above the trailer axles or just slightly forward
toward the trailer tongue. Do not allow the final trailer tongue weight
to go above or below 10–15% of the loaded trailer weight.
• Select a tow bar with the correct rise or drop. When both the loaded
vehicle and trailer are connected, the trailer frame should be level, or
slightly angled down toward your vehicle, when viewed from the side.
When driving with a trailer or payload, a slight takeoff vibration or
shudder may be present due to the increased payload weight. You can
find more information about proper trailer loading and setting your
vehicle up for towing under Load limitin theLoad Carrying chapter.
You can also find information in the RV and Trailer Towing Guide
available at your authorized dealer.
Towing 247
2015 Taurus
Owners Guide gf, 1st Printing, April 2014
USA(fus)
Page 351 of 558

WARNING:If you are proceeding from the First stage:
Reinflating the tire with sealing compound and air section
and have injected sealant in the tire and the pressure is below 20 psi
(1.4 bar), stop and call roadside assistance. If tire pressure is above
20 psi (1.4 bar), continue to the next step.
3. Turn the dial clockwise to the air position. Turn on the kit by pressing
the on/off button. 4. Adjust the tire to the
recommended inflation pressure
from the tire label located on the
driver’s door or door jamb area.
Pressing the deflation button near
the sealant canister removes air
from the tire.
Note:The tire pressure has to be
checked with the compressor in the
off position to get the correct tire
pressure reading.
5. Turn the compressor off by pressing the on/off button.
6. Unplug the hoses, re-install the valve cap on the tire and return the
kit to the stowage area.
What to do after the Tire has been Sealed
After using the temporary mobility kit to seal your tire, replace the
sealant canister and clear tube (hose). Sealing compound and spare
parts can be obtained and replaced at an authorized Ford Motor
Company dealership or tire dealer. Empty sealant bottles may be
disposed of at home. However, liquid residue from the sealing compound
should be disposed by your local Ford Motor Company dealership or tire
dealer, or in accordance with local waste disposal regulations.
Note: After the sealing compound has been used, the maximum vehicle
speed is 50 mph (80 km/h) and the maximum driving distance is
120 miles (200 km). Inspect the sealed tire immediately.
Note: After sealant use, the TPMS sensor and valve stem on the wheel
must be replaced by an authorized Ford dealer.
You can check the tire pressure any time within the 120 miles (200 km)
by performing the procedure from Second stage: Checking tire
pressure listed previously.
PSI
BAR
350 Wheels and Tires
2015 Taurus
Owners Guide gf, 1st Printing, April 2014
USA(fus)
Page 509 of 558

Avoid Areas
Avoid Areasallows you to choose areas which you want the system to
avoid when calculating a route for you.
Press Addto program an entry. Once you make a selection, the system
tries to avoid the area(s) if possible for all routes. To delete a selection,
choose the listing on the screen. When the screen changes to Avoid
Areas Edit, you can press Deleteat the bottom right of the screen.
Map Mode
Press the green bar in the upper right area of the touchscreen to view
map mode. Map mode shows advanced viewing comprised of both 2D
city maps as well as 3D landmarks (when available).
2D city maps show detailed outlines of buildings, visible land use and
land elements and detailed railway infrastructure for the most essential
cities around the globe. These maps also contain features, such as town
blocks, building footprints, and railways.
3D landmarks appear as clear, visible objects that are typically
recognizable and have a certain tourist value. The 3D landmarks appear
in 3D map mode only. Coverage varies, and improves with updated map
releases.
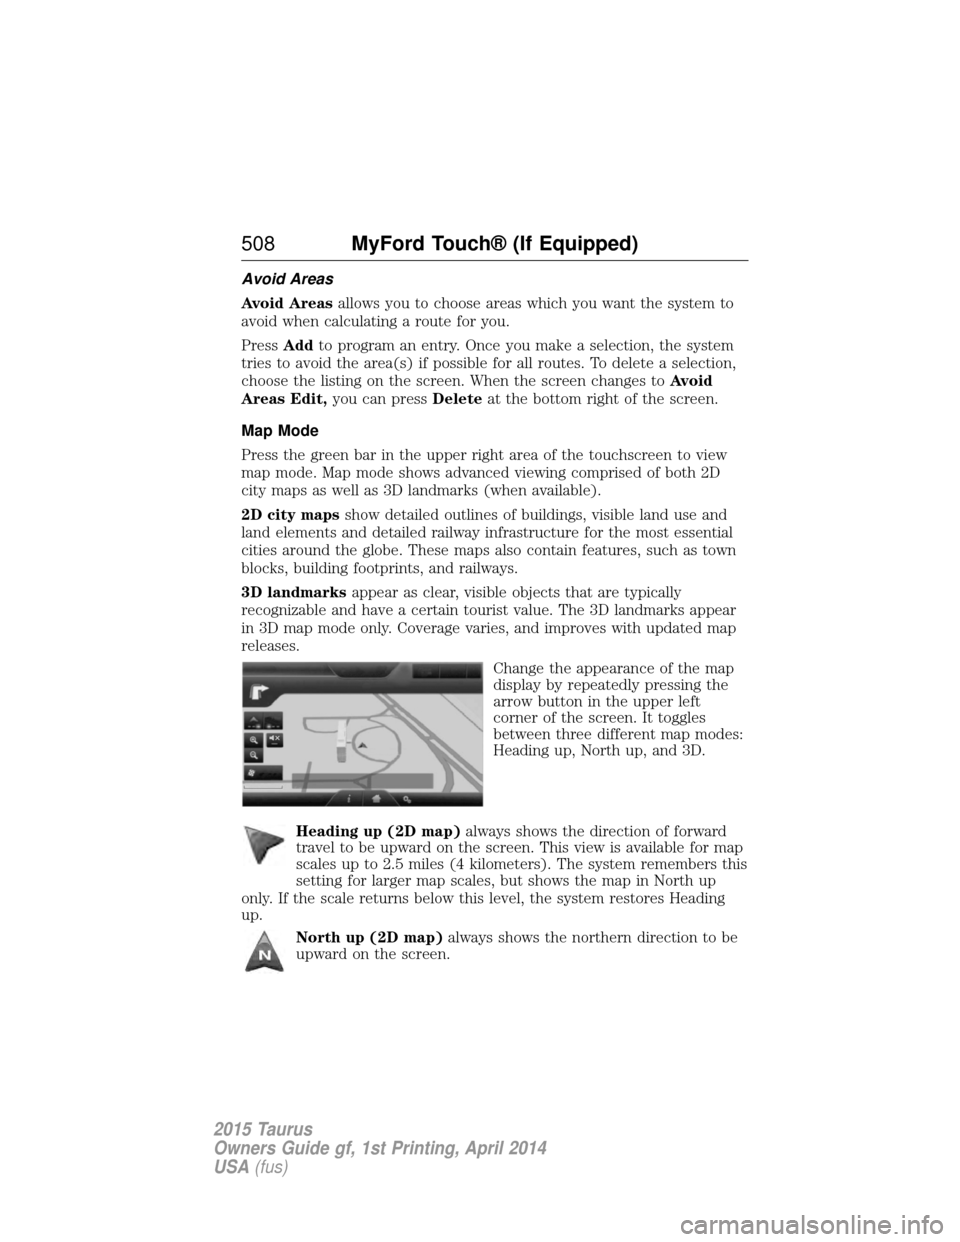
Change the appearance of the map
display by repeatedly pressing the
arrow button in the upper left
corner of the screen. It toggles
between three different map modes:
Heading up, North up, and 3D.
Heading up (2D map) always shows the direction of forward
travel to be upward on the screen. This view is available for map
scales up to 2.5 miles (4 kilometers). The system remembers this
setting for larger map scales, but shows the map in North up
only. If the scale returns below this level, the system restores Heading
up.
North up (2D map) always shows the northern direction to be
upward on the screen.
508 MyFord Touch® (If Equipped)
2015 Taurus
Owners Guide gf, 1st Printing, April 2014
USA(fus)