2015 FORD SUPER DUTY turn signal
[x] Cancel search: turn signalPage 50 of 470
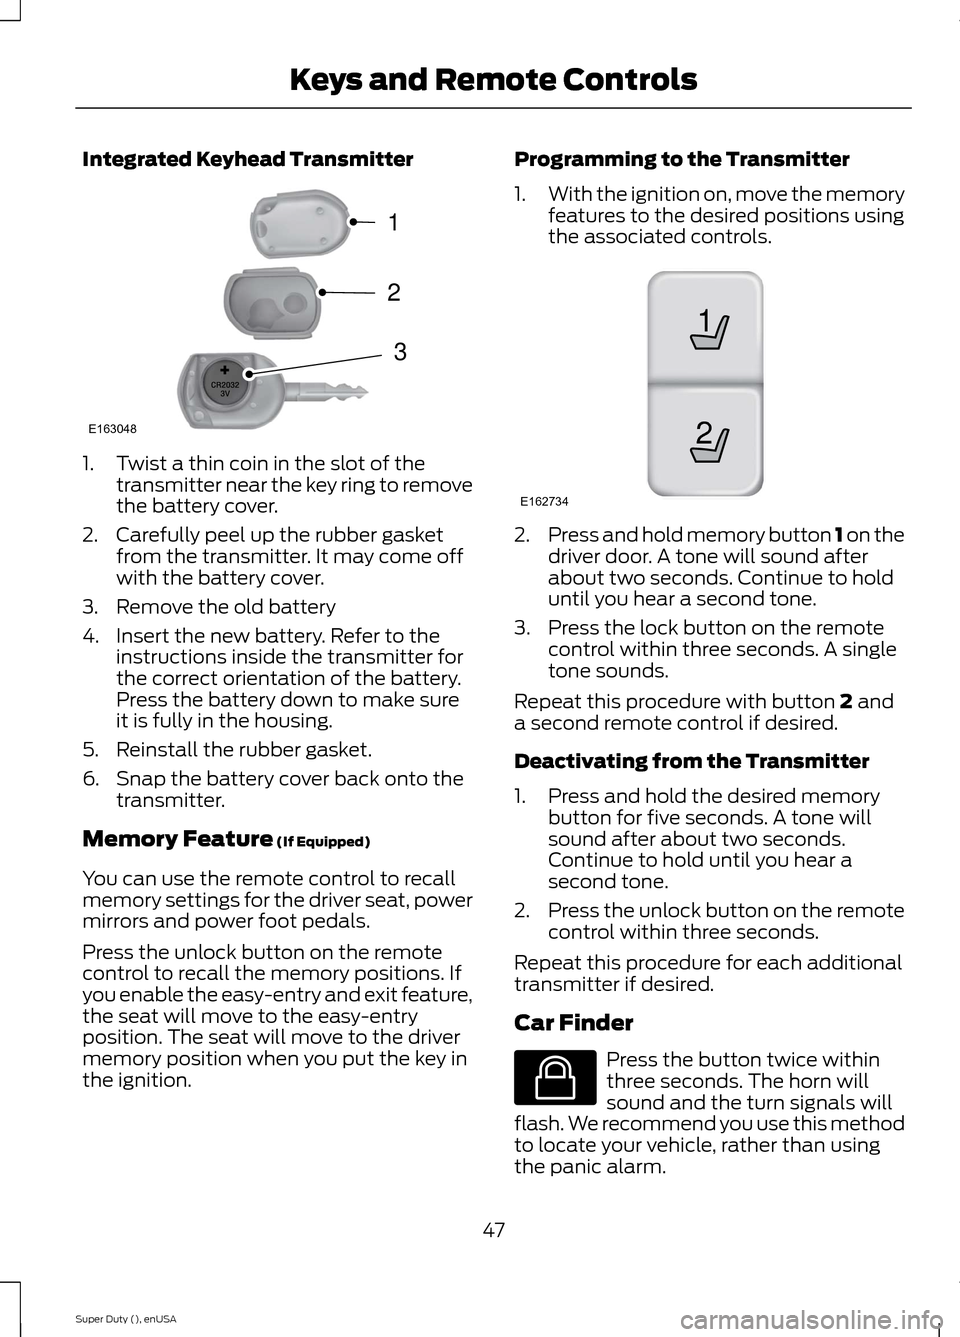
Integrated Keyhead Transmitter
1.Twist a thin coin in the slot of thetransmitter near the key ring to removethe battery cover.
2.Carefully peel up the rubber gasketfrom the transmitter. It may come offwith the battery cover.
3.Remove the old battery
4.Insert the new battery. Refer to theinstructions inside the transmitter forthe correct orientation of the battery.Press the battery down to make sureit is fully in the housing.
5.Reinstall the rubber gasket.
6.Snap the battery cover back onto thetransmitter.
Memory Feature (If Equipped)
You can use the remote control to recallmemory settings for the driver seat, powermirrors and power foot pedals.
Press the unlock button on the remotecontrol to recall the memory positions. Ifyou enable the easy-entry and exit feature,the seat will move to the easy-entryposition. The seat will move to the drivermemory position when you put the key inthe ignition.
Programming to the Transmitter
1.With the ignition on, move the memoryfeatures to the desired positions usingthe associated controls.
2.Press and hold memory button 1 on thedriver door. A tone will sound afterabout two seconds. Continue to holduntil you hear a second tone.
3.Press the lock button on the remotecontrol within three seconds. A singletone sounds.
Repeat this procedure with button 2 anda second remote control if desired.
Deactivating from the Transmitter
1.Press and hold the desired memorybutton for five seconds. A tone willsound after about two seconds.Continue to hold until you hear asecond tone.
2.Press the unlock button on the remotecontrol within three seconds.
Repeat this procedure for each additionaltransmitter if desired.
Car Finder
Press the button twice withinthree seconds. The horn willsound and the turn signals willflash. We recommend you use this methodto locate your vehicle, rather than usingthe panic alarm.
47Super Duty (), enUSAKeys and Remote ControlsE163048321 21E162734 E138623
Page 57 of 470
LOCKING AND UNLOCKING
You can use the power door lock controlor the remote control to lock and unlockyour vehicle.
Power Door Locks (If Equipped)
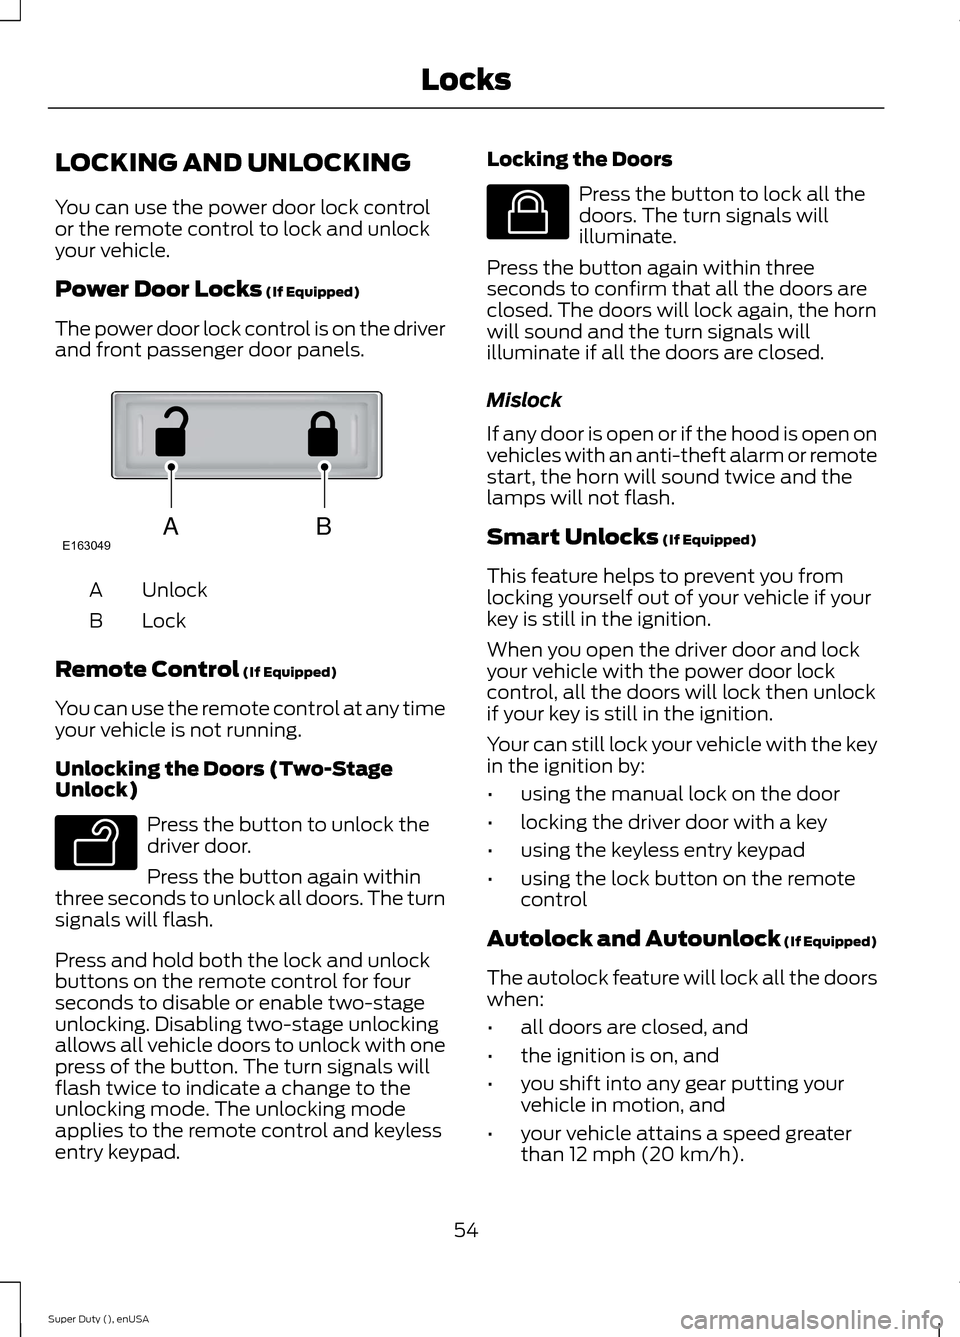
The power door lock control is on the driverand front passenger door panels.
UnlockA
LockB
Remote Control (If Equipped)
You can use the remote control at any timeyour vehicle is not running.
Unlocking the Doors (Two-StageUnlock)
Press the button to unlock thedriver door.
Press the button again withinthree seconds to unlock all doors. The turnsignals will flash.
Press and hold both the lock and unlockbuttons on the remote control for fourseconds to disable or enable two-stageunlocking. Disabling two-stage unlockingallows all vehicle doors to unlock with onepress of the button. The turn signals willflash twice to indicate a change to theunlocking mode. The unlocking modeapplies to the remote control and keylessentry keypad.
Locking the Doors
Press the button to lock all thedoors. The turn signals willilluminate.
Press the button again within threeseconds to confirm that all the doors areclosed. The doors will lock again, the hornwill sound and the turn signals willilluminate if all the doors are closed.
Mislock
If any door is open or if the hood is open onvehicles with an anti-theft alarm or remotestart, the horn will sound twice and thelamps will not flash.
Smart Unlocks (If Equipped)
This feature helps to prevent you fromlocking yourself out of your vehicle if yourkey is still in the ignition.
When you open the driver door and lockyour vehicle with the power door lockcontrol, all the doors will lock then unlockif your key is still in the ignition.
Your can still lock your vehicle with the keyin the ignition by:
•using the manual lock on the door
•locking the driver door with a key
•using the keyless entry keypad
•using the lock button on the remotecontrol
Autolock and Autounlock (If Equipped)
The autolock feature will lock all the doorswhen:
•all doors are closed, and
•the ignition is on, and
•you shift into any gear putting yourvehicle in motion, and
•your vehicle attains a speed greaterthan 12 mph (20 km/h).
54Super Duty (), enUSALocksABE163049 E138629 E138623
Page 70 of 470
The system switches the headlamps onwith a reduced output in daylightconditions.
To switch the system on:
1.Switch the ignition on.
2.Switch the lighting control to the off,or parking lamp position.
3.Disengage the parking brake.
4.Make sure the transmission selectorlever is not in position P.
FRONT FOG LAMPS (IF EQUIPPED)
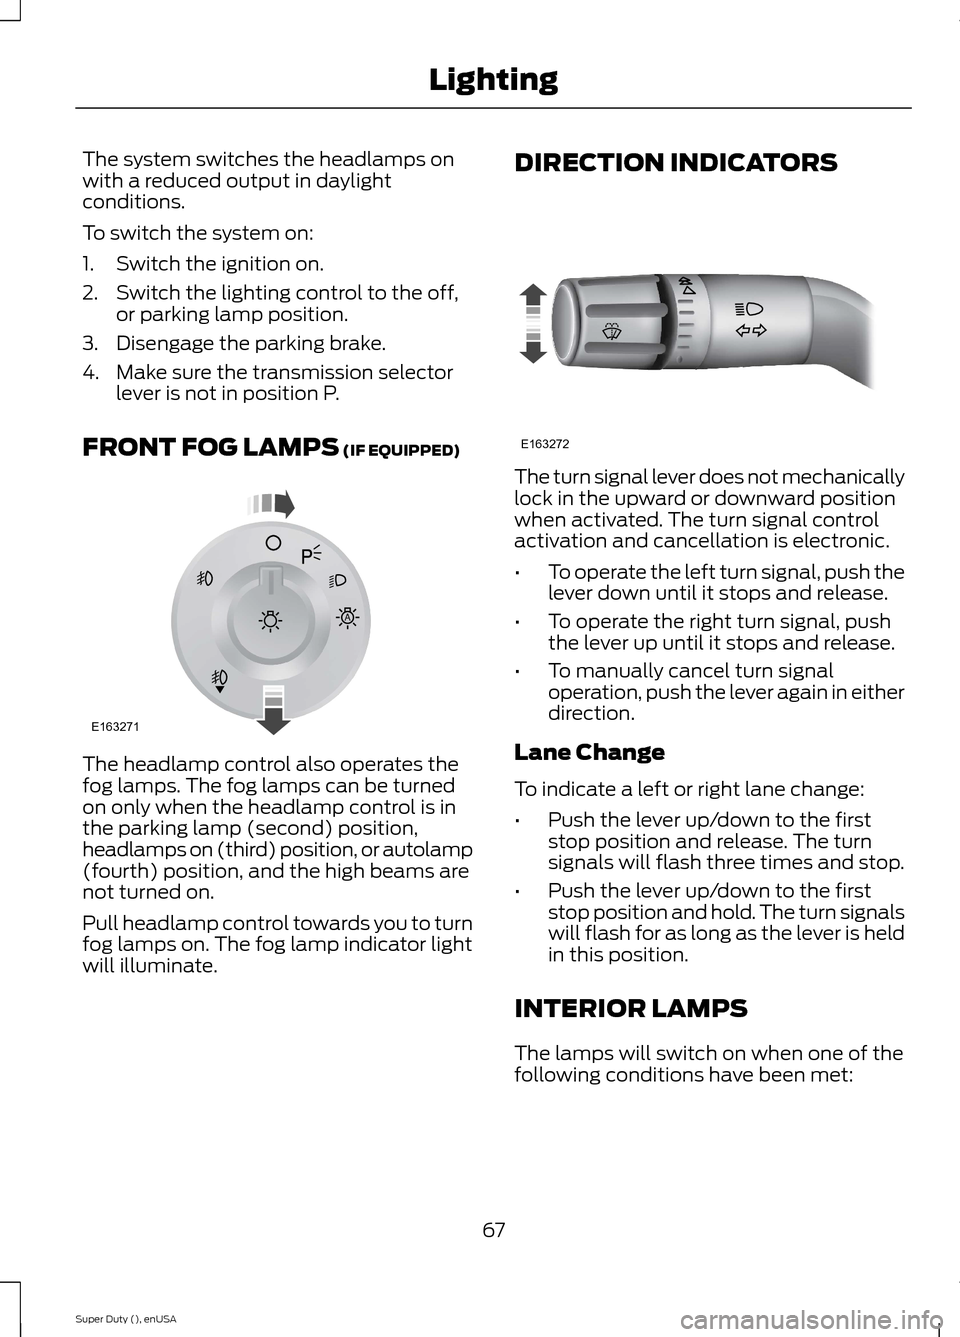
The headlamp control also operates thefog lamps. The fog lamps can be turnedon only when the headlamp control is inthe parking lamp (second) position,headlamps on (third) position, or autolamp(fourth) position, and the high beams arenot turned on.
Pull headlamp control towards you to turnfog lamps on. The fog lamp indicator lightwill illuminate.
DIRECTION INDICATORS
The turn signal lever does not mechanicallylock in the upward or downward positionwhen activated. The turn signal controlactivation and cancellation is electronic.
•To operate the left turn signal, push thelever down until it stops and release.
•To operate the right turn signal, pushthe lever up until it stops and release.
•To manually cancel turn signaloperation, push the lever again in eitherdirection.
Lane Change
To indicate a left or right lane change:
•Push the lever up/down to the firststop position and release. The turnsignals will flash three times and stop.
•Push the lever up/down to the firststop position and hold. The turn signalswill flash for as long as the lever is heldin this position.
INTERIOR LAMPS
The lamps will switch on when one of thefollowing conditions have been met:
67Super Duty (), enUSALightingE163271A E163272
Page 81 of 470
WARNING
Driving your vehicle with the warninglamp on is dangerous. A significantdecrease in braking performancemay occur. It will take you longer to stopyour vehicle. Have your vehicle checked byyour authorized dealer immediately. Drivingextended distances with the parking brakeengaged can cause brake failure and therisk of personal injury.
Check Fuel Cap (If Equipped)
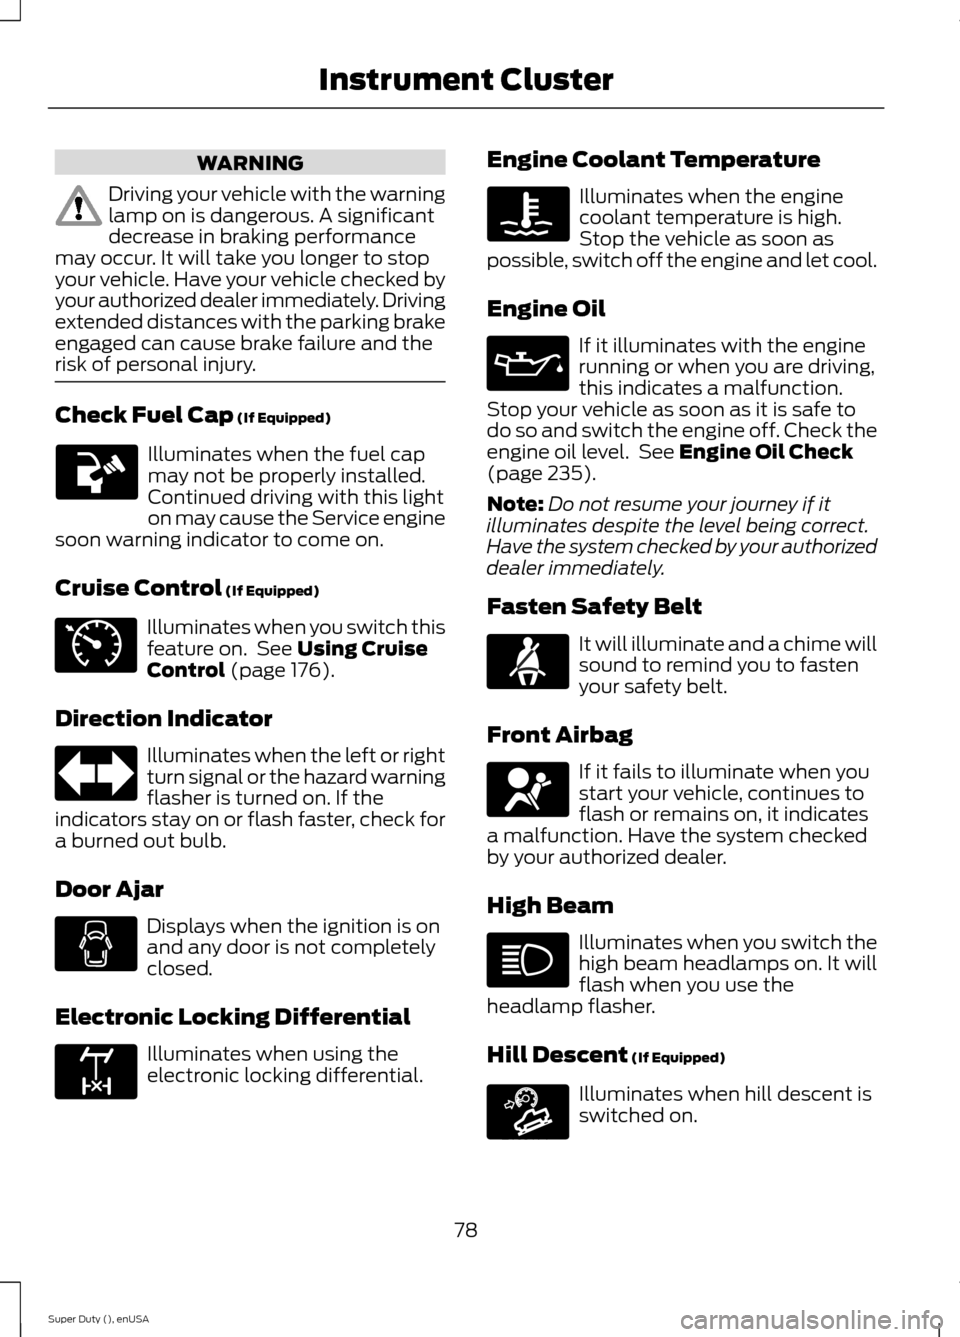
Illuminates when the fuel capmay not be properly installed.Continued driving with this lighton may cause the Service enginesoon warning indicator to come on.
Cruise Control (If Equipped)
Illuminates when you switch thisfeature on. See Using CruiseControl (page 176).
Direction Indicator
Illuminates when the left or rightturn signal or the hazard warningflasher is turned on. If theindicators stay on or flash faster, check fora burned out bulb.
Door Ajar
Displays when the ignition is onand any door is not completelyclosed.
Electronic Locking Differential
Illuminates when using theelectronic locking differential.
Engine Coolant Temperature
Illuminates when the enginecoolant temperature is high.Stop the vehicle as soon aspossible, switch off the engine and let cool.
Engine Oil
If it illuminates with the enginerunning or when you are driving,this indicates a malfunction.Stop your vehicle as soon as it is safe todo so and switch the engine off. Check theengine oil level. See Engine Oil Check(page 235).
Note:Do not resume your journey if itilluminates despite the level being correct.Have the system checked by your authorizeddealer immediately.
Fasten Safety Belt
It will illuminate and a chime willsound to remind you to fastenyour safety belt.
Front Airbag
If it fails to illuminate when youstart your vehicle, continues toflash or remains on, it indicatesa malfunction. Have the system checkedby your authorized dealer.
High Beam
Illuminates when you switch thehigh beam headlamps on. It willflash when you use theheadlamp flasher.
Hill Descent (If Equipped)
Illuminates when hill descent isswitched on.
78Super Duty (), enUSAInstrument Cluster E71340 E163170 E163171
Page 128 of 470
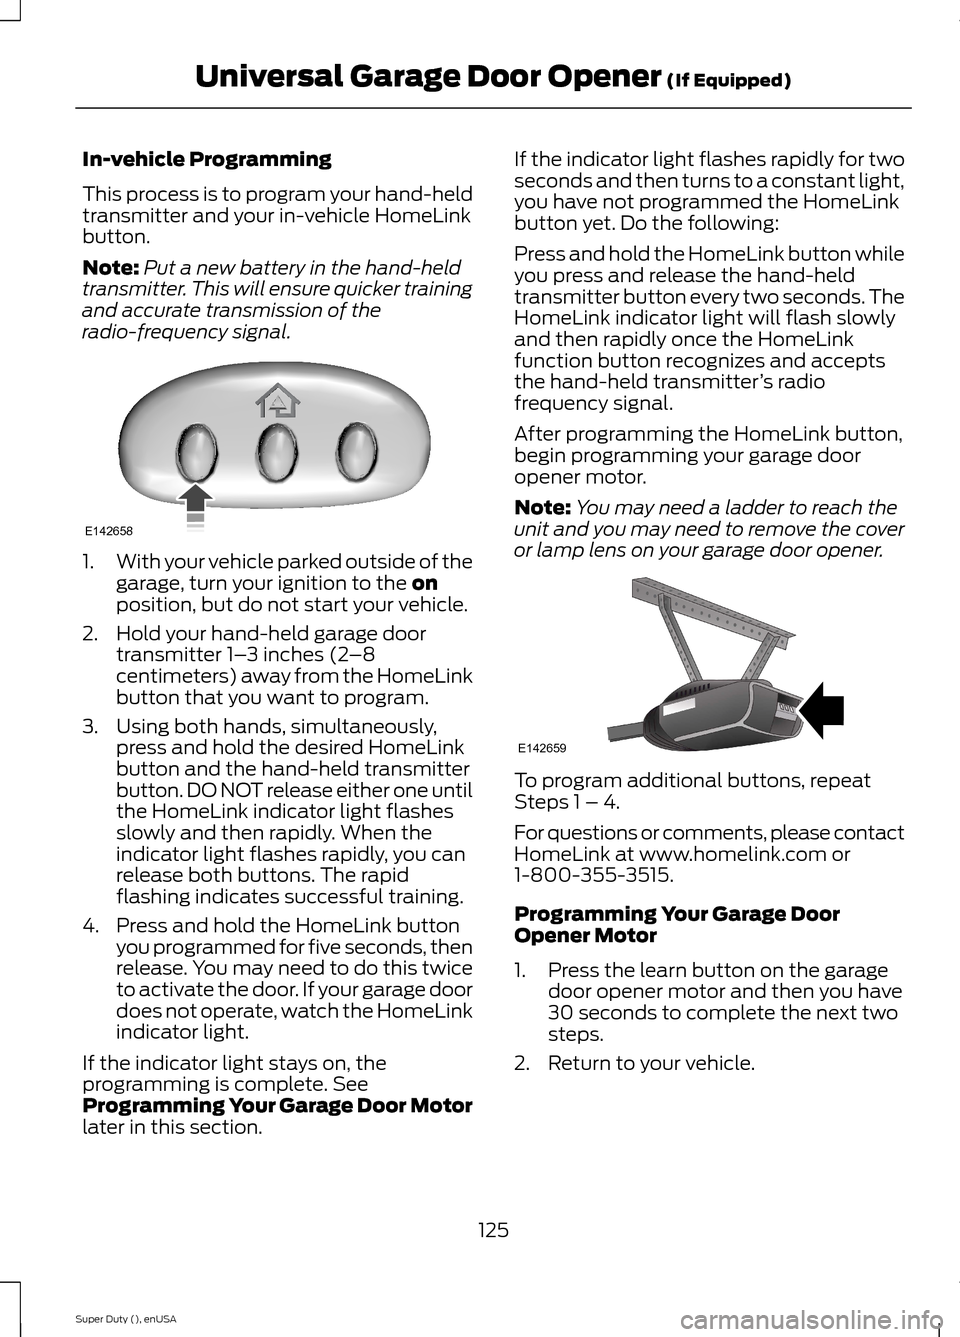
In-vehicle Programming
This process is to program your hand-heldtransmitter and your in-vehicle HomeLinkbutton.
Note:Put a new battery in the hand-heldtransmitter. This will ensure quicker trainingand accurate transmission of theradio-frequency signal.
1.With your vehicle parked outside of thegarage, turn your ignition to the onposition, but do not start your vehicle.
2.Hold your hand-held garage doortransmitter 1–3 inches (2–8centimeters) away from the HomeLinkbutton that you want to program.
3.Using both hands, simultaneously,press and hold the desired HomeLinkbutton and the hand-held transmitterbutton. DO NOT release either one untilthe HomeLink indicator light flashesslowly and then rapidly. When theindicator light flashes rapidly, you canrelease both buttons. The rapidflashing indicates successful training.
4.Press and hold the HomeLink buttonyou programmed for five seconds, thenrelease. You may need to do this twiceto activate the door. If your garage doordoes not operate, watch the HomeLinkindicator light.
If the indicator light stays on, theprogramming is complete. SeeProgramming Your Garage Door Motorlater in this section.
If the indicator light flashes rapidly for twoseconds and then turns to a constant light,you have not programmed the HomeLinkbutton yet. Do the following:
Press and hold the HomeLink button whileyou press and release the hand-heldtransmitter button every two seconds. TheHomeLink indicator light will flash slowlyand then rapidly once the HomeLinkfunction button recognizes and acceptsthe hand-held transmitter’s radiofrequency signal.
After programming the HomeLink button,begin programming your garage dooropener motor.
Note:You may need a ladder to reach theunit and you may need to remove the coveror lamp lens on your garage door opener.
To program additional buttons, repeatSteps 1 – 4.
For questions or comments, please contactHomeLink at www.homelink.com or1-800-355-3515.
Programming Your Garage DoorOpener Motor
1.Press the learn button on the garagedoor opener motor and then you have30 seconds to complete the next twosteps.
2.Return to your vehicle.
125Super Duty (), enUSAUniversal Garage Door Opener (If Equipped)E142658 E142659
Page 197 of 470
•Service your vehicle morefrequently if you tow a trailer.See your scheduledmaintenance information.
•If you use a rental trailer, followthe instructions the rentalagency gives you.
See Load limits in the LoadCarrying chapter for loadspecification terms found on thetire label and Safety Compliancelabel and instructions oncalculating your vehicle's load.
Remember to account for thetrailer tongue weight as part ofyour vehicle load when calculatingthe total vehicle weight.
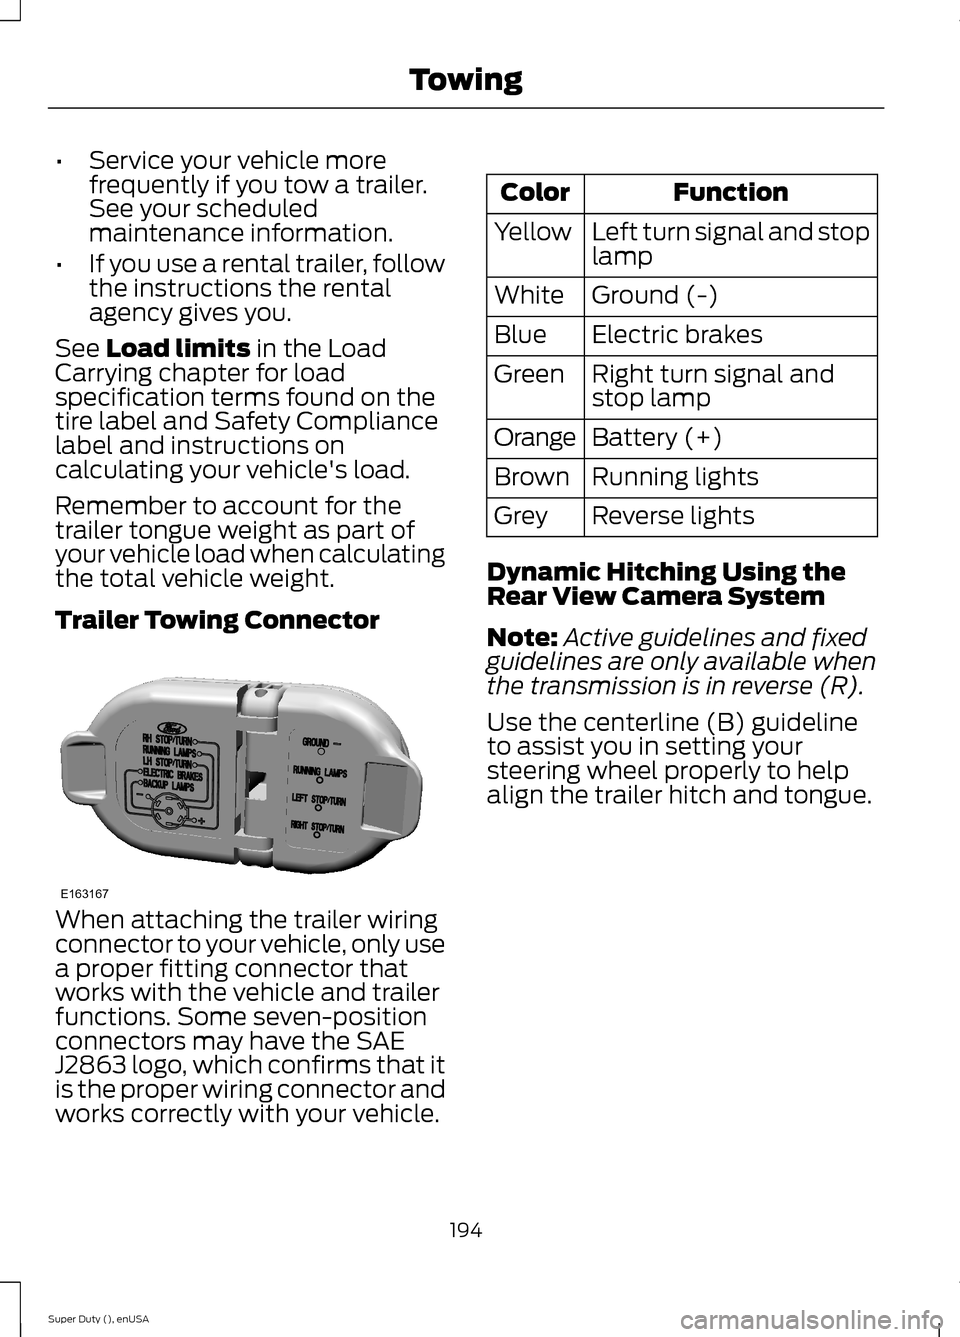
Trailer Towing Connector
When attaching the trailer wiringconnector to your vehicle, only usea proper fitting connector thatworks with the vehicle and trailerfunctions. Some seven-positionconnectors may have the SAEJ2863 logo, which confirms that itis the proper wiring connector andworks correctly with your vehicle.
FunctionColor
Left turn signal and stoplampYellow
Ground (-)White
Electric brakesBlue
Right turn signal andstop lampGreen
Battery (+)Orange
Running lightsBrown
Reverse lightsGrey
Dynamic Hitching Using theRear View Camera System
Note:Active guidelines and fixedguidelines are only available whenthe transmission is in reverse (R).
Use the centerline (B) guidelineto assist you in setting yoursteering wheel properly to helpalign the trailer hitch and tongue.
194Super Duty (), enUSATowingE163167
Page 206 of 470
•When you switch the engineoff, the controller output isdisabled and the display andmodule shut down. Thecontroller module and displayturn on when you switch theignition on.
•The trailer brake controller isonly a factory-installed ordealer-installed item. Ford isnot responsible for warranty orperformance of the controllerdue to misuse or customerinstallation.
Trailer Lamps
WARNING
Never connect any trailerlamp wiring to the vehicle'stail lamp wiring; this may damagethe electrical system resulting infire. Contact your authorizeddealer as soon as possible forassistance in proper trailer towwiring installation. Additionalelectrical equipment may berequired.
Trailer lamps are required on mosttowed vehicles. Make sure allrunning lights, brake lights, turnsignals and hazard lights areworking.
Using a Step Bumper (IfEquipped)
The rear bumper is equipped withan integral hitch and only requiresa ball with a one-inch (25.4millimeter) shank diameter. Thebumper has a 5000-pound (2268kilogram) trailer weight and a500-pound (227 kilogram) tongueweight capacity
If it is necessary to relocate thehitch ball position, you must installa frame-mounted trailer hitch.
Before Towing a Trailer
Practice turning, stopping andbacking up to get the feel of yourvehicle-trailer combination beforestarting on a trip. When turning,
make wider turns so the trailerwheels clear curbs and otherobstacles.
When Towing a Trailer
•Do not drive faster than 70mph (113 km/h) during the first500 miles (800 kilometers).
•Do not make full-throttlestarts.
•Check your hitch, electricalconnections and trailer wheel
lug nuts thoroughly after youhave traveled 50 miles (80kilometers).
203Super Duty (), enUSATowing
Page 219 of 470
POST-CRASH ALERT SYSTEM
The system flashes the turn signal lampsand sounds the horn (intermittently) in theevent of a serious impact that deploys anairbag (front, side, side curtain or SafetyCanopy) or the safety belt pretensioners.
The horn and lamps will turn off when:
•The hazard control button is pressed
•The panic button (if equipped) ispressed on the remote entrytransmitter
•Your vehicle runs out of power
216Super Duty (), enUSARoadside Emergencies