2015 FORD SUPER DUTY check oil
[x] Cancel search: check oilPage 145 of 470
On-Board Diagnostics (OBD-II)
Your vehicle is equipped with an on-boarddiagnostics system (OBD-II) that monitorsthe engine’s emission control system. Thissystem protects the environment byensuring that your vehicle continues tomeet government emission standards. TheOBD-II system also assists your authorizeddealer in properly servicing your vehicle.
When the service engine soonindicator illuminates, the OBD-IIsystem has detected amalfunction. Temporary malfunctions maycause the service engine soon indicator toilluminate.
Examples of temporary malfunctions are:
•the vehicle has run out of fuel—theengine may misfire or run poorly
•poor fuel quality or water in thefuel—the engine may misfire or runpoorly
•the fuel fill inlet may not have beenproperly closed See Refueling (page138).
•driving through deep water—theelectrical system may be wet.
You can correct these temporarymalfunctions by filling the fuel tank withgood quality fuel, properly closing the fuelfill inlet or letting the electrical system dryout. After three driving cycles without theseor any other temporary malfunctionspresent, the service engine soon indicatorshould stay off the next time you start theengine. A driving cycle consists of a coldengine startup followed by mixedcity/highway driving. No additional vehicleservice is required.
If the service engine soon indicator remainson, have your vehicle serviced at the firstavailable opportunity. Although somemalfunctions detected by the OBD-II maynot have symptoms that are apparent,continued driving with the service enginesoon indicator on can result in increasedemissions, lower fuel economy, reducedengine and transmission smoothness, andlead to more costly repairs.
Readiness forInspection/Maintenance (I/M)Testing
Some state/provincial and localgovernments may haveInspection/Maintenance (I/M) programsto inspect the emission control equipmenton your vehicle. Failure to pass thisinspection could prevent you from gettinga vehicle registration.
If the service engine soonindicator is on or the bulb doesnot work, you may need to havethe vehicle serviced. See On-BoardDiagnostics (OBD-II).
Your vehicle may not pass the I/M test ifthe service engine soon indicator is on ornot working properly (bulb is burned out),or if the OBD-II system has determinedthat some of the emission control systemshave not been properly checked. In thiscase, your vehicle is not ready for I/Mtesting.
If the vehicle’s engine or transmission hasjust been serviced, or the battery hasrecently run down or been replaced, theOBD-II system may indicate that thevehicle is not ready for I/M testing. Todetermine if the vehicle is ready for I/Mtesting, turn the ignition key to the onposition for 15 seconds without cranking
142Super Duty (), enUSAFuel and Refueling
Page 238 of 470
Power steering fluid reservoirF.
Brake fluid reservoirG.
Engine coolant reservoirH.
Air filter assemblyI.
Power distribution boxJ.
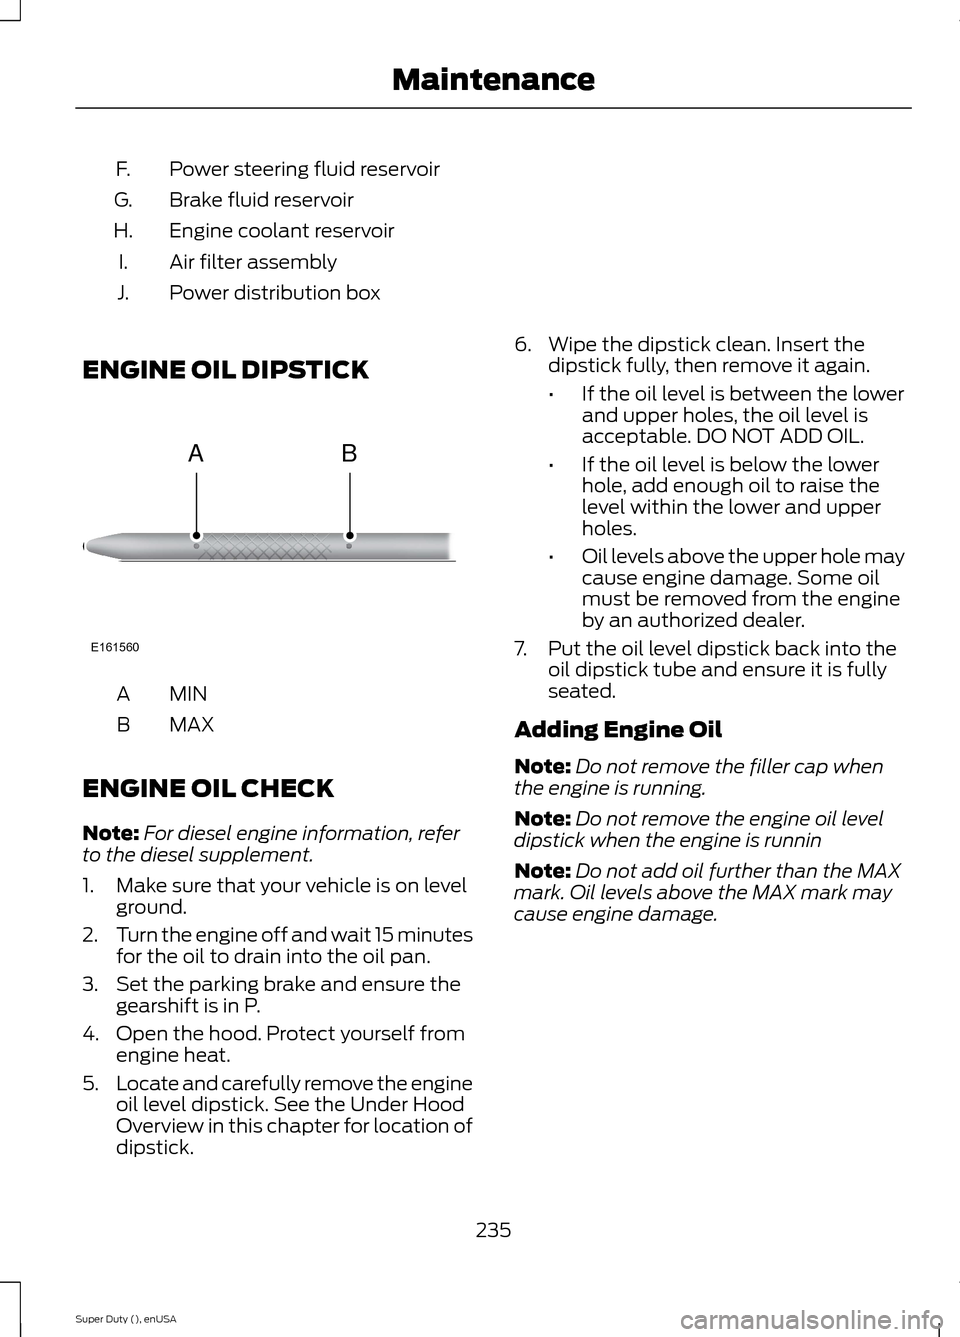
ENGINE OIL DIPSTICK
MINA
MAXB
ENGINE OIL CHECK
Note:For diesel engine information, referto the diesel supplement.
1.Make sure that your vehicle is on levelground.
2.Turn the engine off and wait 15 minutesfor the oil to drain into the oil pan.
3.Set the parking brake and ensure thegearshift is in P.
4.Open the hood. Protect yourself fromengine heat.
5.Locate and carefully remove the engineoil level dipstick. See the Under HoodOverview in this chapter for location ofdipstick.
6.Wipe the dipstick clean. Insert thedipstick fully, then remove it again.
•If the oil level is between the lowerand upper holes, the oil level isacceptable. DO NOT ADD OIL.
•If the oil level is below the lowerhole, add enough oil to raise thelevel within the lower and upperholes.
•Oil levels above the upper hole maycause engine damage. Some oilmust be removed from the engineby an authorized dealer.
7.Put the oil level dipstick back into theoil dipstick tube and ensure it is fullyseated.
Adding Engine Oil
Note:Do not remove the filler cap whenthe engine is running.
Note:Do not remove the engine oil leveldipstick when the engine is runnin
Note:Do not add oil further than the MAXmark. Oil levels above the MAX mark maycause engine damage.
235Super Duty (), enUSAMaintenanceE161560AB
Page 239 of 470
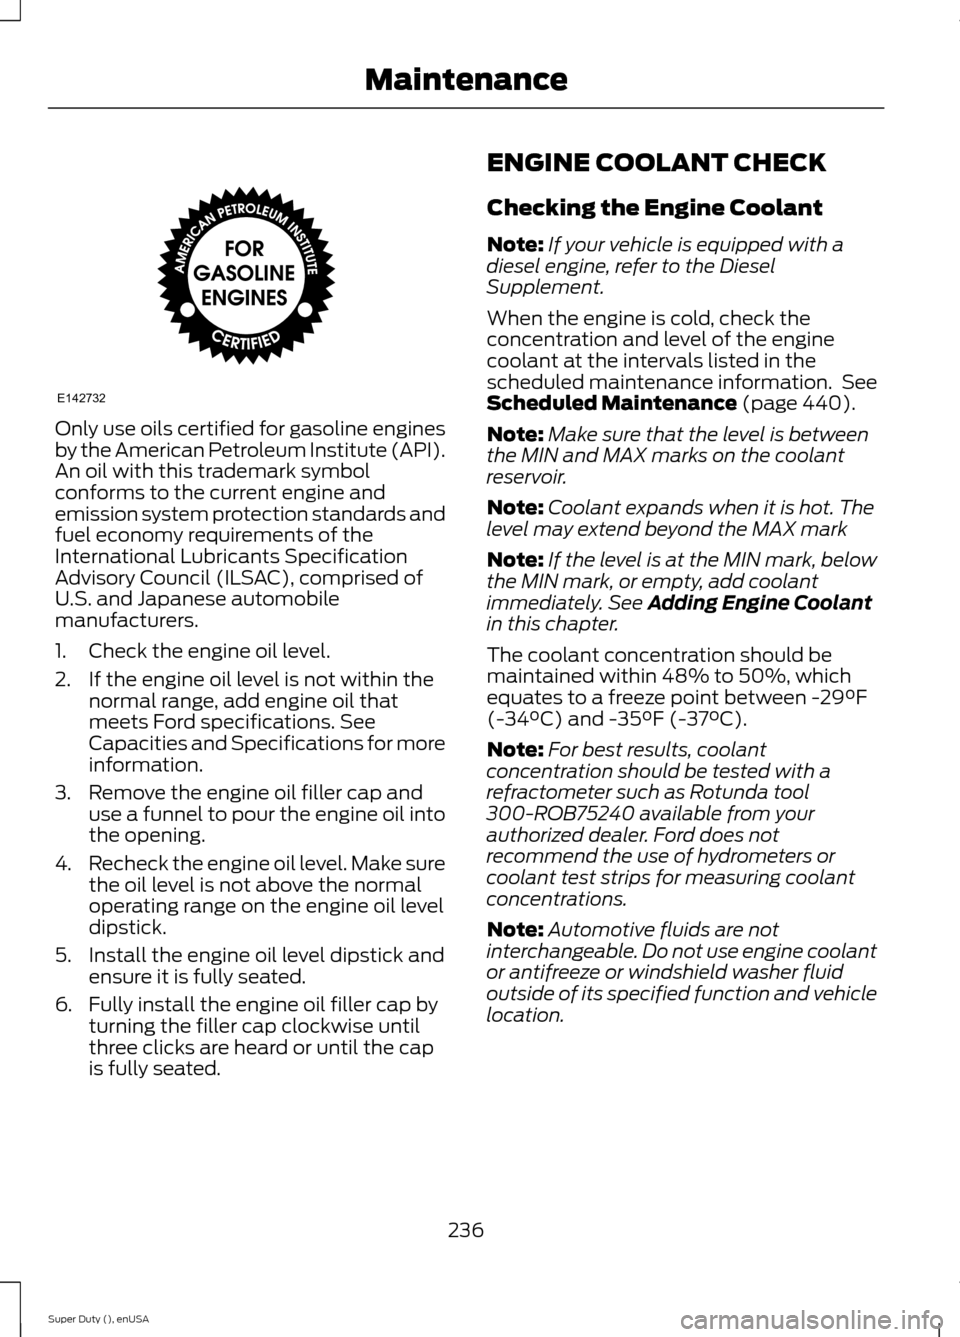
Only use oils certified for gasoline enginesby the American Petroleum Institute (API).An oil with this trademark symbolconforms to the current engine andemission system protection standards andfuel economy requirements of theInternational Lubricants SpecificationAdvisory Council (ILSAC), comprised ofU.S. and Japanese automobilemanufacturers.
1.Check the engine oil level.
2.If the engine oil level is not within thenormal range, add engine oil thatmeets Ford specifications. SeeCapacities and Specifications for moreinformation.
3.Remove the engine oil filler cap anduse a funnel to pour the engine oil intothe opening.
4.Recheck the engine oil level. Make surethe oil level is not above the normaloperating range on the engine oil leveldipstick.
5.Install the engine oil level dipstick andensure it is fully seated.
6.Fully install the engine oil filler cap byturning the filler cap clockwise untilthree clicks are heard or until the capis fully seated.
ENGINE COOLANT CHECK
Checking the Engine Coolant
Note:If your vehicle is equipped with adiesel engine, refer to the DieselSupplement.
When the engine is cold, check theconcentration and level of the enginecoolant at the intervals listed in thescheduled maintenance information. SeeScheduled Maintenance (page 440).
Note:Make sure that the level is betweenthe MIN and MAX marks on the coolantreservoir.
Note:Coolant expands when it is hot. Thelevel may extend beyond the MAX mark
Note:If the level is at the MIN mark, belowthe MIN mark, or empty, add coolantimmediately. See Adding Engine Coolantin this chapter.
The coolant concentration should bemaintained within 48% to 50%, whichequates to a freeze point between -29°F(-34°C) and -35°F (-37°C).
Note:For best results, coolantconcentration should be tested with arefractometer such as Rotunda tool300-ROB75240 available from yourauthorized dealer. Ford does notrecommend the use of hydrometers orcoolant test strips for measuring coolantconcentrations.
Note:Automotive fluids are notinterchangeable. Do not use engine coolantor antifreeze or windshield washer fluidoutside of its specified function and vehiclelocation.
236Super Duty (), enUSAMaintenanceE142732
Page 250 of 470
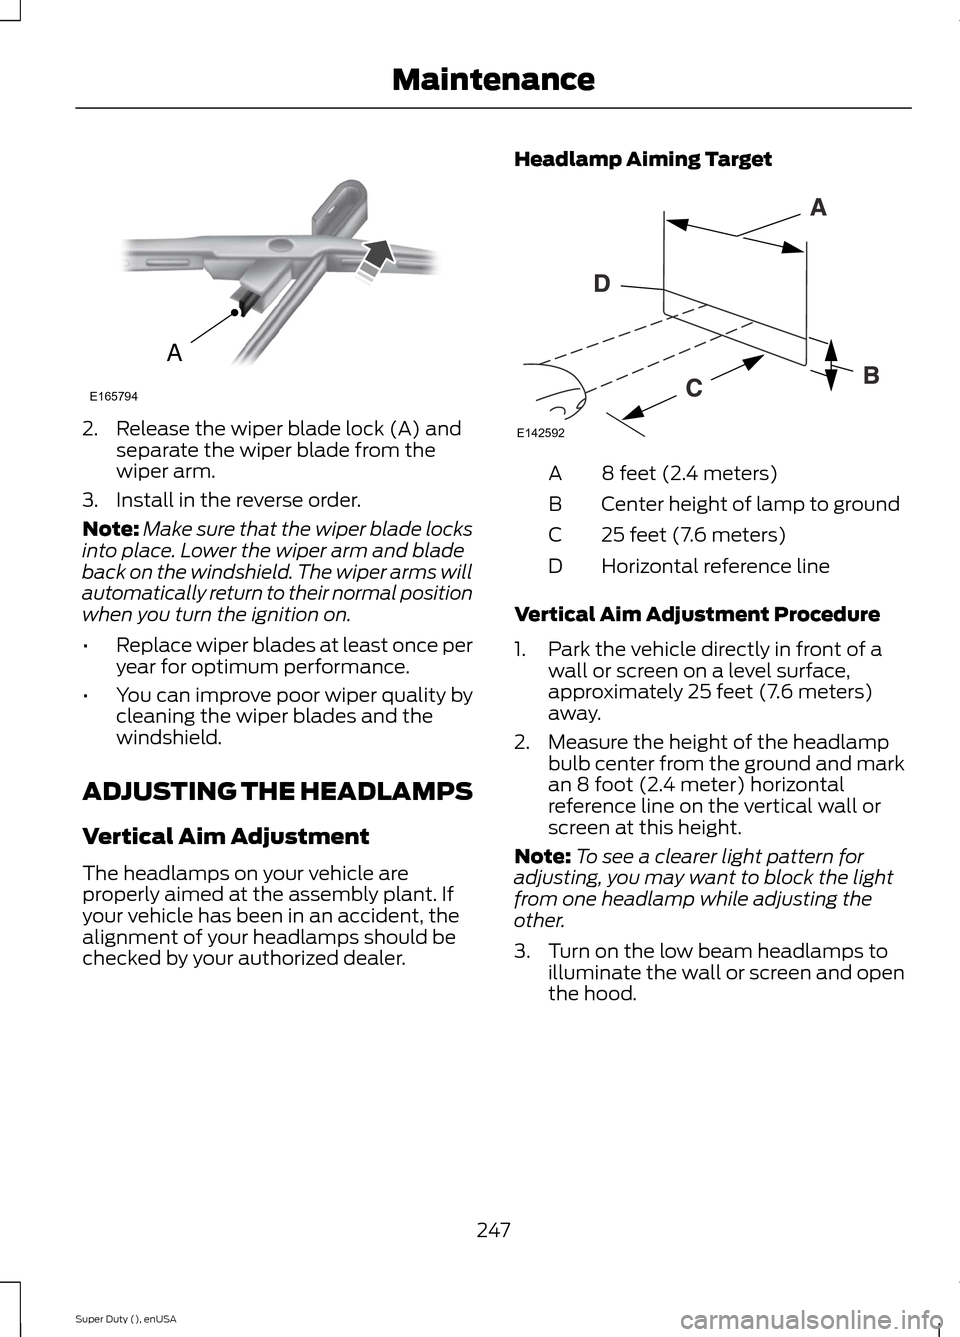
2.Release the wiper blade lock (A) andseparate the wiper blade from thewiper arm.
3.Install in the reverse order.
Note:Make sure that the wiper blade locksinto place. Lower the wiper arm and bladeback on the windshield. The wiper arms willautomatically return to their normal positionwhen you turn the ignition on.
•Replace wiper blades at least once peryear for optimum performance.
•You can improve poor wiper quality bycleaning the wiper blades and thewindshield.
ADJUSTING THE HEADLAMPS
Vertical Aim Adjustment
The headlamps on your vehicle areproperly aimed at the assembly plant. Ifyour vehicle has been in an accident, thealignment of your headlamps should bechecked by your authorized dealer.
Headlamp Aiming Target
8 feet (2.4 meters)A
Center height of lamp to groundB
25 feet (7.6 meters)C
Horizontal reference lineD
Vertical Aim Adjustment Procedure
1.Park the vehicle directly in front of awall or screen on a level surface,approximately 25 feet (7.6 meters)away.
2.Measure the height of the headlampbulb center from the ground and markan 8 foot (2.4 meter) horizontalreference line on the vertical wall orscreen at this height.
Note:To see a clearer light pattern foradjusting, you may want to block the lightfrom one headlamp while adjusting theother.
3.Turn on the low beam headlamps toilluminate the wall or screen and openthe hood.
247Super Duty (), enUSAMaintenanceAE165794 E142592
Page 262 of 470
Clean the instrument panel and clusterlens with a clean, damp, white cottoncloth, then use a clean and dry whitecotton cloth to dry these areas.
•Avoid cleaners or polishes that increasethe gloss of the upper portion of theinstrument panel. The dull finish in thisarea helps protect you fromundesirable windshield reflection.
•Be certain to wash or wipe your handsclean if you have been in contact withcertain products such as insectrepellent and suntan lotion in order toavoid possible damage to the interiorpainted surfaces.
•Do not use household or glass cleanersas these may damage the finish of theinstrument panel, interior trim andcluster lens.
•Do not allow air fresheners and handsanitizers to spill onto interior surfaces.If a spill occurs, wipe off immediately.Damage may not be covered by yourwarranty.
If a staining liquid like coffee or juice hasbeen spilled on the instrument panel or oninterior trim surfaces, clean as follows:
1.Wipe up spilled liquid using a clean,white, cotton cloth.
2.Wipe the surface with a damp, clean,white cotton cloth. For more thoroughcleaning, use a mild soap and watersolution. If the spot cannot becompletely cleaned by this method,the area may be cleaned using acommercially available cleaningproduct designed for automotiveinteriors.
3.If necessary, apply more soap andwater solution or cleaning product toa clean, white, cotton cloth and pressthe cloth onto the soiled area. Allowthis to set at room temperature for 30minutes.
4.Remove the soaked cloth and if it is notsoiled badly, use this cloth to clean thearea by using a rubbing motion for 60seconds.
5.Following this, wipe area dry with aclean, white, cotton cloth.
CLEANING LEATHER SEATS (IF
EQUIPPED)
WITHOUT THE KING RANCHEDITION
For routine cleaning, wipe the surface witha soft, damp cloth. For more thoroughcleaning, wipe the surface with a mild soapand water solution. Dry the area with a softcloth.
If you cannot completely clean the leatherusing a mild soap and water solution, youcan try a commercially available leathercleaning product designed for automotiveinteriors.
Note:To check for compatibility, first testany cleaner or stain remover on aninconspicuous part of the leather.
You should:
•remove dust and loose dirt with avacuum cleaner
•clean spills and stains as quickly aspossible
•Check for compatibility, first test anycleaner or stain remover on aninconspicuous part of the leather.
Do not use the following products as thesemay damage the leather:
•oil/petroleum-based leatherconditioners
•household cleaners
259Super Duty (), enUSAVehicle Care
Page 265 of 470
Engine
•The engine oil and filter should bechanged prior to storage, as usedengine oil contain contaminates thatmay cause engine damage.
•Start the engine every 15 days. Run atfast idle until it reaches normaloperating temperature
•With your foot on the brake, shiftthrough all the gears while the engineis running.
Fuel system
•Fill the fuel tank with high-quality fueluntil the first automatic shutoff of thefuel pump nozzle.
Cooling system
•Protect against freezing temperatures.
•When removing your vehicle fromstorage, check coolant fluid level.Confirm there are no cooling systemleaks, and fluid is at the recommendedlevel.
Battery
•Check and recharge as necessary. Keepconnections clean.
•If storing your vehicle for more than 30days without recharging the battery, itmay be advisable to disconnect thebattery cables to ensure battery chargeis maintained for quick starting.
Note:If battery cables are disconnected, itwill be necessary to reset memory features.
Brakes
•Make sure brakes and parking brakeare fully released.
Tires
•Maintain recommended air pressure.
Miscellaneous
•Make sure all linkages, cables, leversand pins under your vehicle are coveredwith grease to prevent rust.
•Move vehicles at least 25 feet (8meters) every 15 days to lubricateworking parts and prevent corrosion.
Removing Vehicle From Storage
When your vehicle is ready to come out ofstorage, do the following:
•Wash your vehicle to remove any dirtor grease film build-up on windowsurfaces.
•Check windshield wipers for anydeterioration.
•Check under the hood for any foreignmaterial that may have collectedduring storage (mice/squirrel nests).
•Check the exhaust for any foreignmaterial that may have collectedduring storage.
•Check tire pressures and set tireinflation per the Tire Label.
•Check brake pedal operation. Driveyour vehicle 15 feet (4.5 meters) backand forth to remove rust build-up.
•Check fluid levels (including coolant,oil and gas) to make sure there are noleaks, and fluids are at recommendedlevels.
•If the battery was removed, clean thebattery cable ends and inspect.
Contact your authorized dealer if you haveany concerns or issues.
262Super Duty (), enUSAVehicle Care
Page 312 of 470
1Add 8 oz. (236 ml) of Additive Friction Modifier XL-3 or equivalent meeting FordSpecification EST-M2C118–A for complete refill of limited slip Ford axles. Ford designrear axles contain a synthetic lubricant that does not require changing unless you submergethe axle in water.2Ford recommends using Motorcraft (Ford) DOT 3 LV High Performance Motor VehicleBrake Fluid, Motorcraft (Ford) DOT 4 LV High Performance Motor Vehicle Brake Fluid orequivalent meeting WSS-M6C65-A1 or WSS-M6C65-A2. Use of any fluid other than therecommended fluid may cause degraded brake performance and not meet the Fordperformance standards. Keep brake fluid clean and dry. Contamination with dirt, water,petroleum products or other materials may result in brake system damage and possiblefailure.3Add the coolant type originally equipped in your vehicle.4Ford has designed your engine to use Motorcraft engine oils or equivalent oils that meetFord’s specification. It is also acceptable to use an engine oil of recommended viscositygrade that meets API SN requirements and displays the API Certification Mark for gasolineengines.5Do not use oils labeled as API SN unless the label also display the API certification mark.These oils do not meet the requirements of your vehicles engine and emissions system.6Do not use supplemental engine oil additives. They are unnecessary and could lead toengine damage not covered by your Ford warranty.7Use the correct automatic transmission fluid. Transmission fluid requirements areindicated on the dipstick blade or the dipstick handle. Check the container to verify thefluid you are adding is of the correct type. Refer to your scheduled maintenance informationto determine the correct service interval.
Note:Automatic transmissions that require MERCON LV should only use MERCON LV fluid.Use of any fluid other than the recommended fluid may cause transmission damage.8Indicates only approximate dry-fill capacity. Some applications may vary based on coolersize and if equipped with an in-tank cooler. You should set the amount of transmissionfluid and fluid level by the indication on the dipstick’s normal operating range.9Fill to the proper capacity according to dipstick Type A. For correct dipstick type, SeeAutomatic Transmission Fluid Check (page 240).9Fill to the proper capacity according to dipstick Type B. For correct dipstick type, SeeAutomatic Transmission Fluid Check (page 240).10See the Warning below:
WARNING
The air conditioning refrigerant system contains refrigerant R-134a under highpressure. Opening the air conditioning refrigerant system can cause personal injury.Have the air conditioning refrigerant system serviced only by qualified personnel.
309Super Duty (), enUSACapacities and Specifications
Page 444 of 470
Ford Motor Company has recommendedmaintenance intervals for various partsand component systems based uponengineering testing. Ford Motor Companyrelies upon this testing to determine themost appropriate mileage for replacementof oils and fluids to protect your vehicle atthe lowest overall cost to you andrecommends against maintenanceschedules that deviate from the scheduledmaintenance information.
We strongly recommend the use of onlygenuine Ford, Motorcraft orFord-authorized re-manufacturedreplacement parts engineered for yourvehicle.
Additives and Chemicals
This owner's manual and the FordWorkshop Manual list the recommendedadditives and chemicals for your vehicle.We do not recommend using chemicals oradditives not approved by us as part ofyour vehicle’s normal maintenance. Pleaseconsult your warranty information.
Oils, Fluids and Flushing
In many cases, fluid discoloration is anormal operating characteristic and, byitself, does not necessarily indicate aconcern or that the fluid needs to bechanged. However, a qualified expert, suchas the factory-trained technicians at yourdealership, should inspect discolored fluidsthat also show signs of overheating orforeign material contaminationimmediately.
Make sure to change your vehicle’s oils andfluids at the specified intervals or inconjunction with a repair. Flushing is aviable way to change fluid for many vehiclesub-systems during scheduledmaintenance. It is critical that systems areflushed only with new fluid that is the sameas that required to fill and operate thesystem or using a Ford-approved flushingchemical.
Owner Checks and Services
Make sure you perform the following basicmaintenance checks and inspections everymonth or at six-month intervals.
Check every month
Engine oil level.
Function of all interior and exterior lights.
Tires (including spare) for wear and proper pressure.
Windshield washer fluid level.
Check every six months
Battery connections. Clean if necessary.
Body and door drain holes for obstructions. Clean if necessary.
Cooling system fluid level and coolant strength.
Door weatherstrips for wear. Lubricate if necessary.
441Super Duty (), enUSAScheduled Maintenance