2015 FORD MUSTANG turn signal
[x] Cancel search: turn signalPage 51 of 441

5. Reinstall the housing and cover.
Car Finder
Press the button twice within
three seconds. The horn will
sound and the turn signals will
flash. We recommend you use this method
to locate your vehicle, rather than using
the panic alarm.
Sounding a Panic Alarm
Note: The panic alarm will only operate
when the ignition is off. Press the button to activate the
alarm. Press the button again or
switch the ignition on to
deactivate.
Remote Start WARNING
To avoid exhaust fumes, do not use
remote start if your vehicle is parked
indoors or areas that are not well
ventilated. Note:
Do not use remote start if your vehicle
is low on fuel. The remote start button is on the
transmitter.
This feature allows you to start your
vehicle from outside the vehicle. The
transmitter has an extended operating
range.
Vehicles with automatic climate control
can be configured to operate when the
vehicle is remote started. See Climate
Control (page 101). A manual climate
control system will run at the setting it was
set to when you switched the vehicle off. Many states and provinces have
restrictions for the use of remote start.
Check your local and state or provincial
laws for specific requirements regarding
remote start systems.
The remote start system will not work if:
•
the ignition is on
• the alarm system is triggered
• you disable the feature
• the hood is open
• the transmission is not in
P
• the vehicle battery voltage is too low
• the service engine soon light is on.
Remote Control Feedback
An LED on the remote control provides
status feedback of remote start or stop
commands. Status
LED
Remote start orextension
successful
Solid green
Remote stop
successful; engine off
Solid red
Remote start orstop failed
Blinking red
Waiting for statusupdate
Blinking green
Remote Starting the Vehicle
Note: You must press each button within
three seconds of each other. Your vehicle
will not remote start if you do not follow this
sequence.
48
Mustang (), enUSA, First Printing Keys and Remote ControlsE138623 E138624 E138625
Page 77 of 441

Opening the Windows
You can open the windows for a short time
after you unlock your vehicle with the
remote control. After you unlock your
vehicle, press and hold the remote control
unlock button to open the windows.
Release the button once movement starts.
Press the lock or unlock button to stop
movement.
EXTERIOR MIRRORS
Power Exterior Mirrors
WARNING
Do not adjust the mirrors when your
vehicle is moving.
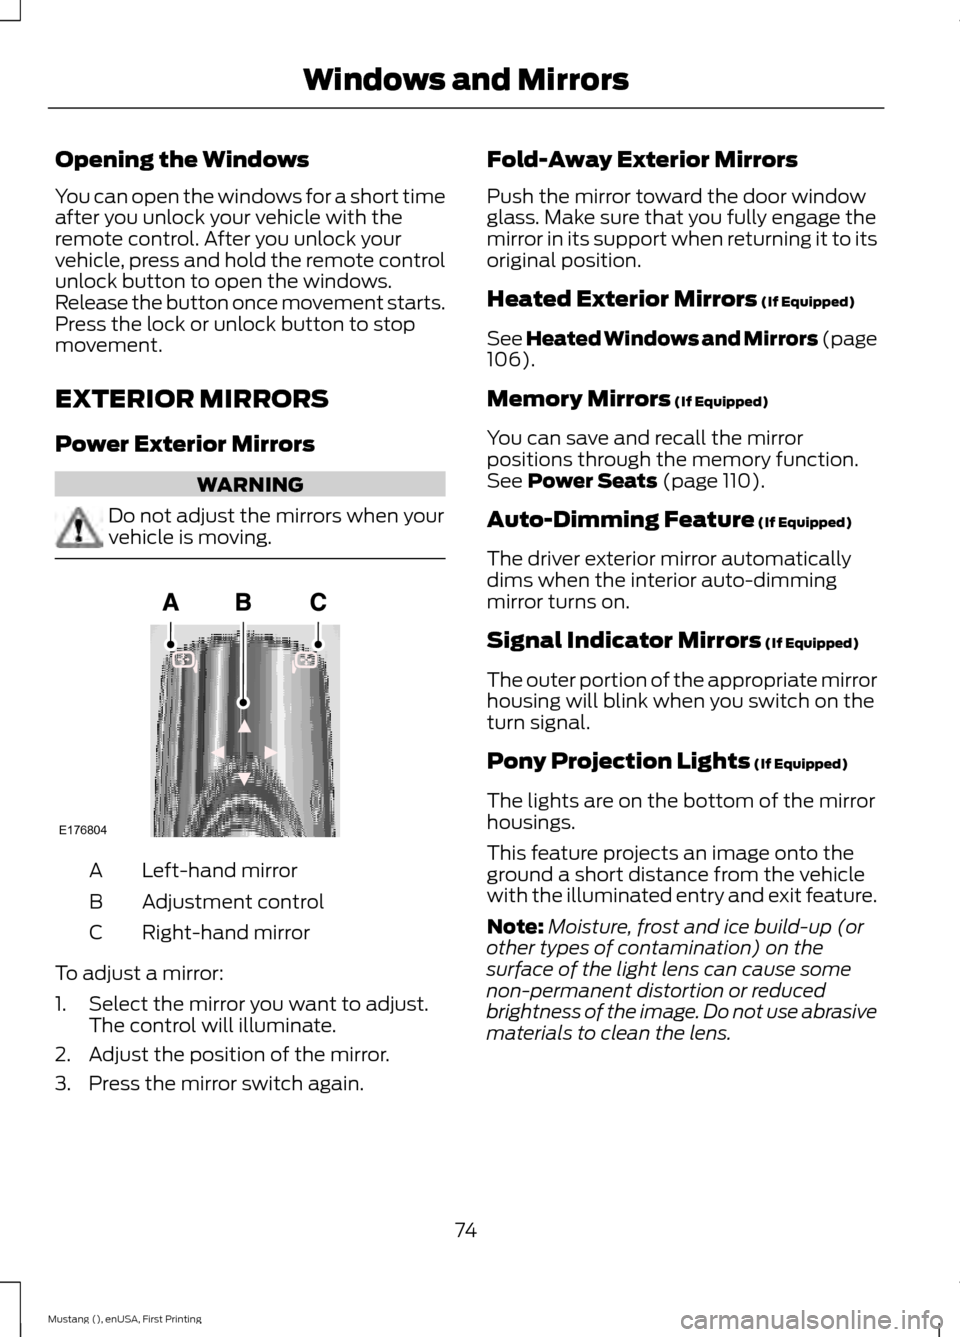
Left-hand mirror
A
Adjustment control
B
Right-hand mirror
C
To adjust a mirror:
1. Select the mirror you want to adjust. The control will illuminate.
2. Adjust the position of the mirror.
3. Press the mirror switch again. Fold-Away Exterior Mirrors
Push the mirror toward the door window
glass. Make sure that you fully engage the
mirror in its support when returning it to its
original position.
Heated Exterior Mirrors (If Equipped)
See Heated Windows and Mirrors (page
106
).
Memory Mirrors
(If Equipped)
You can save and recall the mirror
positions through the memory function.
See
Power Seats (page 110).
Auto-Dimming Feature
(If Equipped)
The driver exterior mirror automatically
dims when the interior auto-dimming
mirror turns on.
Signal Indicator Mirrors
(If Equipped)
The outer portion of the appropriate mirror
housing will blink when you switch on the
turn signal.
Pony Projection Lights
(If Equipped)
The lights are on the bottom of the mirror
housings.
This feature projects an image onto the
ground a short distance from the vehicle
with the illuminated entry and exit feature.
Note: Moisture, frost and ice build-up (or
other types of contamination) on the
surface of the light lens can cause some
non-permanent distortion or reduced
brightness of the image. Do not use abrasive
materials to clean the lens.
74
Mustang (), enUSA, First Printing Windows and MirrorsE176804
Page 83 of 441

Direction Indicator
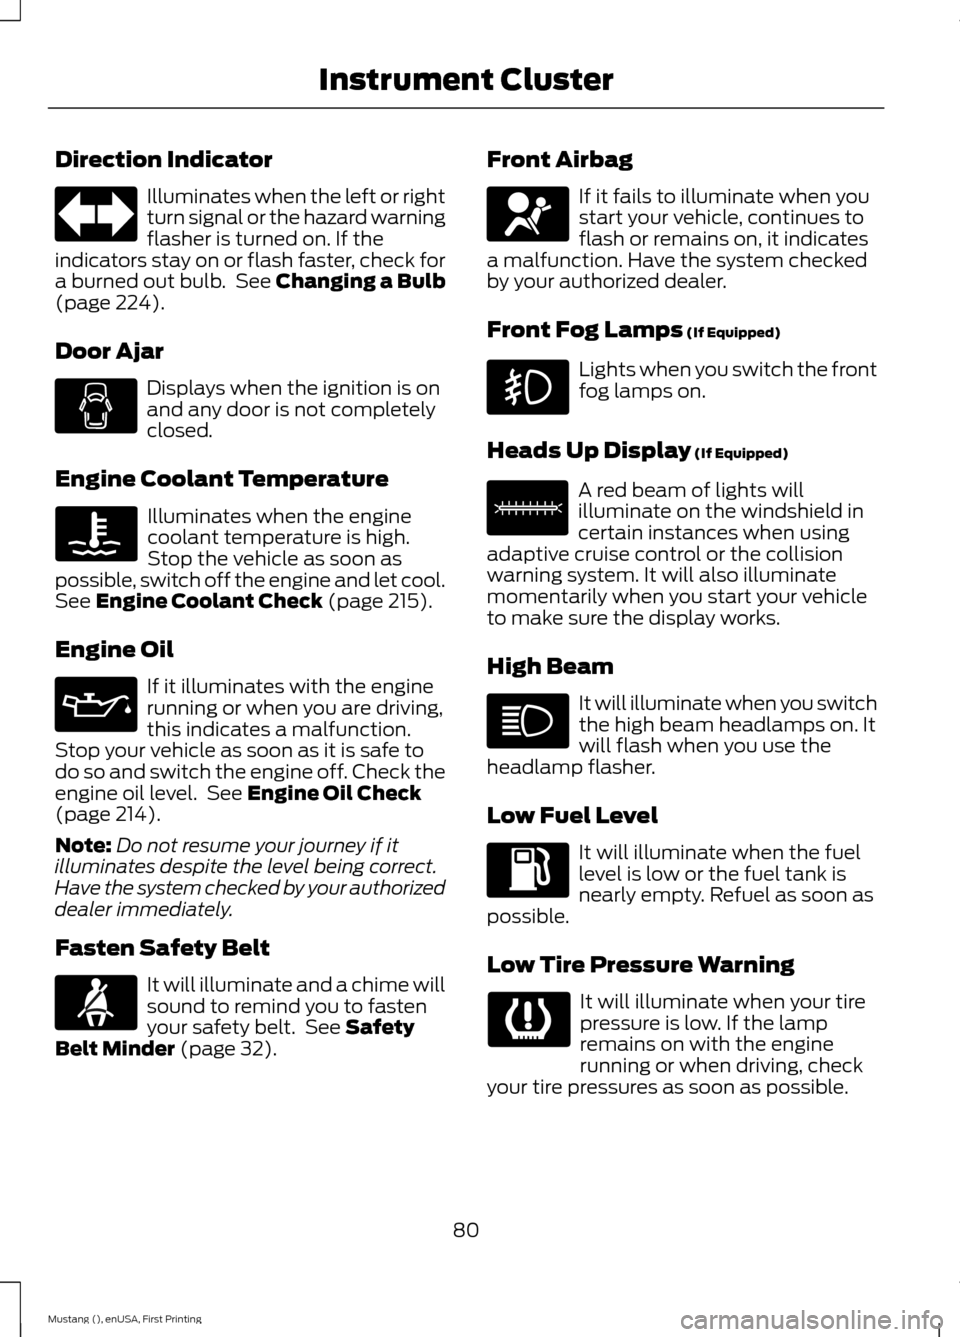
Illuminates when the left or right
turn signal or the hazard warning
flasher is turned on. If the
indicators stay on or flash faster, check for
a burned out bulb. See Changing a Bulb
(page 224).
Door Ajar Displays when the ignition is on
and any door is not completely
closed.
Engine Coolant Temperature Illuminates when the engine
coolant temperature is high.
Stop the vehicle as soon as
possible, switch off the engine and let cool.
See
Engine Coolant Check (page 215).
Engine Oil If it illuminates with the engine
running or when you are driving,
this indicates a malfunction.
Stop your vehicle as soon as it is safe to
do so and switch the engine off. Check the
engine oil level. See
Engine Oil Check
(page 214).
Note: Do not resume your journey if it
illuminates despite the level being correct.
Have the system checked by your authorized
dealer immediately.
Fasten Safety Belt It will illuminate and a chime will
sound to remind you to fasten
your safety belt. See
Safety
Belt Minder (page 32). Front Airbag If it fails to illuminate when you
start your vehicle, continues to
flash or remains on, it indicates
a malfunction. Have the system checked
by your authorized dealer.
Front Fog Lamps
(If Equipped) Lights when you switch the front
fog lamps on.
Heads Up Display
(If Equipped) A red beam of lights will
illuminate on the windshield in
certain instances when using
adaptive cruise control or the collision
warning system. It will also illuminate
momentarily when you start your vehicle
to make sure the display works.
High Beam It will illuminate when you switch
the high beam headlamps on. It
will flash when you use the
headlamp flasher.
Low Fuel Level It will illuminate when the fuel
level is low or the fuel tank is
nearly empty. Refuel as soon as
possible.
Low Tire Pressure Warning It will illuminate when your tire
pressure is low. If the lamp
remains on with the engine
running or when driving, check
your tire pressures as soon as possible.
80
Mustang (), enUSA, First Printing Instrument Cluster E156133
Page 118 of 441

1.
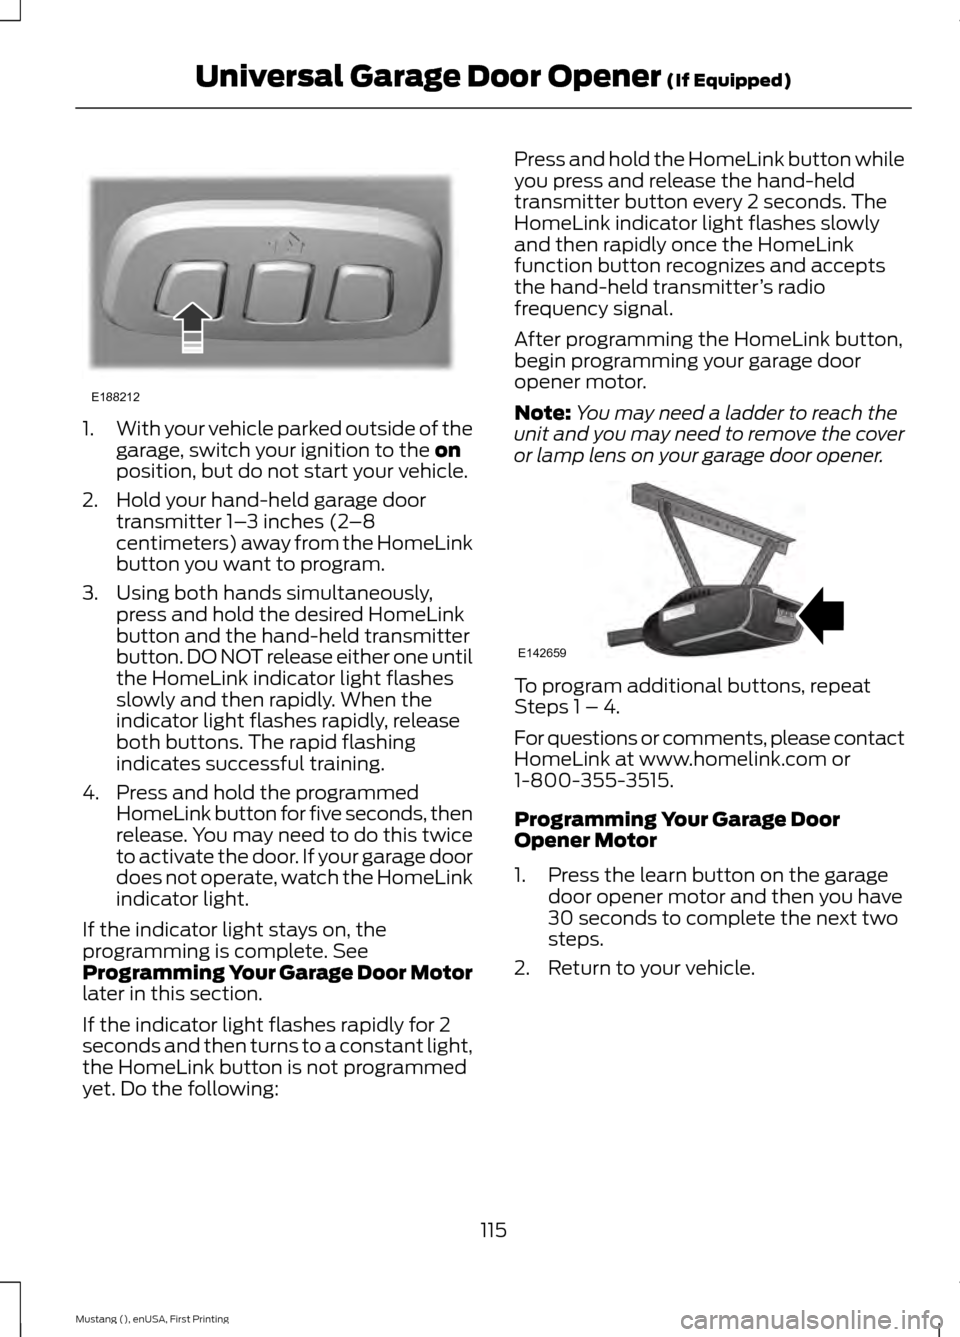
With your vehicle parked outside of the
garage, switch your ignition to the on
position, but do not start your vehicle.
2. Hold your hand-held garage door transmitter 1– 3 inches (2–8
centimeters) away from the HomeLink
button you want to program.
3. Using both hands simultaneously, press and hold the desired HomeLink
button and the hand-held transmitter
button. DO NOT release either one until
the HomeLink indicator light flashes
slowly and then rapidly. When the
indicator light flashes rapidly, release
both buttons. The rapid flashing
indicates successful training.
4. Press and hold the programmed HomeLink button for five seconds, then
release. You may need to do this twice
to activate the door. If your garage door
does not operate, watch the HomeLink
indicator light.
If the indicator light stays on, the
programming is complete. See
Programming Your Garage Door Motor
later in this section.
If the indicator light flashes rapidly for 2
seconds and then turns to a constant light,
the HomeLink button is not programmed
yet. Do the following: Press and hold the HomeLink button while
you press and release the hand-held
transmitter button every 2 seconds. The
HomeLink indicator light flashes slowly
and then rapidly once the HomeLink
function button recognizes and accepts
the hand-held transmitter
’s radio
frequency signal.
After programming the HomeLink button,
begin programming your garage door
opener motor.
Note: You may need a ladder to reach the
unit and you may need to remove the cover
or lamp lens on your garage door opener. To program additional buttons, repeat
Steps 1 – 4.
For questions or comments, please contact
HomeLink at www.homelink.com or
1-800-355-3515.
Programming Your Garage Door
Opener Motor
1. Press the learn button on the garage
door opener motor and then you have
30 seconds to complete the next two
steps.
2. Return to your vehicle.
115
Mustang (), enUSA, First Printing Universal Garage Door Opener
(If Equipped)E188212 E142659
Page 157 of 441

The current gap setting and SET will also
display.
Setting a Speed
1. Accelerate to the desired speed.
2. Press and release
SET+. The vehicle
speed will be stored in the memory.
3. The information display will show a green indicator light, current gap
setting and desired set speed.
4. Take your foot off the accelerator pedal. 5. A lead vehicle graphic will illuminate if
there is a vehicle detected in front of
you.
Note: When adaptive cruise control is
active, the speedometer may vary slightly
from the set speed displayed in the
information display.
Following a Vehicle WARNINGS
When following a vehicle in front of
you, your vehicle will not decelerate
automatically to a stop, nor will your
vehicle always decelerate quickly enough
to avoid a crash without driver intervention.
Always apply the brakes when necessary.
Failing to do so may result in a crash,
serious injury or death. WARNINGS
Adaptive cruise control only warns
of vehicles detected by the radar
sensor. In some cases there may be
no warning or a delayed warning. You
should always apply the brakes when
necessary. Failing to do so may result in a
crash, serious injury or death. Note:
The brakes may emit a sound when
modulated by the adaptive cruise control
system.
When a vehicle ahead of you enters the
same lane or a slower vehicle is ahead in
the same lane, the vehicle speed adjusts
to maintain a preset gap distance. The
distance setting is adjustable.
The lead vehicle graphic will illuminate.
The system may provide slight temporary
acceleration when you use your left turn
signal while following a lead vehicle, to aid
in passing the vehicle.
The vehicle will maintain a constant
distance between the vehicle ahead until:
• The vehicle in front of you accelerates
to a speed above the set speed.
• The vehicle in front of you moves out
of your lane or out of view.
• The vehicle speed falls below 12 mph
(20 km/h).
• A new gap distance is set.
The vehicle will apply the brakes to slow
the vehicle to maintain a safe distance
from the vehicle in front. The maximum
braking which the system can apply is
limited. You can override the system by
applying the brakes.
154
Mustang (), enUSA, First Printing Cruise ControlE164805
Page 165 of 441

When you remove a blockage, you can
reset the system in two ways:
•
While driving, the system detects at
least two objects.
• You cycle the ignition from on to off
and then back on.
If the blockage is still present after the key
cycle and driving in traffic, check again for
a blockage. Reasons for messages being displayed
Clean the fascia area in
front of the radar or remove the obstruction.
The radar
surface is dirty or
obstructed
Drive normally in traffic for
a few minutes to allow the radar to detect passing
vehicles so it can clear the blocked state.
The radar
surface is
not dirty or
obstructed
No action required. Thesystem automatically
resets to an unblocked
state once the rainfall or
snowfall rate decreases or
stops. Do not use the Blind
Spot Information System or cross traffic alert in these conditions.
Heavy rain-
fall or
snowfall
interferes with the radar
signals
System Limitations
The Blind Spot Information and cross
traffic alert systems do have their
limitations; situations such as severe
weather conditions or debris build-up on
the sensor area may limit vehicle detection. The following are other situations that may
limit the Blind Spot Information System:
•
Certain maneuvering of vehicles
entering and exiting the blind zone.
• Vehicles passing through the blind zone
at very fast rates.
• When several vehicles forming a
convoy pass through the blind zone.
The following are other situations that may
limit the cross traffic alert system:
• Adjacently parked vehicles or objects
obstructing the sensors.
• Approaching vehicles passing at
speeds greater than 37 mph
(60 km/h).
• Driving in reverse faster than
7 mph
(12 km/h).
• Backing out of an angled parking spot.
False Alerts
Note: If your vehicle has a factory equipped
tow bar and it is towing a trailer, the sensors
will detect the trailer and turn the Blind Spot
Information and cross traffic alert systems
off to avoid false alerts. For non-factory
equipped tow bars, you may want to switch
the Blind Spot Information System off
manually.
There may be certain instances when there
is a false alert by either the Blind Spot
Information or the cross traffic alert system
that illuminates the alert indicator with no
vehicle in the coverage zone. Some
amount of false alerts are normal; they are
temporary and self-correct.
System Errors
If either system senses a problem with the
left or right sensor, the Blind Spot
Information System telltale will illuminate
and a message will appear in the
information display.
162
Mustang (), enUSA, First Printing Driving Aids
Page 198 of 441

2. Remove the jumper cable on the
negative (-) terminal of the booster
vehicle's battery.
3. Remove the jumper cable from the positive (+) terminal of the booster
vehicle's battery.
4. Remove the jumper cable from the positive (+) terminal of the disabled
vehicle's battery.
After the disabled vehicle has been started
and the jumper cables removed, allow it
to idle for several minutes so the battery
can recharge.
POST-CRASH ALERT SYSTEM
The system flashes the turn signal lamps
and sounds the horn (intermittently) in the
event of a serious impact that deploys an
airbag (front, side, side curtain or Safety
Canopy) or the safety belt pretensioners.
The horn and lamps will turn off when:
• You press the hazard control button.
• You press the panic button on the
remote entry transmitter (if equipped).
• Your vehicle runs out of power.
195
Mustang (), enUSA, First Printing Roadside Emergencies
Page 261 of 441

When the malfunction indicator is
illuminated, the system may not be able
to detect or signal low tire pressure as
intended. TPMS malfunctions may occur
for a variety of reasons, including the
installation of replacement or alternate
tires or wheels on the vehicle that prevent
the TPMS from functioning properly.
Always check the TPMS malfunction
telltale after replacing one or more tires or
wheels on your vehicle to ensure that the
replacement or alternate tires and wheels
allow the TPMS to continue to function
properly.
The tire pressure monitoring system
complies with part 15 of the FCC rules and
with RSS-210 of Industry Canada.
Operation is subject to the following two
conditions: (1) This device may not cause
harmful interference, and (2) This device
must accept any interference received,
including interference that may cause
undesired operation.
Changing Tires With a Tire
Pressure Monitoring System
Note:
Each road tire is equipped with a tire
pressure sensor located inside the wheel
and tire assembly cavity. The pressure
sensor is attached to the valve stem. The
pressure sensor is covered by the tire and is
not visible unless the tire is removed. Take
care when changing the tire to avoid
damaging the sensor You should always have your tires serviced
by an authorized dealer.
Check the tire pressure periodically (at
least monthly) using an accurate tire
gauge. See Inflating Your Tires in this
chapter.
Understanding Your Tire Pressure
Monitoring System
The tire pressure monitoring system
measures pressure in your four road tires
and sends the tire pressure readings to
your vehicle. See General Information
(page 83). The low tire pressure warning
light will turn on if the tire pressure is
significantly low. Once the light is
illuminated, your tires are under-inflated
and need to be inflated to the
manufacturer ’s recommended tire
pressure. Even if the light turns on and a
short time later turns off, your tire pressure
still needs to be checked.
When Your Temporary Spare Tire is
Installed
When one of your road tires needs to be
replaced with the temporary spare, the
system will continue to identify an issue to
remind you that the damaged road wheel
and tire assembly needs to be repaired and
put back on your vehicle.
To restore the full function of the tire
pressure monitoring system, have the
damaged road wheel and tire assembly
repaired and remounted on your vehicle.
When You Believe Your System is Not
Operating Properly
The main function of the tire pressure
monitoring system is to warn you when
your tires need air. It can also warn you in
the event the system is no longer capable
of functioning as intended. See the
following chart for information concerning
your tire pressure monitoring system:
258
Mustang (), enUSA, First Printing Wheels and TiresE142549