Page 228 of 470
Protected componentsFuse amp ratingFuse or relay number
Vehicle power 4 (gas engine)20A**
Vehicle power 5 (diesel engine)10A**37
Electronic control module (diesel engine)Relay38Powertrain control module (gas engine)
4x4 hub lock10A**39
4x4 electronic lock15A**40
Not used—41
Rear heated seats20A**42
Not used—43
Not used—44
Run/start relay coil10A**45
Transmission control module keep-alivepower (diesel engine)10A**46
A/C clutch feed10A**47
Run/startRelay48
Rearview camera system10A**49
Blower motor relay coil10A**50
Not used—51
Electronic control module10A**52Powertrain control module,Transmission control module run/start
4x4 module10A**53
Anti-lock brake system run/start10A**54
Rear window defroster coil10A**55
Passenger compartment fuse panel run/start feed20A**56
Fuel pumpRelay57
Not used—58
Not used—59
225
Super Duty (), enUSA
Fuses
Page 236 of 470
2. Go to the front of the vehicle andlocate the secondary release lever,which is located under the front of thehood, to your right of the center of thevehicle (driver's side), toward theheadlight.
3. Release the hood latch by pushing thesecondary release lever to your left,toward the center of the vehicle.
4. Raise the hood.
5.To close the hood, lower the hood andallow it to drop the last 8 to 11 inches(20 to 30 centimeters).
Note:Make sure that the hood is closedproperly.
UNDER HOOD OVERVIEW -
6.2L
Note:Refer to the diesel supplement fordiesel engine component locations.
Windshield washer fluid reservoirA.
Engine oil dipstickB.
Automatic transmission fluid dipstickC.
Brake fluid reservoirD.
Engine coolant reservoirE.
Power distribution boxF.
233
Super Duty (), enUSA
MaintenanceE163634
ADFEBC
GHIJ
Page 237 of 470
Air filter assemblyG.
Power steering fluid reservoirH.
Engine oil filler capI.
BatteryJ.
UNDER HOOD OVERVIEW -
6.8L
Note:Refer to the diesel supplement fordiesel engine component locations.
Windshield washer fluid reservoir Engine coolant reservoirA.
BatteryB.
Automatic transmission fluid dipstickC.
Engine oil filler capD.
Engine oil dipstickE.
234
Super Duty (), enUSA
MaintenanceE163635
ABCEHIJFDG
Page 243 of 470

•the engine coolant temperature gaugemoves fully into the red (hot) area
•the coolant temperature warning lightilluminates
•the service engine soon indicatorilluminates.
WARNING
Never remove the coolant reservoircap while the engine is running or hot.
1. Pull off the road as soon as safelypossible and place the vehicle in P(Park).
2. Leave the engine running until thecoolant temperature gauge needlemoves away from the H range. Afterseveral minutes, if this does nothappen, follow the remaining steps.
3. Turn the engine off and wait for it tocool before checking the coolant level.
4. If the coolant level is normal, you mayrestart your engine and continue on.
5. If the coolant is low, add coolant,restart the engine and take your vehicleto an authorized dealer. See Addingengine coolant in this chapter for moreinformation. Refer to fail-safe coolingfor additional information.
AUTOMATIC TRANSMISSION
FLUID CHECK
Have an authorized dealer check andchange the transmission fluid and filter atthe correct service interval. SeeScheduled Maintenance (page 440).
Do not use supplemental transmissionfluid additives, treatments or cleaningagents. The use of these materials mayaffect transmission operation and resultin damage to internal transmissioncomponents.
Checking Automatic TransmissionFluid (If Equipped)
For scheduled intervals of the fluid checksand changes, See ScheduledMaintenance (page 440). Yourtransmission does not consume fluid.However, the fluid level should be checkedif the transmission is not working properly,i.e., if the transmission slips or shifts slowlyor if you notice some sign of fluid leakage.
Automatic transmission fluid expandswhen warmed. To obtain an accurate fluidcheck, drive the vehicle until it is at normaloperating temperature (approximately19 mi (30 km)). Verify that thetransmission fluid temperature gauge,located on the instrument cluster, is withinnormal range.
1. Drive the vehicle 19 mi (30 km)until itreaches normal operating temperature.
2.Park the vehicle on a level surface andengage the parking brake.
3.With the engine running, parking brakeengaged and your foot on the brakepedal, move the gearshift lever throughall of the gear ranges. Allow sufficienttime for each gear to engage.
4.Latch the gearshift lever in P and leavethe engine running.
5. Remove the dipstick, wiping it cleanwith a clean, dry lint free rag. Ifnecessary, refer to the Under HoodOverview in this chapter for thelocation of the dipstick.
6.Install the dipstick making sure it is fullyseated in the filler tube.
7. Remove the dipstick and inspect thefluid level. The fluid should be in thedesignated area for normal operatingtemperature or ambient temperature.
Low Fluid Level
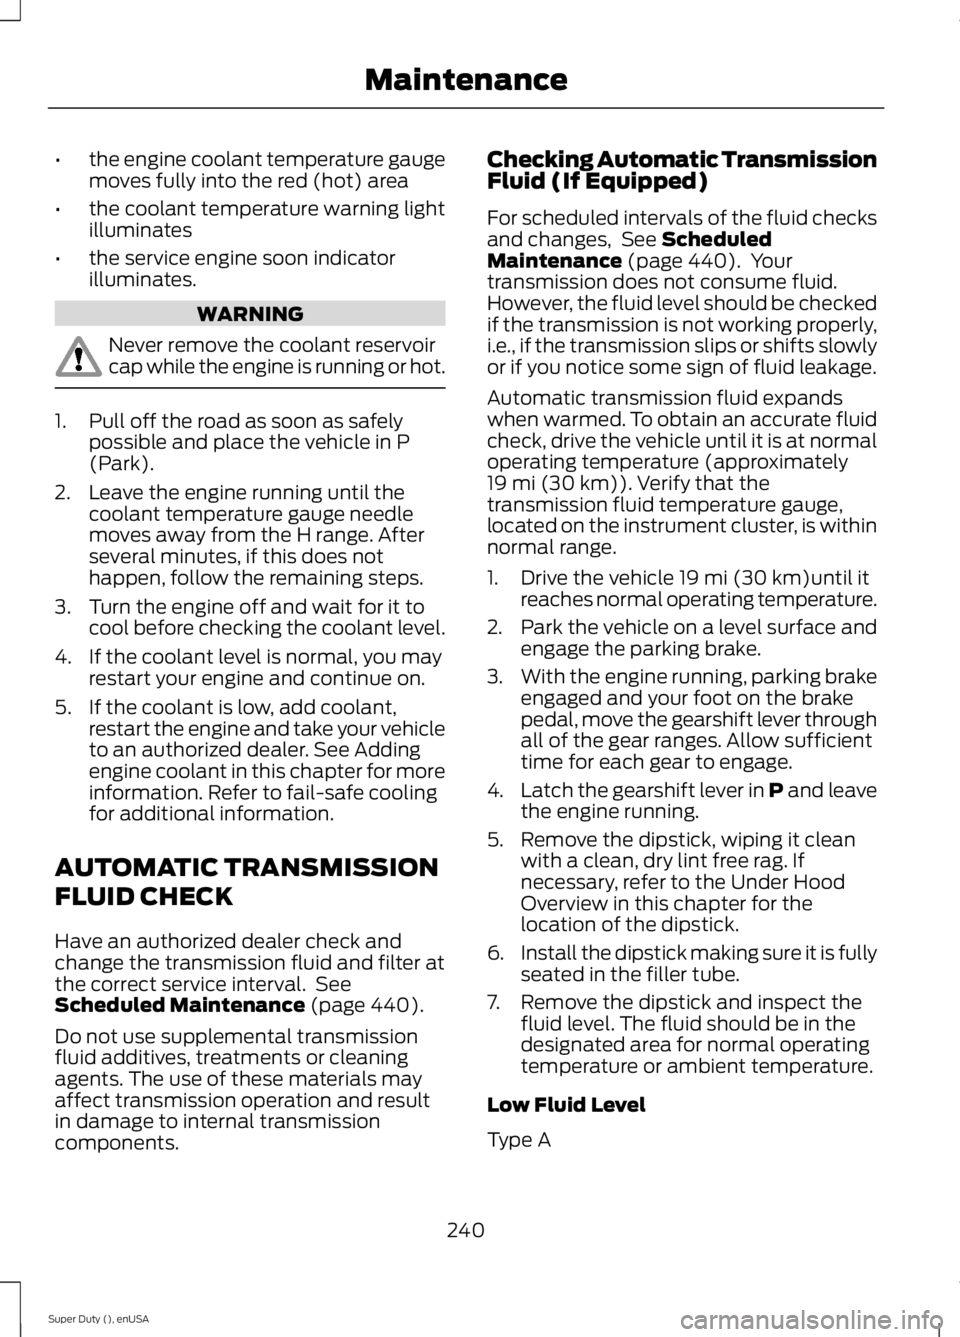
Type A
240
Super Duty (), enUSA
Maintenance
Page 244 of 470
Type B
Do not drive the vehicle if there is noindication of fluid on the dipstick and theambient temperature is above 50°F(10°C).
Correct Fluid Level
Type A
Type B
For vehicles equipped with 5-speedtransmissions, check the fluid at thenormal operating temperature of 151°F(66°C) to 170°F (77°C) on a level surface.For vehicles equipped with 6-speedtransmissions, check the fluid at thenormal operating temperature of 196°F(91°C) to 215°F (102°C) on a level surface.The normal operating temperature can bereached after approximately 19 mi(30 km).
High Fluid Level
Type A
Type B
241
Super Duty (), enUSA
MaintenanceE163739 E163740 E163741 E163742 E163743
Page 245 of 470

Fluid levels above the safe range mayresult in transmission failure. An overfillcondition of transmission fluid may causeshift and engagement concerns, andpossible damage.
High fluid levels can be caused by anoverheating condition.
Adjusting Automatic TransmissionFluid Levels
Note:Use of a non-approved automatictransmission fluid may cause internaltransmission component damage.
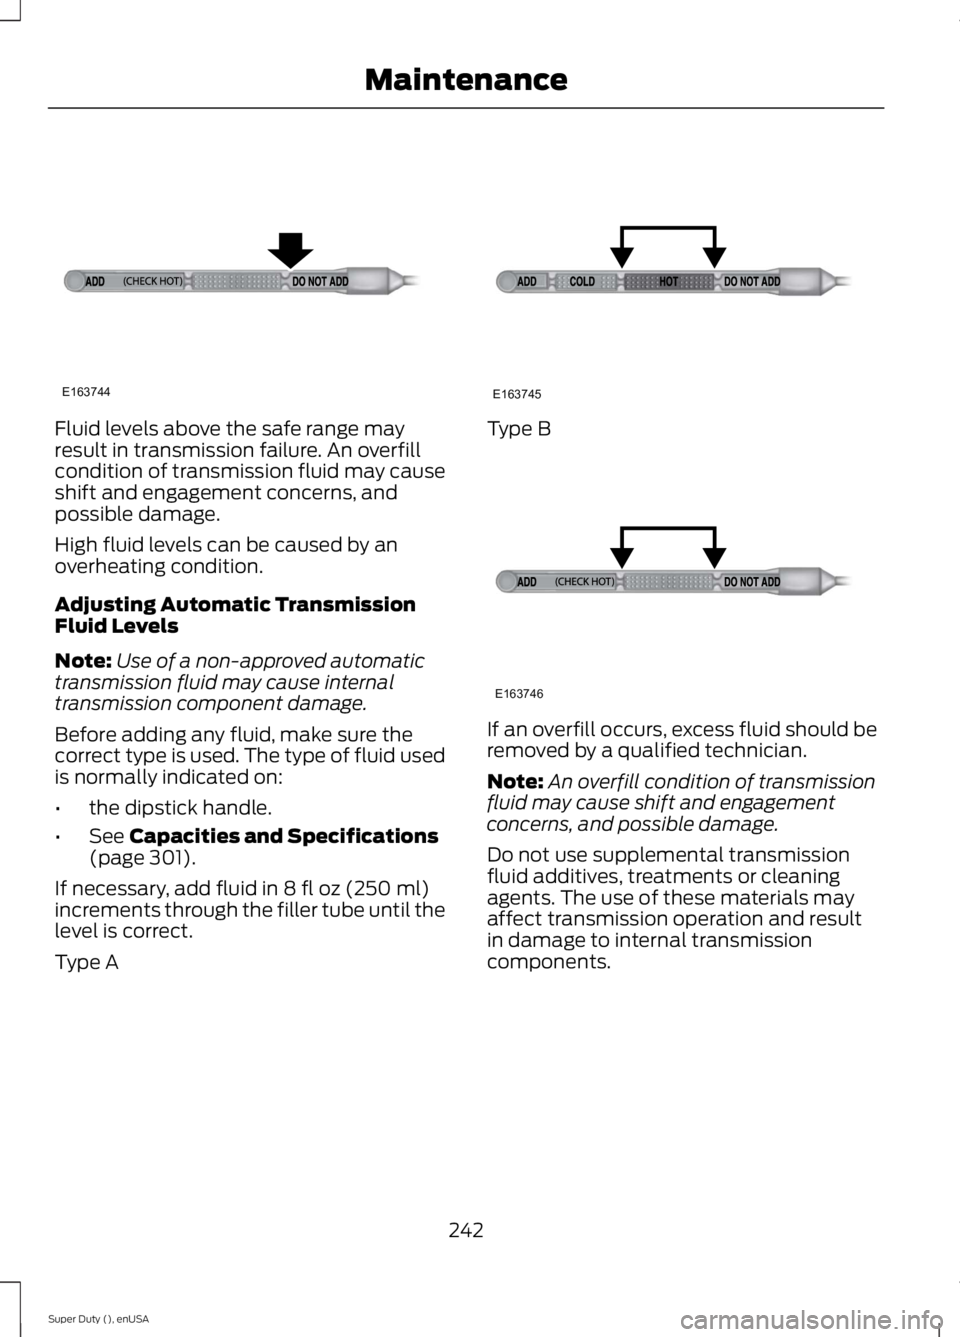
Before adding any fluid, make sure thecorrect type is used. The type of fluid usedis normally indicated on:
•the dipstick handle.
•See Capacities and Specifications(page 301).
If necessary, add fluid in 8 fl oz (250 ml)increments through the filler tube until thelevel is correct.
Type A
Type B
If an overfill occurs, excess fluid should beremoved by a qualified technician.
Note:An overfill condition of transmissionfluid may cause shift and engagementconcerns, and possible damage.
Do not use supplemental transmissionfluid additives, treatments or cleaningagents. The use of these materials mayaffect transmission operation and resultin damage to internal transmissioncomponents.
242
Super Duty (), enUSA
MaintenanceE163744 E163745 E163746
Page 294 of 470

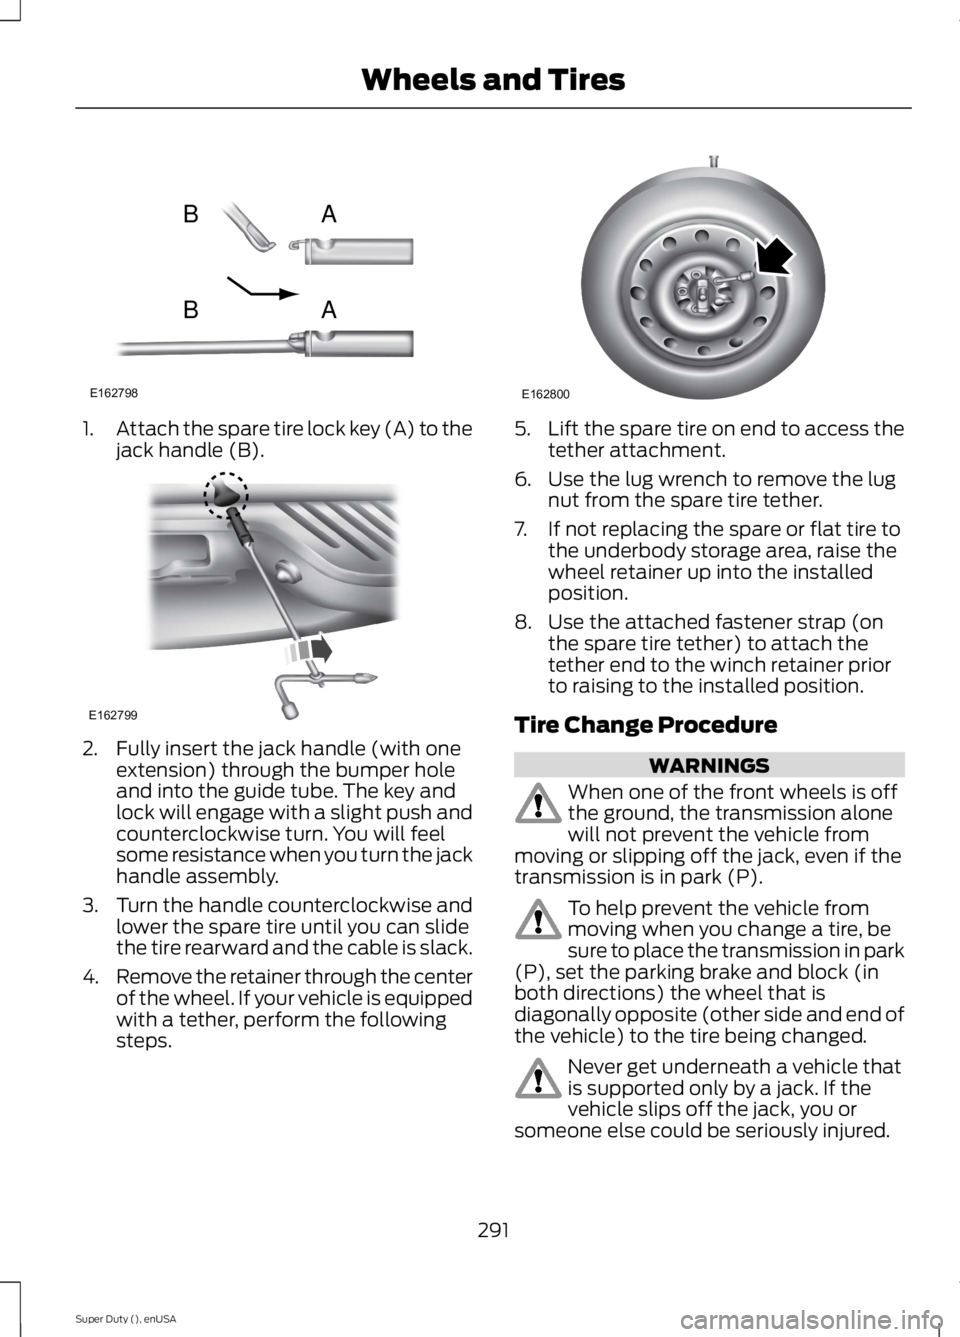
1.Attach the spare tire lock key (A) to thejack handle (B).
2. Fully insert the jack handle (with oneextension) through the bumper holeand into the guide tube. The key andlock will engage with a slight push andcounterclockwise turn. You will feelsome resistance when you turn the jackhandle assembly.
3.Turn the handle counterclockwise andlower the spare tire until you can slidethe tire rearward and the cable is slack.
4.Remove the retainer through the centerof the wheel. If your vehicle is equippedwith a tether, perform the followingsteps.
5.Lift the spare tire on end to access thetether attachment.
6. Use the lug wrench to remove the lugnut from the spare tire tether.
7. If not replacing the spare or flat tire tothe underbody storage area, raise thewheel retainer up into the installedposition.
8. Use the attached fastener strap (onthe spare tire tether) to attach thetether end to the winch retainer priorto raising to the installed position.
Tire Change Procedure
WARNINGS
When one of the front wheels is offthe ground, the transmission alonewill not prevent the vehicle frommoving or slipping off the jack, even if thetransmission is in park (P).
To help prevent the vehicle frommoving when you change a tire, besure to place the transmission in park(P), set the parking brake and block (inboth directions) the wheel that isdiagonally opposite (other side and end ofthe vehicle) to the tire being changed.
Never get underneath a vehicle thatis supported only by a jack. If thevehicle slips off the jack, you orsomeone else could be seriously injured.
291
Super Duty (), enUSA
Wheels and TiresE162798
AB
AB E162799 E162800
Page 307 of 470
The National Highway Traffic SafetyAdministration Regulations require that aSafety Compliance Certification Label beaffixed to a vehicle and prescribe wherethe Safety Compliance Certification Labelmay be located. The Safety ComplianceCertification Label shall be affixed to eitherthe door hinge pillar, the door latch post,or the edge of the door near the door latch,next to the driver's seating position.
TRANSMISSION CODE
DESIGNATION
The transmission code is on the SafetyCompliance Certification Label. Thefollowing table shows the transmissioncode along with the transmissiondescription.
CodeDescription
TFive-speed automatic transmission 5R110W
PSix-speed automatic transmission 6R140
WSix-speed automatic transmission 6R140W
304
Super Duty (), enUSA
Capacities and SpecificationsE167814