Page 80 of 470

Variations:
Distance-to-emptyFuel gauge positionDriving type (fuel economyconditions)
35 miles to 80 miles (56 kmto 129 km)1/16thHighway driving
35 miles (56km)1/16thSevere duty driving (trailertowing, extended idle)
Information Display
Odometer
Located in the bottom of the informationdisplay Registers the accumulateddistance your vehicle has traveled.
Trip Computer
See General Information (page 81).
Vehicle Settings and Personalization
See General Information (page 81).
WARNING LAMPS AND
INDICATORS
The following warning lamps andindicators will alert you to a vehiclecondition that may become serious. Somelamps will illuminate when you start yourvehicle to make sure they work. If anylamps remain on after starting your vehicle,refer to the respective system warninglamp for further information.
Note:Some warning indicators appear inthe information display and function thesame as a warning lamp but do not displaywhen you start your vehicle.
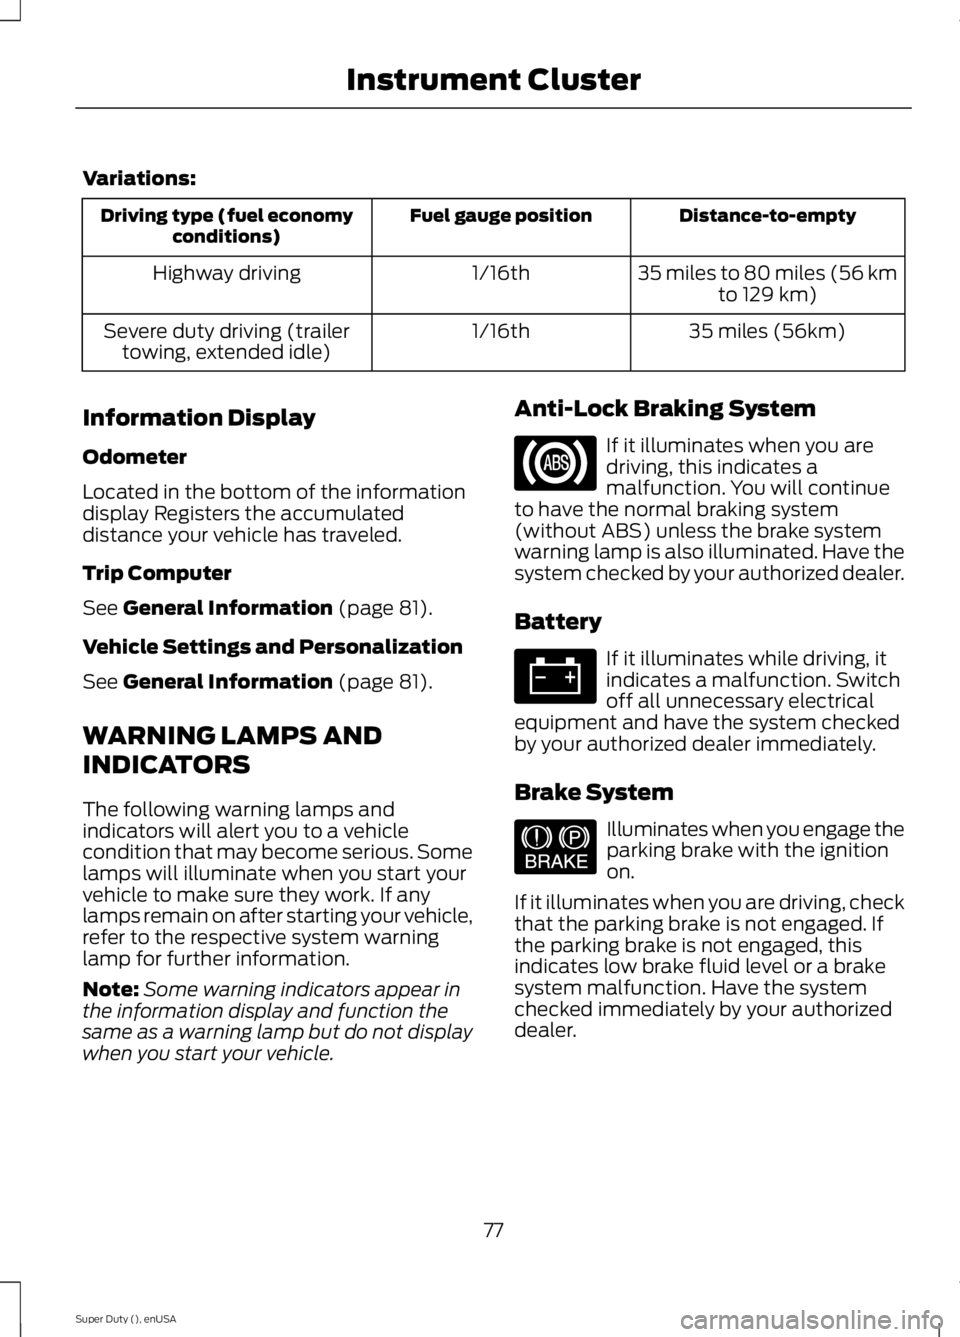
Anti-Lock Braking System
If it illuminates when you aredriving, this indicates amalfunction. You will continueto have the normal braking system(without ABS) unless the brake systemwarning lamp is also illuminated. Have thesystem checked by your authorized dealer.
Battery
If it illuminates while driving, itindicates a malfunction. Switchoff all unnecessary electricalequipment and have the system checkedby your authorized dealer immediately.
Brake System
Illuminates when you engage theparking brake with the ignitionon.
If it illuminates when you are driving, checkthat the parking brake is not engaged. Ifthe parking brake is not engaged, thisindicates low brake fluid level or a brakesystem malfunction. Have the systemchecked immediately by your authorizeddealer.
77
Super Duty (), enUSA
Instrument Cluster E144522
Page 83 of 470

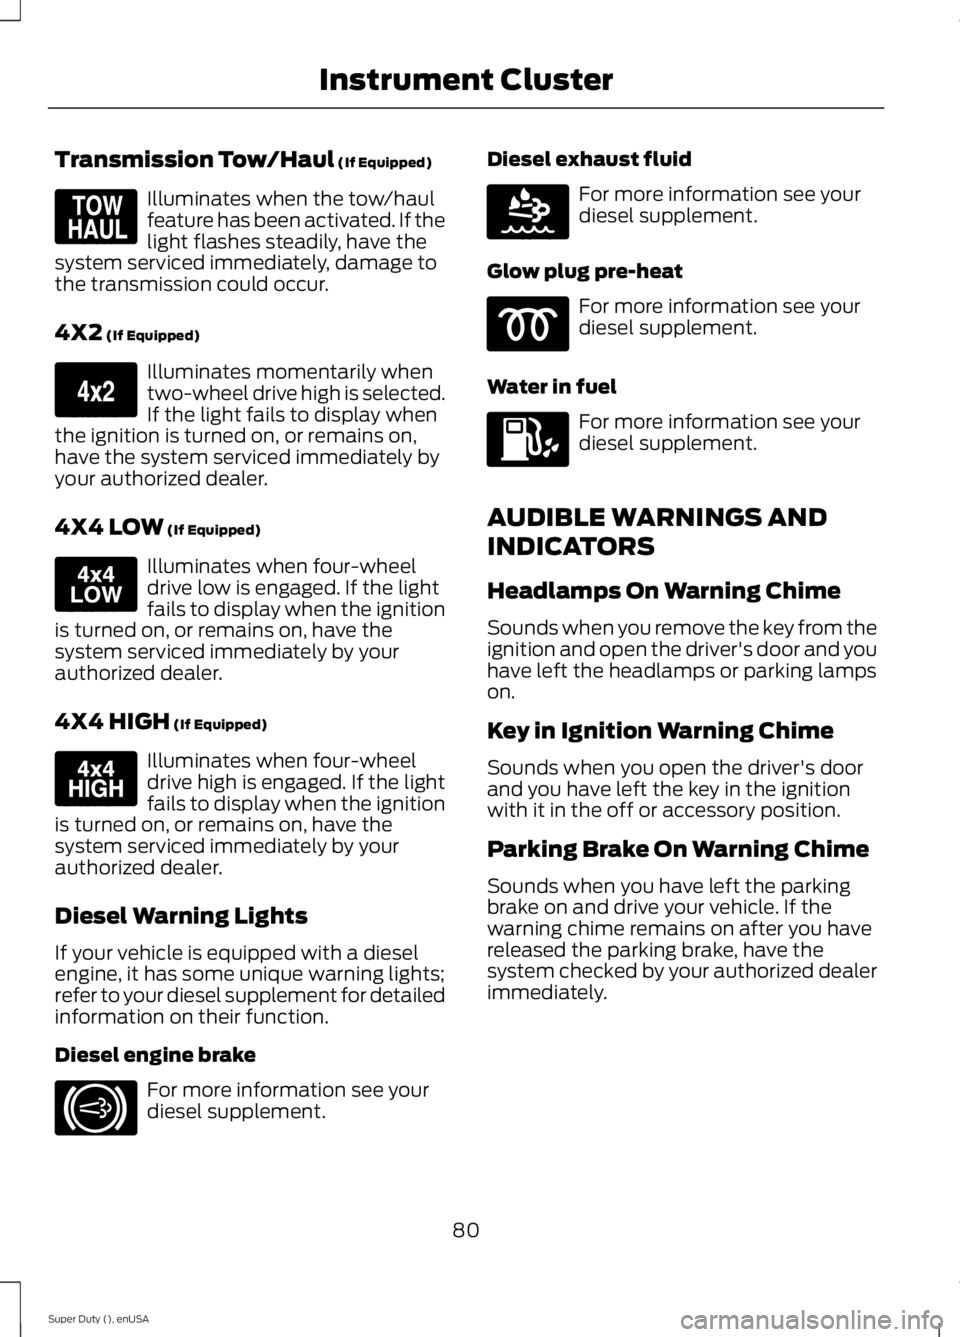
Transmission Tow/Haul (If Equipped)
Illuminates when the tow/haulfeature has been activated. If thelight flashes steadily, have thesystem serviced immediately, damage tothe transmission could occur.
4X2 (If Equipped)
Illuminates momentarily whentwo-wheel drive high is selected.If the light fails to display whenthe ignition is turned on, or remains on,have the system serviced immediately byyour authorized dealer.
4X4 LOW (If Equipped)
Illuminates when four-wheeldrive low is engaged. If the lightfails to display when the ignitionis turned on, or remains on, have thesystem serviced immediately by yourauthorized dealer.
4X4 HIGH (If Equipped)
Illuminates when four-wheeldrive high is engaged. If the lightfails to display when the ignitionis turned on, or remains on, have thesystem serviced immediately by yourauthorized dealer.
Diesel Warning Lights
If your vehicle is equipped with a dieselengine, it has some unique warning lights;refer to your diesel supplement for detailedinformation on their function.
Diesel engine brake
For more information see yourdiesel supplement.
Diesel exhaust fluid
For more information see yourdiesel supplement.
Glow plug pre-heat
For more information see yourdiesel supplement.
Water in fuel
For more information see yourdiesel supplement.
AUDIBLE WARNINGS AND
INDICATORS
Headlamps On Warning Chime
Sounds when you remove the key from theignition and open the driver's door and youhave left the headlamps or parking lampson.
Key in Ignition Warning Chime
Sounds when you open the driver's doorand you have left the key in the ignitionwith it in the off or accessory position.
Parking Brake On Warning Chime
Sounds when you have left the parkingbrake on and drive your vehicle. If thewarning chime remains on after you havereleased the parking brake, have thesystem checked by your authorized dealerimmediately.
80
Super Duty (), enUSA
Instrument ClusterE161509 E163173 E163174 E163175 E171217 E163176
Page 91 of 470
Fuel Hist.
Shows fuel usage as a bar graph based ontime. The graph is updated each minutewith the fuel economy that was achievedduring the prior 5, 10, 30 minutes of driving.
Truck Apps
In this mode, off-roadinformation depicted withgraphics and trailer towingapplication options are available.
Note:Some items are optional and maynot appear.
Truck Apps
Pitch and bank angle (in degrees)Off Road
Steering angle (in degrees)
Differential lock/unlock
Energy flow
ELD (Electronic Locking Differential)Press OK for Info
Hill Descent Control
4X4 System
Traction Control
AdvanceTrac + RSC
Active trailer name or default trailerTrailer
Accumulated trailer distance
Trailer gain and output
Trailer Disconnected
OptionsPress OK for options
Change Active Trailer
Adding a new trailer
Conventional, FifthWheel or GooseneckConnection Checklist (ifequipped)
Delete Trailer
Tow / Haul or TrailerBrake ControllerInformation Screen
88
Super Duty (), enUSA
Information DisplaysE163181
Page 93 of 470
Settings
On or OffRear Park AidDriverAssistOn or OffCamera DelayRear Video Camera
Electric or Elect. OverHydraulicModeTrailer Brake
Light, Medium or HeavyEffort
On or OffTrailer Sway Control
Off or XXX secondsAutolamp DelayVehicle
NormalDTE Calculation(distance to empty)Towing
On or OffEasy Entry/Exit
On or OffAutolockLocks
On or OffAutounlock
One Stage or TwoStageUnlocking
Hold OK if CoolantChangedCoolant (if equipped)Maintenance
Hold OK if Fuel FilterChangedFuel Filter (diesel only)
Settings (cont’d)
Standard or Memory OnMenu ControlVehicle(cont’d)Set to XXX% (Hold OK to Reset)Oil Life Reset
5, 10 or 15 minutesDurationRemote Start
Enable or DisableSystem
On or OffRemote OpenWindows
Courtesy Wipe - On or OffWiper Control
90
Super Duty (), enUSA
Information Displays
Page 104 of 470
![FORD F250 SUPER DUTY 2015 Owners Manual Trailer
ActionMessage
The current gain setting for the trailer brake.TRAILER BRAKE GAIN: XX.X[OUTPUT]
The current gain setting for the trailer brake when atrailer is not connected.TRAILER BRAKE GAIN: FORD F250 SUPER DUTY 2015 Owners Manual Trailer
ActionMessage
The current gain setting for the trailer brake.TRAILER BRAKE GAIN: XX.X[OUTPUT]
The current gain setting for the trailer brake when atrailer is not connected.TRAILER BRAKE GAIN:](/manual-img/11/58785/w960_58785-103.png)
Trailer
ActionMessage
The current gain setting for the trailer brake.TRAILER BRAKE GAIN: XX.X[OUTPUT]
The current gain setting for the trailer brake when atrailer is not connected.TRAILER BRAKE GAIN: XX.X NOTRAILER
Accompanied by a single chime, in response to faultssensed by the TBC. See Trailer Sway Control (page190).
TRAILER BRAKE MODULEFAULT
A correct trailer connection (a trailer with electric trailerbrakes) is sensed during a given ignition cycle.TRAILER CONNECTED
A trailer connection becomes disconnected, eitherintentionally or unintentionally, and has been sensedduring a given ignition cycle. Disregard this status ifyour vehicle is not equipped with a factory installedtrailer brake controller. This message may appear whenan aftermarket TBC is used even when the trailer isconnected.
TRAILER DISCONNECTED
Your trailer sway control has detected trailer sway soyou need to reduce your speed.TRAILER SWAY REDUCESPEED
Faults with your vehicle wiring and trailer wiring orbrake system. See Towing a Trailer (page 189).WIRING FAULT ON TRAILER
4WD
ActionMessage
A fault is present in your 4X4 system. See UsingFour-Wheel Drive (page 151).CHECK 4X4
Your 4X4 system is making a shift.4X4 SHIFT IN PROGRESS
You need to apply the brake in order to shift into4X4 LOW.FOR 4X4 LOW APPLY BRAKE
When your vehicle is at a stop and you need to shiftinto Neutral before you select 4X4 LOW.FOR 4X4 LOW SHIFT TO N
When your vehicle is moving and you need toreduce your speed to select 4X4 LOW.FOR 4X4 LOW SLOW TO 3 MPH
101
Super Duty (), enUSA
Information Displays
Page 111 of 470

Side Window Defogging in Cold Weather
Vehicle With Automatic Climate ControlVehicle With Manual Climate Control
Press the defrost button.Select the instrument panel and footwellair vents positions through the air distri-bution control.
1
Adjust the temperature control to thedesired setting. Use 72°F (22°C) as astarting point, then adjust the setting asnecessary.
Press the A/C button.2
Adjust the temperature control to thedesired setting.3
Adjust the fan speed to the highestsetting.4
Direct the instrument panel side air ventstoward the side windows.5
Close the instrument panel center vents.6
HEATED WINDOWS AND
MIRRORS
Heated Rear Window (If Equipped)
Note:The engine must be running to usethis feature.
Note:If your vehicle is equipped with asliding rear window, the feature stilloperates when you open the window.
Press the button to clear the rear windowof thin ice and fog. Press the button againwithin 10 minutes to switch it off. Itswitches off automatically after 10minutes, or when you switch the ignitionoff.
Do not use razor blades or other sharpobjects to clean the inside of the rearwindow or to remove decals from theinside of the rear window. This maycause damage to the heated grid lines.Your warranty does not cover thisdamage.
Heated Exterior Mirror (If Equipped)
Note:Do not remove ice from the mirrorswith a scraper or attempt to readjust themirror glass that has frozen in place. Theseactions could cause damage to the glassand mirrors.
Note:Do not clean the housing or glass ofany mirror with harsh abrasives, fuel or otherpetroleum-based cleaning products.
The heated mirrors remove ice, mist andfog when you switch on the heated rearwindow.
108
Super Duty (), enUSA
Climate Control
Page 115 of 470

Removing the Head Restraint
1. Press and hold buttons C.
2. Pull up the head restraint.
Installing the Head Restraint
Align the steel stems into the guide sleevesand push the head restraint down until itlocks.
Tilting Head Restraints (If Equipped)
The front head restraints tilt for extracomfort. To tilt the head restraint, do thefollowing:
1. Adjust the seat back to an uprightdriving or riding position.
2.Pivot the head restraint forward towardyour head to the desired position.
After the head restraint reaches theforward-most tilt position, pivot it forwardagain to release it to the rearward, un-tiltedposition.
Note:Do not attempt to force the headrestraint backward after it is tilted. Instead,continue tilting it forward until the headrestraint releases to the upright position.
MANUAL SEATS
WARNING
Do not adjust the driver's seat or seatback when your vehicle is moving.
Moving the Seat Backward andForward
Recline Adjustment
112
Super Duty (), enUSA
SeatsE144727 E162727 E162728
Page 134 of 470
CENTER CONSOLE (IF EQUIPPED)
Stow items in the cupholder carefully asitems may become loose during hardbraking, acceleration or collisions, includinghot drinks which may spill.
Available console features include:
•Locking storage compartment withhanging file folder supports
•Storage for laptop computer, binder orbook between the hanging file foldersupport and the passenger side of theconsole bin
•Auxiliary power points
Removable Front Cupholders
You can lift the two cupholder modulesout. You can also remove the false bottomfor hidden storage or to hold a large cup.
OVERHEAD CONSOLE (IF
EQUIPPED)
Press near the rear edge of the door toopen it.
131
Super Duty (), enUSA
Storage CompartmentsE163064 E163065 E75193