2015 FORD F SERIES MOTORHOME AND COMMERCIAL CHASSIS tow
[x] Cancel search: towPage 32 of 144
AUTOMATIC TRANSMISSION
WARNINGS
Always set the parking brake fullyand make sure the gearshift islatched in P (Park). Turn the ignitionto the off position and remove the keywhenever you leave your vehicle.
Do not apply the brake pedal andaccelerator pedal simultaneously.Applying both pedals simultaneouslyfor more than three seconds will limitengine rpm, which may result in difficultymaintaining speed in traffic and could leadto serious injury.
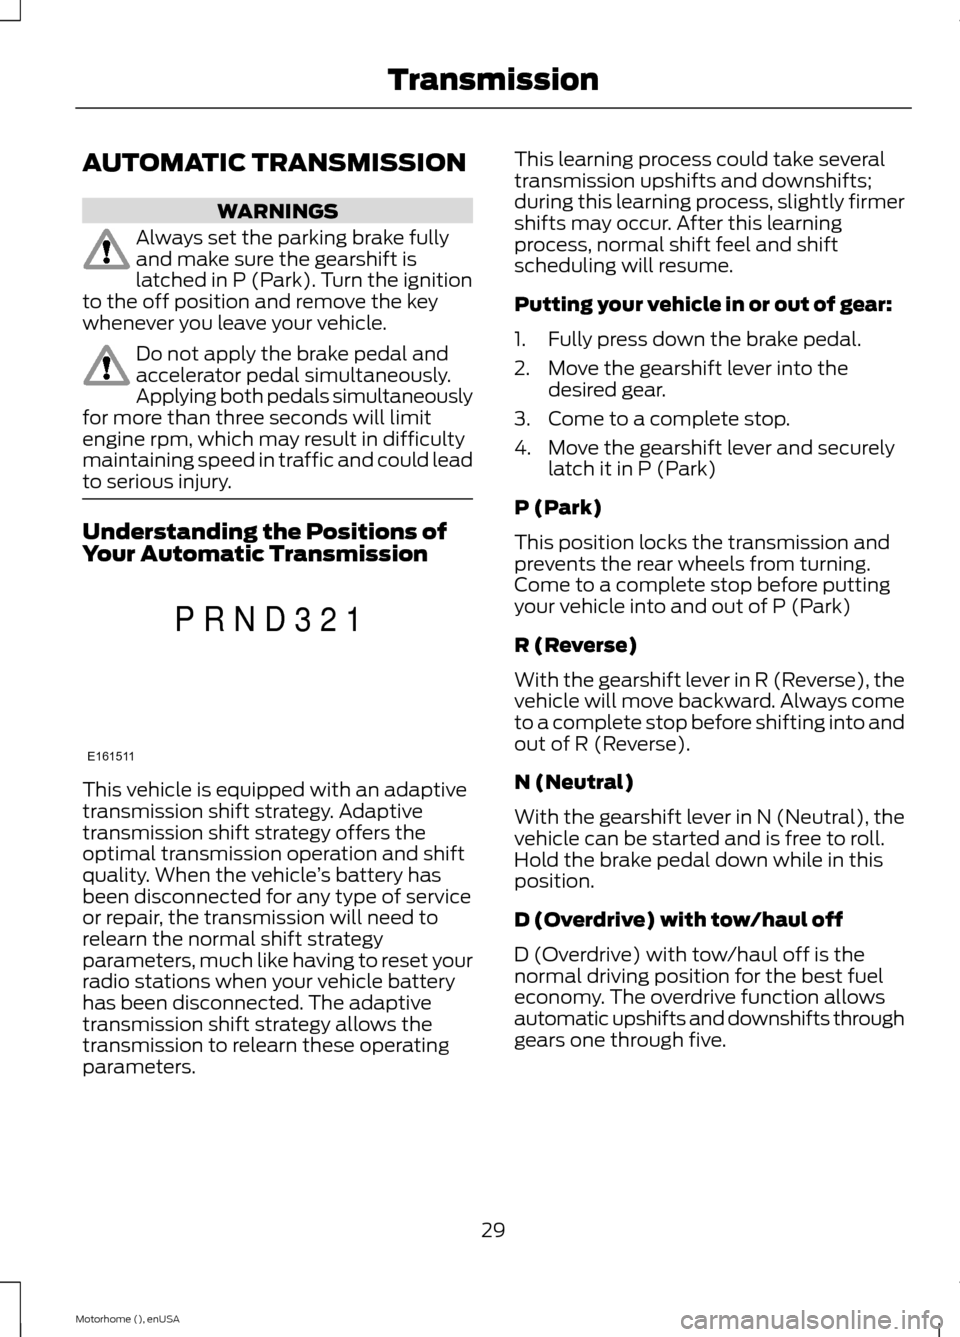
Understanding the Positions ofYour Automatic Transmission
This vehicle is equipped with an adaptivetransmission shift strategy. Adaptivetransmission shift strategy offers theoptimal transmission operation and shiftquality. When the vehicle’s battery hasbeen disconnected for any type of serviceor repair, the transmission will need torelearn the normal shift strategyparameters, much like having to reset yourradio stations when your vehicle batteryhas been disconnected. The adaptivetransmission shift strategy allows thetransmission to relearn these operatingparameters.
This learning process could take severaltransmission upshifts and downshifts;during this learning process, slightly firmershifts may occur. After this learningprocess, normal shift feel and shiftscheduling will resume.
Putting your vehicle in or out of gear:
1.Fully press down the brake pedal.
2.Move the gearshift lever into thedesired gear.
3.Come to a complete stop.
4.Move the gearshift lever and securelylatch it in P (Park)
P (Park)
This position locks the transmission andprevents the rear wheels from turning.Come to a complete stop before puttingyour vehicle into and out of P (Park)
R (Reverse)
With the gearshift lever in R (Reverse), thevehicle will move backward. Always cometo a complete stop before shifting into andout of R (Reverse).
N (Neutral)
With the gearshift lever in N (Neutral), thevehicle can be started and is free to roll.Hold the brake pedal down while in thisposition.
D (Overdrive) with tow/haul off
D (Overdrive) with tow/haul off is thenormal driving position for the best fueleconomy. The overdrive function allowsautomatic upshifts and downshifts throughgears one through five.
29Motorhome (), enUSATransmissionE161511PRND321
Page 33 of 144
D (Overdrive) with tow/haul on
The tow/haul feature improvestransmission operation when towing atrailer or a heavy load. All transmissiongear ranges are available when usingtow/haul.
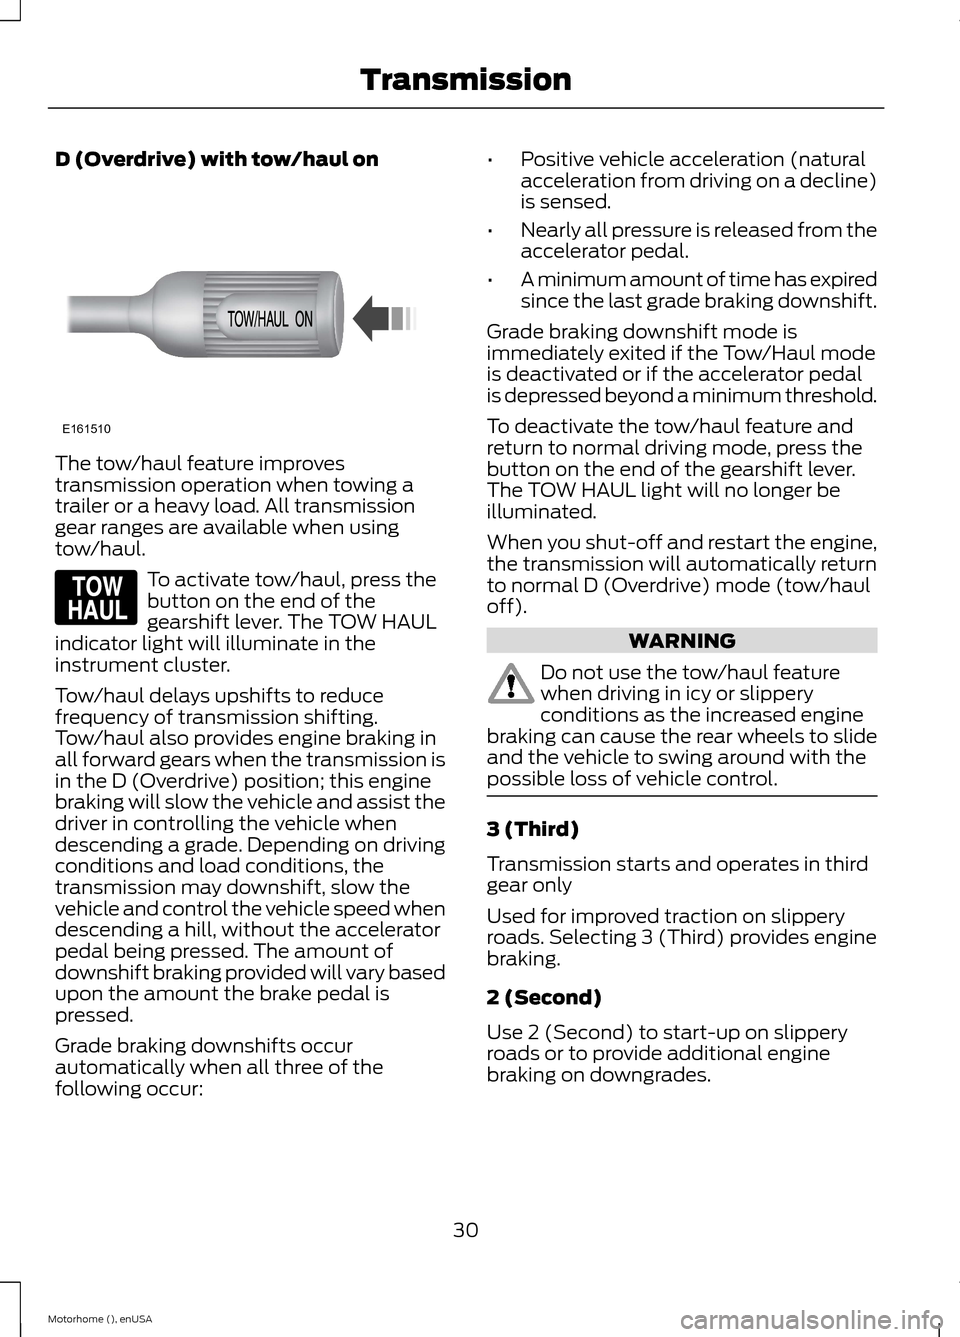
To activate tow/haul, press thebutton on the end of thegearshift lever. The TOW HAULindicator light will illuminate in theinstrument cluster.
Tow/haul delays upshifts to reducefrequency of transmission shifting.Tow/haul also provides engine braking inall forward gears when the transmission isin the D (Overdrive) position; this enginebraking will slow the vehicle and assist thedriver in controlling the vehicle whendescending a grade. Depending on drivingconditions and load conditions, thetransmission may downshift, slow thevehicle and control the vehicle speed whendescending a hill, without the acceleratorpedal being pressed. The amount ofdownshift braking provided will vary basedupon the amount the brake pedal ispressed.
Grade braking downshifts occurautomatically when all three of thefollowing occur:
•Positive vehicle acceleration (naturalacceleration from driving on a decline)is sensed.
•Nearly all pressure is released from theaccelerator pedal.
•A minimum amount of time has expiredsince the last grade braking downshift.
Grade braking downshift mode isimmediately exited if the Tow/Haul modeis deactivated or if the accelerator pedalis depressed beyond a minimum threshold.
To deactivate the tow/haul feature andreturn to normal driving mode, press thebutton on the end of the gearshift lever.The TOW HAUL light will no longer beilluminated.
When you shut-off and restart the engine,the transmission will automatically returnto normal D (Overdrive) mode (tow/hauloff).
WARNING
Do not use the tow/haul featurewhen driving in icy or slipperyconditions as the increased enginebraking can cause the rear wheels to slideand the vehicle to swing around with thepossible loss of vehicle control.
3 (Third)
Transmission starts and operates in thirdgear only
Used for improved traction on slipperyroads. Selecting 3 (Third) provides enginebraking.
2 (Second)
Use 2 (Second) to start-up on slipperyroads or to provide additional enginebraking on downgrades.
30Motorhome (), enUSATransmissionE161510 E161509
Page 34 of 144
1 (First)
•Provides maximum engine braking
•Allows upshifts by moving gearshiftlever
•The transmission will not downshiftinto 1 (First) at high speeds; it willdownshift to a lower gear and thenshift into 1 (First) when the vehiclereaches slower speeds.
Forced downshifts
•Allowed in D (Overdrive) with thetow/haul feature on or off
•Press the accelerator to the floor
•Allows transmission to select anappropriate gear
Brake-Shift Interlock
WARNINGS
Do not drive your vehicle until youverify that the brake lamps areworking.
If your brake lamps are not workingproperly or if you have disconnectedthe vehicle battery cables, thevehicle brake lamps and hazard flashersmay not properly warn traffic of a vehiclebreakdown or approaching danger, whichcan increase the risk of serious injury ordeath. To minimize the risk of serious injuryor death, be aware of your surroundings,use other hazard signaling devices ifavailable, and move the vehicle to a safelocation away from traffic as soon aspossible.
When doing this procedure, you willbe taking the vehicle out of parkwhich means the vehicle can rollfreely. To avoid unwanted vehiclemovement, always fully set the parkingbrake prior to doing this procedure. Usewheel chocks if appropriate.
WARNINGS
If the parking brake is fully released,but the brake warning lamp remainsilluminated, the brakes may not beworking properly. See your authorizeddealer.
Your vehicle is equipped with a brake-shiftinterlock feature that prevents thegearshift lever from being moved from P(Park) unless the brake pedal is pressed.
If you cannot move the gearshift lever outof P (Park) position with the ignition in the4 (on) position and the brake pedalpressed, a malfunction may have occurred.It is possible that a fuse has blown or thevehicle’s brake lamps are not operatingproperly. Refer to Fuses and relays in theRoadside Emergencies chapter. If the fusesand brake lamps are working properly, andthe vehicle still will not shift out of (P)Park, see your authorized dealer for service.
In an emergency, to disable themalfunctioning brake-shift interlockfeature in order to shift the vehicle from P(Park) follow these steps:
1.Apply the parking brake. Turn key tothe lock position, and then remove thekey.
2.Disconnect the negative (black)battery cable from the battery.
3.Insert the key and turn to the offposition. Shift to N (Neutral).
4.Reconnect the negative (black) batterycable to the battery.
5.Start the vehicle.
Note:See your authorized dealer as soonas possible if this procedure is used.
31Motorhome (), enUSATransmission
Page 36 of 144
GENERAL INFORMATION
Note:Occasional brake noise is normal. Ifa metal-to-metal, continuous grinding orcontinuous squeal sound is present, thebrake linings may be worn-out and shouldbe inspected by an authorized dealer. If thevehicle has continuous vibration or shudderin the steering wheel while braking, thevehicle should be inspected by anauthorized dealer.
Note:Brake dust may accumulate on thewheels, even under normal drivingconditions. Some dust is inevitable as thebrakes wear and does not contribute tobrake noise. See Cleaning the AlloyWheels (page 87).
See the Instrument Clusterchapter for information on thebrake system warning light.
Wet brakes result in reduced brakingefficiency. Gently press the brake pedal afew times when driving from a car wash orstanding water to dry the brakes.
Brake Over Accelerator
In the event the accelerator pedalbecomes stuck or entrapped, apply steadyand firm pressure to the brake pedal toslow the vehicle and reduce engine power.If you experience this condition, apply thebrakes and bring your vehicle to a safestop. Turn the engine off, shift to positionP and apply the parking brake, and theninspect the accelerator pedal for anyinterferences. If none are found and thecondition persists, have your vehicle towedto the nearest authorized dealer.
Hydraulic brake booster system(Hydroboost or Hydromax)
The Hydroboost and Hydromax systemsreceive fluid pressure from the powersteering pump to provide power assistduring braking.
The Hydromax booster receives backuppressure from the reserve system electricpump whenever the fluid in the powersteering system is not flowing. When theengine is off, the pump will turn on if thebrake pedal is applied, or if the ignition isturned to the on position.
The sound of the pump operating may beheard by the driver, but this is a normalcharacteristic of the system.
The reserve system provides reducedbraking power, so the vehicle should beoperated under these conditions withcaution, and only to seek service repair andremove the vehicle from the roadway.
Note:For Hydromax-equipped vehiclesoperating under normal conditions, the noiseof the fluid flowing through the booster maybe heard whenever the brake is applied. Thiscondition is normal. Vehicle service is notrequired.
If braking performance or pedal responsebecomes very poor, even when the pedalis strongly pressed, it may indicate thepresence of air in the hydraulic system orleakage of fluid. Stop the vehicle safely assoon as possible and seek serviceimmediately.
HINTS ON DRIVING WITH
ANTI-LOCK BRAKES
Note:When the system is operating, thebrake pedal will pulse and may travelfurther. Maintain pressure on the brakepedal. You may also hear a noise from thesystem. This is normal.
The anti-lock braking system will noteliminate the risks when:
•You drive too closely to the vehicle infront of you.
•Your vehicle is hydroplaning.
33Motorhome (), enUSABrakesE144522
Page 39 of 144
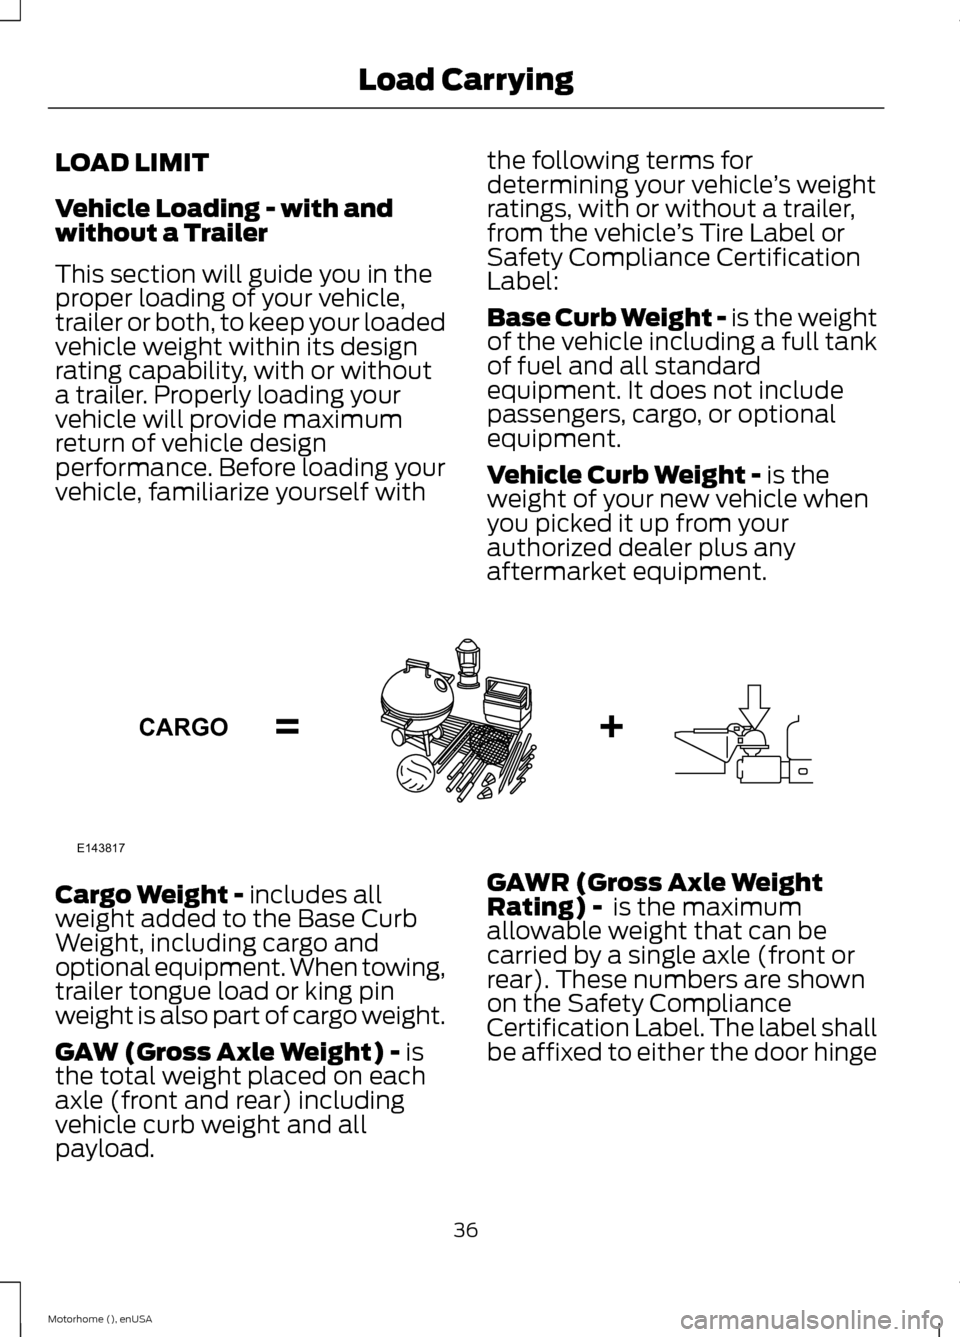
LOAD LIMIT
Vehicle Loading - with andwithout a Trailer
This section will guide you in theproper loading of your vehicle,trailer or both, to keep your loadedvehicle weight within its designrating capability, with or withouta trailer. Properly loading yourvehicle will provide maximumreturn of vehicle designperformance. Before loading yourvehicle, familiarize yourself with
the following terms fordetermining your vehicle’s weightratings, with or without a trailer,from the vehicle’s Tire Label orSafety Compliance CertificationLabel:
Base Curb Weight - is the weightof the vehicle including a full tankof fuel and all standardequipment. It does not includepassengers, cargo, or optionalequipment.
Vehicle Curb Weight - is theweight of your new vehicle whenyou picked it up from yourauthorized dealer plus anyaftermarket equipment.
Cargo Weight - includes allweight added to the Base CurbWeight, including cargo andoptional equipment. When towing,trailer tongue load or king pinweight is also part of cargo weight.
GAW (Gross Axle Weight) - isthe total weight placed on eachaxle (front and rear) includingvehicle curb weight and allpayload.
GAWR (Gross Axle WeightRating) - is the maximumallowable weight that can becarried by a single axle (front orrear). These numbers are shownon the Safety ComplianceCertification Label. The label shallbe affixed to either the door hinge
36Motorhome (), enUSALoad CarryingE143817CARGO
Page 40 of 144
pillar, door-latch post, or the dooredge that meets the door-latchpost, next to the driver's seatingposition.The total load on eachaxle must never exceed its
Gross Axle Weight Rating.
Note: For trailer towinginformation refer to the RV andTrailer Towing Guide available atan authorized dealer.
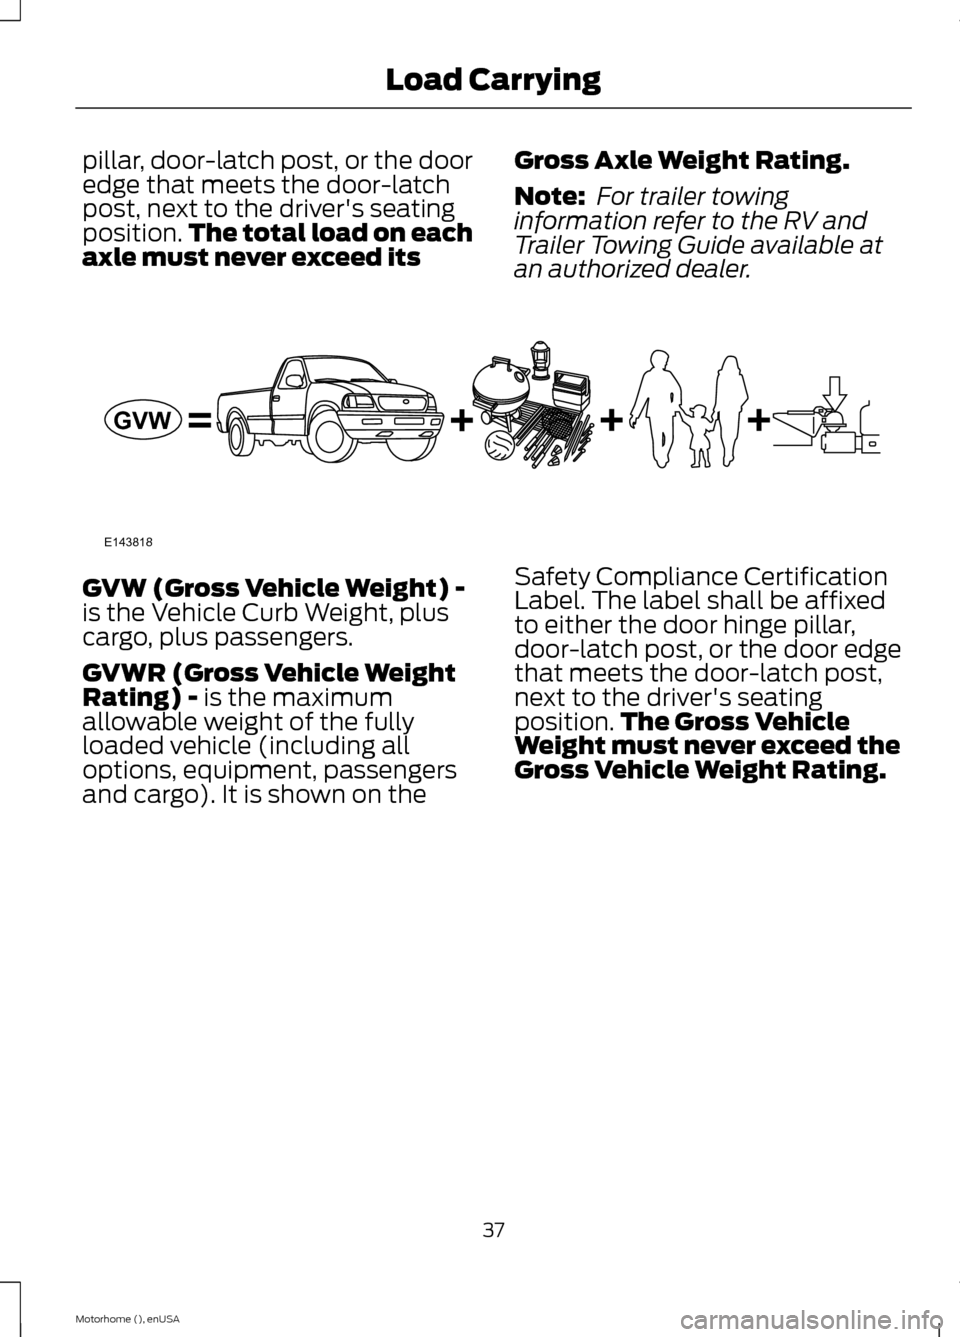
GVW (Gross Vehicle Weight) -is the Vehicle Curb Weight, pluscargo, plus passengers.
GVWR (Gross Vehicle WeightRating) - is the maximumallowable weight of the fullyloaded vehicle (including alloptions, equipment, passengersand cargo). It is shown on the
Safety Compliance CertificationLabel. The label shall be affixedto either the door hinge pillar,door-latch post, or the door edgethat meets the door-latch post,next to the driver's seatingposition.The Gross VehicleWeight must never exceed theGross Vehicle Weight Rating.
37Motorhome (), enUSALoad CarryingE143818GVW
Page 42 of 144
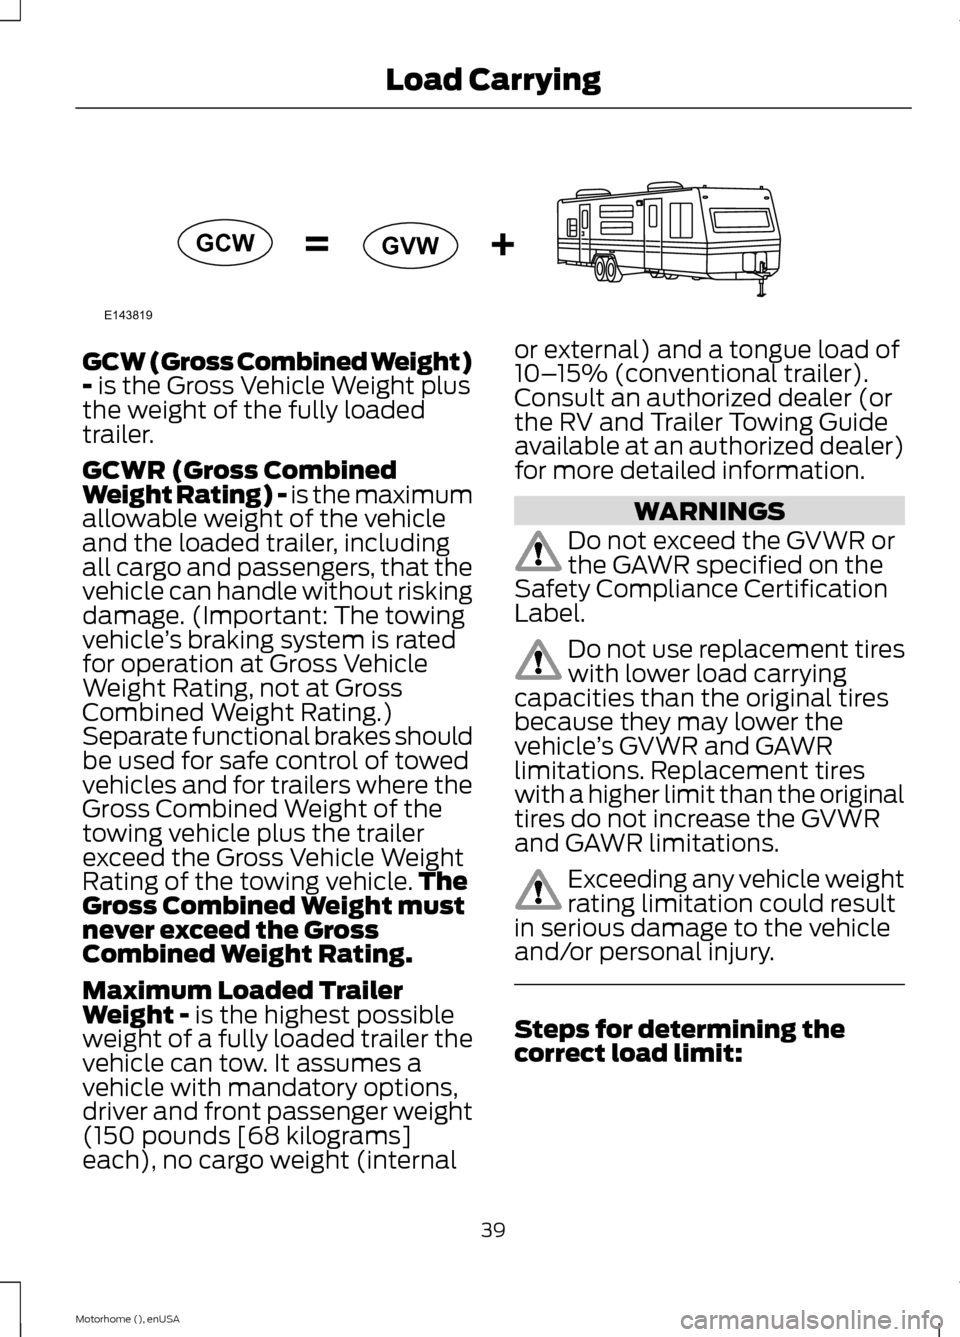
GCW (Gross Combined Weight)- is the Gross Vehicle Weight plusthe weight of the fully loadedtrailer.
GCWR (Gross CombinedWeight Rating) - is the maximumallowable weight of the vehicleand the loaded trailer, includingall cargo and passengers, that thevehicle can handle without riskingdamage. (Important: The towingvehicle’s braking system is rated
for operation at Gross VehicleWeight Rating, not at GrossCombined Weight Rating.)Separate functional brakes shouldbe used for safe control of towedvehicles and for trailers where theGross Combined Weight of thetowing vehicle plus the trailerexceed the Gross Vehicle WeightRating of the towing vehicle.TheGross Combined Weight mustnever exceed the GrossCombined Weight Rating.
Maximum Loaded TrailerWeight - is the highest possibleweight of a fully loaded trailer thevehicle can tow. It assumes avehicle with mandatory options,driver and front passenger weight(150 pounds [68 kilograms]each), no cargo weight (internal
or external) and a tongue load of10–15% (conventional trailer).Consult an authorized dealer (orthe RV and Trailer Towing Guideavailable at an authorized dealer)for more detailed information.
WARNINGS
Do not exceed the GVWR orthe GAWR specified on theSafety Compliance CertificationLabel.
Do not use replacement tires
with lower load carryingcapacities than the original tiresbecause they may lower thevehicle’s GVWR and GAWRlimitations. Replacement tireswith a higher limit than the originaltires do not increase the GVWRand GAWR limitations.
Exceeding any vehicle weightrating limitation could resultin serious damage to the vehicleand/or personal injury.
Steps for determining thecorrect load limit:
39Motorhome (), enUSALoad CarryingE143819GCWGVW
Page 43 of 144
1. Locate the statement "Thecombined weight of occupantsand cargo should never exceedXXX kg or XXX lb." on yourvehicle’s placard.
2. Determine the combined weightof the driver and passengers thatwill be riding in your vehicle.
3. Subtract the combined weightof the driver and passengers fromXXX kg or XXX lb.
4. The resulting figure equals theavailable amount of cargo andluggage load capacity. Forexample, if the “XXX” amountequals 1,400 lb. and there will befive 150 lb. passengers in yourvehicle, the amount of availablecargo and luggage load capacityis 650 lb. (1400-750 (5 x 150) =650 lb.)
5. Determine the combined weightof luggage and cargo being loadedon the vehicle. That weight maynot safely exceed the availablecargo and luggage load capacitycalculated in Step 4.
6. If your vehicle will be towing atrailer, load from your trailer willbe transferred to your vehicle.Consult this manual to determinehow this reduces the availablecargo and luggage load capacityof your vehicle.
The following gives you a fewexamples on how to calculate theavailable amount of cargo and
luggage load capacity:
*Suppose your vehicle has a1400-pound (635-kilogram) cargoand luggage capacity. You decideto go golfing. Is there enough loadcapacity to carry you, four of yourfriends and all the golf bags? Youand four friends average 220pounds (99 kilograms) each andthe golf bags weigh approximately30 pounds (13.5 kilograms) each.The calculation would be: 1400 -(5 x 220) - (5 x 30) = 1400 - 1100- 150 = 150 pounds. Yes, you haveenough load capacity in yourvehicle to transport four friendsand your golf bags. In metric units,the calculation would be: 635kilograms - (5 x 99 kilograms) -(5 x 13.5 kilograms) = 635 - 495 -67.5 = 72.5 kilograms.
*Suppose your vehicle has a1400-pound (635-kilogram) cargoand luggage capacity. You andone of your friends decide to pickup cement from the local homeimprovement store to finish thatpatio you have been planning forthe past two years. Measuring theinside of the vehicle with the rearseat folded down, you have roomfor twelve 100-pound(45-kilogram) bags of cement. Doyou have enough load capacity totransport the cement to yourhome? If you and your friend eachweigh 220 pounds (99 kilograms),the calculation would be: 1400 -(2 x 220) - (12 x 100) = 1400 - 440- 1200 = - 240 pounds. No, you donot have enough cargo capacity
to carry that much weight. Inmetric units, the calculation would
40Motorhome (), enUSALoad Carrying